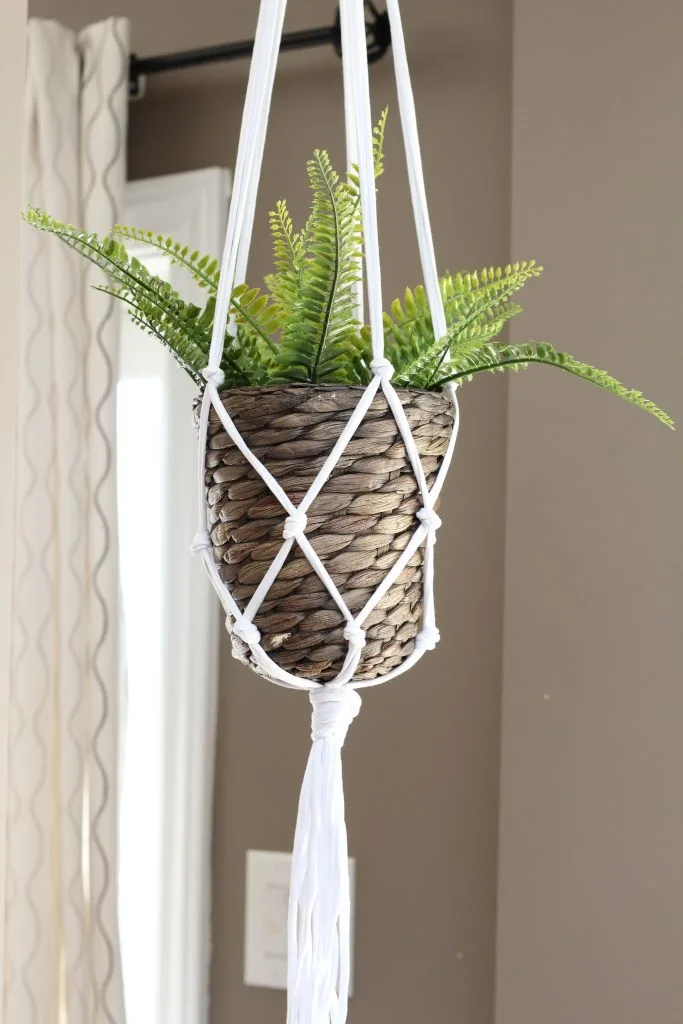
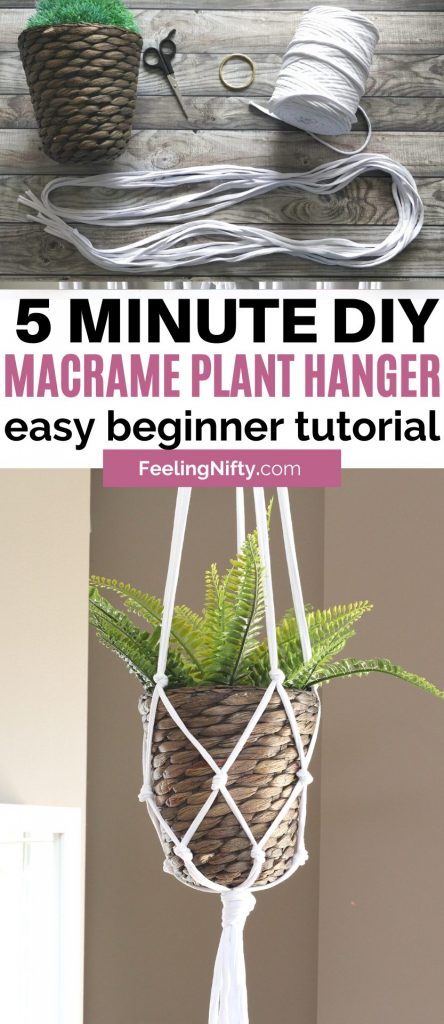
Learn how to make this super easy 5 minute DIY macrame plant hanger in this step by step tutorial.
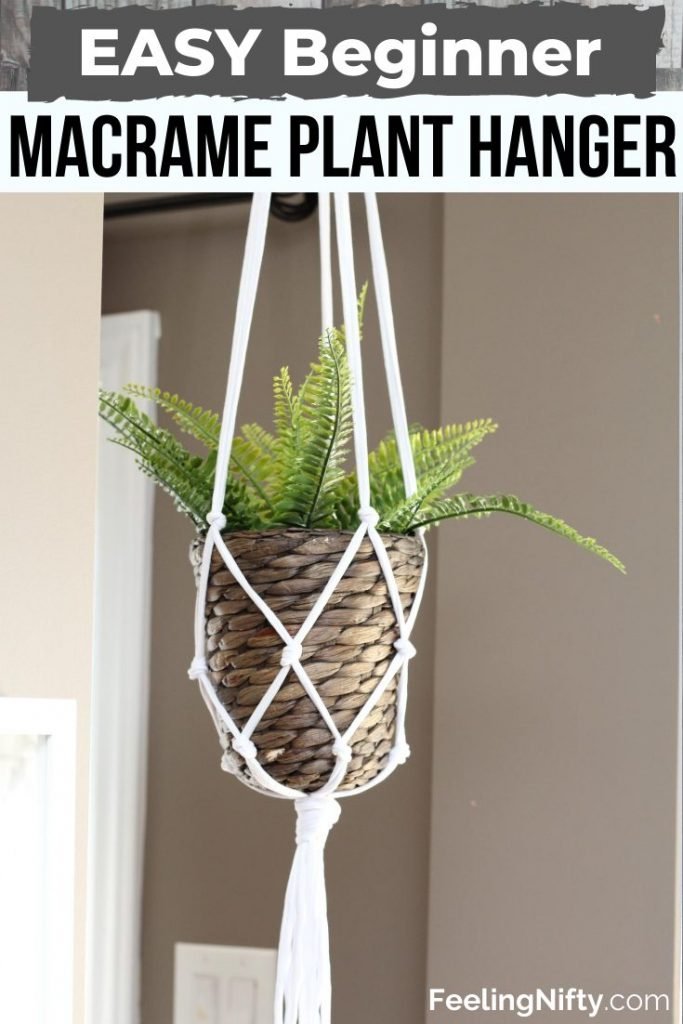

This 5 minute macrame plant hanger is a beautiful, cheap and easy DIY that will add beauty to your home decor.
And it’s surprisingly easy to make.
I consider myself a macrame beginner, and I put this plant hanger together in about 5 minutes. This is my second macrame project. My first project was this DIY beginner macrame wall hanging . I enjoyed it so much I decided to make this plant hanger!
Before we get to the tutorial let’s go over some basic questions you might have.
What Material Do You Use For Macrame?
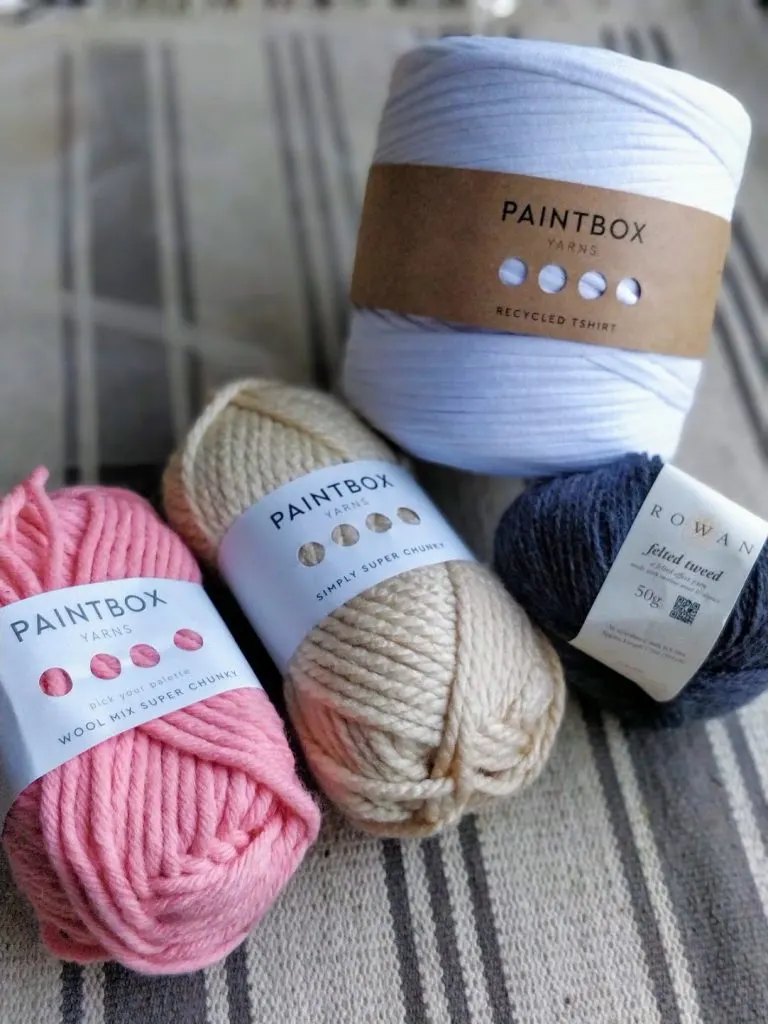
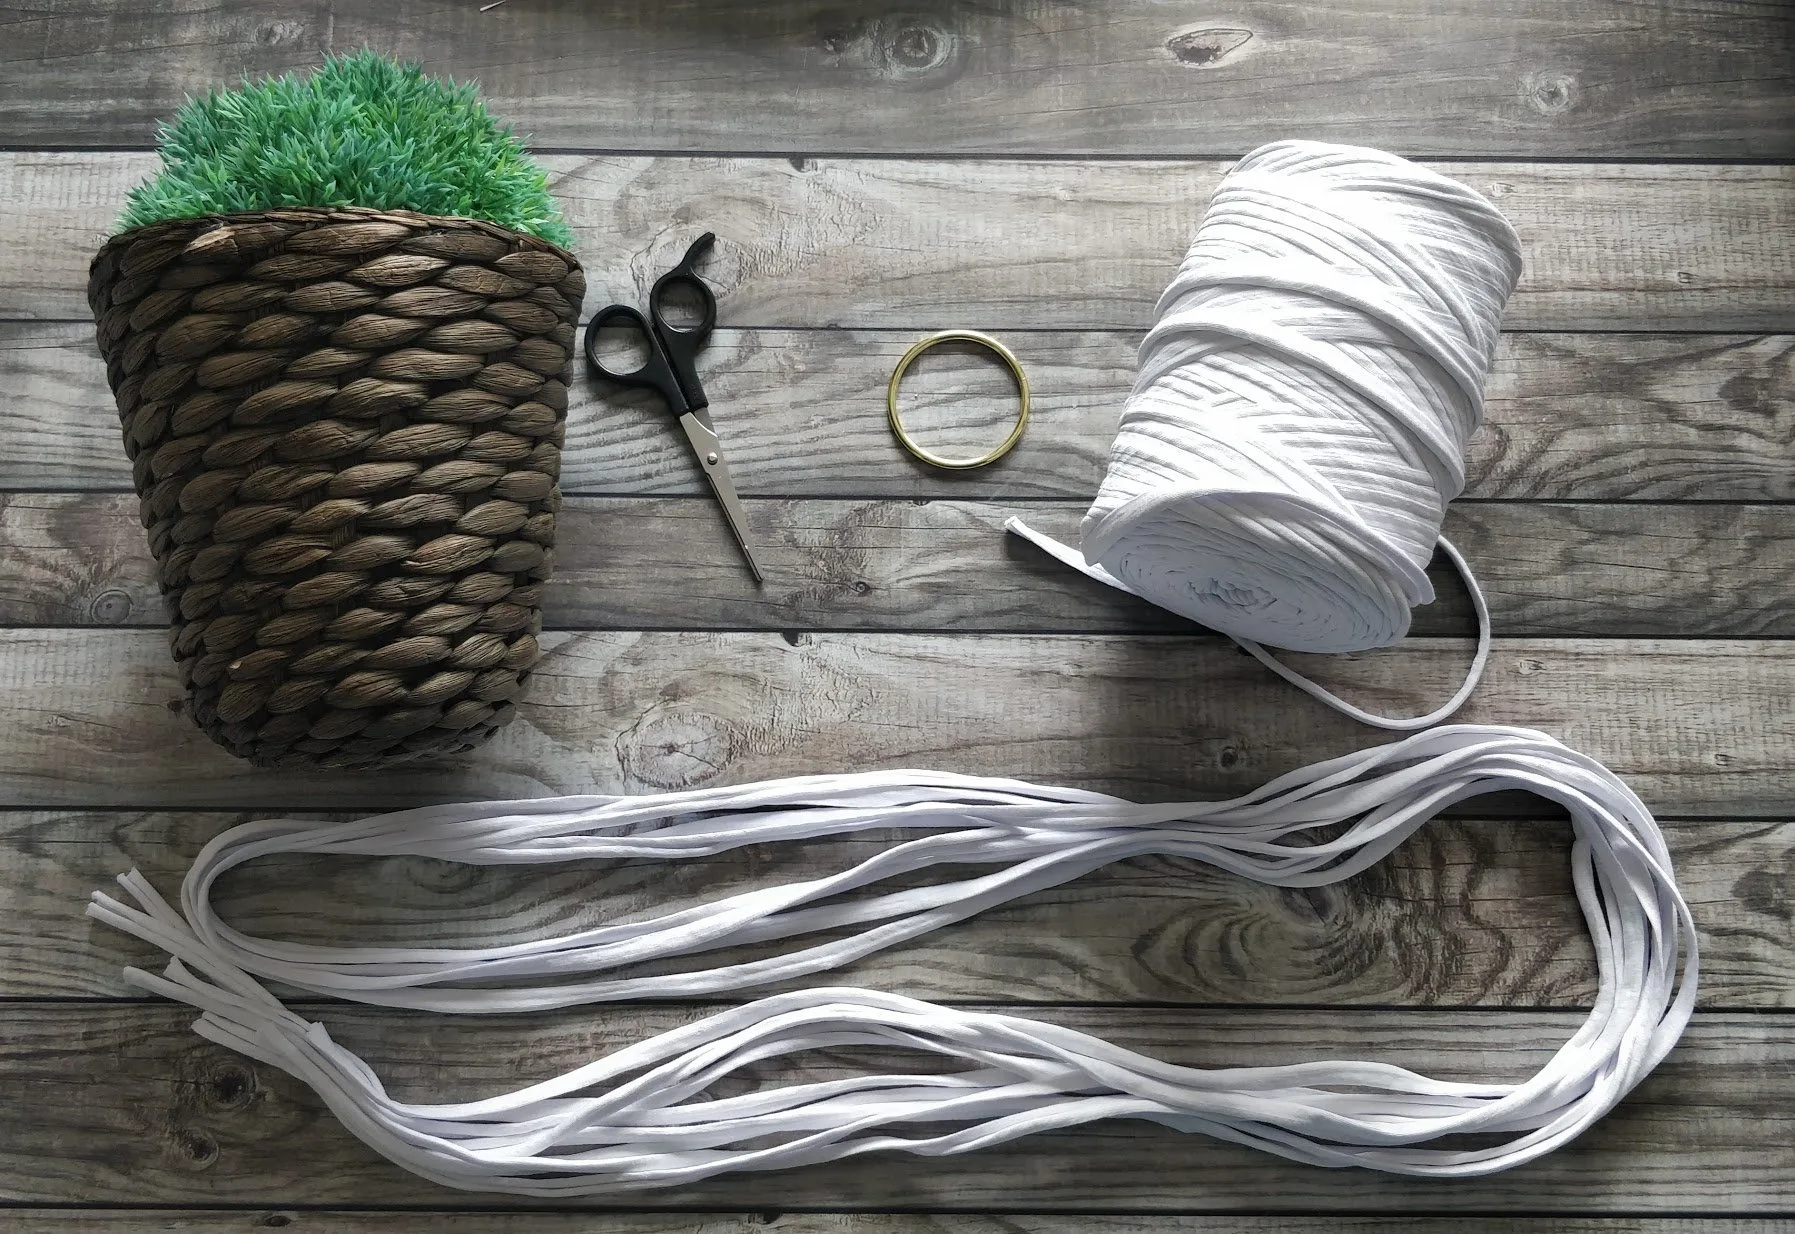
The beauty of macrame is that you need very few materials. All you really need is macrame cord, yarn or even twine! Below we will go over each type so it’s helps you pick the best one for your project.
Besides the macrame cord/yarn, for making the plant hanger you’ll also need a ring, like this one and a ceiling hook if you’re looking to hang it from the ceiling.
What Is the Best Cord For Macrame?
Many macrame artists use a special type of string called macrame cord to make their creations.
Macrame cord is typically made out of cotton, linen, twine, hemp, jute and yarn, etc… The entire cord is made out of smaller cords that are the same length and twisted together.
The best type of macrame cord, especially if you’re a beginner are medium size ropes (between 3mm and 7mm thick). These are great sizes and sturdier/easier to work with compared to the smaller rope sizes. They also work well for a variety of projects.
From plant hangers to wall hangings are beyond! There is plenty to create with macrame cord!
Can I Use Regular Yarn For Macrame?
This question is often asked, and the answer is yes! Using yarn can most definately be used, but depending on the material/thickness and look of the yarn, your end piece might look aesthetically different.
I quite like using regular yarns for my macrame projects. I find you can get interesting textures with some funky yarn types.
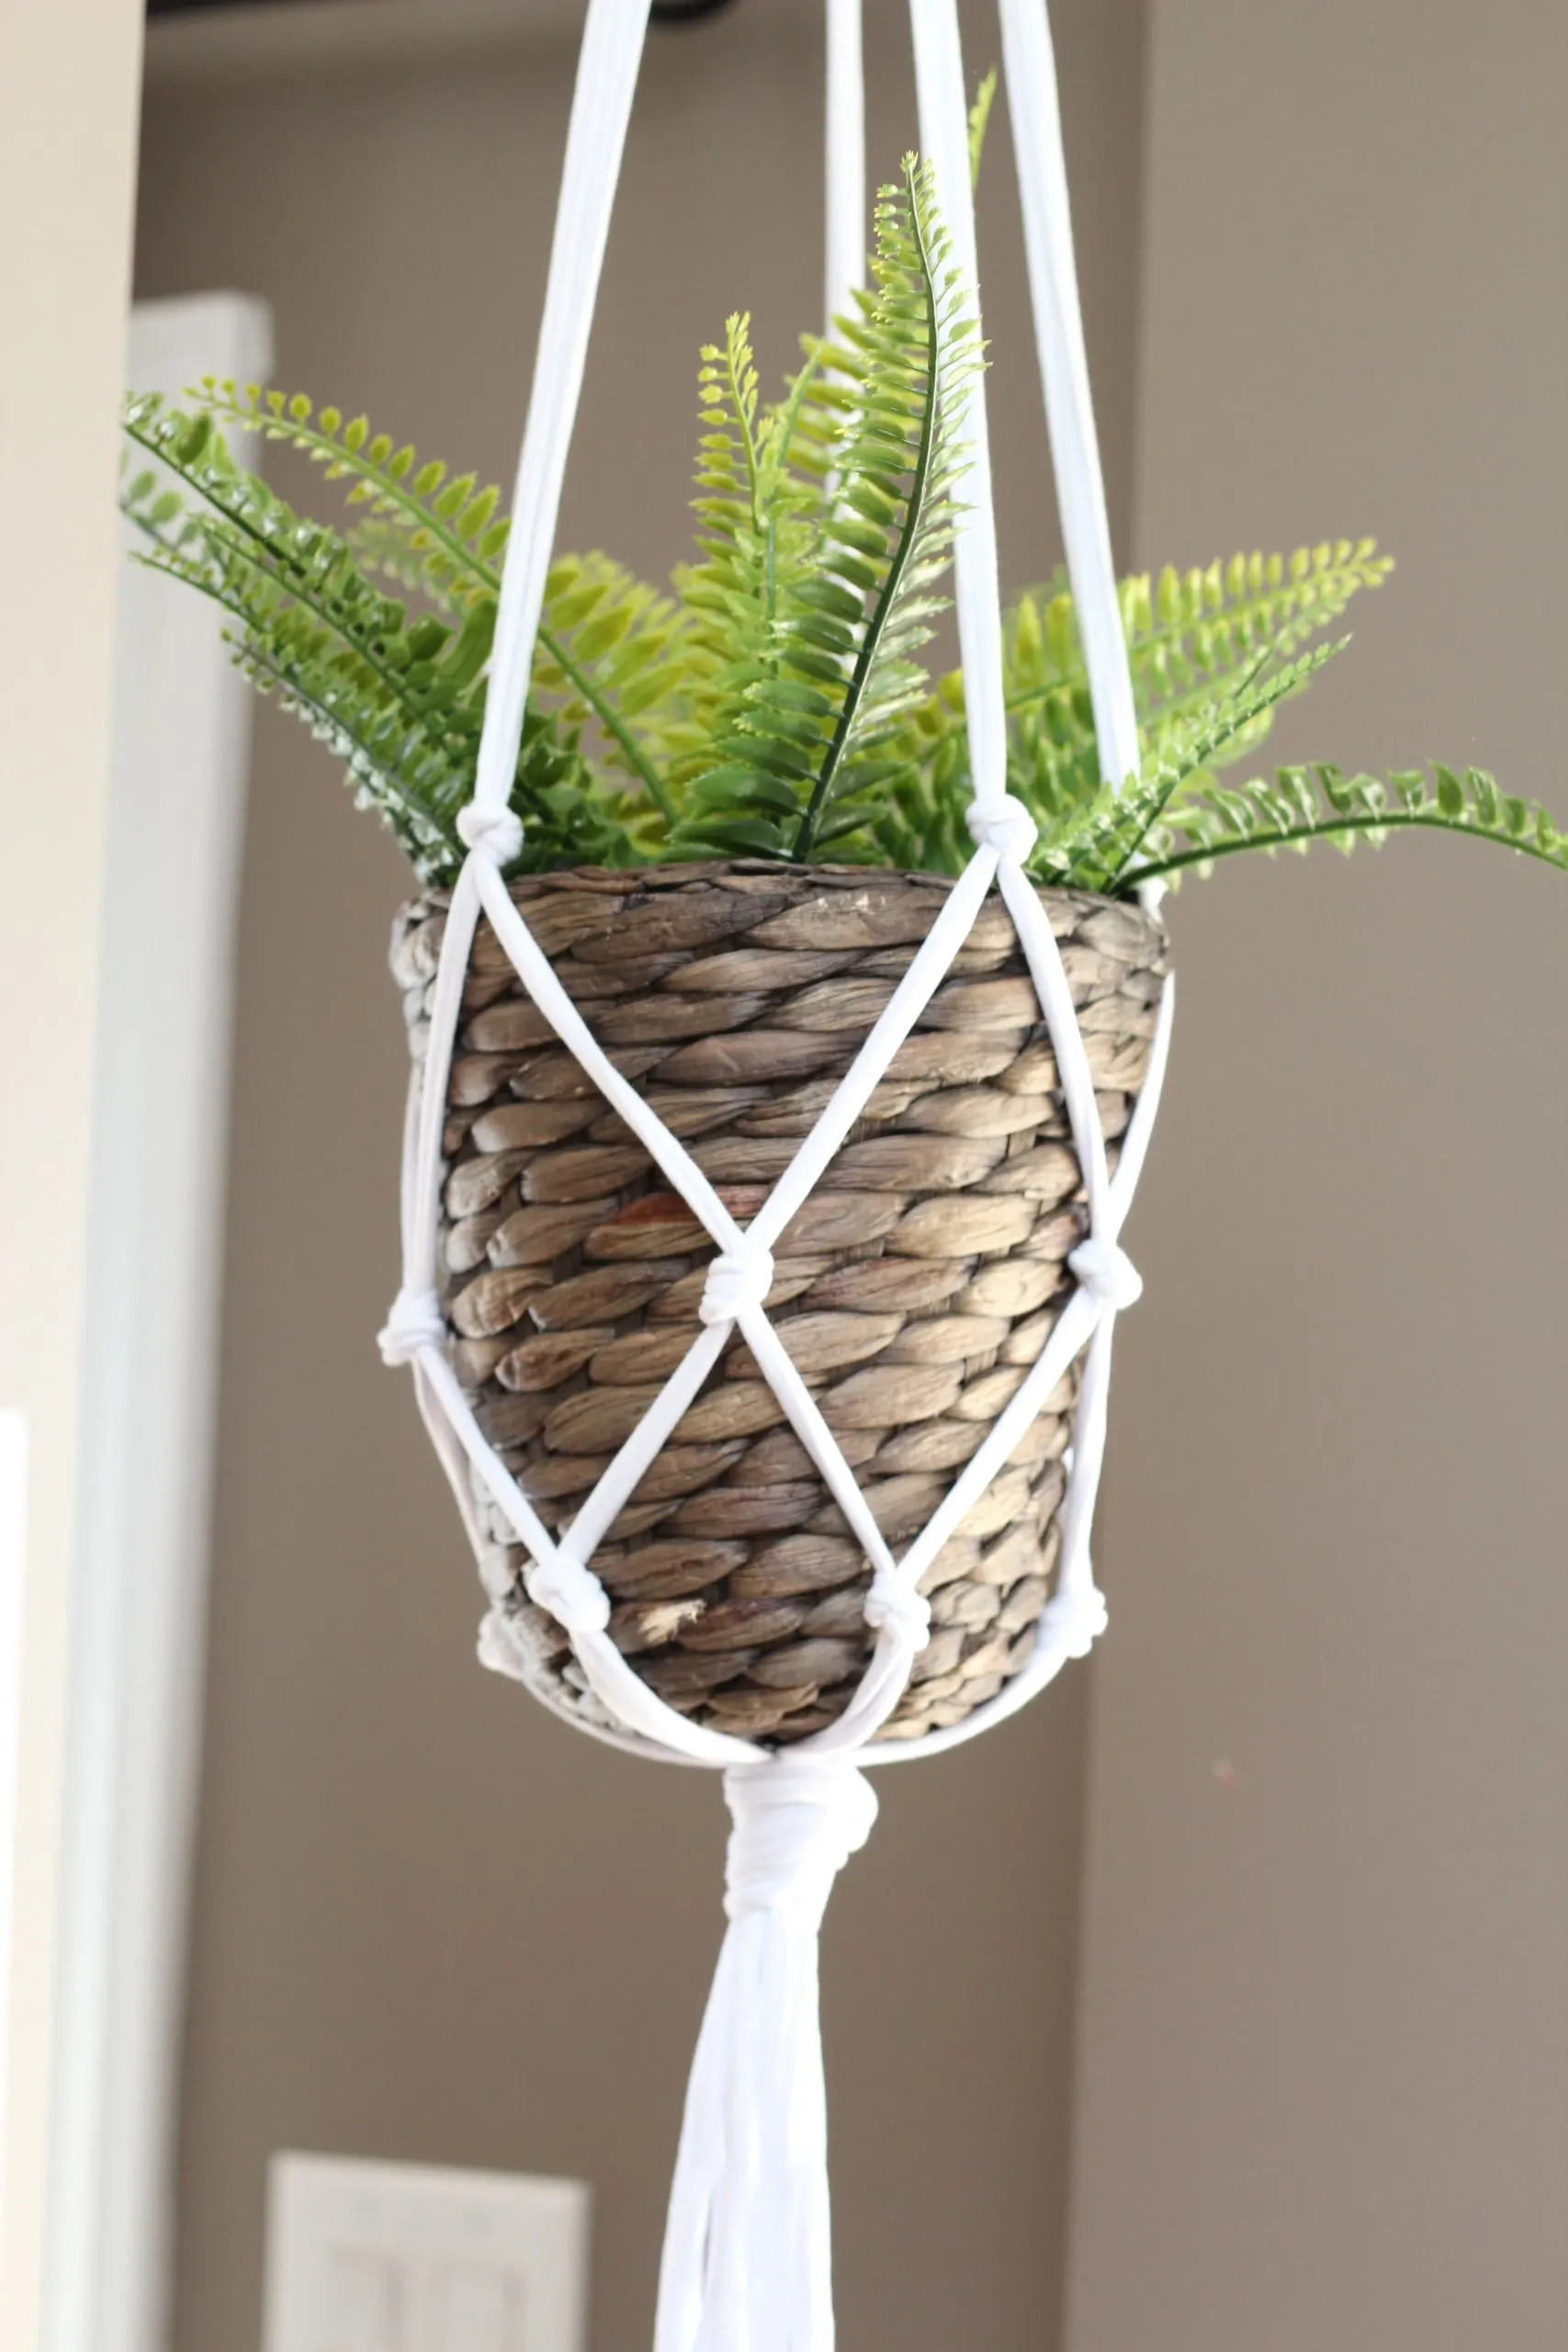
For this DIY macrame plant hanger I used some lovely 100% recycled t-shirt yarn from LoveCrafts. I love how it turned out and find the t-shirt yarn gives a nice clean look, plus you’re helping the environment since its made out of recycled t-shirts!
What’s not to love!

Another type of yarn/string you can make macrame from is regular kitchen twine, which is an inexpensive alternative!
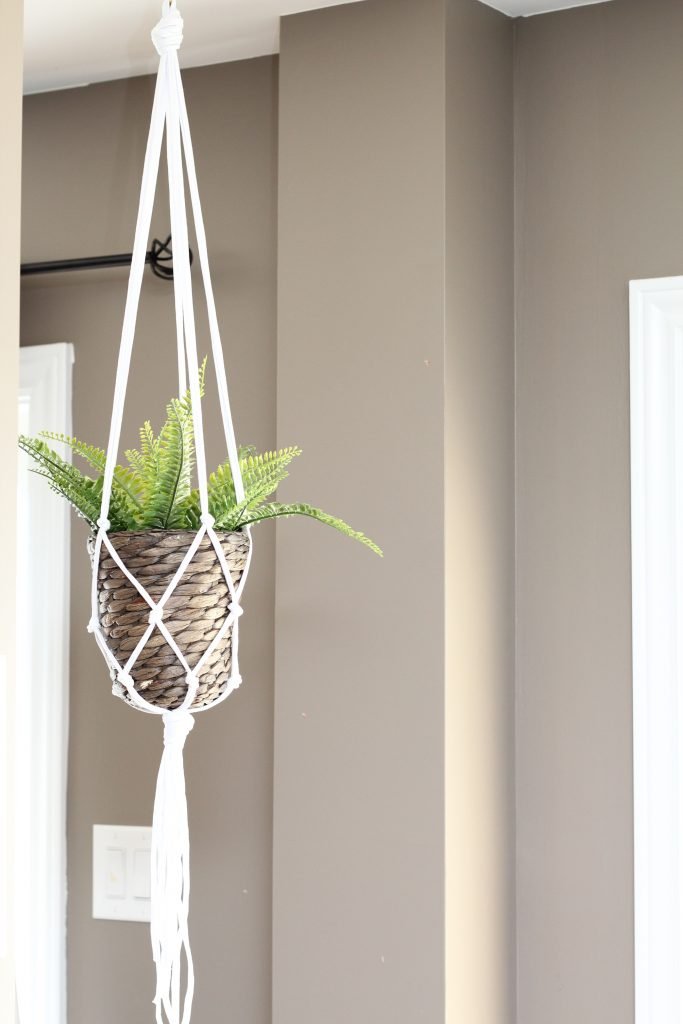
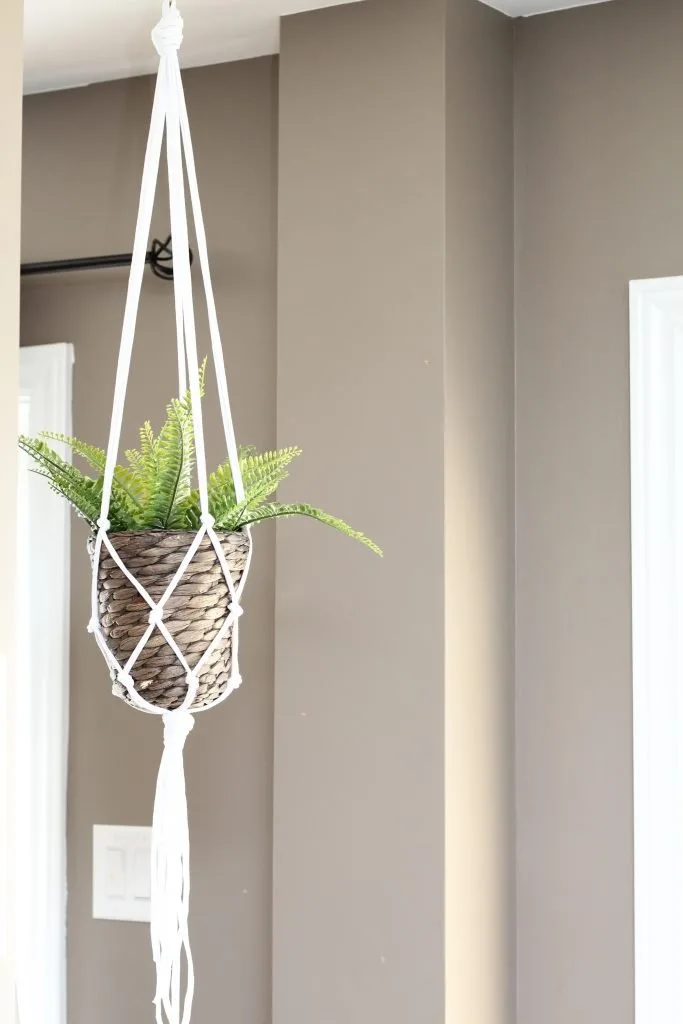
How To Hang Your Macrame Plant Hanger?
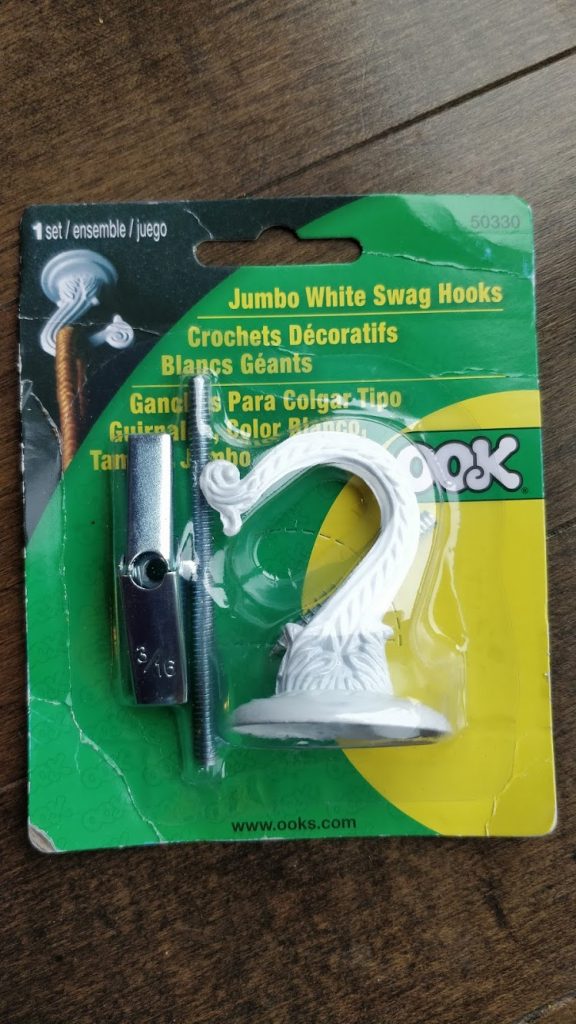
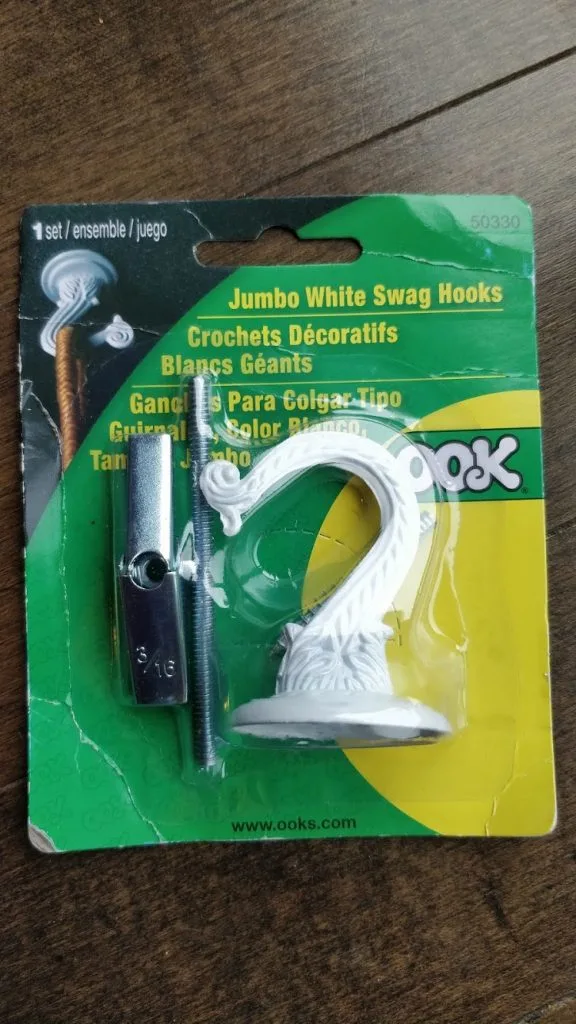
You can get creative and find a hundred different ways to hang your macrame plant hanger, but an easy, no brainer option is a simple ceiling hook!
Which is the option I went with.
I bought mine from amazon for under $5 and it works perfectly! All you need is a drill to pre-drill the hole and follow simple 5 minute instructions and you’ve got yourself a ceiling hook!
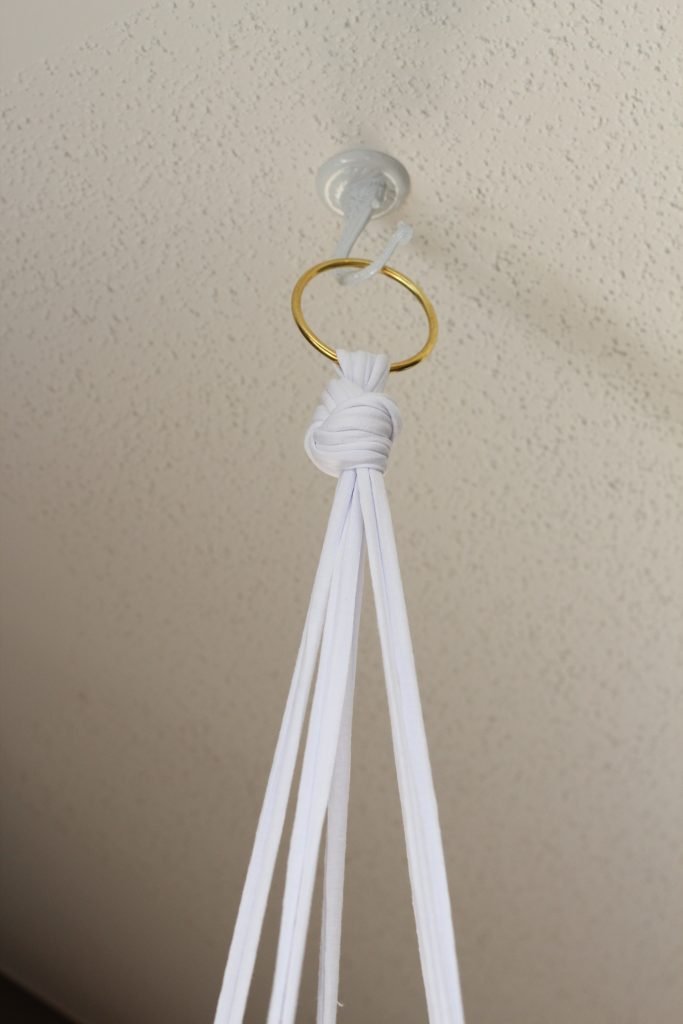
I also decided to attach a golden hoop to my macrame plant hanger so that it easily hangs on the hook. The gold accent on the hoop also looks super pretty.

How To Make A DIY Macrame Plant Hanger
How to make a DIY macrame plant hanger

Make this super easy 5 minute macrame plant hanger with simple string or yarn.
Materials
- 5 150" strands of string/yarn
- Ceiling hook
- Hanging hoop
Tools
- Scissors
- Measuring tape
- Masking tape
Instructions
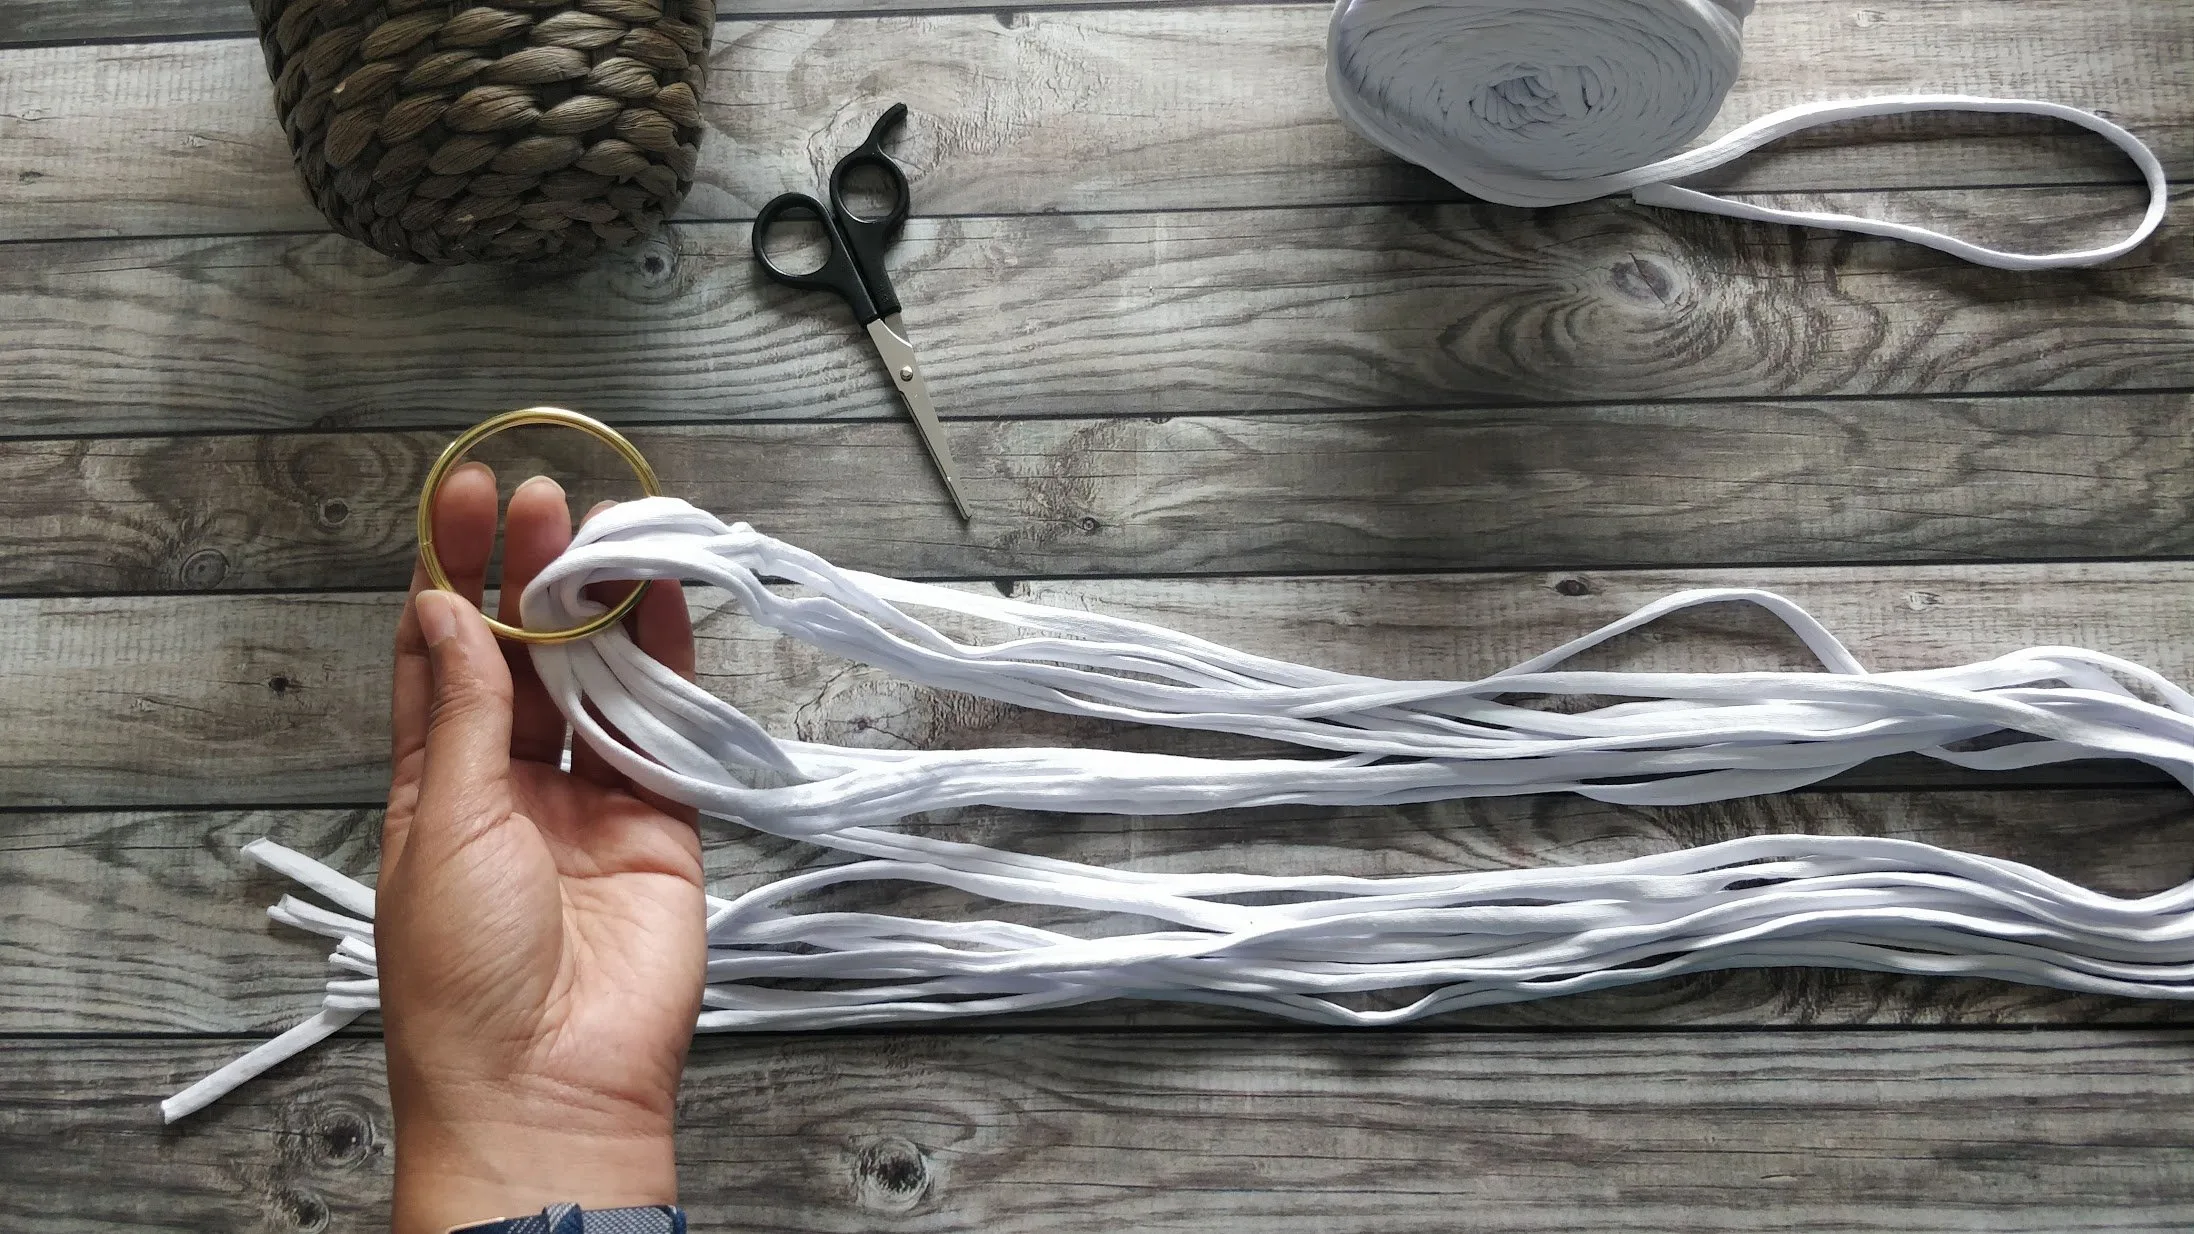
- Cut 5 strands of your string (approximately 150" long, each).

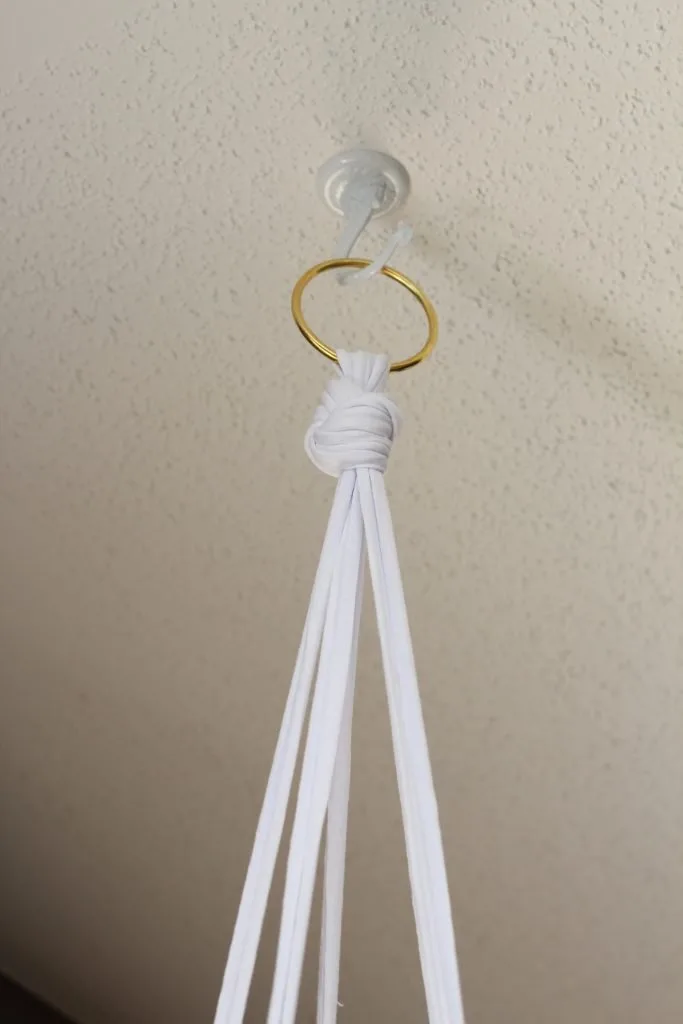
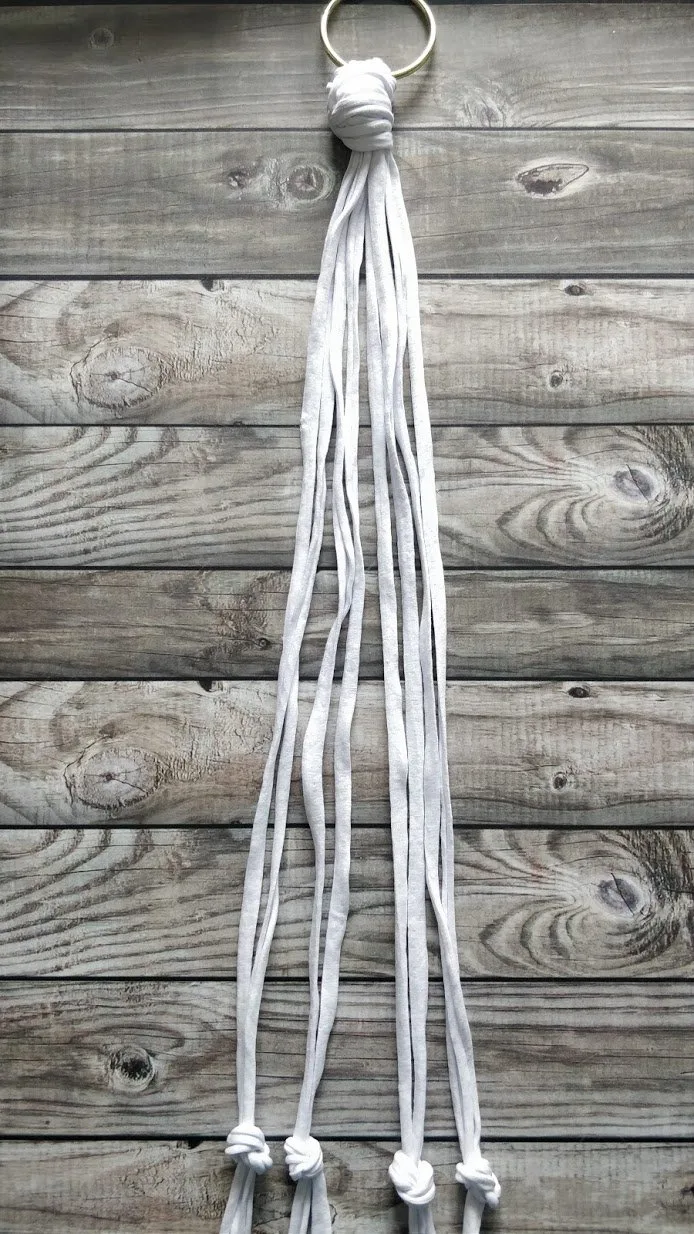
- Gather your strands together so that they are aligned. Insert your hoop onto the gathered strings until it reaches the middle and then tie a big knot.

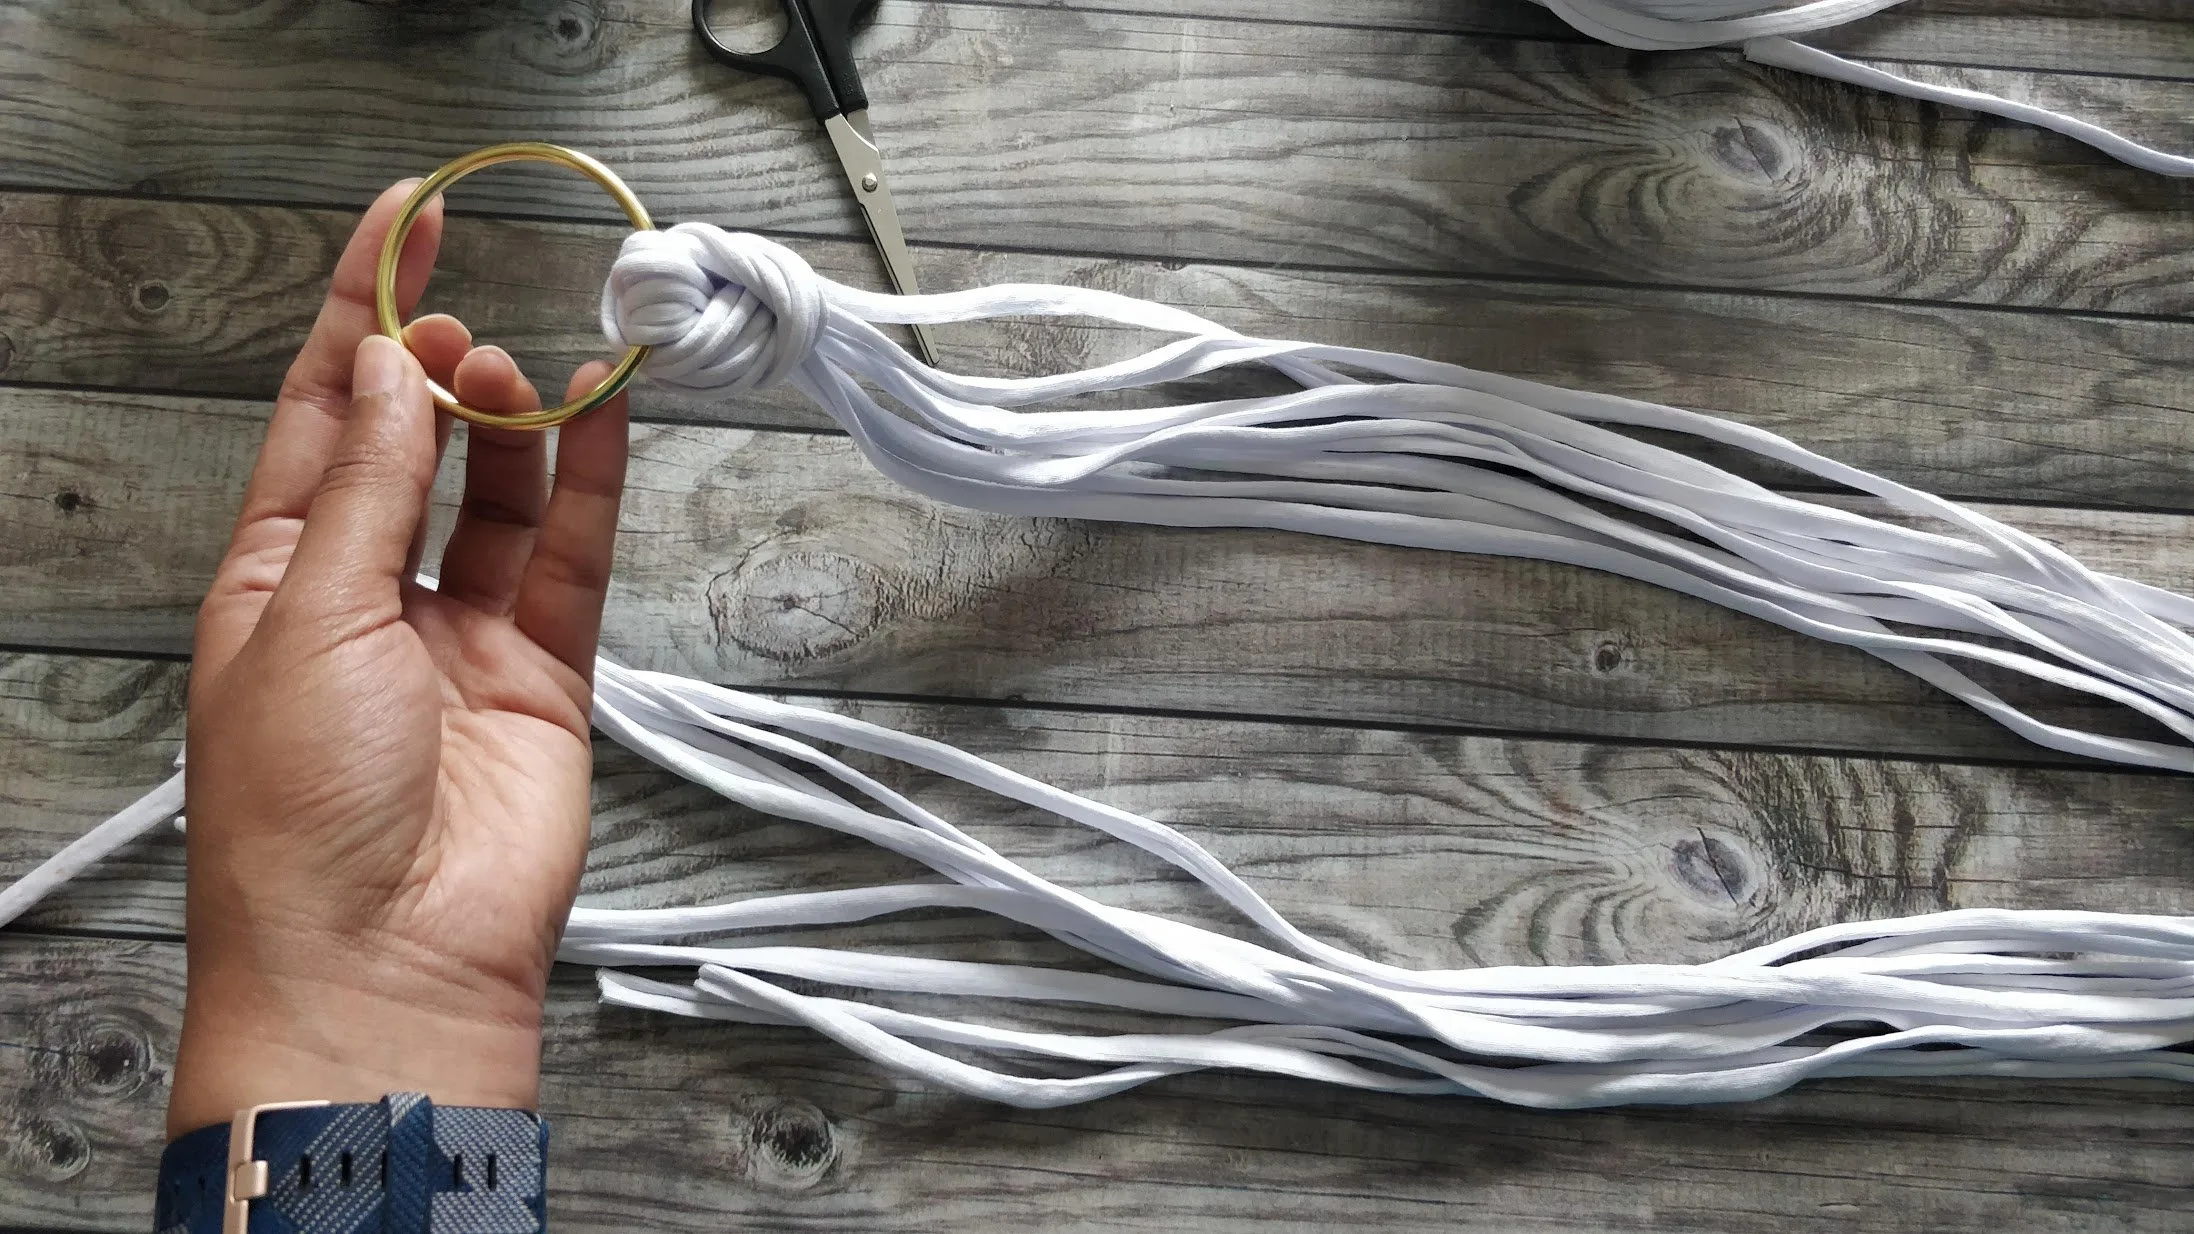
- Take a piece of tape and tape the hoop to a tabletop so its easier to work with.
- You should now have the beginning of your plant hanger with a total of 10 strings to work with. Group your strings in pairs- you will have a total of 5 pairs. (Note: my pictures only show 4 pairs. I added in the additional string afterward the pictures were taken).


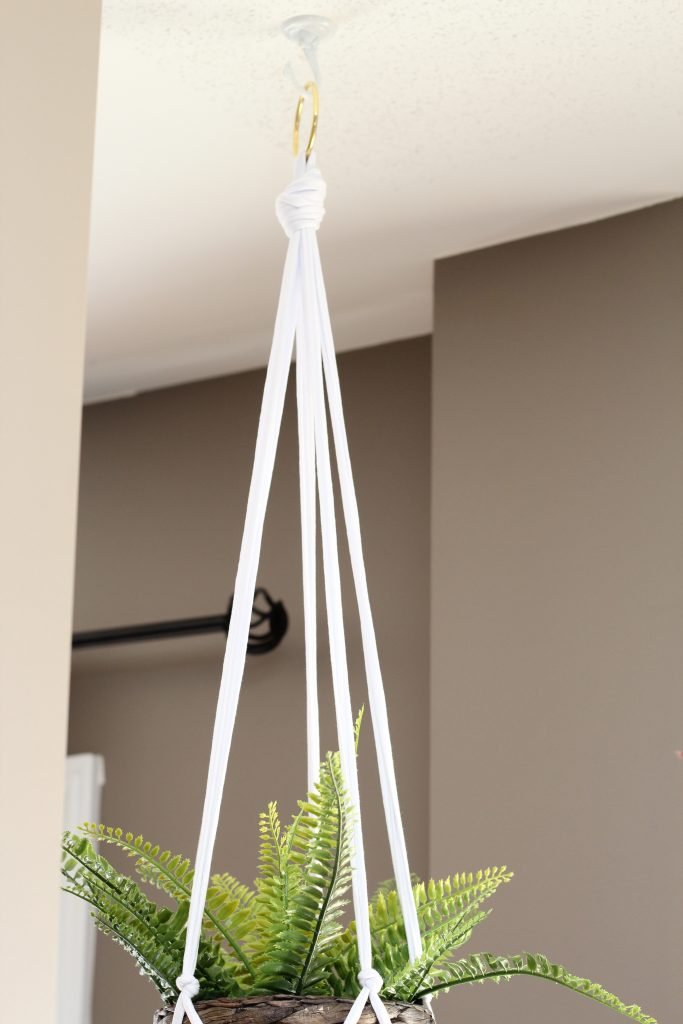
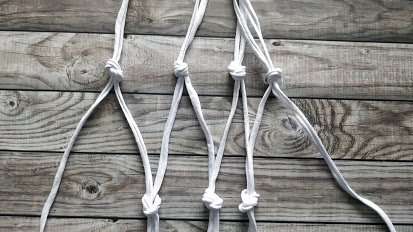
- Knot each pair starting about 20" down from the top knot
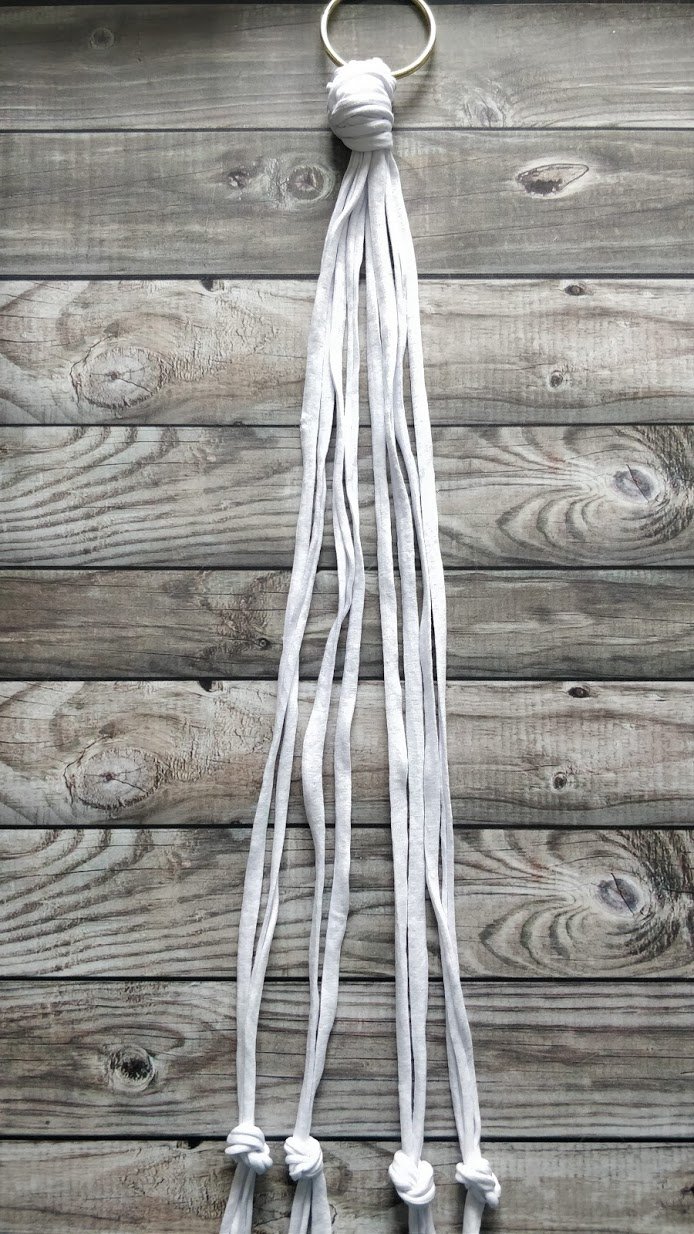
- Now pair up each string with its neighbour string, and tie more knots (you should still have 5 pairs). (4" down from first set of knots).

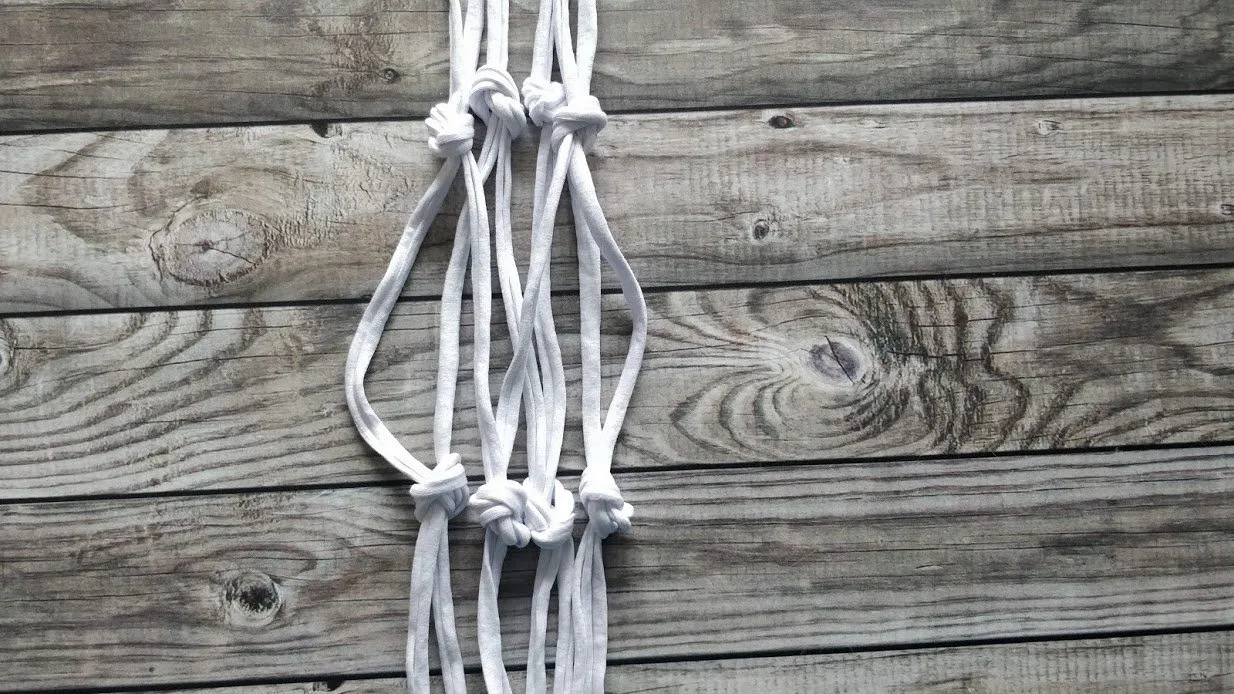
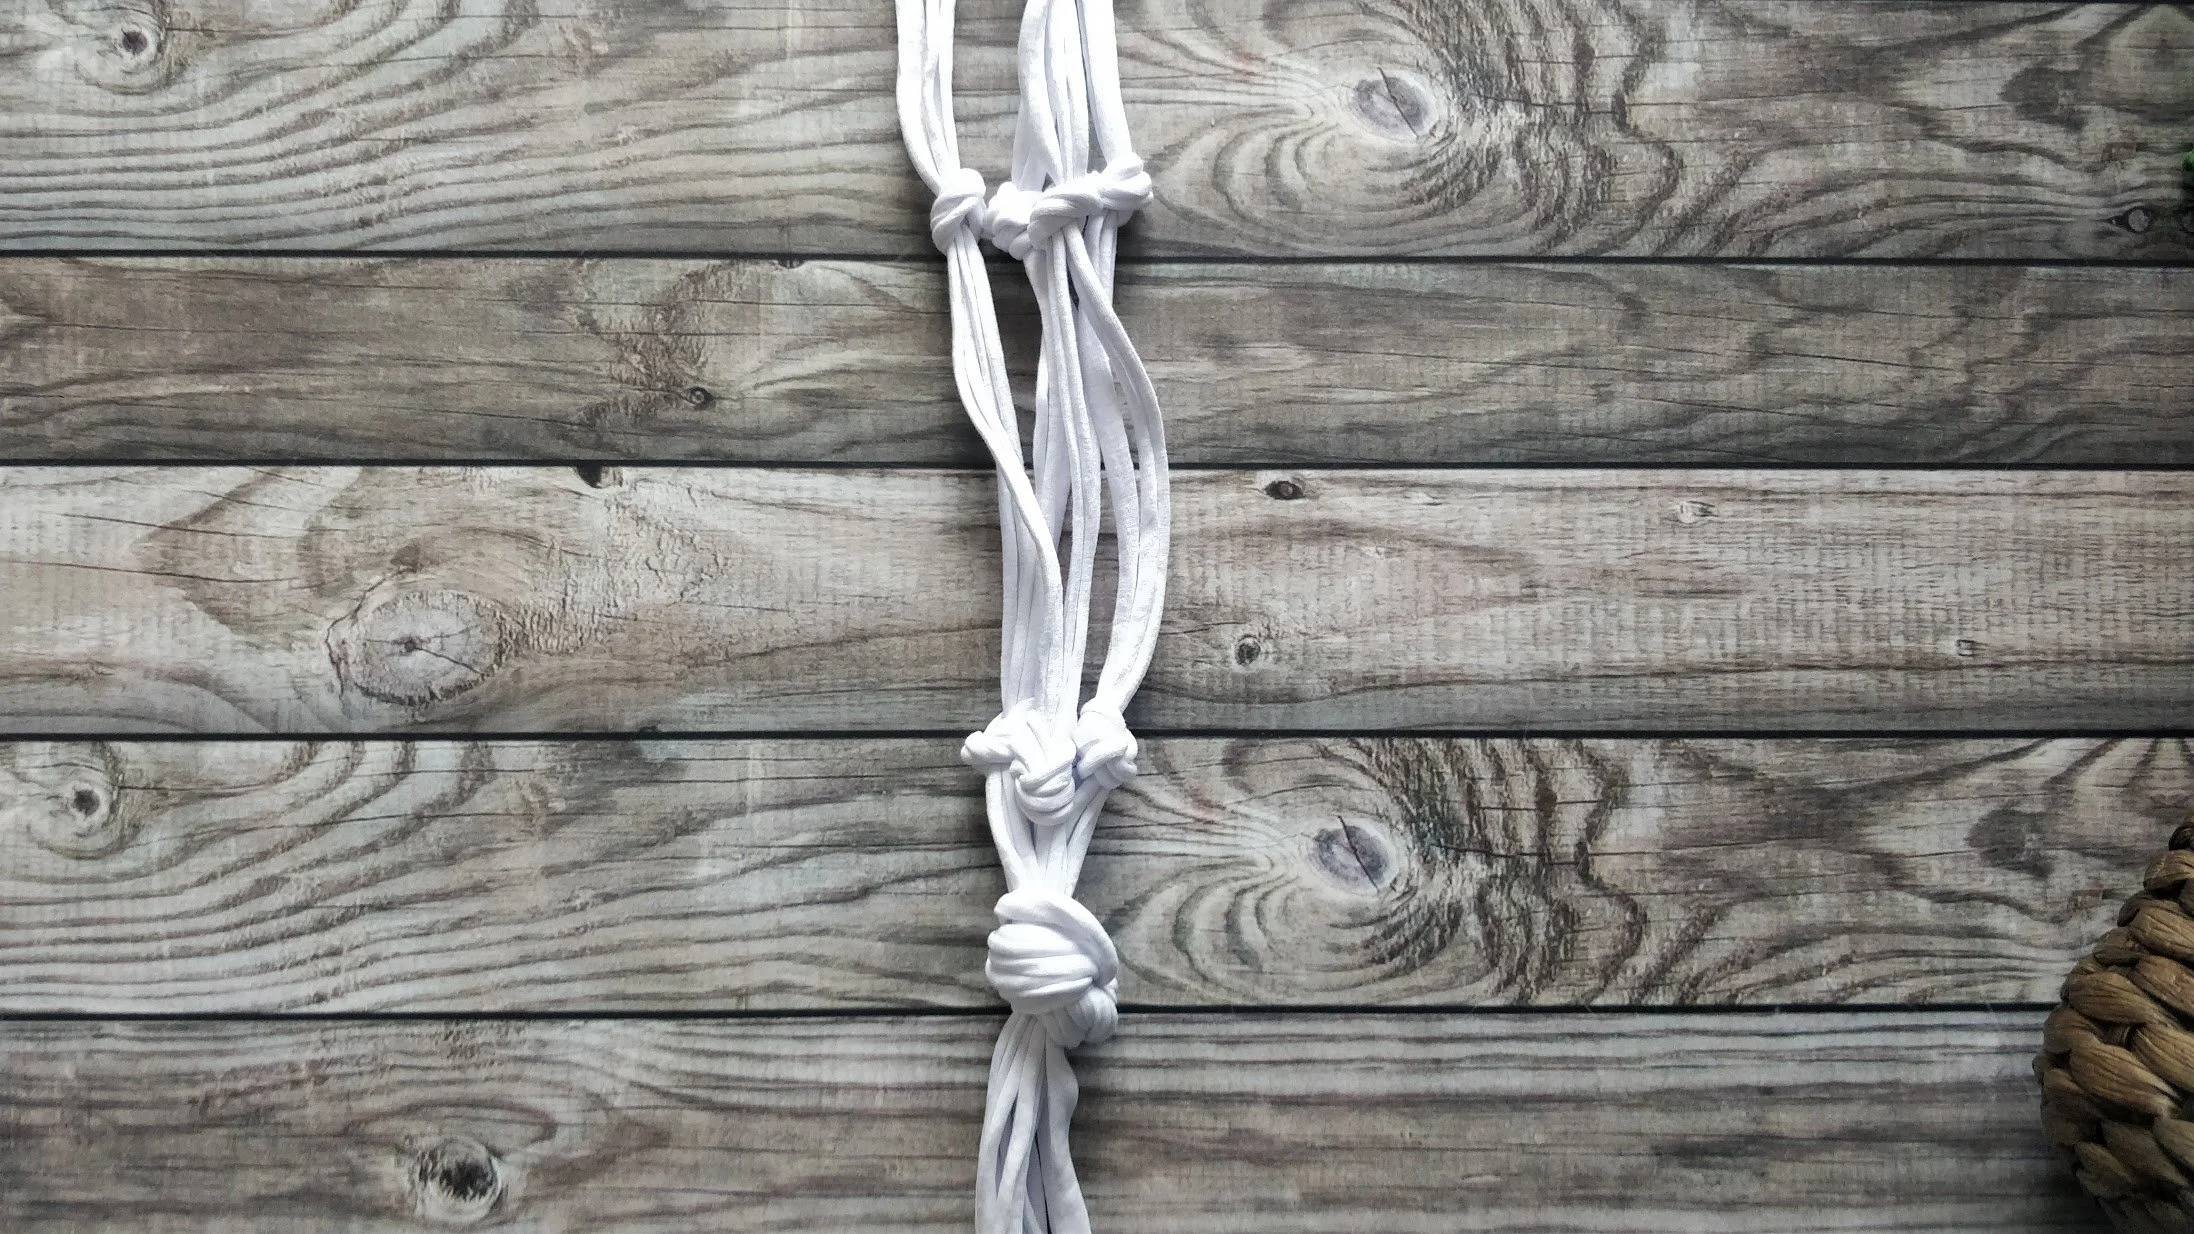
- Optional Step: I had a very tall planter I wanted to add to this plant hanger, so I made another set of knots, 4" down from the last set. If your planter is fairly short, you don't need to do this set of knots and can skip to the next step.
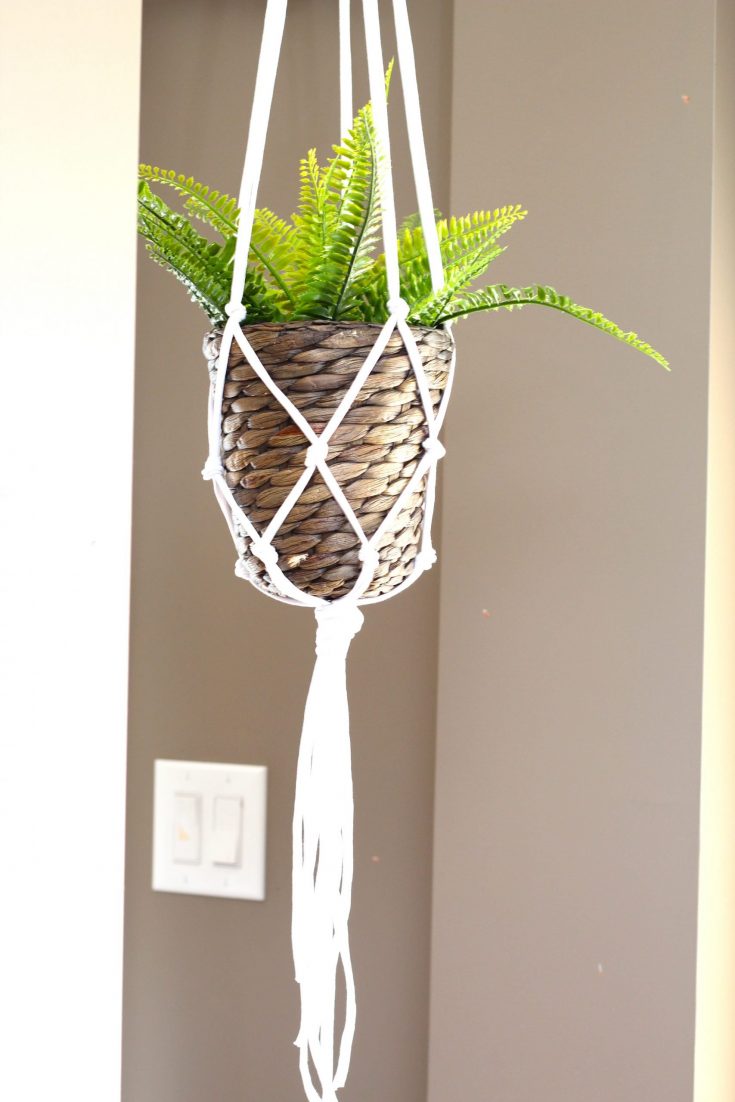
- Tie a big knot with all the strings about 2 inches down from you last set of knots.

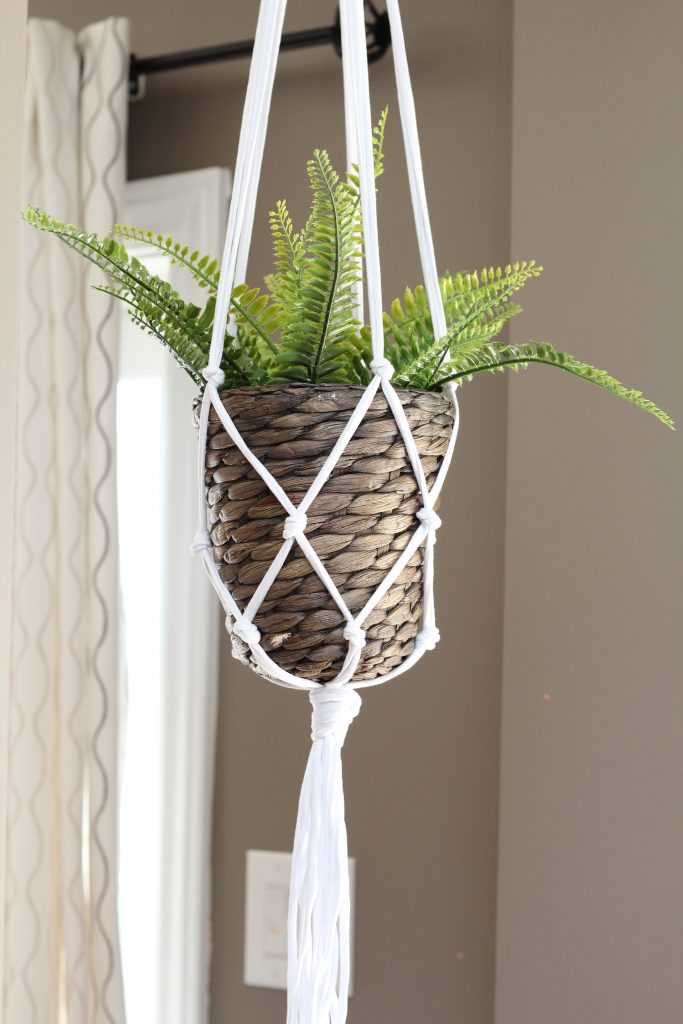
- Hang your DIY macrame plant hanger into place, and carefully add in your planter. Enjoy your new DIY macrame hanging planter!

Recommended Products
As an Amazon Associate and member of other affiliate programs, I earn from qualifying purchases.


Hope you enjoyed this easy beginner macrame project! I love the simplicity of this art and looking forward to my next project already, hope you are too!
Stay creative my friends!
xoxo,
If you liked this project, please pint it!

Jasmine
Carol
Monday 26th of June 2023
Where could I put the beads?
Jasmine Dhillon
Thursday 27th of July 2023
Hey Carol,
You can put the beads anywhere really! Some ideas are you can have them dangling from the bottom strands. Or you can bead them through the middle "macrame" part of the design. Or you can add the beads in the top strands. Hope that helps, enjoy making your macrame piece!!
Cheers, Jasmine
Chrissy
Wednesday 21st of June 2023
This was a great tutorial and yep - 5 minutes! I love how mine turned out and now I don’t have to worry about my silly cats trying to eat my plants! Thank you!
Jasmine Dhillon
Thursday 27th of July 2023
Aww, that's so good to hear Chrissy! It's a quick and easy craft. And it's a great way to keep your cat's safe to boot! My brother and his girlfriends cat also loves to eat plants. Must be a cat thing?
Cheers, Jasmine
Callie
Saturday 18th of March 2023
Hi! If I have a smaller pot, should the knots be closer together?
Jasmine Dhillon
Saturday 18th of March 2023
Hi Callie,
Yes, you can make the knots closer together if your pot is smaller, you can also omit the last row of knots too ( I had just added that in since my pot was bigger). Hope that helps and enjoy making it!
Cheers, Jasmine
April
Friday 20th of January 2023
I just made two of these. While I used your pattern as starting point I made my own adjustments. I used 5 strands 100 inches in length as I did not want a lot of excess hanging down due to grandkids and cats. The second one I made I added a third set of knots approximately 3 inches down from the second set. The plant I put in this one was really heavy so I wanted the added support. I'm very happy with how they both turned out and I Thank You for the instructions to get me started.
Carolyn
Friday 17th of March 2023
@April, when you used 5 strands how did you pair them up for the second set of knots? Maybe I’m just having a brain freeze here, because it leaves one knot without another to tie together. Thanks!
Jasmine Dhillon
Tuesday 31st of January 2023
That's so wonderful, they both sound great! Very glad the instructions helped too :)
Cheers, Jasmine
Colleen
Sunday 30th of January 2022
I just made this. It was pretty simple and fun!
Jasmine Khinda
Friday 11th of February 2022
That's great to hear Colleen! Thank you for letting me know too.