Learning to paint with acrylics can be a fun and rewarding journey.
But that journey (especially at the beginning) can seem a bit overwhelming.
It can feel like there are so many things to learn and conquer.
Maybe you’ve done a painting or two and they haven’t turned out quite as expected. Maybe you’ve bought every single painting tool and paint under the sun, but fear holds you back from starting.
Or perhaps you’re on your way- feel good about it, and just want to learn more.
Whatever has brought you here today- the thing that remains the same is this: you DON’T want to give up and are willing to find a way to become a better painter than you were yesterday.
And that’s all you really need to move forward in this journey.
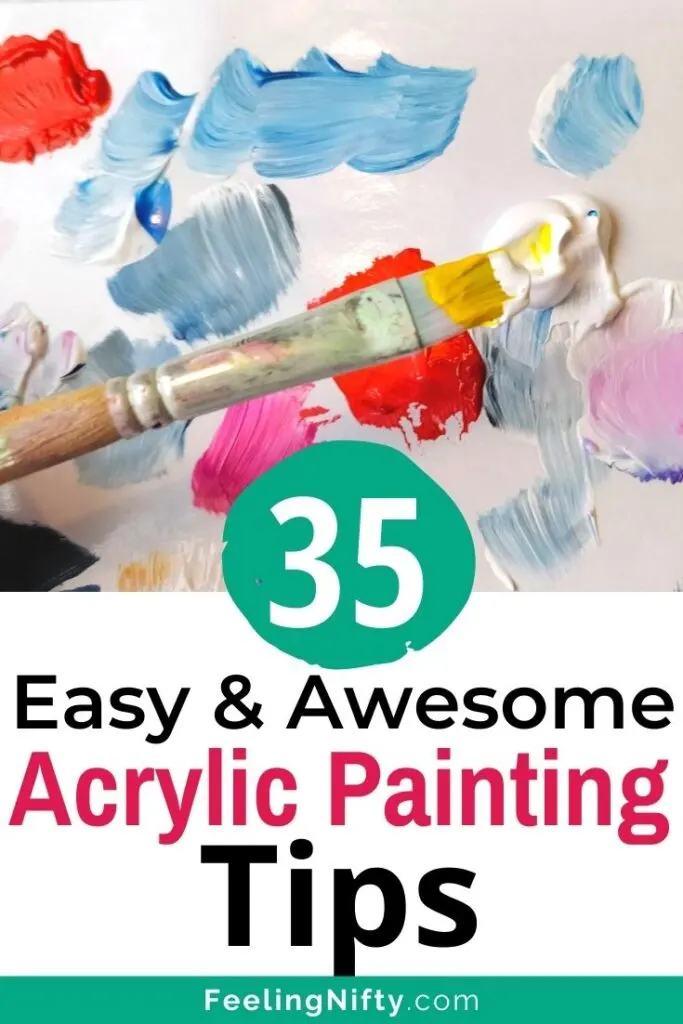
Below you’ll find a list of tips, tricks and advice that I have learned over the past 10+ years (and wish I had known when I was just beginning).
Quick Links
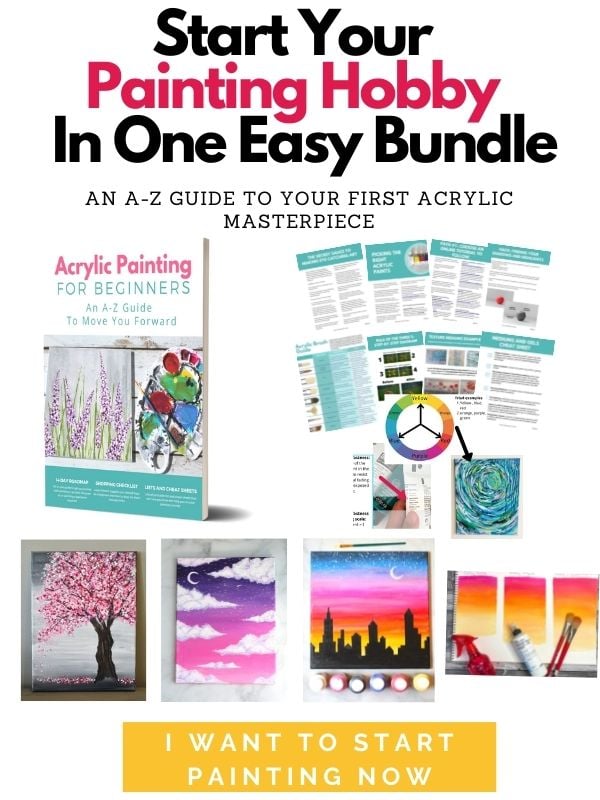
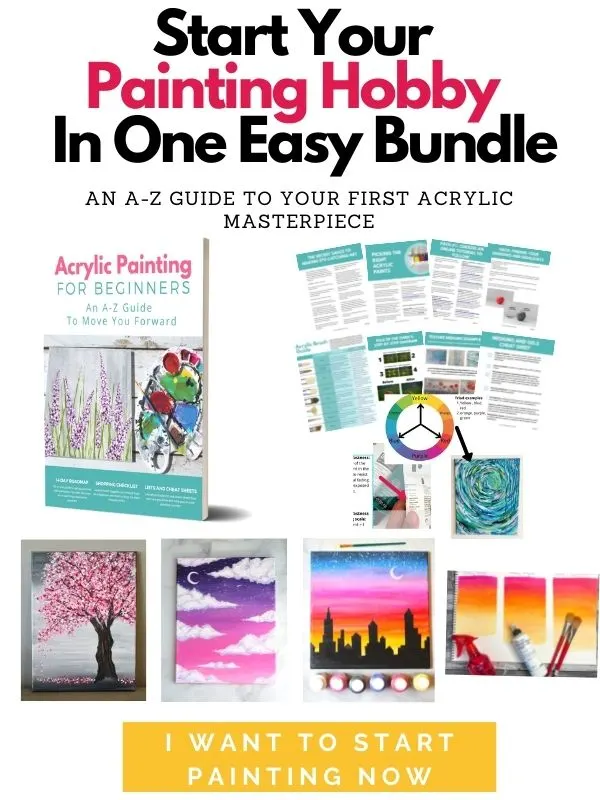
If you want a convenient and easy to follow way to learn acrylic painting as a beginner, check out this Acrylic Painting For Beginners: an A-Z guide to your first acrylic masterpiece bundle . Think of it like a good pal whose been painting for years helping you get the hang of the basics.
Looking for some easy beginner ideas? Check out this list of : 53+ easy painting ideas for beginners , 50+ landscape painting ideas, or 47 Acrylic Painting Techniques and 83 easy painting ideas for kids, to get your creative juices flowing.
Now for some tips…

Tool Tips
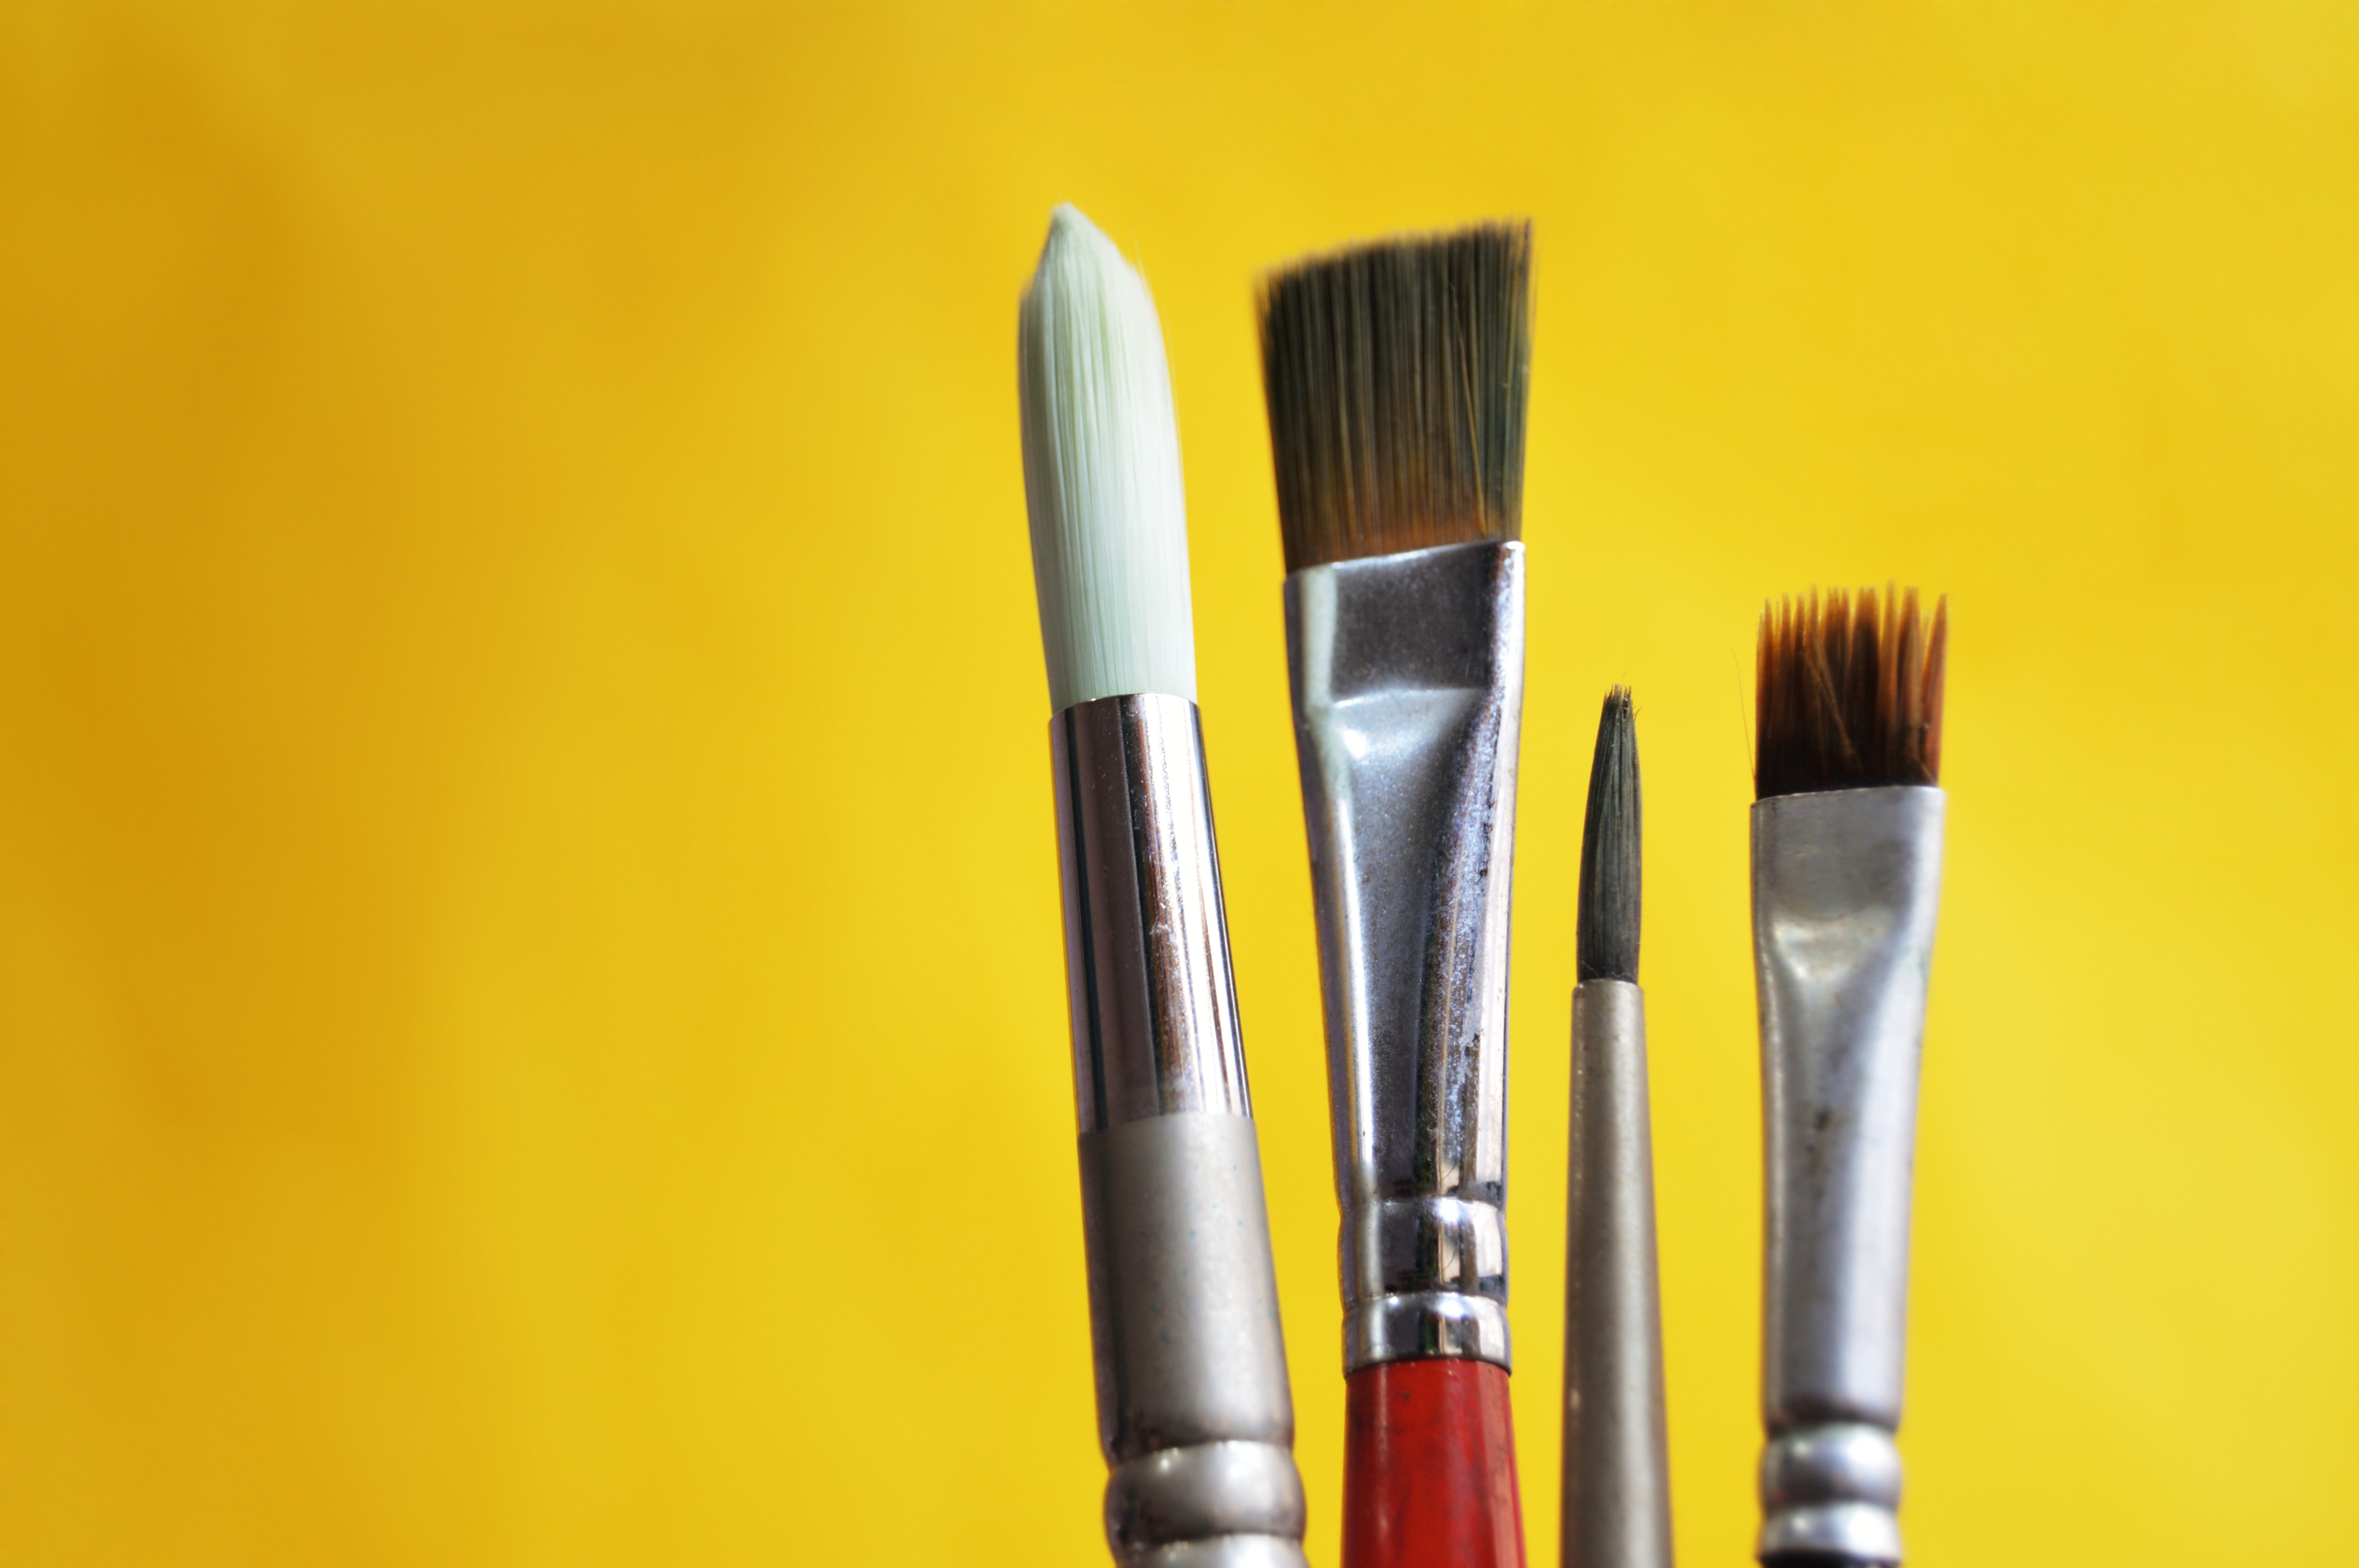
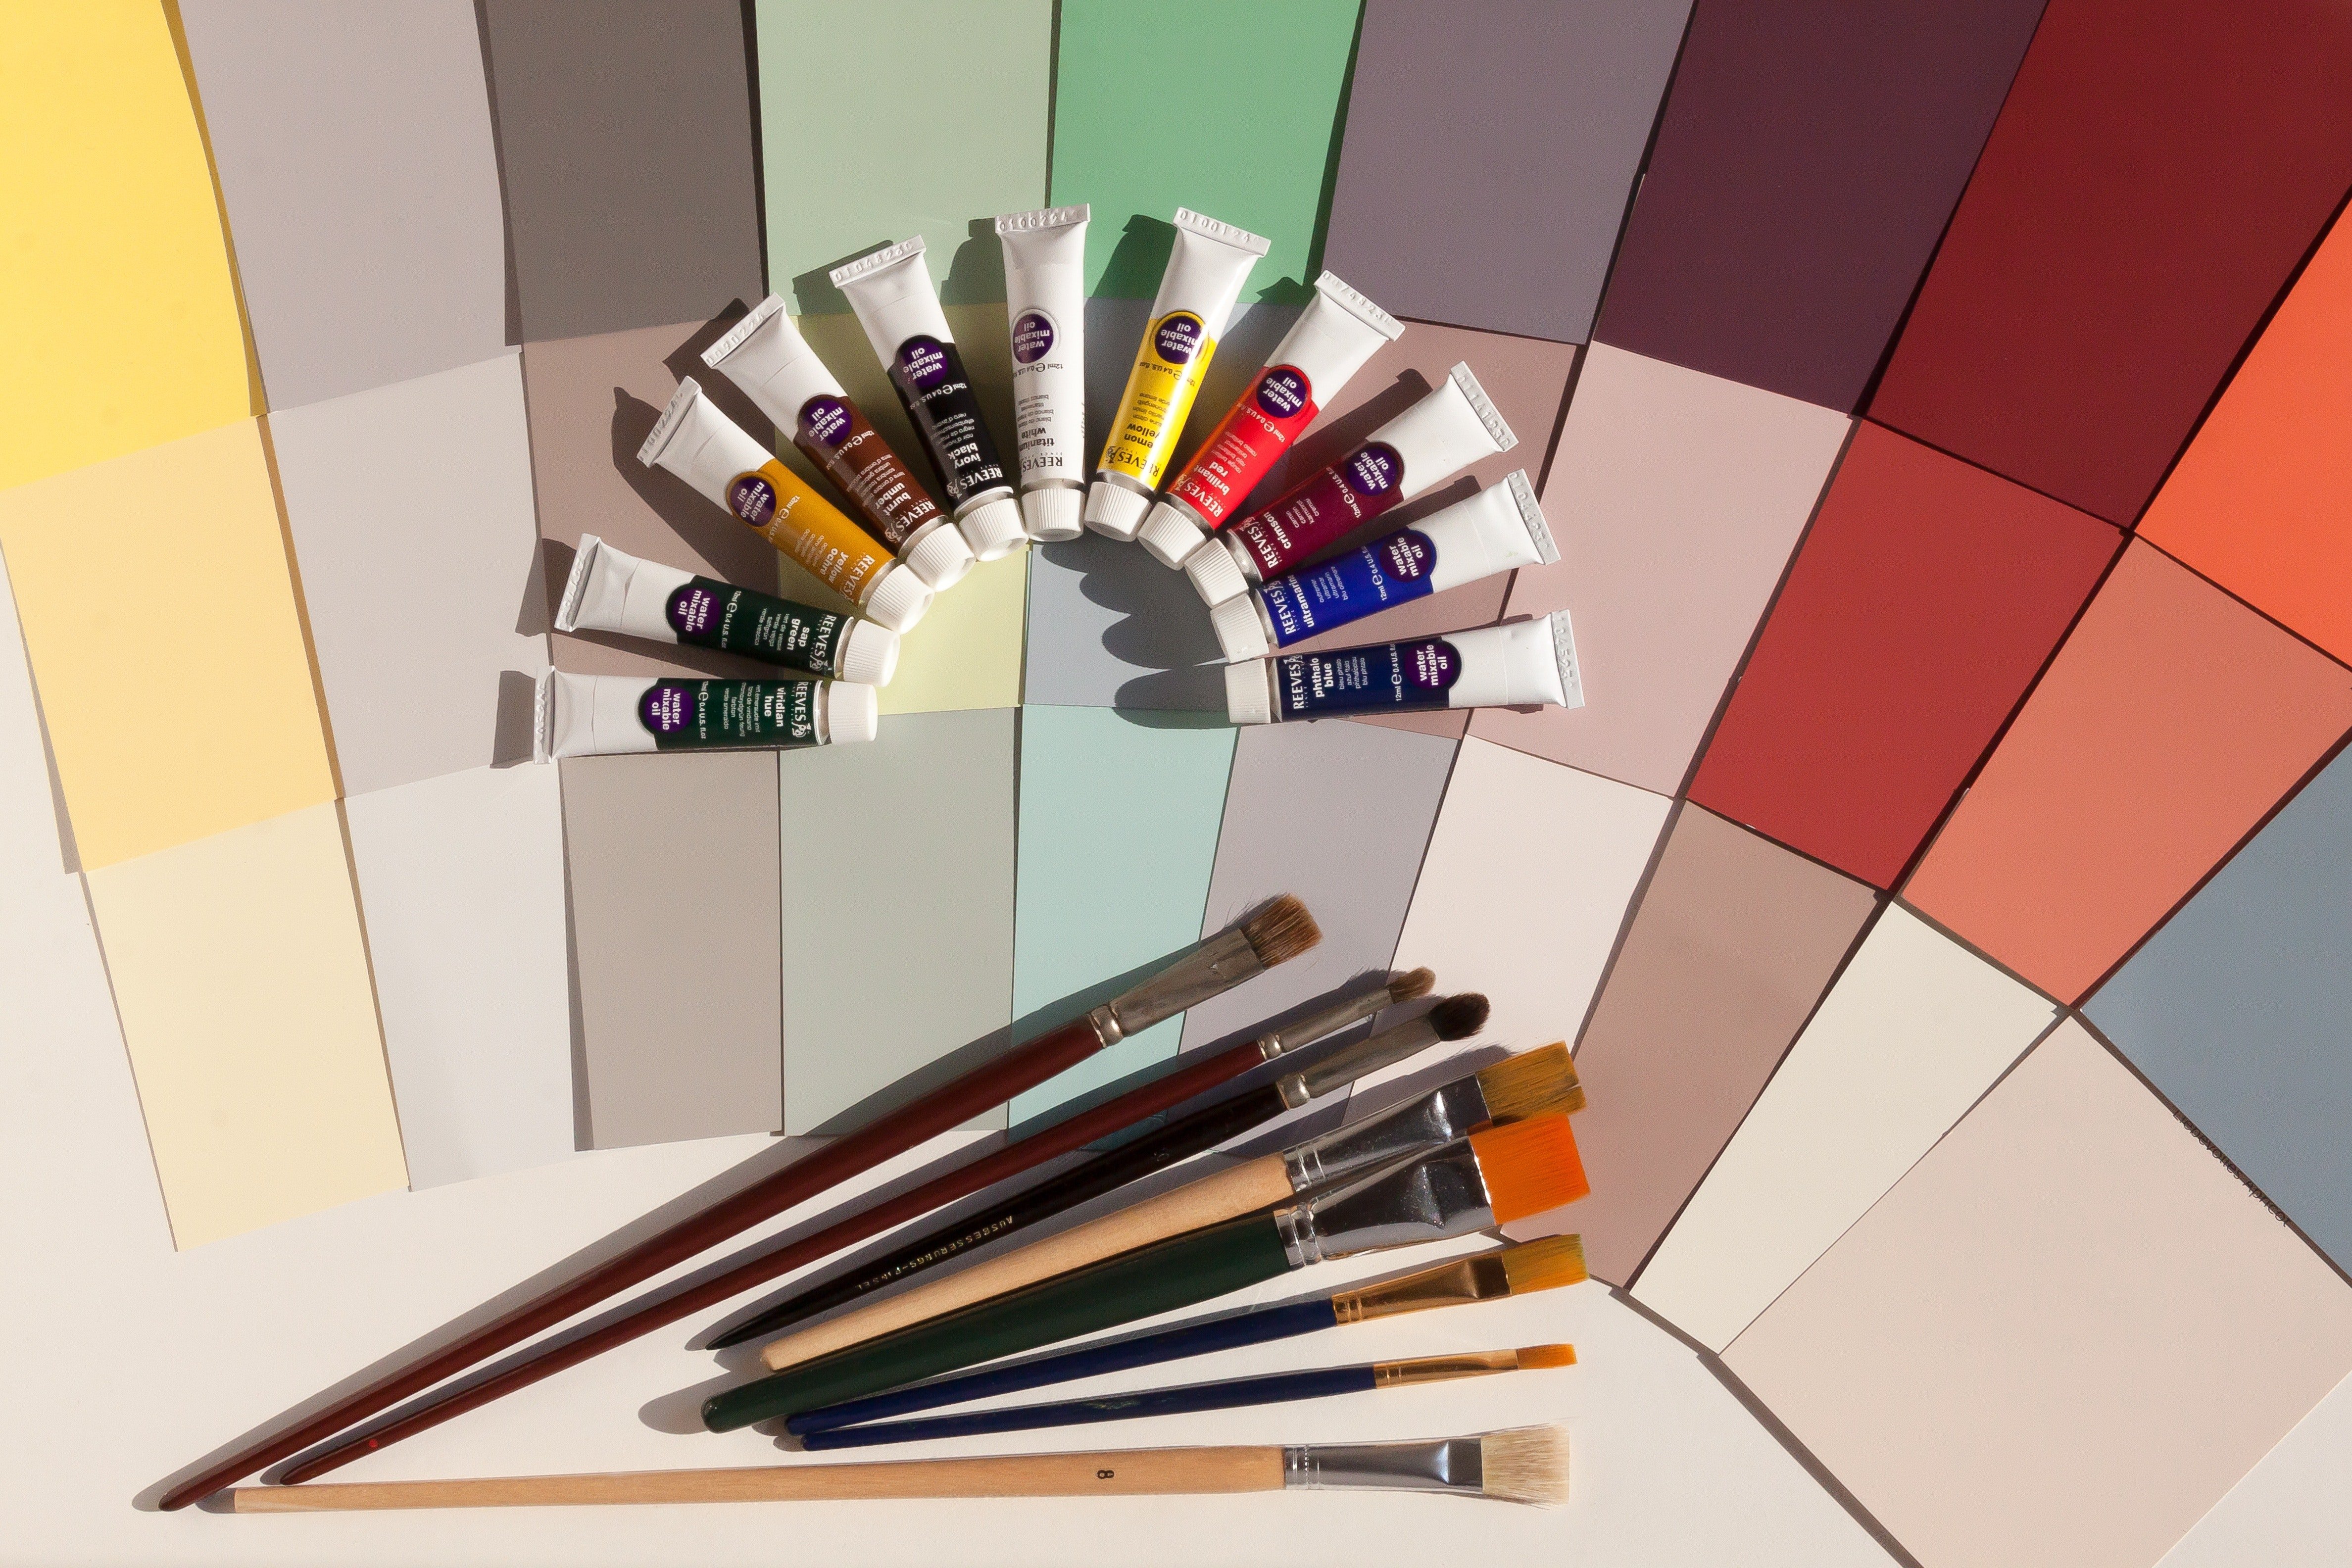
1. Use Synthetic brushes
When starting out painting, learning how to use your brushes is the best thing you can. When you learn which type of brushes you need and how to use them properly they can become easy tools to help you achieve beautiful art.
But unfortunately, brushes can often be intimidating for beginners and they often avoid learning about them.
I was one of them.
Head on over to the paint section of any art store and you will most likely be faced with a sea of brushes. From different sizes, shapes and even hair types.
There is an overwhelming sea of different brush options.
And on top of that they don’t come with any type of instruction manual on how they were designed to be use or even how to take care of them.
But I’ve got good news for you: if you want to learn all you need to know [as a beginner] about your brushes like:
- Which 5 brushes you actually need as a beginner
- How to use each brush (as it’s meant to be used)
- How to care and clean your brushes so they actually last (and save you $$)
- Hands-on brush exercises and painting tutorials (with video) that’ll level-up your brush strokes and techniques
Then this Paintbrush 101: A Guide to use your Brushes with Confidence will be your perfect instruction manual your brushes should have come with (that’s easy to follow and not boring). And to
Now, in terms of basic brushes you’ll want to look for brushes made out of synthetic hair. Not only are they less expensive than other brushes but this type works best with the components in acrylic paint.
2. Most Acrylic Paintings can be created with only three basic brushes.
These 3 basic brushes that will give you the biggest bang for your buck.
- Large Flat Brush (synthetic hair):used to fill in large areas like backgrounds, filling in large shapes, etc..
- Medium size Fan Brush (synthetic hair): This special effects brush can be used to create interesting texture and help create foliage, pine trees and blending paint.
- Small round brush (synthetic hair): used for smaller shapes and detail work, highlighting, etc.


Medium Fan Brush
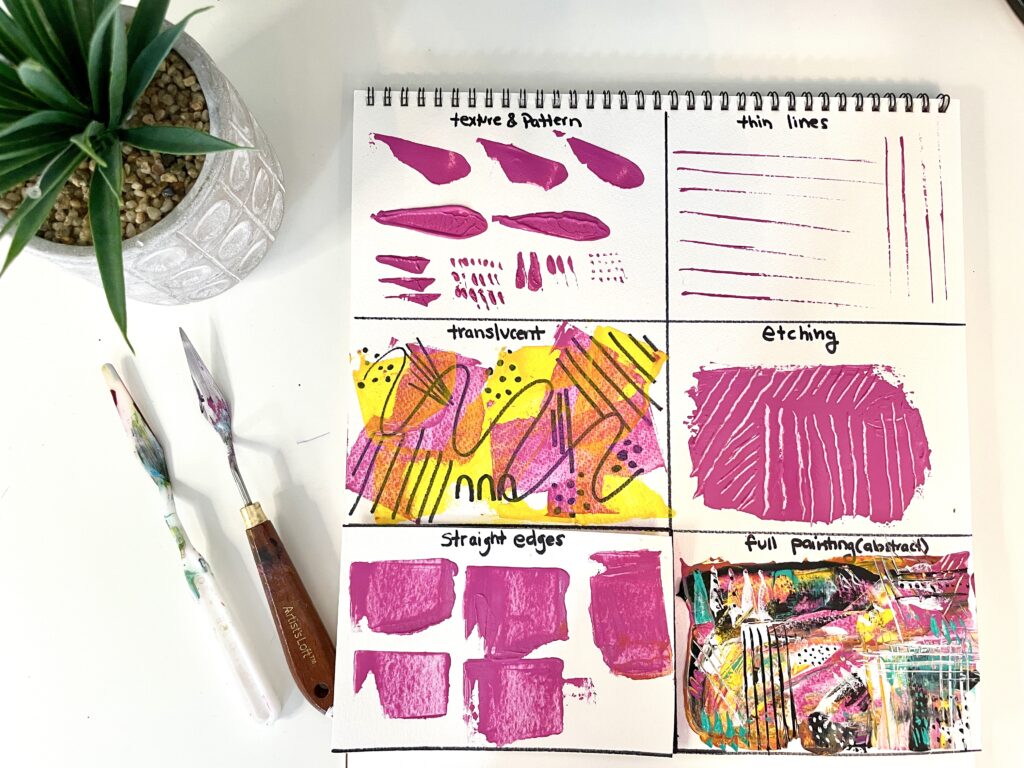
3. Change the texture of your strokes with a palette knife.
Palette knives create distinct, modern-looking strokes. They can really add texture and movement to acrylic paintings
If you are a complete beginner, sticking to brushes will be your best option. But if you’re ready to branch out a little, a palette knife is a great way for new painters to start experimenting with texture.
To learn more about different palette knife techniques for beginners, check out this Paintbrush 101 course which includes a section dedicated to using your palette knife

4. Avoid “craft” paint
One of the most common mistakes made by beginners is that they pick up their acrylic paint from a department store craft section. Unfortunately, most of those paints won’t give you the best results.
That being said, if craft paints is all you can get your hands on – don’t let it be a barrier to starting to paint. Just keep in mind this might affect how your paintings turn out.
If you have access to a variety of acrylic paints then just know that good paints come in two basic options, professional grade and student grade. Student grade paints are perfect for beginners because they are still good quality and they won’t break the bank!
5. Non-traditional tools are you friend
When you are trying to get an interesting texture, consider what you have at your disposal. Using a wadded up paper towel or a bundle of q-tips is a great way to get a feathery texture like you’d see on a flowering tree.
With Acrylics, it’s easy to use non-traditional tools to create a masterpiece, so look around you… what can you use to create that texture you’re looking for?
6. Gessobord instead of Canvas with give a smoother finish
At first glance, gessoboard may not look all that different from stretch canvas but in reality it’s a solid hardboard panel rather than a primed fabric.
That means that you won’t have that same threaded texture beneath your paint strokes. So, if you’re looking to create a painting with a really smooth finish this might be the better option for you!
7. Use two water jars instead of one
One of the simplest and most beneficial tips I can give you is to keep TWO water jars on hand
1 cup of water to rinse your brushes with once you’re done with color and 1 cup to dilute the paint and moisten brushes when you need it
8. Use an easel
It is possible to paint without an easel. However, it’s much easier to paint with one.
Bending over a painting on the kitchen table for an hour will not only hurt your back, it could skew the perspective of your painting.
If you don’t have room for a full fledged easel, consider using a convertible one like this!
9. You can paint on just about anything
Although a lot of acrylic paint tutorials are on canvas, you can actually paint on almost any surface! So if you’ve got something you’re wanting to liven up, there is probably a way to do it with acrylic paint.
You can check out the FAQS in our Beginner’s guide to Acrylic Painting for ideas and examples.
Technique Tips
10. Use a reference or a tutorial
If you’re just starting out, sometimes the most difficult part is figuring out WHAT to paint.
Rather than trying to come up with an image from memory, use a reference. You can find a reference as easily as looking out your window.
If you’d rather, you can try out a tutorial to help you get the hang of painting before you go off on your own.
11. Work in layers
As mentioned above, acrylic paints dry pretty fast- which is a huge benefit when building up paint layers.
What is building up paint layers and why should you care?
Simply put, it means putting multiple layers of paint or medium on your canvas. Let each layer dry before adding the next. Layering your paints can make landscape paintings look more realistic and make abstract art have more depth and interest.
It also makes your final painting more cohesive.
Think of it like building a house.
First, you have a house foundation that everything is built on (background layer of your painting: like the sky or ground in landscape art).
Then, you build the frame of the house (painting ALL the rough shapes/forms in your painting like trees, mountains, etc).
Then, finally finishing your house with the finishing details like drywall, cabinetry, etc (in your painting: foliage, leaves, blending work, highlights, details etc.)
Tip with layering: always wait for the layer to dry BEFORE painting on top of it. If you don’t, you will end up with a muddy mess and won’t get the layering look that gives that beautiful depth to your painting.
12. Paint from darkest to lightest
One tip I learned from my highschool art teacher that always stuck with me is this: paint in your dark colors first, then transition all the way up to your lightest. In short: try to paint dark to light. With your highlights at the very end.
This will add the illusion of depth to your painting and also it’s much easier to work lighter colors into darker colors than the other way around.
13. Work large areas first and then the smaller details
This is quite similar to the concept of layering but it takes it one step further. When considering what order to add elements to your canvas, focus on larger areas first.
If you’ve done much drawing, you may find this to be a bit counter-intuitive but it’s important to sort of “fill in” a shape before painting it’s outline.
For example, if your painting features a large pond with a few trees off in the distance, you should paint the water of the pond first (after you’ve completed that background layer of course), then the coloring of the distant trees next.
After you’ve got the coloring in the right places, you can come back with a thin brush to add shadow, outline, or other details.
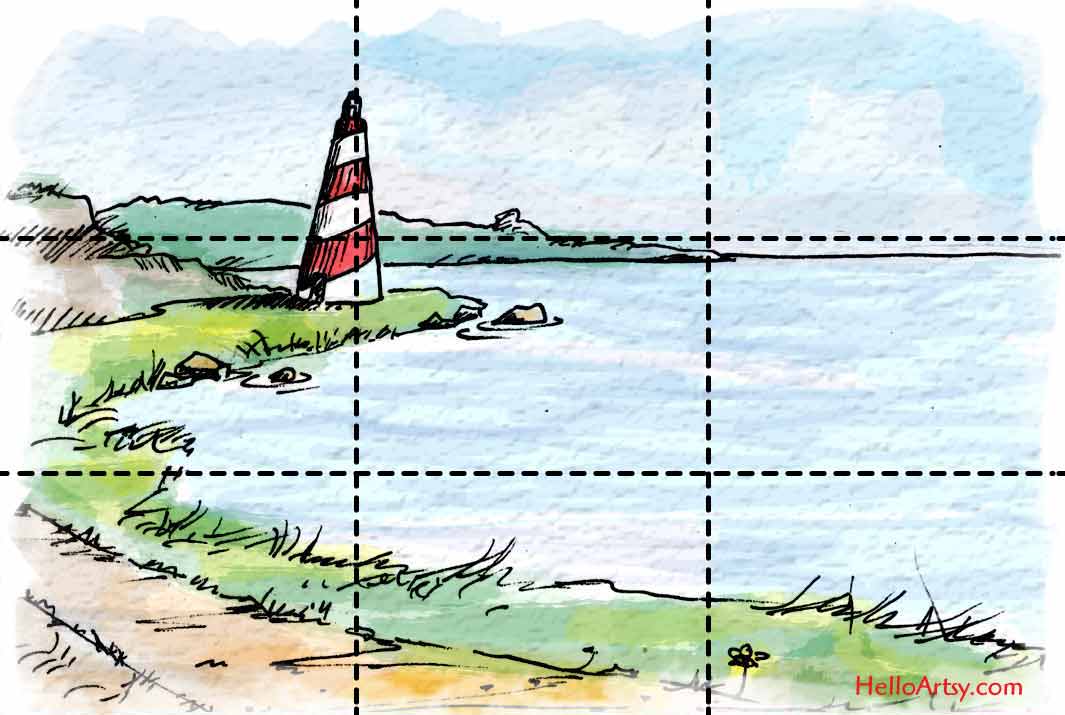
14. Use this simple-to-follow rule to make your painting look more professional
The rule of the thirds is often taught in photography courses. It totally applies to art/painting, but for some reason it’s not talked about in many painting tutorials or classes.
Which is a shame because it can really take your painting to the next level. It makes paintings more eye appealing and interesting. And it’s NOT even complicated!
As an example: In front of you are 2 paintings of an apple on a table. Everything about the 2 paintings are the same- identical colors, size, etc..
The only difference is this: the first painting the apple is directly in the center of the canvas. In the second painting, the apple is painted on the bottom right of the canvas.
Which painting is more eye catching and appealing? Drum roll….
The second painting with the apple off centered at the bottom of the canvas.
Essentially, the rule of the thirds guides you to where to paint your objects of interest (I.e. the objects or things that eyes go to first in your painting).
Read more on how to apply the rule of the thirds here.
15. Confident strokes are always best
When you are a beginning painter, you may feel less than sure about exactly where to place that giant black tree trunk. But uncertainty shows in a painters strokes.
Even if you do the wrong thing, do it the right way! Be determined with your strokes and don’t worry about perfectionism, you can alway paint over it after it dries!
The easiest way to make confident strokes as a beginner is to hold your brush in the air first and practice the stroke without touching the canvas. Do it once or twice and then go for it.
Make your move in a firm fluid motion!
16. A dab of paint will do the trick
Sometimes, new painters get annoyed with having to stop repeatedly to add paint to their palette, but trust me, this is the best option.
Adding too much paint will result in a big mess and a lot of waste.
Typically, a dime-sized amount of pain is all you need for most things. If you’re on your first layer and you are planning to cover the entire canva is one color (or several shades of that color) then go ahead and give yourself a quarter-sized dab.
But in general, remember that less is more!
Troubleshooting Tips
17. How to Keep Acrylic Paint Wet Overnight
Once of the first things most people notice about acrylic paint is how quickly it dries. Which is one of the most amazing qualities of acrylics. But it can also be it’s weakness.
Especially when it comes to keep acrylic paint wet on canvas when blending (see below). And when wanting to keep premixed paint on your palette workable over multiple days.
A wet palette, like this one, will really help keep those paints beautifully moist and smooth without you having to feel like it’s to race against time. If a wet palette is out of your budget, check out these 8 ways to keep your paint wet overnight for easy hacks and DIY options.
18. Use a hair dryer for quick drying
If you made a mistake that you need to paint over, a hair dryer can dry acrylic paint very quickly.
Just be sure to hold the hair dryer at least six inches away from your canvas and keep it moving back and forth so as not to scorch anything.
Also remember, if you’ve painted a thick layer of paint, it may dry the paint on the surface but not underneath, so be careful not to “pop the bubble” when painting over it.
19. Use a spray bottle with water mist to extend drying
When you first start with Acrylics you will notice that acrylics dry out pretty fast. This can be a huge benefit, especially when building layers fast-but can also be a bit frustrating when you want to paint to stay workable.
Unlike Oil paints which stay wet for quite a while and watercolors which reactivate once water touches it- once acrylics dry (which can happen within minutes) they stay that way, permanently.

You cannot re-work them.
One (cheap) trick that many artists use is to have an inexpensive spray water bottle handy , and mist the paint on their pallet every so often which keeps the paint from drying out overly fast.
Another option is to mix an acrylic retardant paint medium with your paint. The retardant will keep the acrylic paint wet for much longer without the need to add water and keep misting it. You can read all about retardant paint medium and other paint mediums in this acrylic mediums post.
20. Step away from your painting periodically
When you are zoomed into your painting, it can be difficult to make sure you’re really getting all the details right. So it’s important to take steps back to analyze your painting from a distance.
Perspective really is everything, and when you step back to get a different one, you may find that you’re missing something crucial!
21. Flip your painting upside down to figure out what’s off.
There will be a point in most of your paintings where something doesn’t just feel right about it, and you can’t point your finger at what is wrong.
Which is frustrating- take it from someone who’s spent hours trying to figure it out!
One trick I learned AFTER wasting multiple hours is: Look at your painting upside down.
And nope, you don’t have to stand on your head! Just in case you’re wondering 🙂
Just flip your canvas upside down and take a look. You will be AMAZED at the different things you end up noticing.
22. Look at your painting in a mirror to figure out what’s wrong.
Using a mirror is a little known trick that many painters find invaluable. Looking at your painting in a mirror is a great way to check for balance.
When you’re zoomed in, it’s easy to get caught up in details. A mirror can help you get back on track and it’s also a great way to see what your composition looks like from every angle.
23. Some acrylics darken as they dry
If you were loving your painting right up until it dried, it could be because the paint color literally changed. So acrylic paints do darken as they dry.
As a rule of thumb (there are exceptions) cheaper quality paints (like student quality) will darken as they dry, while higher quality paints (professional quality) won’t lighten as much as they dry.
Good news: you can totally overcome this! I mix in just a hint of white and create a shade 1-2 shades lighter than I want, that way when it dries, it’s exactly the shade i was hoping for,
Over time, you’ll get a feel for which brands/quality/paint colors need a little extra brightening, but if your painting has already dried, remember you can always touch up a painting by adding another layer.
Color Tips
24. Only buy the 5 basic colors to begin with
Although beginners often think that it’s easier than mixing their colors, having a wide variety of color options available can get overwhelming, messy, and expensive.
It’s best to learn how to use your primary colors well right from the beginning!
With these 5 colors you can make any color or shade under the sun. Plus, you’ll get the opportunity to learn a lot about color theory, which will make you a better painter over all!
25. Watch a quick tutorial on color theory
Color theory revolves around rules and guidelines of color in art and design.
In order to be able to color mix- you will need to learn some basics on color theory. From learning how to differentiate warm from cool colors to learning the properties of a color wheel will REALLY help you when you mix your paints or even correct colors.
Here are 2 fabulous beginners tutorials that explain both paint mixing and the basics of color theory are EASY to understand and FUN to watch.
They both cover similar but different topics at different depths, so I would recommend watching both.
26. Purchase a Color Wheel for easier mixing
Although color theory isn’t that complicated, sometimes it can be difficult to keep all the information in your head when you are just starting out.
Using a color wheel that is specifically designed for helping you mix paint is a super inexpensive way to make it a lot easier. If you’re new to color mixing, consider this a must!
27. Use contrasting colors to create depth.
When creating a composition, use warm (reds, oranges, yellows) and cool shades ( blues, greens, purples ) to add contrast. This is actually a part of color theory known as the color theory of harmony and discord.
Using contrasting shades will create a livelier painting with more depth and intrigue!
Professional artists even use this color contrasting trick to create the illusion of depth in their paintings. They add cooler colors in their background and add touches of warm colors in the foreground.
Since your eyes are naturally drawn to warm colors, adding warm colors to anything in the foreground (or anything you want to bring attention to) will add that illusion of depth.
What a cool trick to add warm colors!
28. Don’t mix colors in a separate container.
One mistake that almost all beginning painters make is that they mix colors in a separate bowl. This is unnecessary and very wasteful.
In order to get the perfect color, you might end up wasting an entire tube of paint this way. Even if you get the perfect shade, you’ll be left with way too much of it and not enough primary left for other colors.
Instead, add dabs of color on your pallet and use a brush to move them bits towards each other until you’ve got the perfect color. This will leave anything remaining of the original color to be used for more mixing later on.
29. Be patient while blending
Blending isn’t hard, but it’s the one most important skills you’ll need to learn.
Take your time and work slowly and neatly if you can. You don’t want to end up with a puddle of mud on your palette. Add tiny bits of color and mix completely until there are no streaks left in your paint.
Oh, and if your paint is drying too fast while blending you can add an acrylic paint medium into your paint to keep it wet for longer. It will keep your acrylics wet for long enough to work and blend that paint out (kind of like oil paints). This works especially well for large areas of paint that you want to blend.
For smaller areas, you can simply mist the paint with a spray of water -which can work wonders too.
30. White paint has magical properties.
Okay, maybe that’s a bit dramatic. But adding a tiny bit of pure white will give you a dramatic highlighted effect.
It can literally make your painting more life-like and realistic with that little trick.
Try adding some small white highlights to the top of a big tree, the side of a building, or to the edges of your flower petals. This will give you painting a sun-kissed, nostalgic feeling.
Admit it… that’s kind of magical right?
Clean-up Tips
31. Clean your Brushes with water and gentle soap.
After you’re done with your acrylic paints, simply wash then with warm water and gentle soap.
Just make sure you do this ASAP because cleaning dry acrylic off of paint brushes not only shortens the life of your brush but it also requires solvents (which can be pricey and toxic!)
32. Don’t store your brushes bristles down.
When you are putting your brushes away, make sure to store them with the bristles pointing up. Otherwise, you may ruin the shape of your brush.
Also, if you are storing them in a cup-like container, storing them bristles down can be a breeding ground for mildew.
33. How To Get Acrylic Paint Out of Clothes
Spilled acrylic paints on your fav clothes and wondering how to remove the paint for your clothes? Removing acrylics with simple water/soap before they have a chance to dry is the easiest way.
Once acrylics dry, it’s a bit more challenging to remove them from clothing, but not impossible. Check out this how to remove acrylic paints from your clothes post for 10 different methods you can use to save your fav outfit!
Finishing Tips
34. Protect your painting by Sealing it
Sealing your painting will protect it from the environment and allow the color to stay vibrant and untainted for years to come. Read more about how to how to stop acrylic paint from washing off objects.
Take the extra few minutes to go over your piece with an inexpensive varnish like Liquitex Gloss Varnish. Trust me, you’ll be glad that you did!
35. Sign and date your artwork
It may feel a bit silly to sign and date your artwork early on. But don’t skip this step! If you don’t want a prominent signature on the painting, then you can always add it to the back of your canvas instead.
You never know what that signature might mean to someone in the future. Even if you have no plans for becoming a world renowned artist, your great grandchildren might find that piece in the attic someday.
Giving it a signature and a date will give them a piece of your story that they can hold onto!
36. Take pictures of your artwork
Some painters are naturally talented but for most of us, it’s more of a learned skill. The more you paint – the better you get.
Keeping an art journal is a great way to see your progress over time. Right now at the beginning of your journey, it may feel silly to take pictures of paintings. Especially if you aren’t proud of the result.
But next year when you look back at them, you’ll appreciate the fact that you took a few moments to capture your work so that you could collect it all in one place.
Looking through your journal is so rewarding, but you need to include the early works too in order to get the most out of it!
37. Move Past Failure
With learning any new skill there is one thing you cannot avoid: failure.
Everyone (have yet to meet someone who hasn’t) will fail at some point. And many times- especially at the beginning- it will happen frequently.
In painting it could be a bad or “ugly” painting (or two, or three). Or it could be a paint technique you learned but you can’t seem to get the hang of it.
It will happen.
The thing that matters isn’t the failure itself, but the permission you give yourself to continue past it.
This could mean learning why you failed and trying again, OR just moving on to something else and coming back to it later.
Which is totally OK.
Try another technique, move on to another painting, or try a different tutorial. There are many, many options that let you move forward that don’t involve throwing in the towel.
Try to be gentle with yourself and know you are better than you were yesterday by just practicing and doing. And if you let yourself continue, you will be even better tomorrow
JUST KEEP PAINTING….
I hope you enjoyed these tips and they help you get closer to becoming the artist you’ve always wanted to become.
Remember- even the tiniest baby steps forward will eventually lead you to your art-goals.
Be proud- you’re getting there!
Just keep painting, you’re doing great things!
xoxo
Jasmine
If you liked this post, please pin it!

Neha
Saturday 7th of August 2021
Thanks Jasmine for the tips, I am acrylic painter and these will help me to improve my skills!
Jasmine K
Saturday 7th of August 2021
You're most welcome Neha! So glad you found acrylic painting tips useful.
Cheers, Jasmine
Grace Lopez
Sunday 31st of January 2021
Thank you so much for your tips! I’m just starting with acrylic painting and I’m very happy to have found your article, it has helped me a lot!! Greetings :)
Jasmine K
Wednesday 3rd of February 2021
So glad to hear that Grace 🙂 - enjoy painting!! Cheers, Jasmine
Marny
Saturday 26th of December 2020
Thanku so very much for your encouragement and easy to follow directions plus sharing handy hints is awsum thanku 🌺🐝
Jasmine K
Saturday 26th of December 2020
You are very welcome Marny!! And so glad you found the article helpful!Enjoy painting. Cheers, Jasmine
Romesh K Lakhanpal
Friday 15th of November 2019
Hi Jasmine I recently started learning to paint with acrylics as a hobby. I found the tips very interesting and am sure will help me learn faster. You are doing a great job!! Romesh
Buster Manley
Thursday 21st of November 2019
Very useful. I’ve been painting for over 50 years mainly watercolors my first love. Have used acrylics some used them in the layering technique using Matt medium mixed with them to create a mat finish like egg tempra and paint in very realistic mood. Enjoyed your tips very much. Never too old to learn something new.
Thank you
Feeling Nifty
Saturday 16th of November 2019
Painting is a great hobby to embark on- very excited for you Romesh! And thank you for your kind words!