Learn how to make cheap and easy DIY clear labels for jars with packing tape! I’ll also give you some ideas on how to use these labels / stickers around your home.
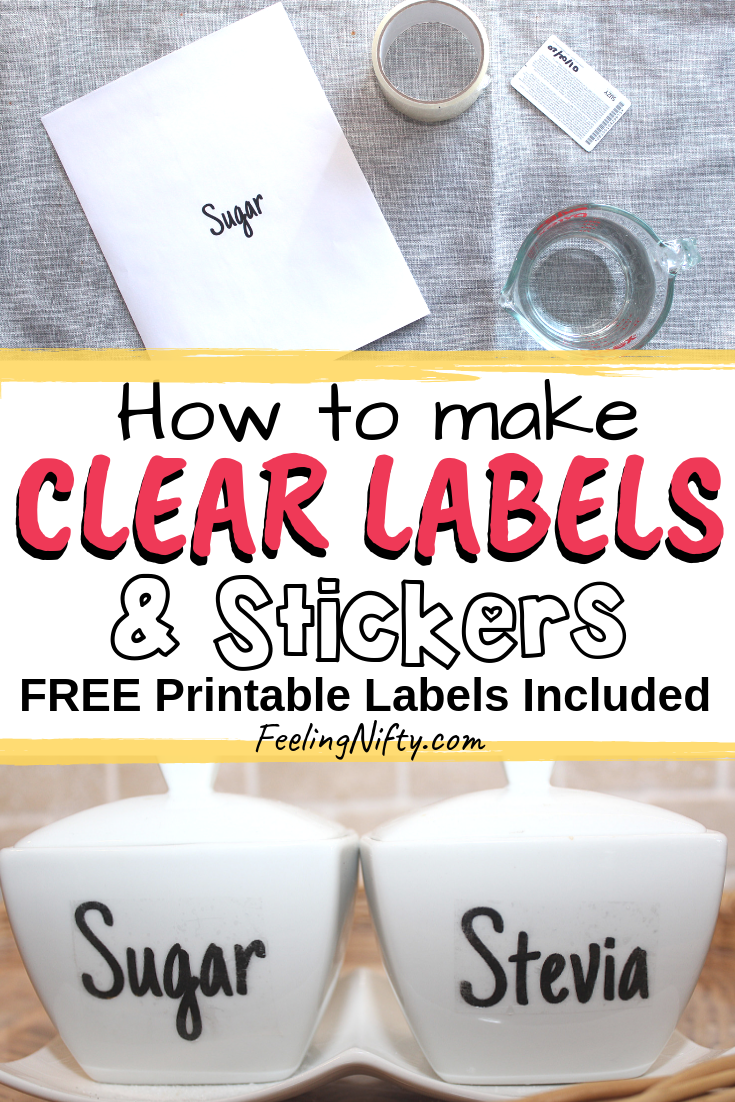
I’m so excited to share with you a nifty image transfer technique that uses packing tape to create these gorgeous clear labels for jars! If you’re looking to get more organized in your home, then you’ll love these DIY clear labels with tape.
They not only help you get more organized, but you can use them to turn any plain jar/canister/ container into a gorgeous showcase piece in your kitchen decor & home decor.
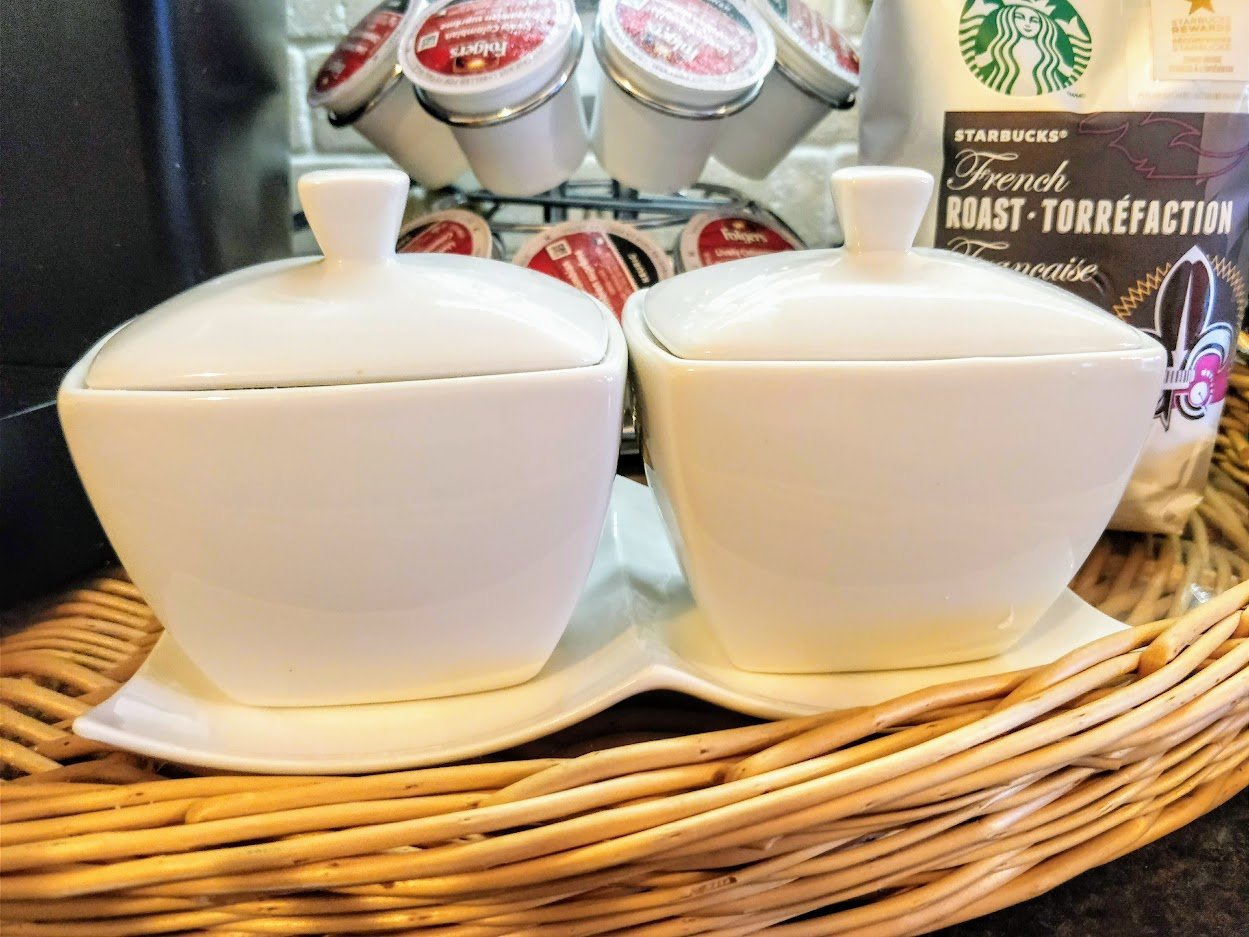
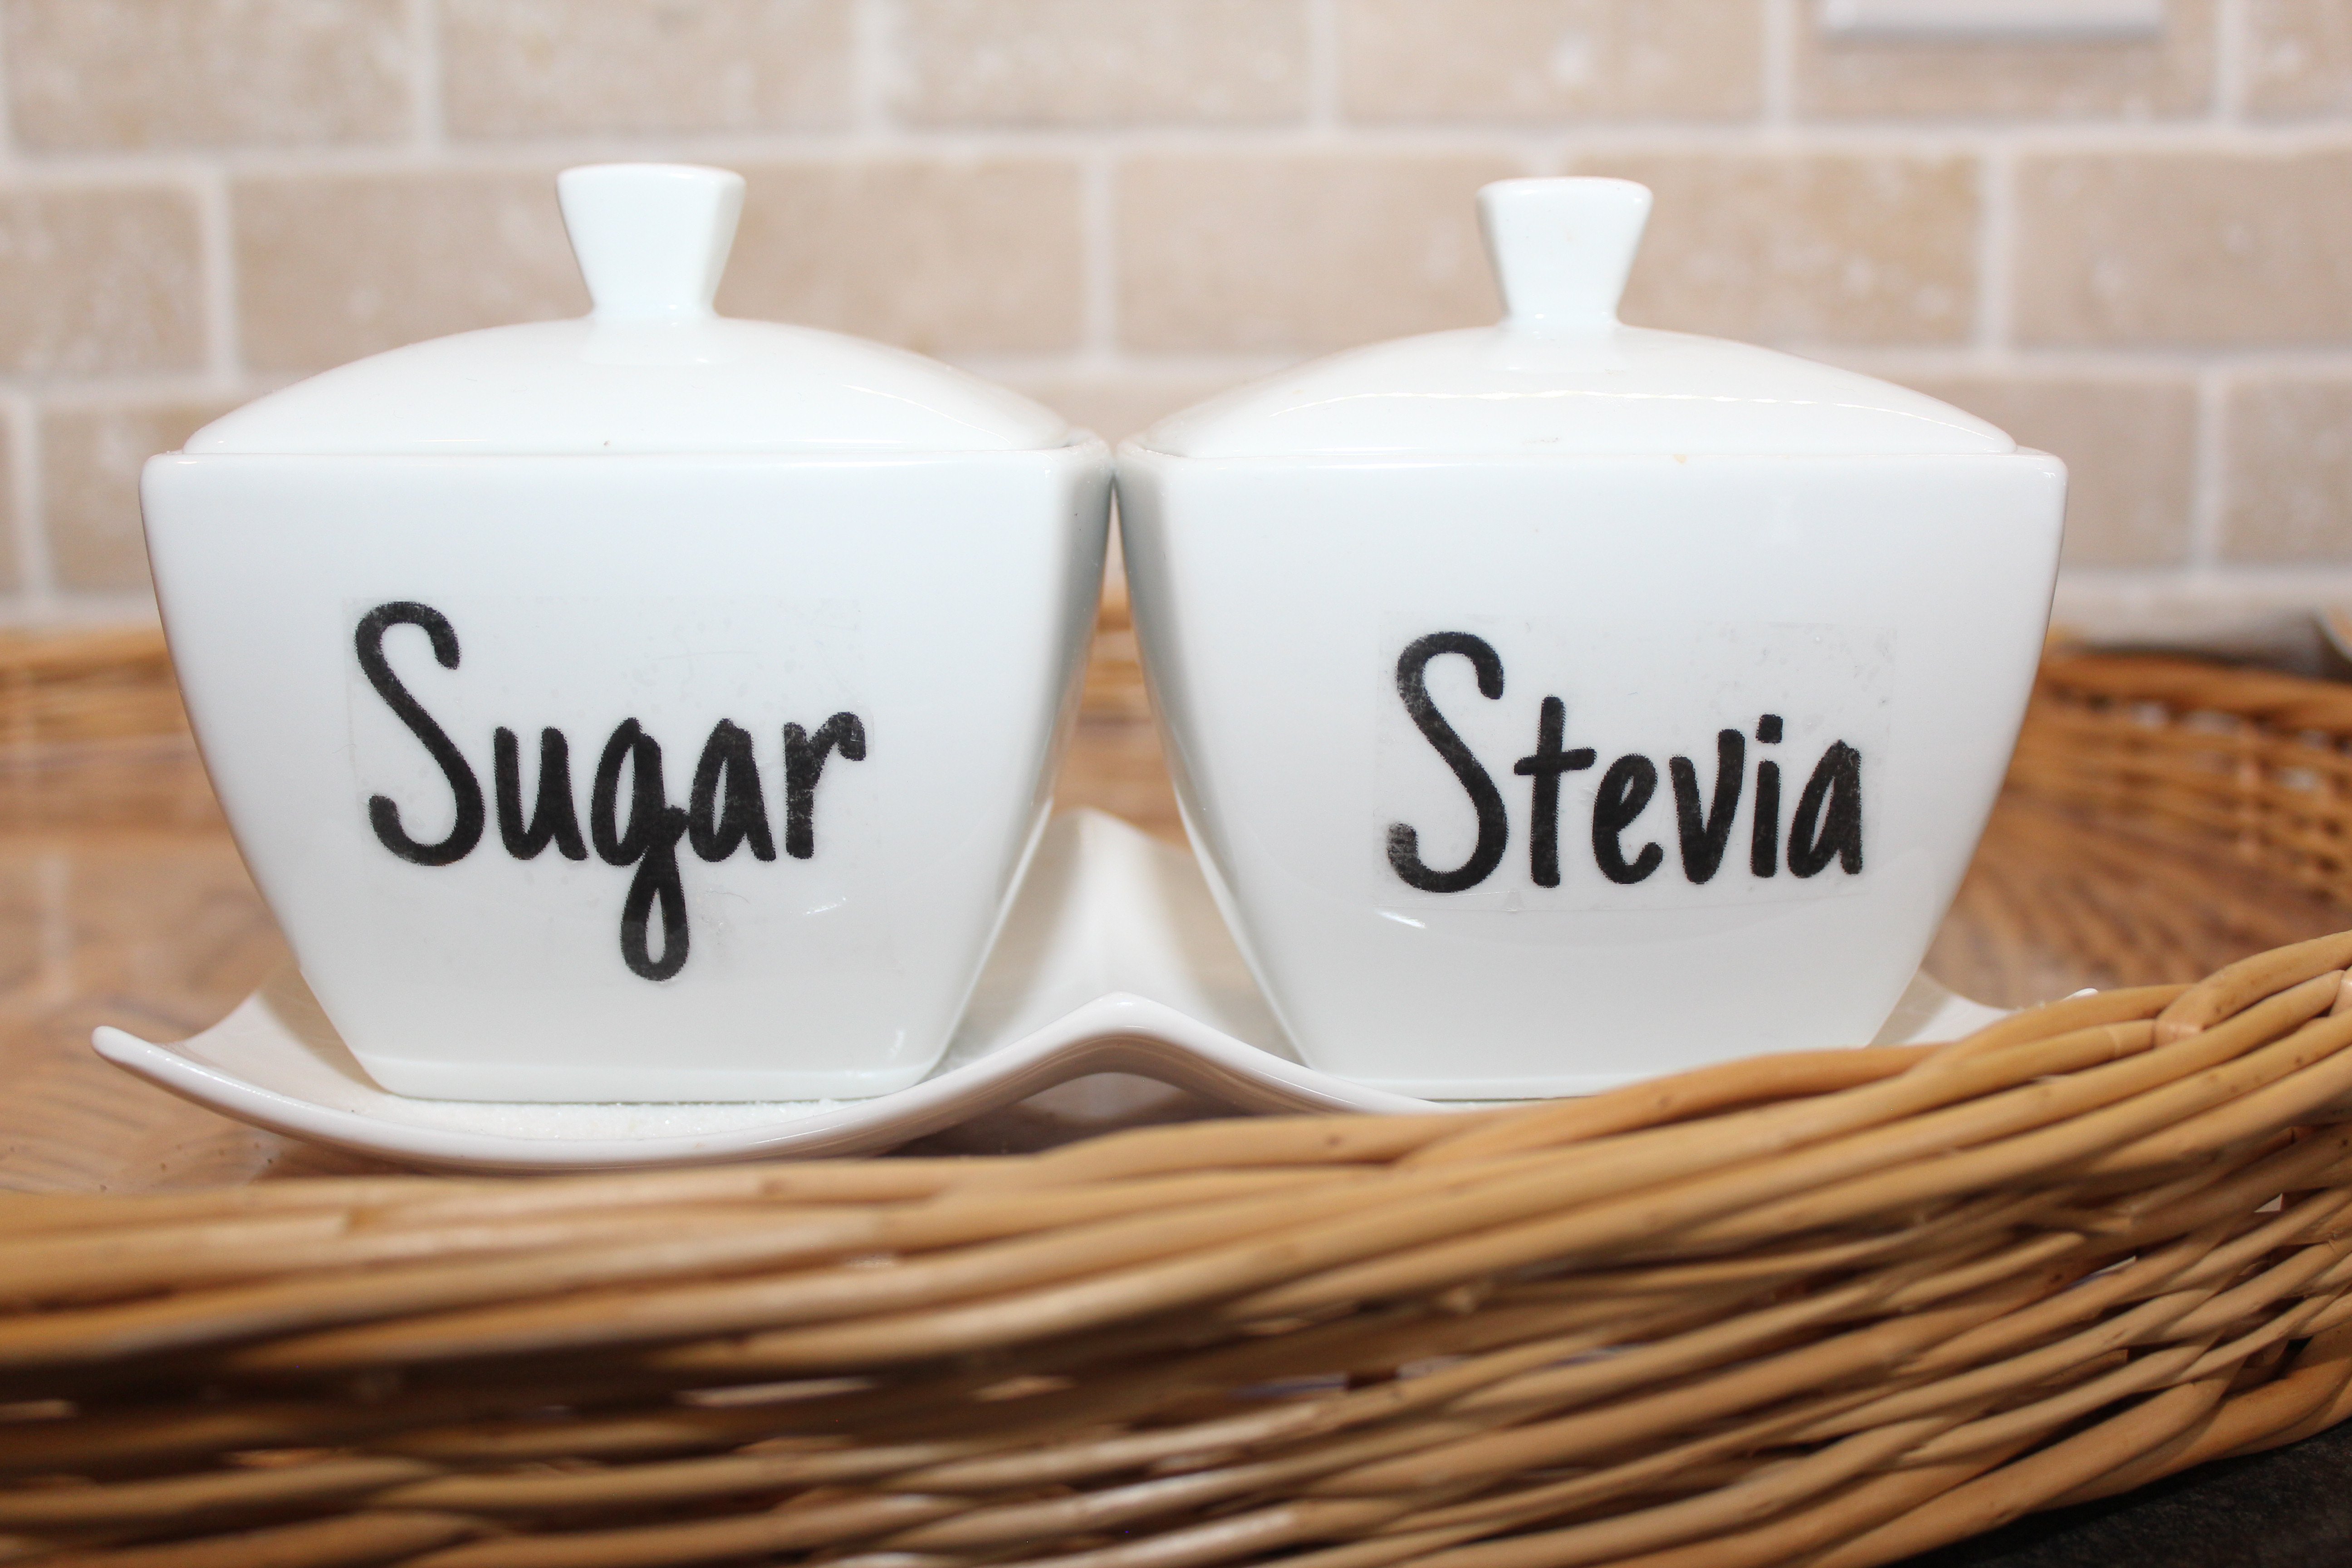
That’s what did with these plain white jars I bought from a local thrift store (the Dollarstore would also be an awesome place to find plain jars!). I found some image transfer techniques and this one worked so well I had to share it with you!
Here are some other ideas on how you can use these DIY clear label stickers
- pantry labels on pantry jars
- kitchen canisters for dried goods (think (sugar, flour, coffee/tea)
- spice containers
- ceramic jars
- candle jars (DIY gifts)
- colorful stickers for mason jar
- laundry room labels
- gift tags
- fabric storage boxes
- plastic storage containers and boxes
- family command center labels
- wood decorative objects
- metal containers and object
I’ve only done black ink with this project, but you can use a color printout of your design and it should work too!
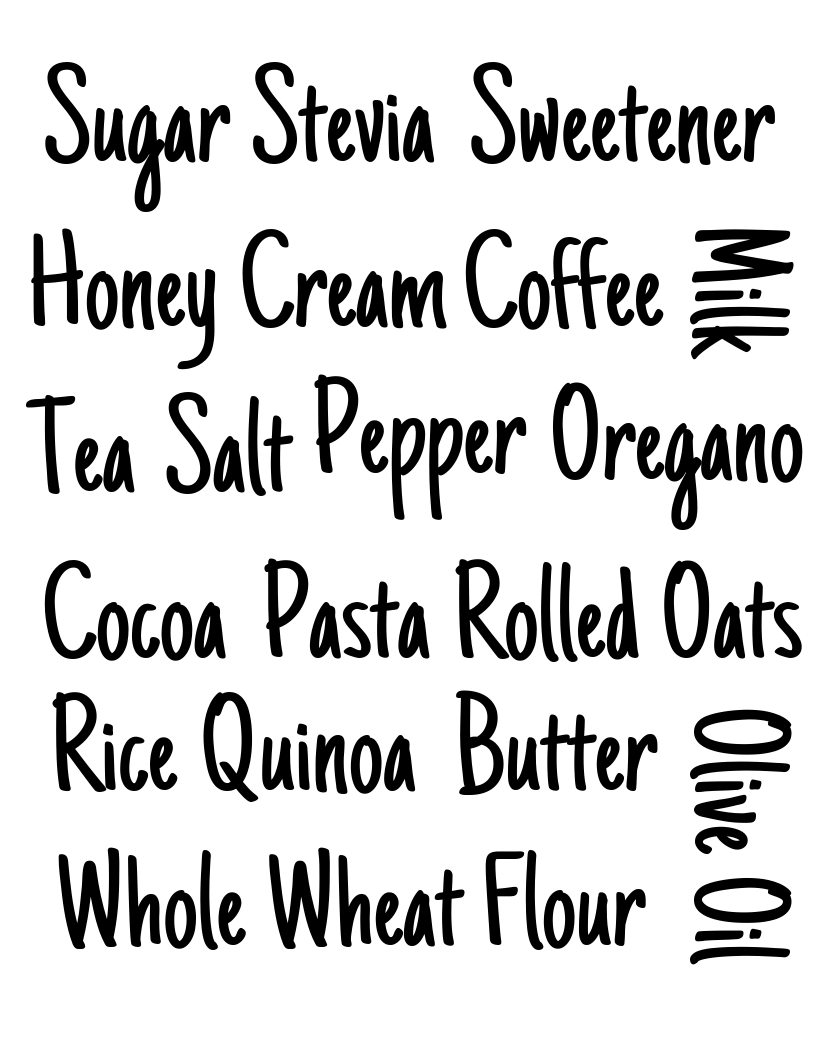
I’ve included some free printable pantry label templates (at the end of this post) for various kitchen organization related labels you can print out yourself. I used a fun pantry label font to make them look decorative, so you can use them a part of your decor if you wanted.
How to make DIY Clear Labels for Jars with Tape
Materials
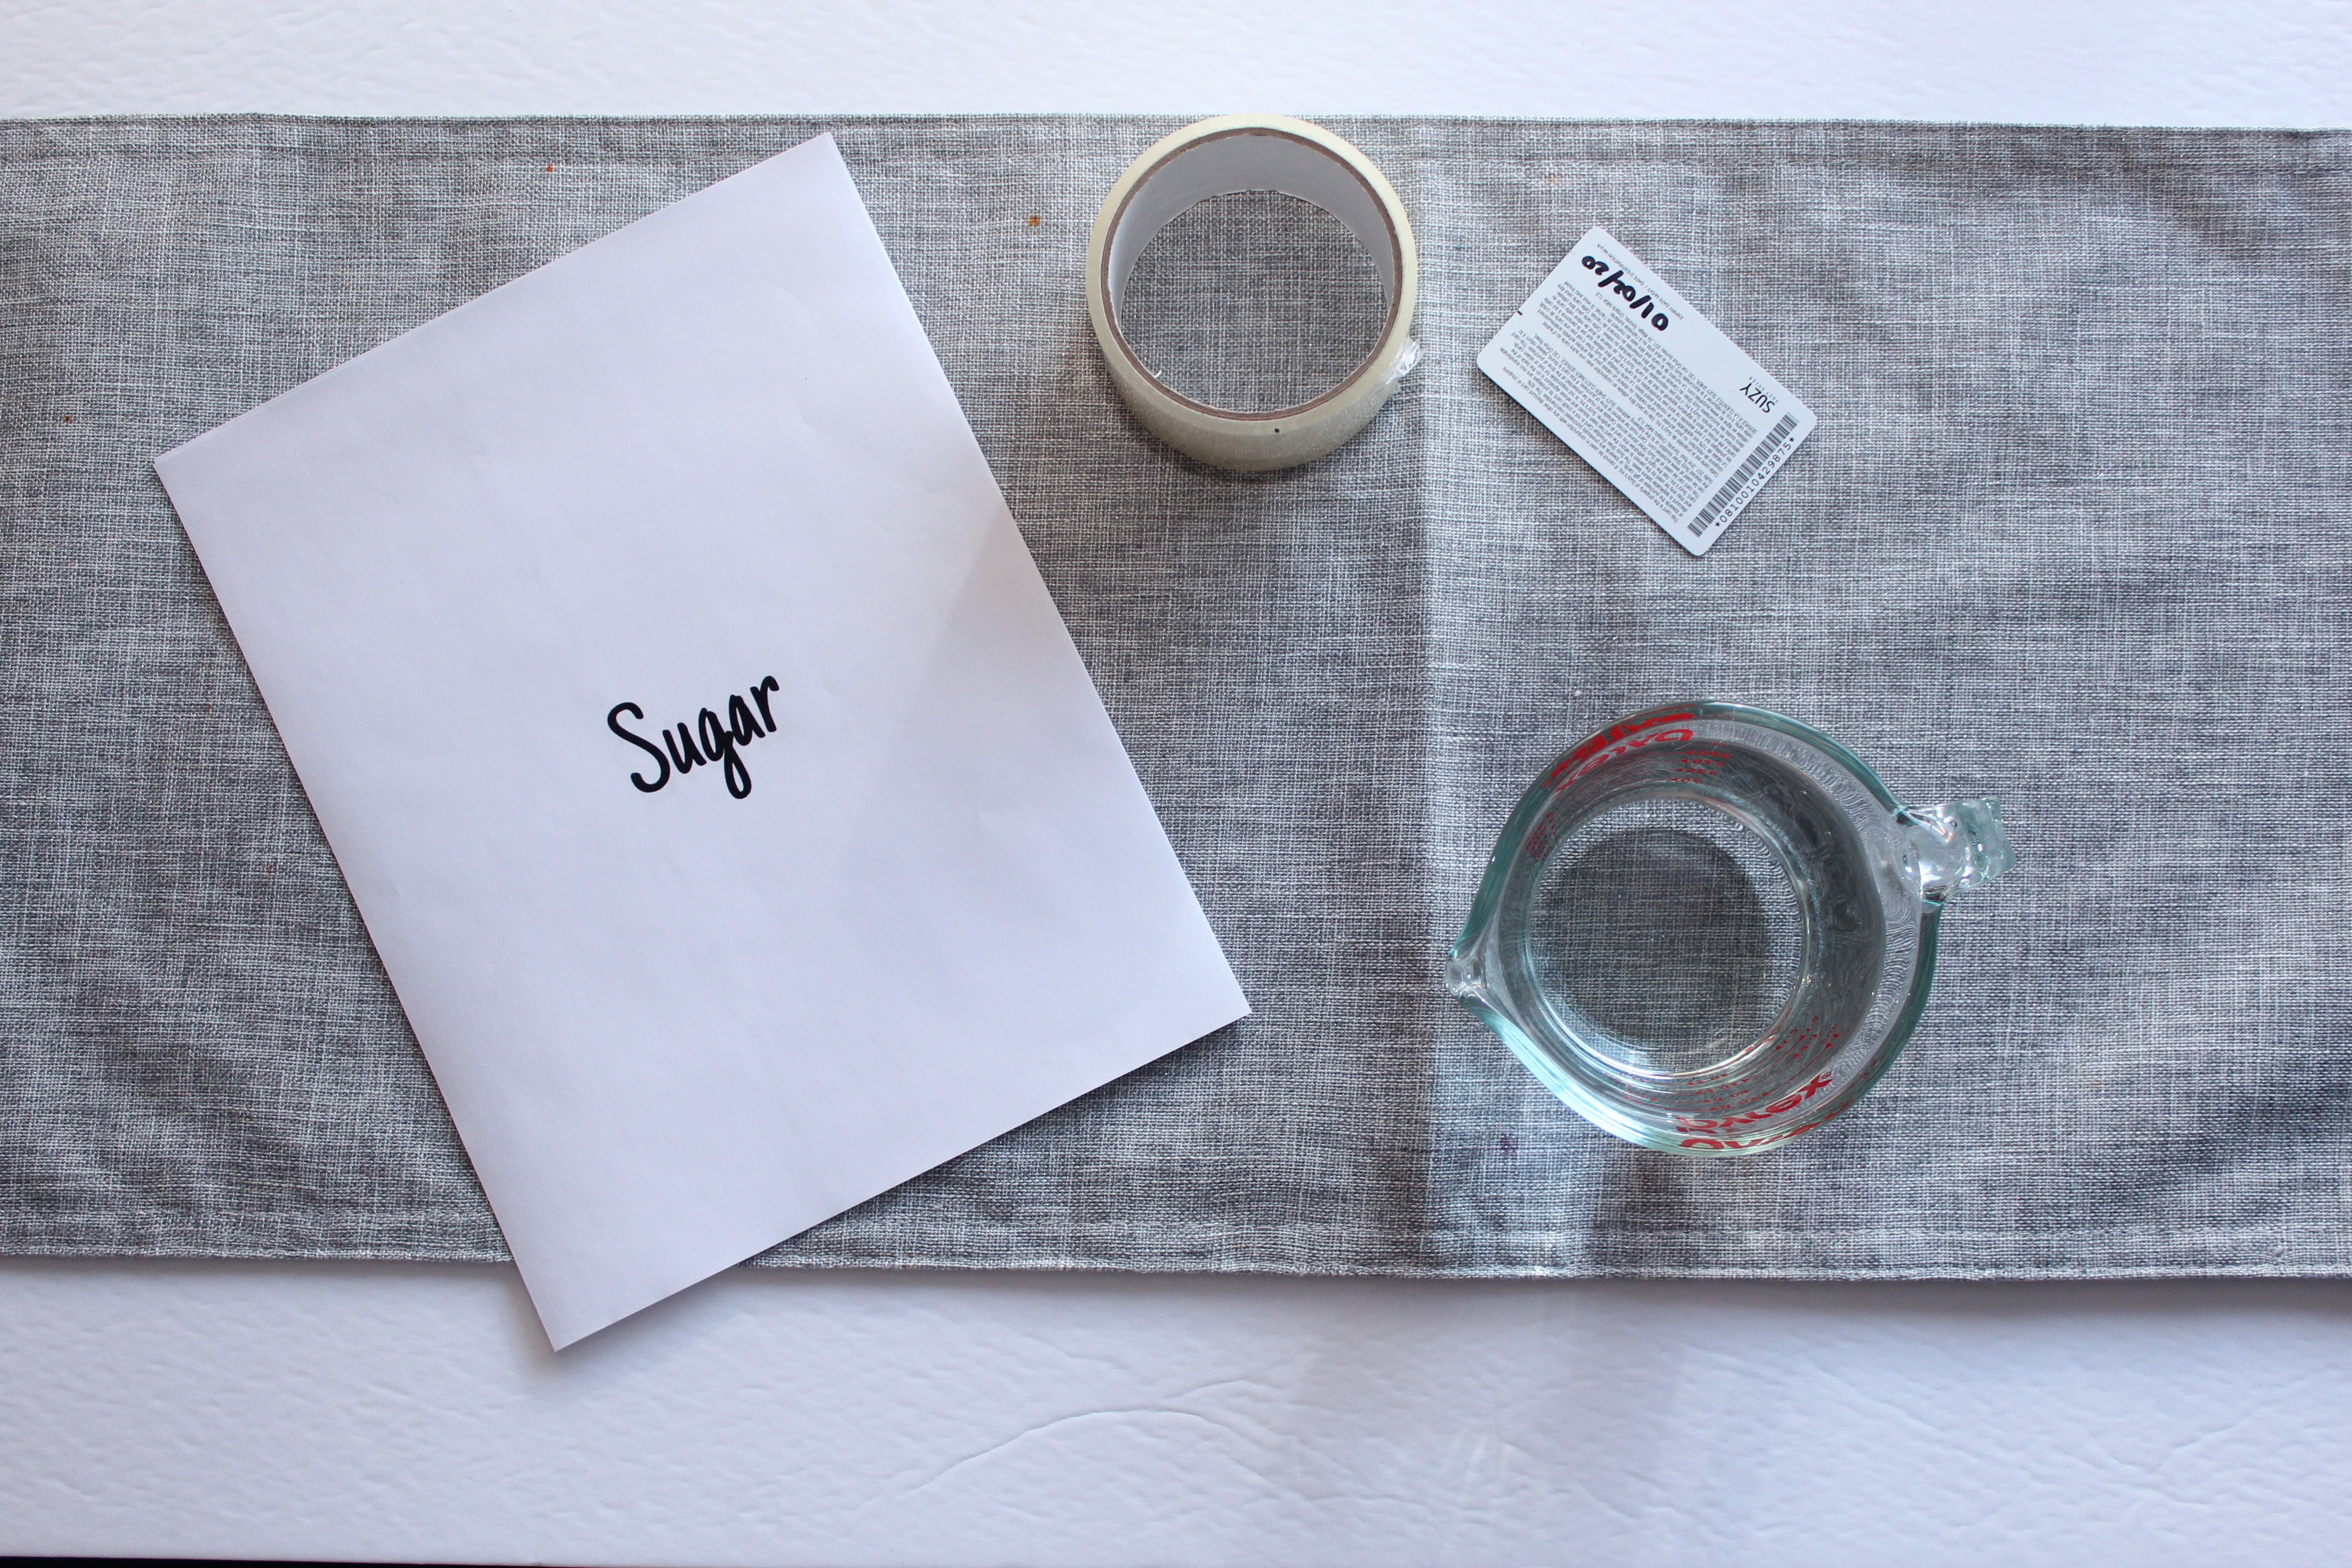
- Printout on normal printing paper (use a laser printer )
- Packing tape (the better quality ones work best)
- water
- credit card or spoon
DIY Image transfer Techniques Tutorial
Step 1
Print your label or design on a printer. Cut out your label


Step 2
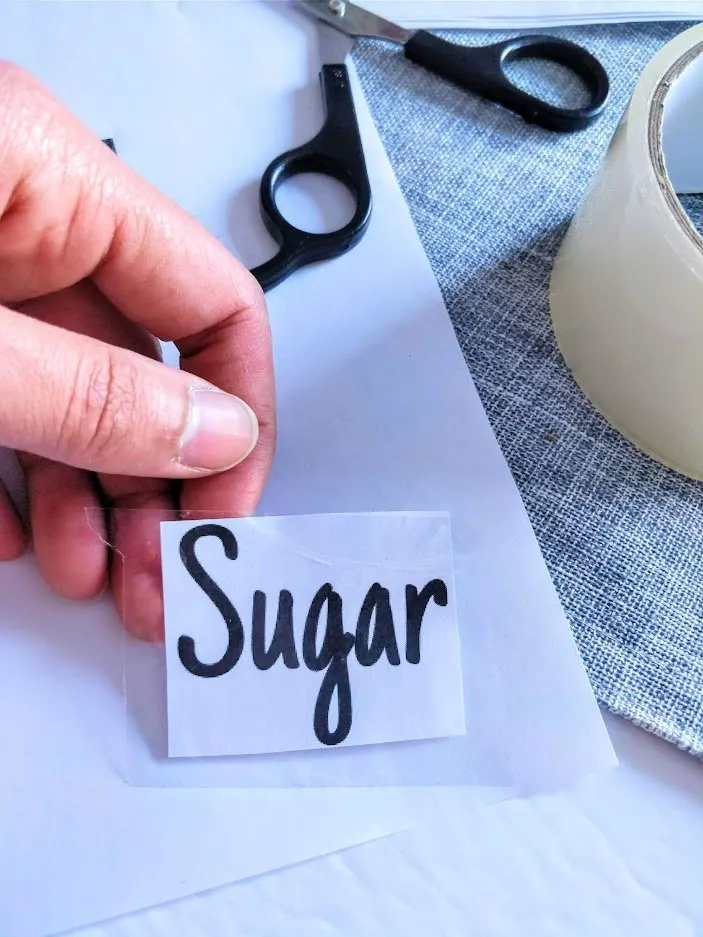
Take your packing tape, and tape the cutout label onto the sticky part of the packing tape
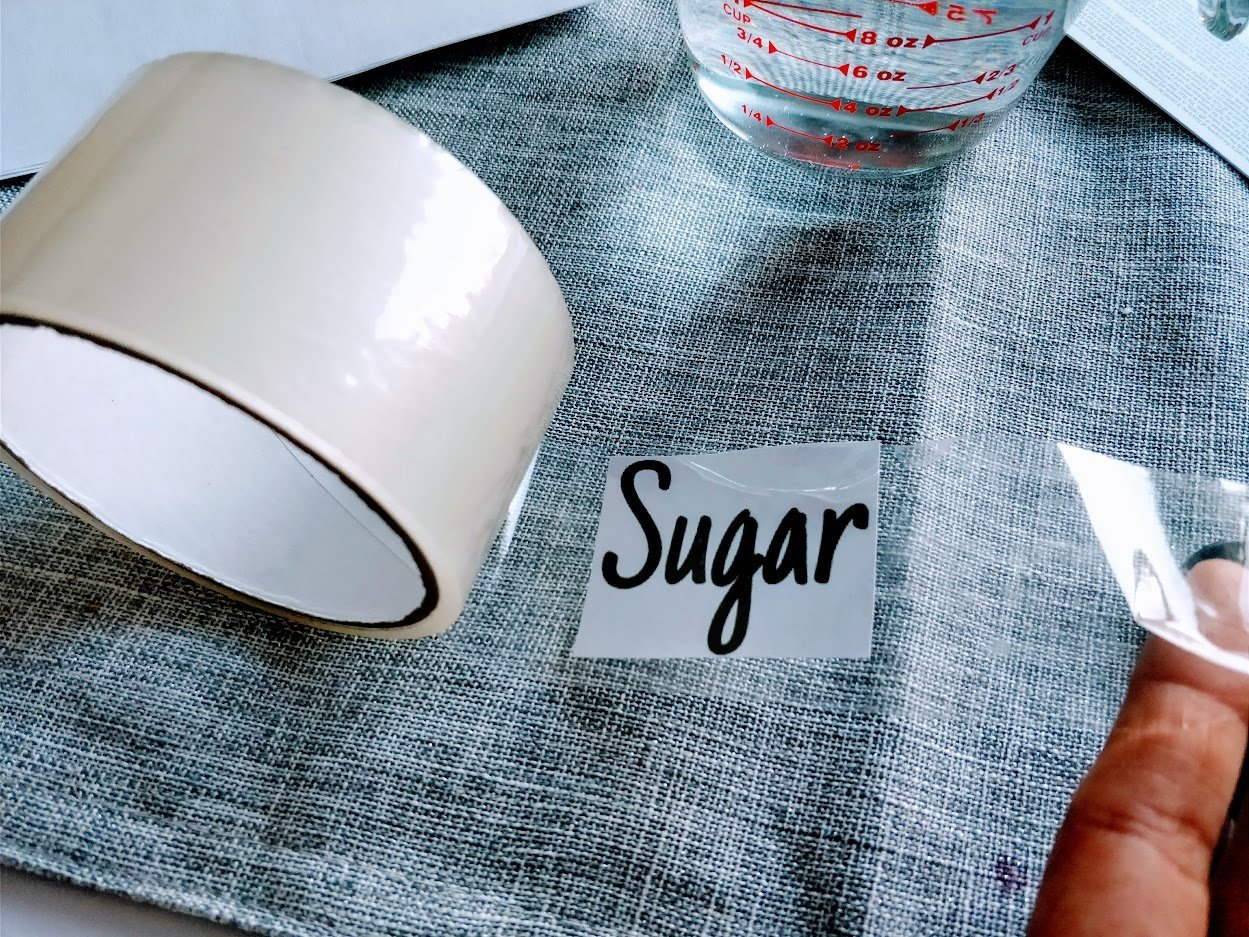
Step 3
Cut off the packing tape/label from the tape roll
Step 4
Cut the excess tape around the label so that there is no longer any sticky tape exposed. Now you can lay your label down on a flat firm surface and start the burnishing step.
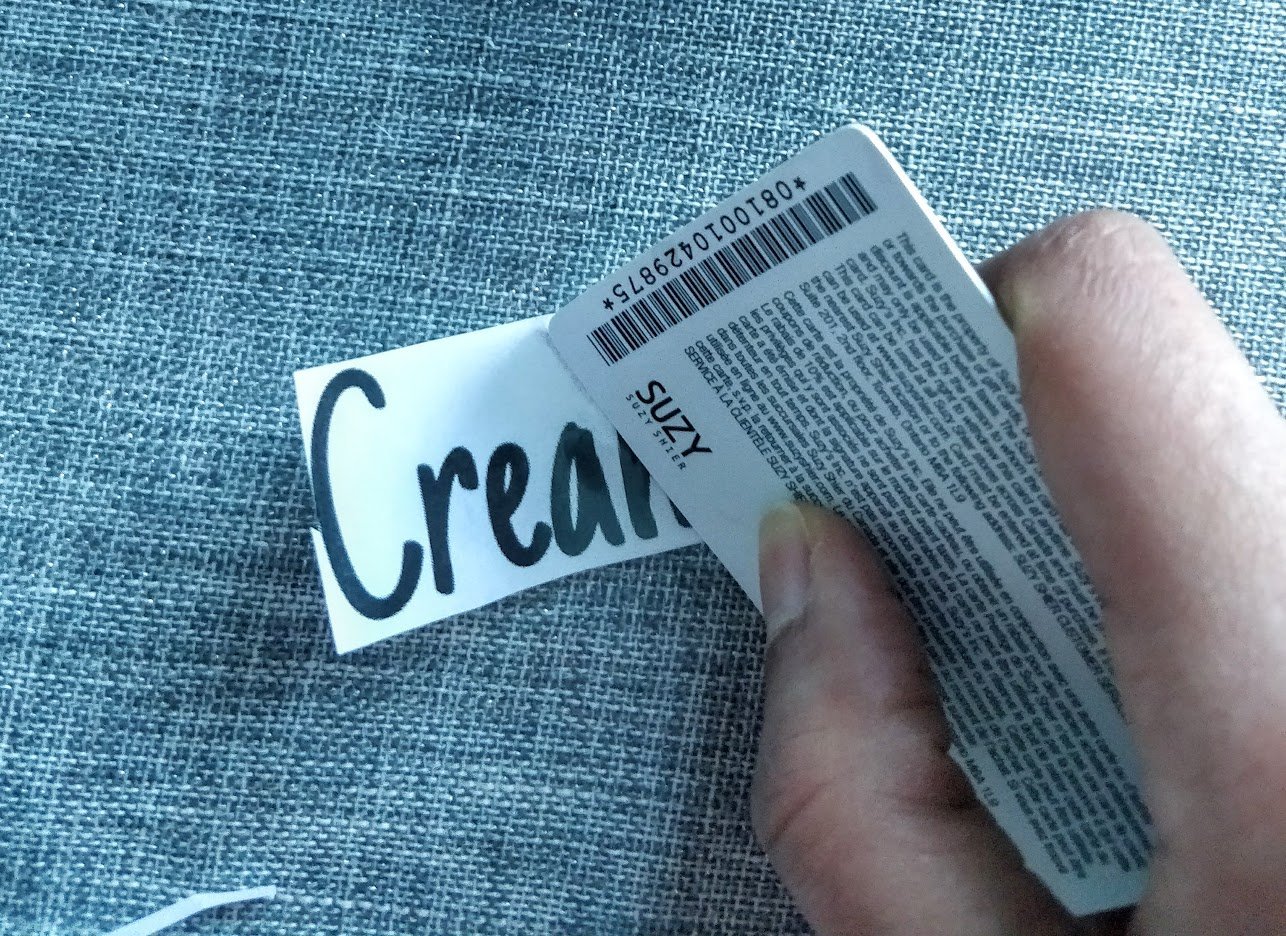
Using your credit card or the back of a spoon, burnish the label. You do this by firmly applying pressure to the front side of the taped label. Slide your credit card firmly across the label a few times.
IMPORTANT: The more pressure you can apply to the label, the better the results you’ll get. This removes any air bubbles and prepares the design to transfer to the tape
Step 5
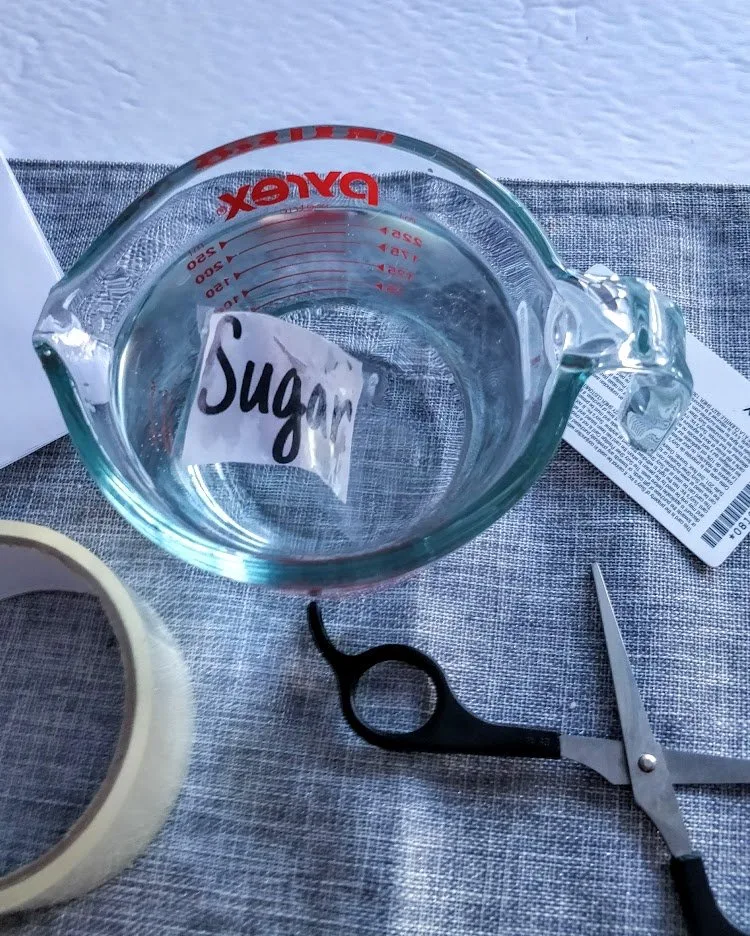
Put your label(s) into a bowl of water. Leave in the water for about 5 minutes, to loosen up the white paper for easier removal.
Step 6
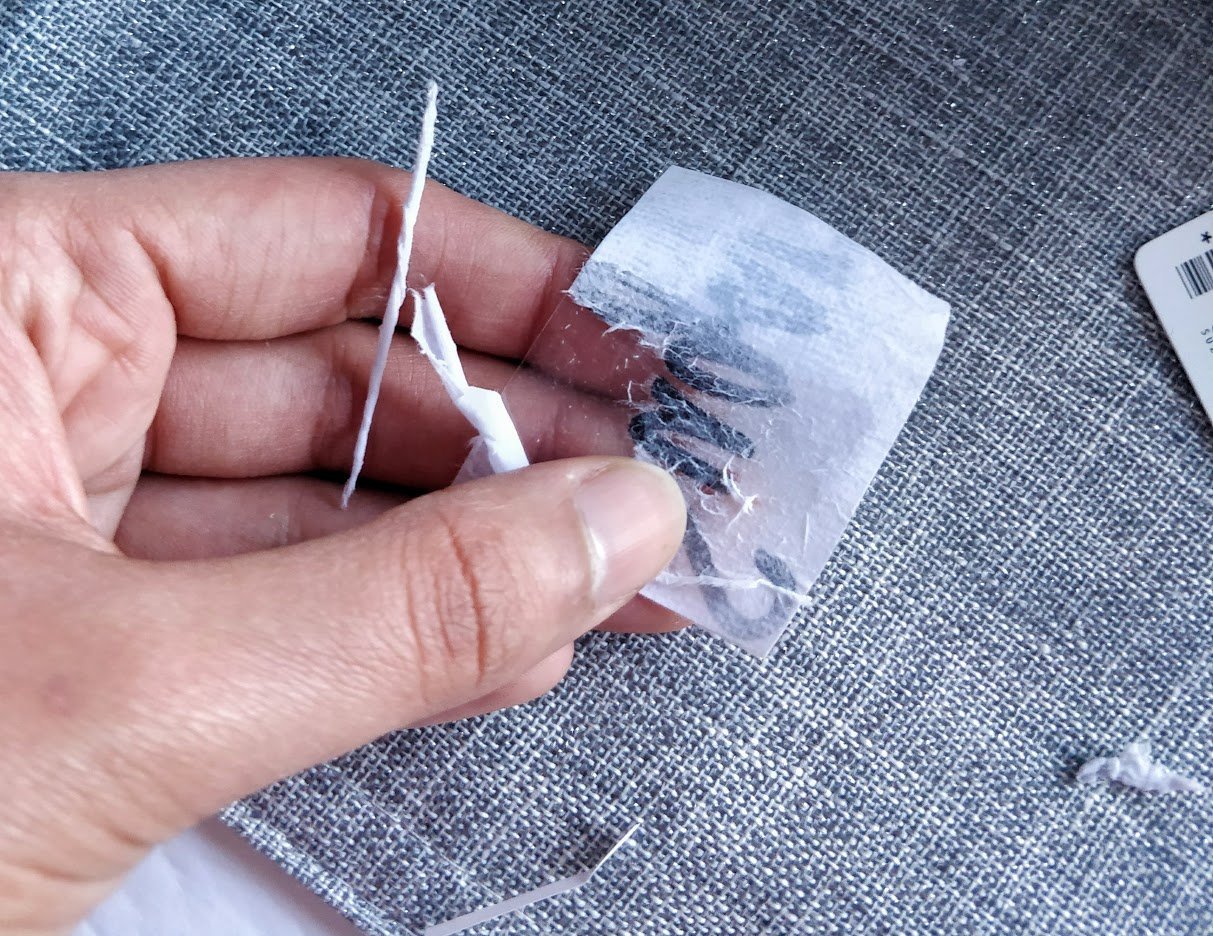
Take your label out of the water and gently rub the white paper. You will notice that the white paper rubs of pretty easy, while the design is now “stuck” or transferred to the tape. Don’t rub too hard, as it might start lifting your design off the tape.
If you find there are small pieces of white paper that won’t come off near the end, put the label back to soak in the water for a couple of ore minutes – then retry rubbing it off. Don’t worry this will NOT affect the stickiness of the tape!
Step 7
Once all the white paper is rubbed off it should look like this. Lay your sticker down (sticky side up) on any surface and let it dry.
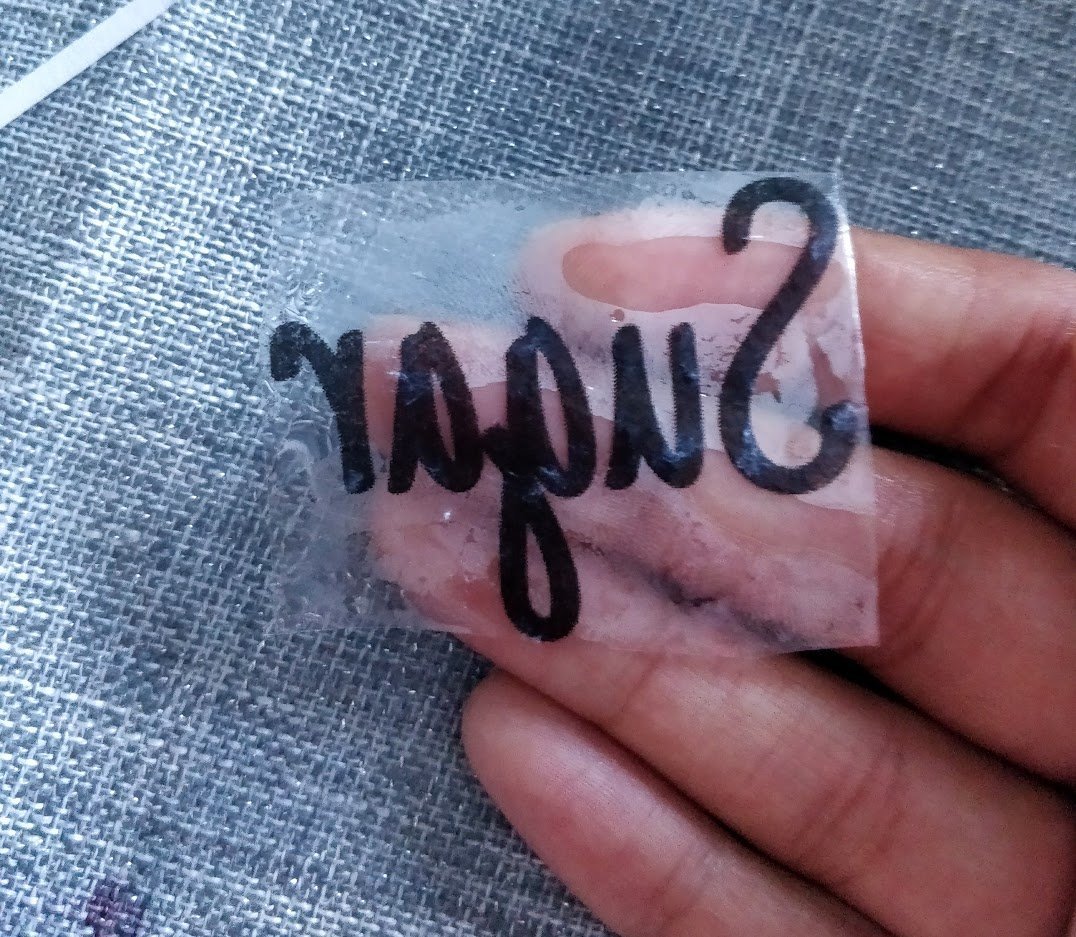
Step 8
Once dry, you can now stick your clear label to any jar, pantry canister, the container you wish!
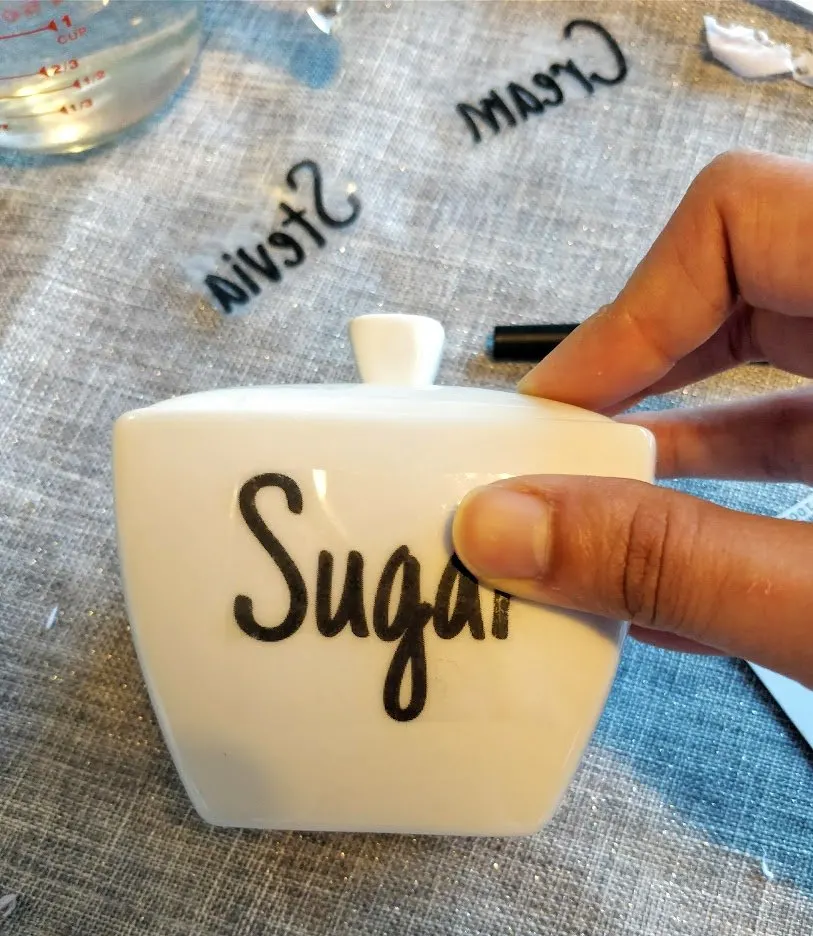

You’re done! I hope you enjoyed these nifty image transfer techniques to make your own gorgeous DIY clear labels for jars, with simple packing tape! Happy organizing! If you’re looking for the free printable pantry label templates, scroll to the end of this post.
Here are some more pictures of the “After” of these thrift store jars
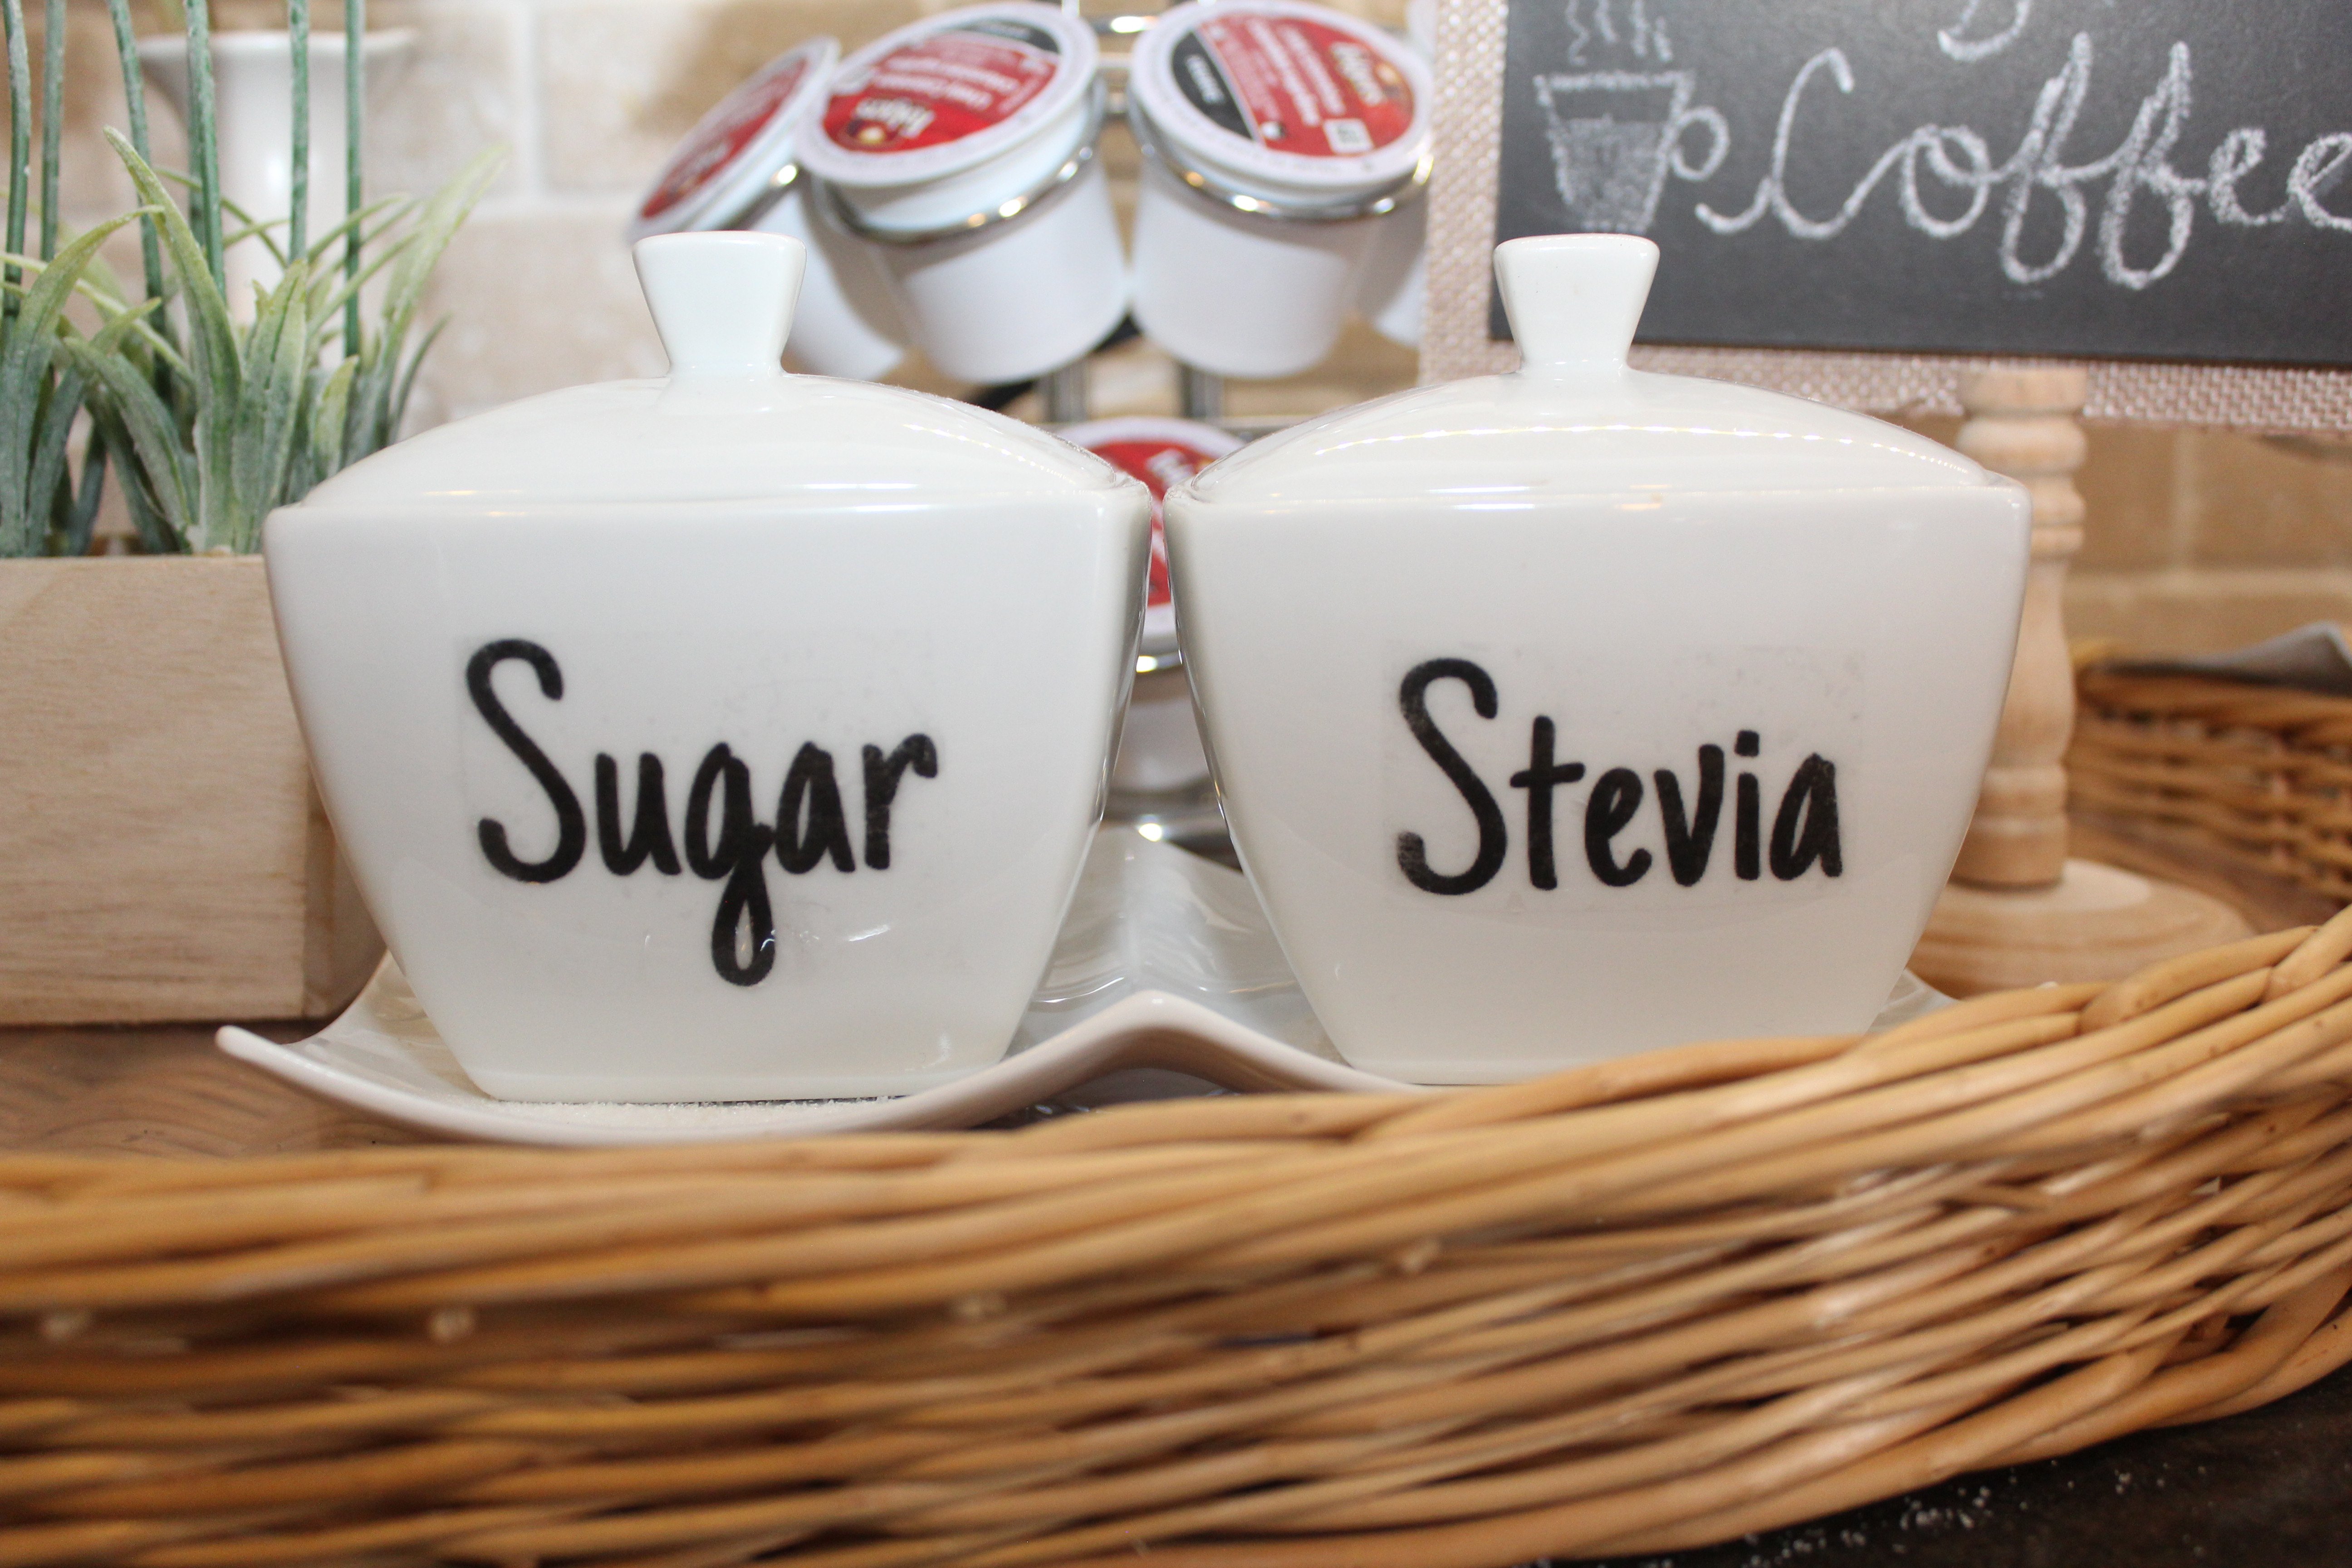
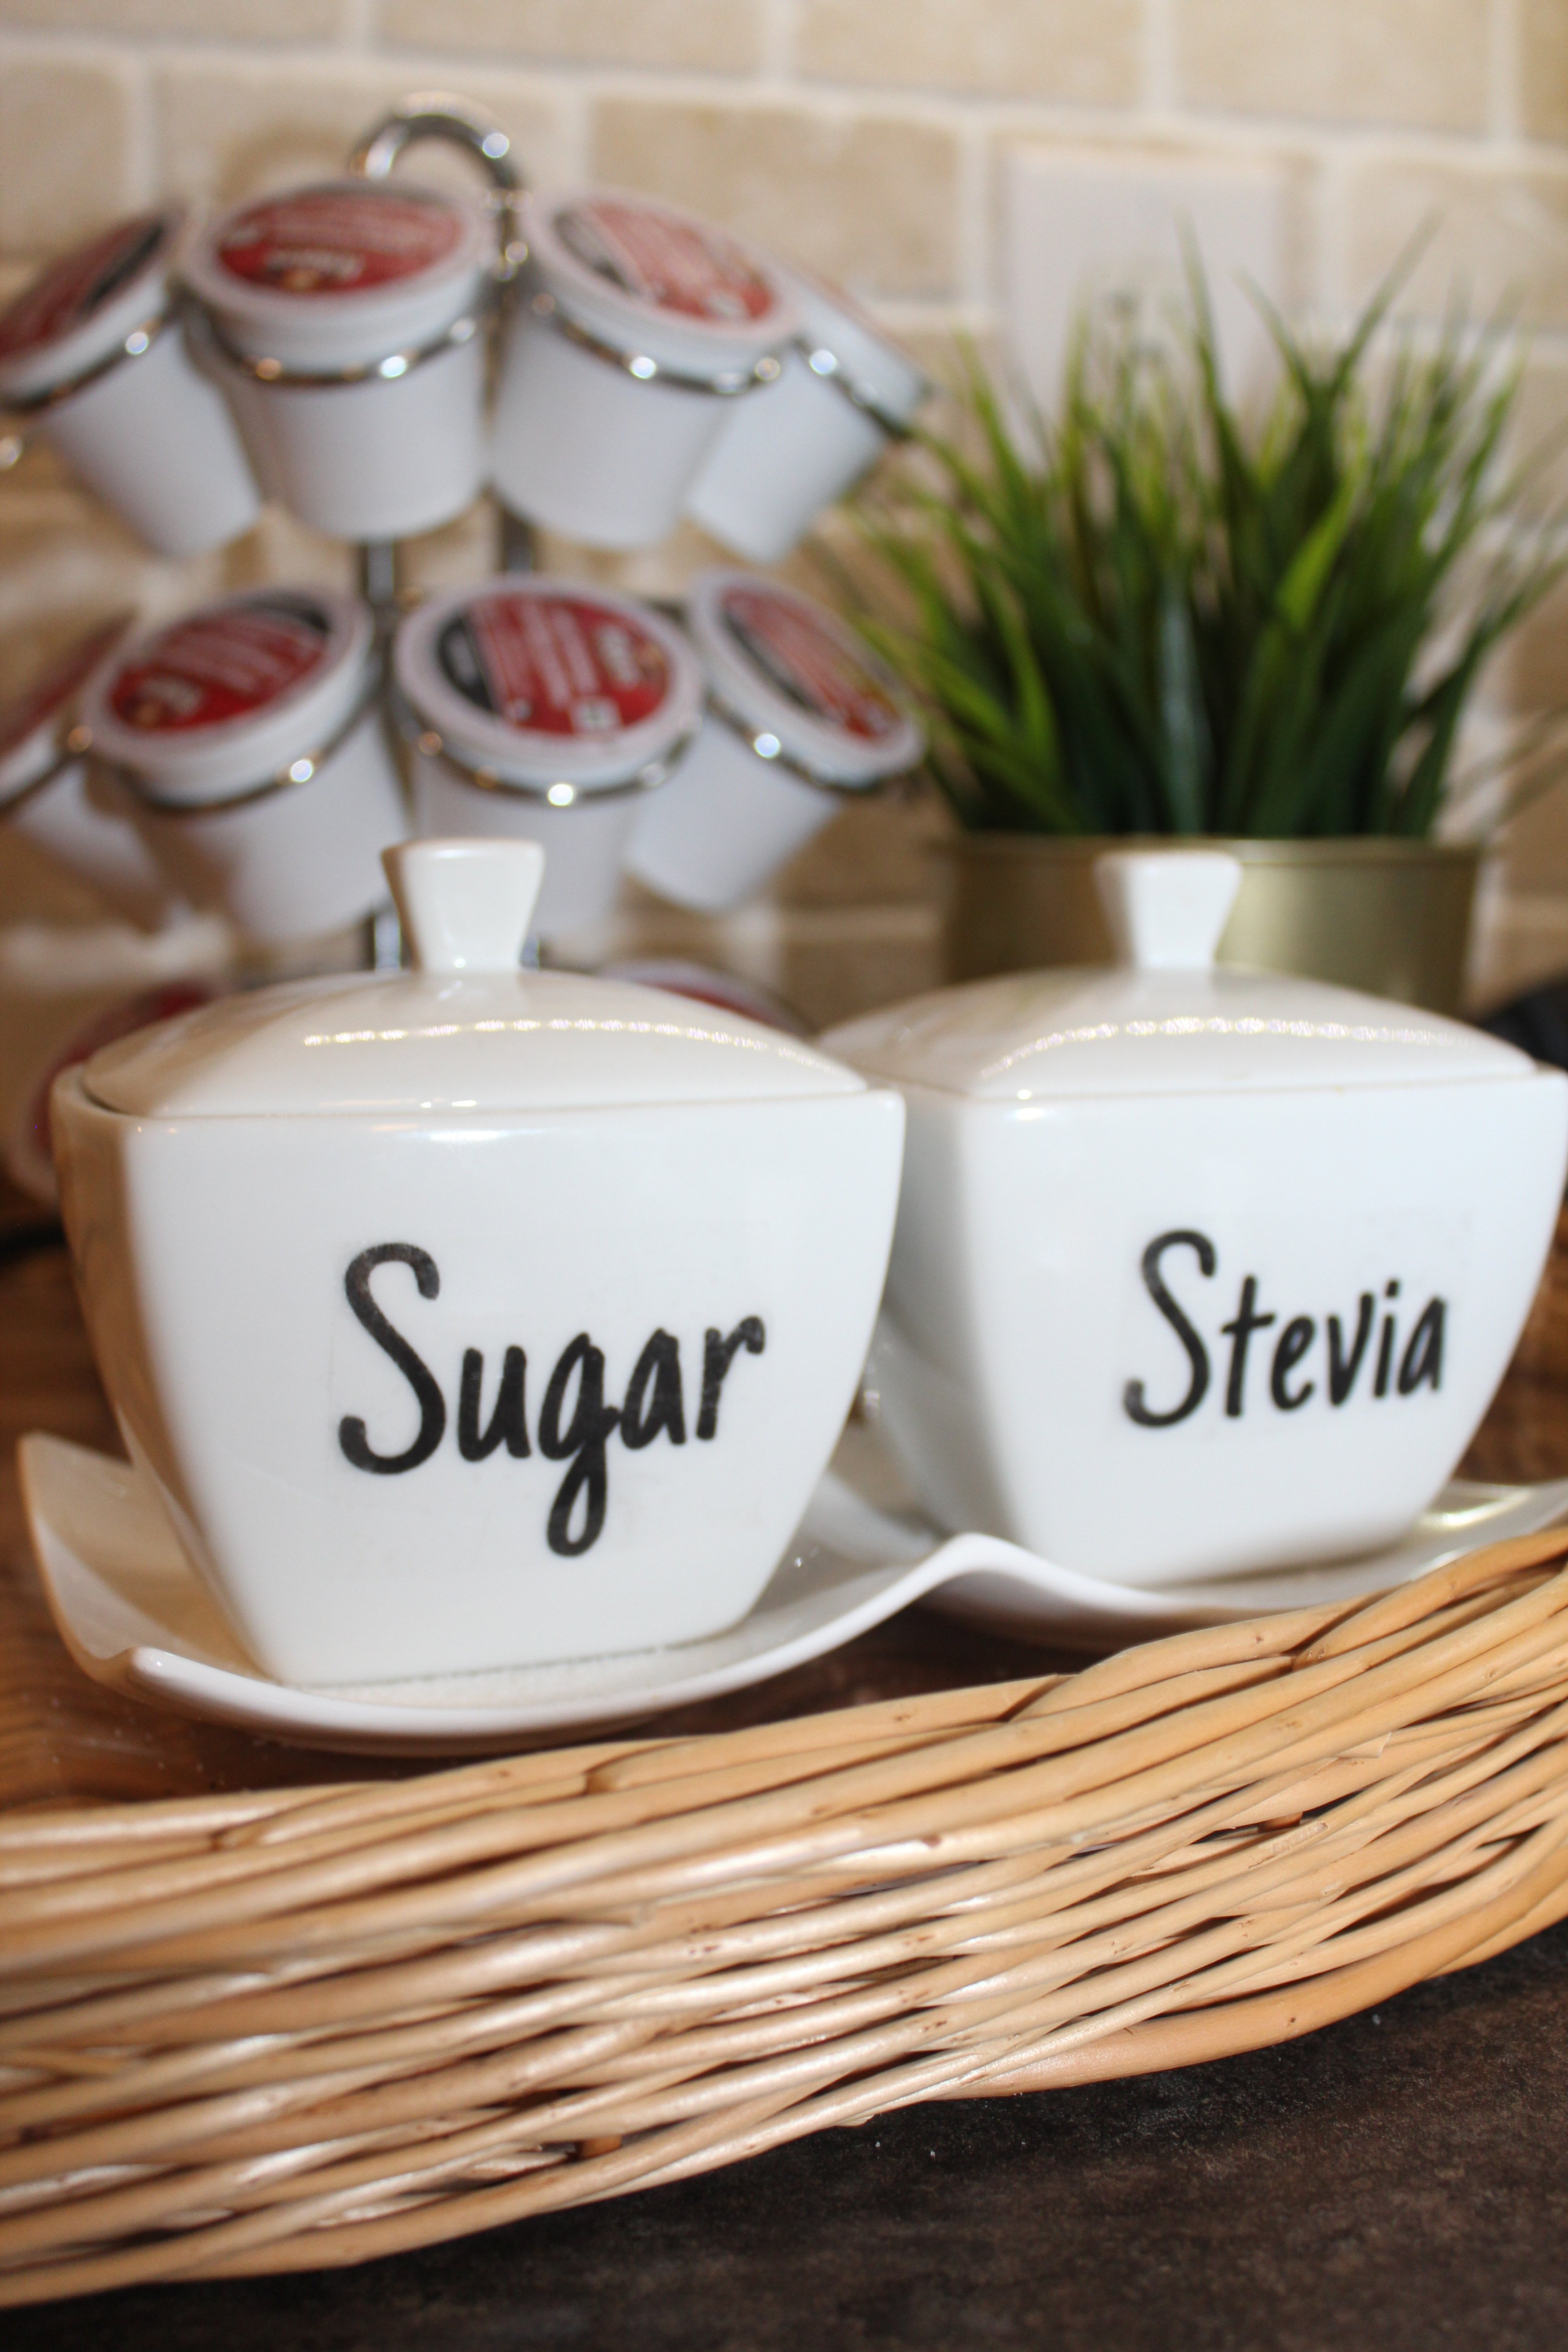
Free Printable Pantry Label Templates
If you’re interested in the free printable pantry label templates to make your own DIY labels with tape, here they are! Simply click on the image below, and then save the image to your computer and print as-is (its formatted to be printed on standard printer paper). Enjoy!
Tip: If you need to make some more labels on your own, you can use Canva (a free online) to create some more. They have a new service just for stickers too, check it out here.There are many types of pantry label fonts on Canva, but one of my favorites (and the one I used in this project) is “Just Another Hand” font.
If you liked this post, please pin it!
CAS
Monday 10th of March 2025
Author Edit: Under Step 6: change “but” to “put”. Currently reads, “… but the label back to soak”.
Jasmine Dhillon
Monday 10th of March 2025
Woopsies- thank you for the heads up!! Update complete!
Cheers, Jasmine
Christine Pluck
Sunday 28th of January 2024
Love this idea, it’s great
Jasmine Dhillon
Thursday 21st of March 2024
Thanks so much Christine!! Glad you love the clear sticker idea, you can do so many things with them :)
Cheers, Jasmine
DIANE
Friday 10th of February 2023
I tried it but the paper slides off and the black part did not stay on the tape just a shadow of the print.
Jasmine Dhillon
Wednesday 15th of February 2023
Hi Diane,
Sorry to hear the transfer didn’t work. What type of printer did you use? It works best with a laser printer, as the inkjet might not work as effectively. Also the burnishing step is very important- using firm pressure to make sure the text is firmly stuck to the tape ( you can use a credit card or the back of a spoon to help). The other thing you can try is to leave the label in water for an extra 5-10 minutes ( sometimes the paper needs extra time to get an easy peel). Not sure if this helped but I used the Duramax packing tape. Hope that helps!
Cheers, Jasmine
Kathy
Monday 28th of November 2022
Would the label stick to a smooth wood surface?
Jasmine Dhillon
Tuesday 29th of November 2022
Hi Kathy,
I’m not sure, In theory it should stick since it’s a smooth surface like ceramic. Hope that helps!
Cheers, Jasmine
Heather
Sunday 24th of July 2022
So I’m a bit confused. When you say laser printer, do you mean a printer that uses toner instead of ink? Or, are you talking about a laser jet printer that uses ink cartridges?
Jasmine Khinda
Sunday 24th of July 2022
Hi Heather,
Thank you for your question! In terms of printer I was referring to, it’s the one with the toner instead of ink. Hope that helps!
Cheers, Jasmine