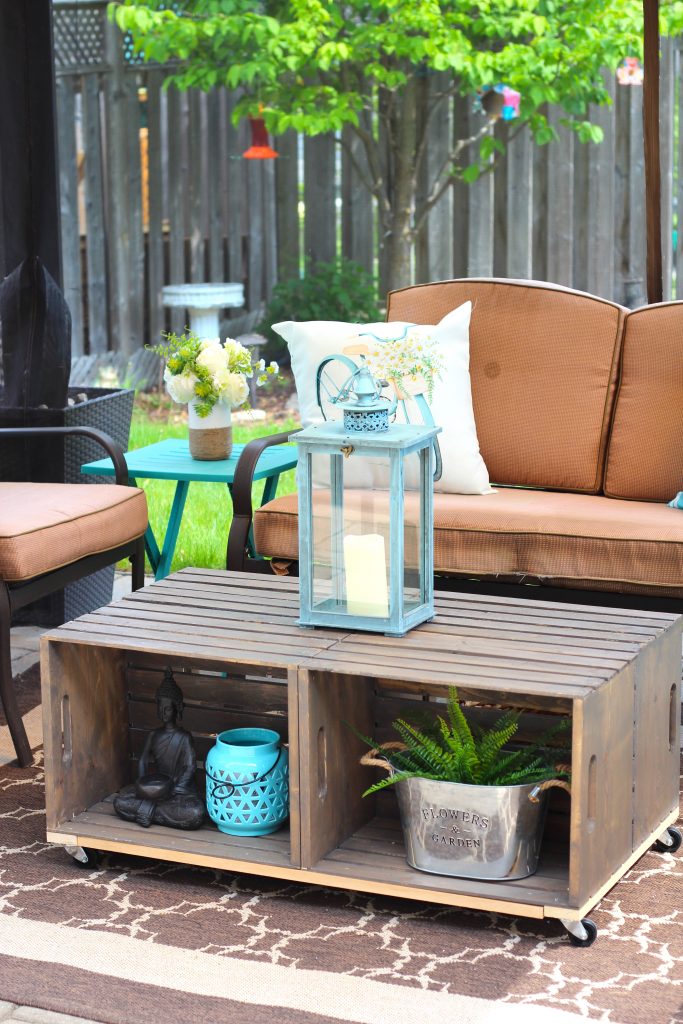
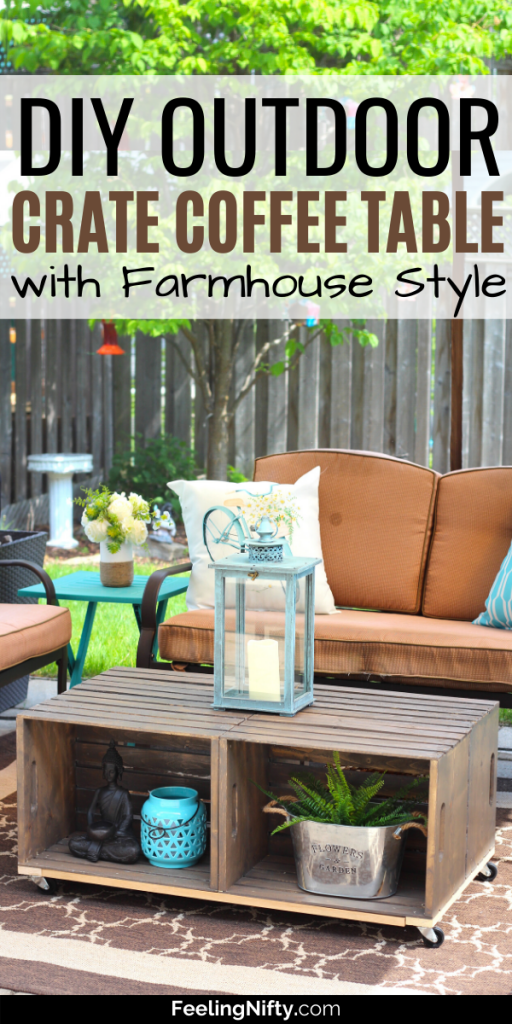
DIY Outdoor Crate Coffee Table with Wheels {Rustic, Farmhouse}
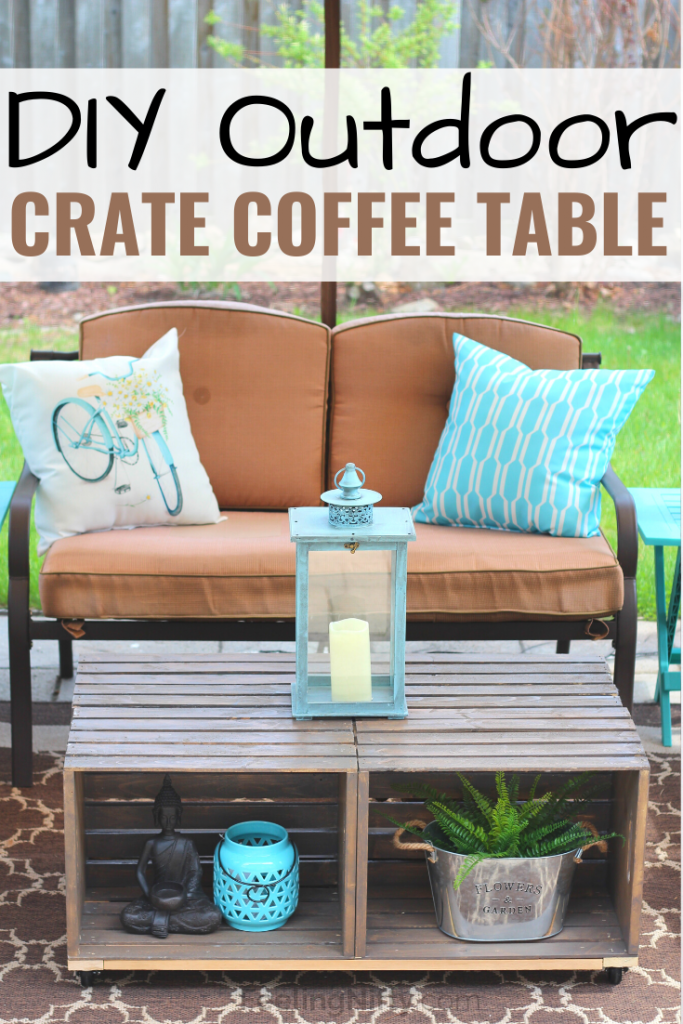
In the tutorial below, I will show you how to make an easy and cheap DIY wooden crate coffee table (with wheels)! You can use this rustic coffee table both indoors and outdoors- the instructions below will ensure it is stained, sealed, and weatherproofed.
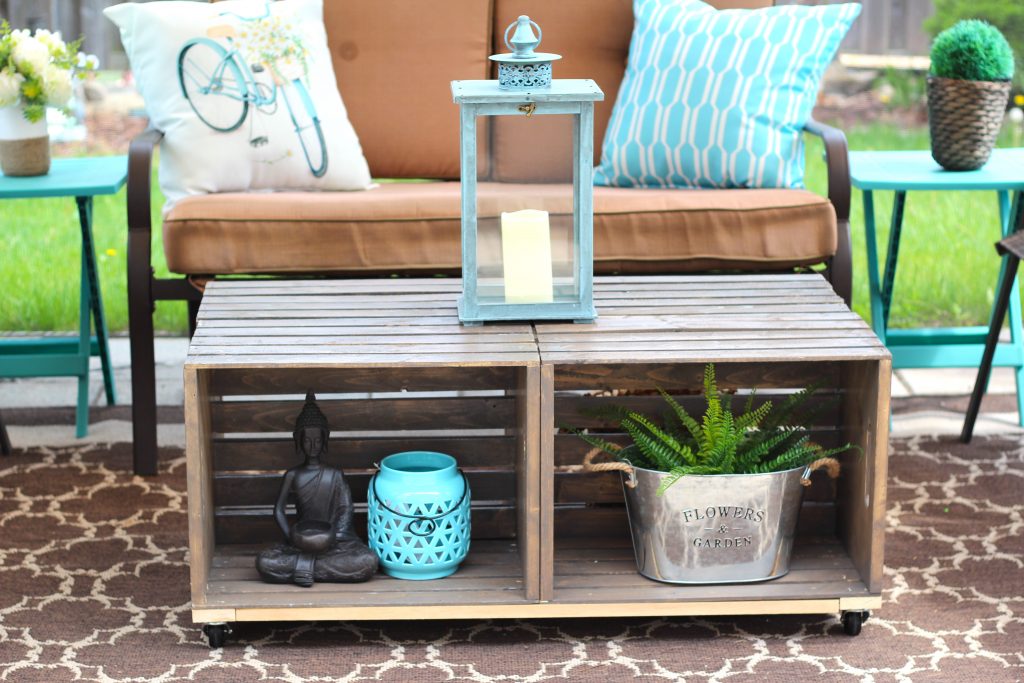
You can use wooden crates to make your coffee table into many configurations, the config I chose will make a rectangle crate coffee table, with a bonus of storage shelves!
I used wood stain on the crates because I'm a bit farmhouse obsessed, and staining really helps achieve a nice rustic look. So if you were wondering how to make a farmhouse coffee table, then this is the tutorial for you! If you want another outdoor living farmhouse DIY to check out my DIY upcycled planter side table post.
I'll also include some fun before and after pics of my patio. This DIY create coffee table was the catalyst that inspired me to redo my patio with new decor. I am in LOVE with it- can't wait to show you!
What are Wooden Crates and Where Do you Buy Them?
A wooden crate is a medium/large container used to ship goods. It is usually made out of wood and it usually transports big and heavy items. Many people have these leftovers from their shipments and up-cycle them.
Another option is to buy them. They are usually fairly inexpensive. Check out some big box stores like Home Depot, Lowes. I bought mine from Home Depot, these are the ones I bought.
You can also check online on Amazon, like these ones.
Staining Wood Crates For DIY Crate Coffee Table
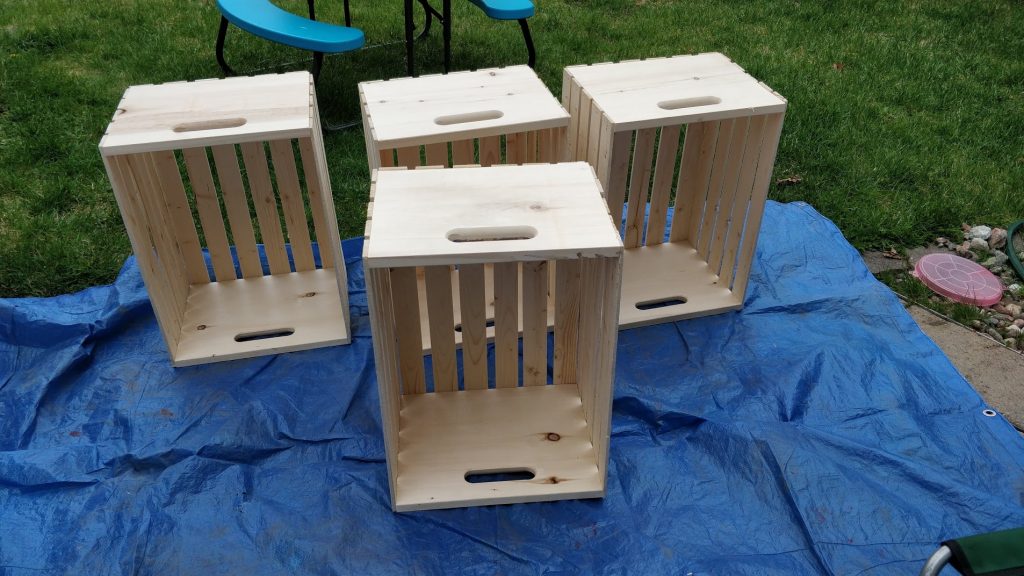
For this DIY coffee table, you will need 4 rectangular wooden crates. Before you stain your wooden crates you should lightly sand the top to make sure the wood is smooth.
To stain your crates use your stain of choice. I used this one.

For smooth application use a brush or an old rag you can throw out. Paint your stain on, then take a rag or lint-free paper towel and wipe off the excess.

Let the stain dry. Dry time depends on the brand of stain you use. Read the instructions on your stain can to find out.
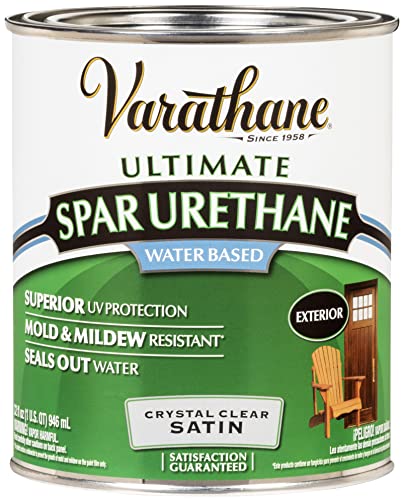
Once your stain is dry, you'll need to seal your crates so that it resists moisture, mold and mildew. If you are using your crate coffee table outside you need to use an outdoor sealer like this one.

Follow the directions on your sealer to apply the sealer and then wait the appropriate time for it to dry.
Alternative painting methods
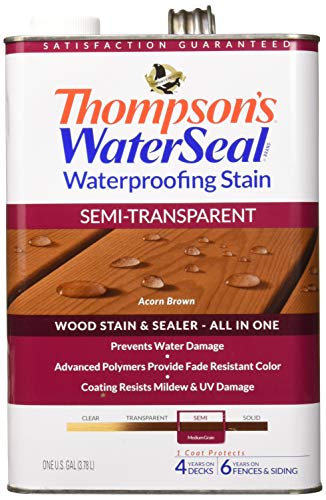
If you want to cut down steps and time, you can use an all-in-one stain AND sealer so that you don't have to do them separately. I had some stain and sealer already at home that I wanted to finish, otherwise, I would have gone the 2 in 1 route.

Another alternative is to use an outdoor latex paint instead of the stain. If you're looking to add a pop of color, this method would work beautifully. I used paint instead of stain when making my kids their DIY lemonade stand and it looked great!

How to Make a Cheap Coffee Table with Crates
Once your crates are stained and sealed you can put them together!
Arrange your crates so that the opening of the crates faces outwards. Essentially, the bottoms of the crates will be back-to-back. This will create a rectangular shape and also give you shelves for storage.
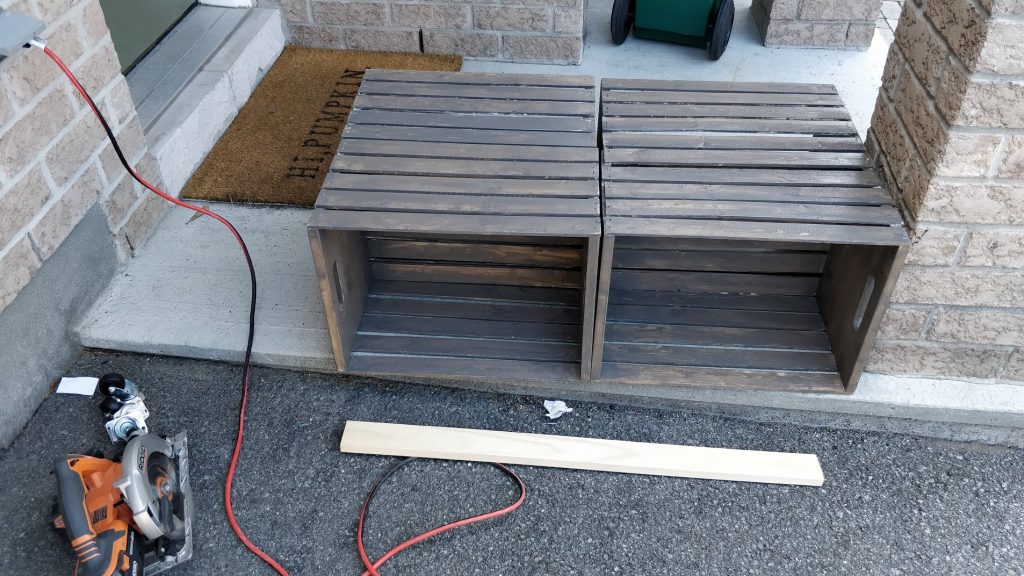
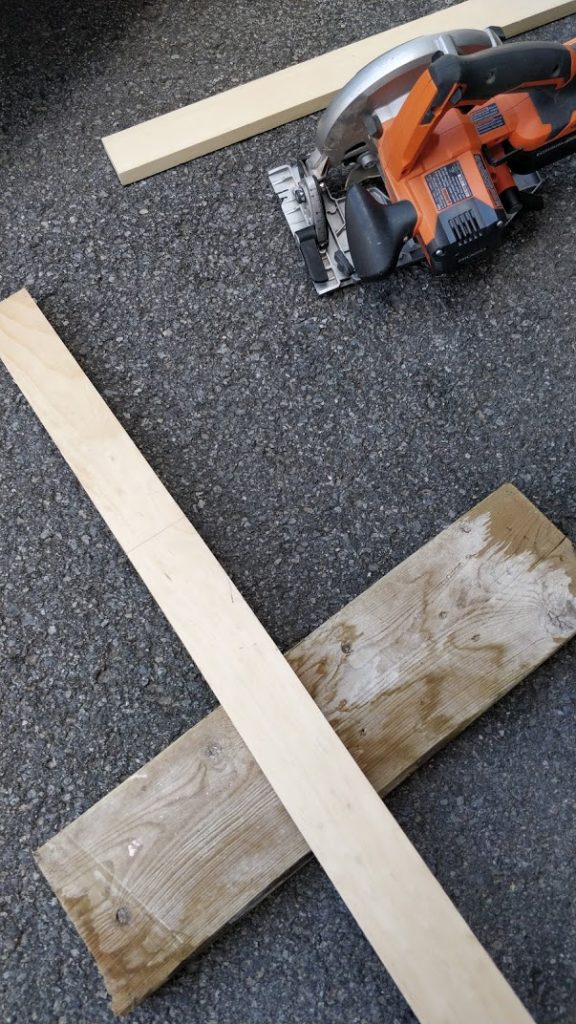
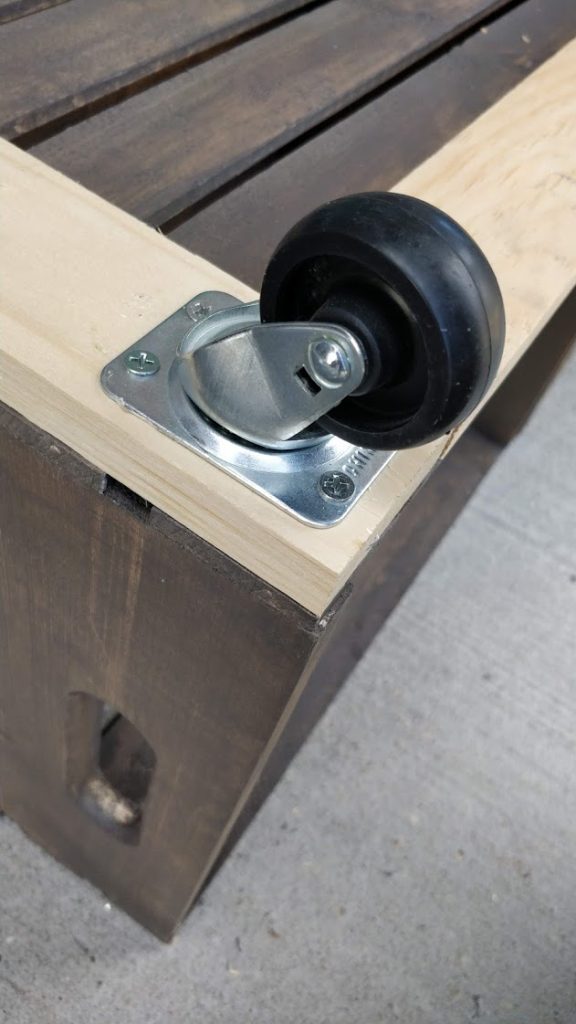
Now that your crates are in place, you will need to make the bottom frame so that you can attach the castor wheels to it.
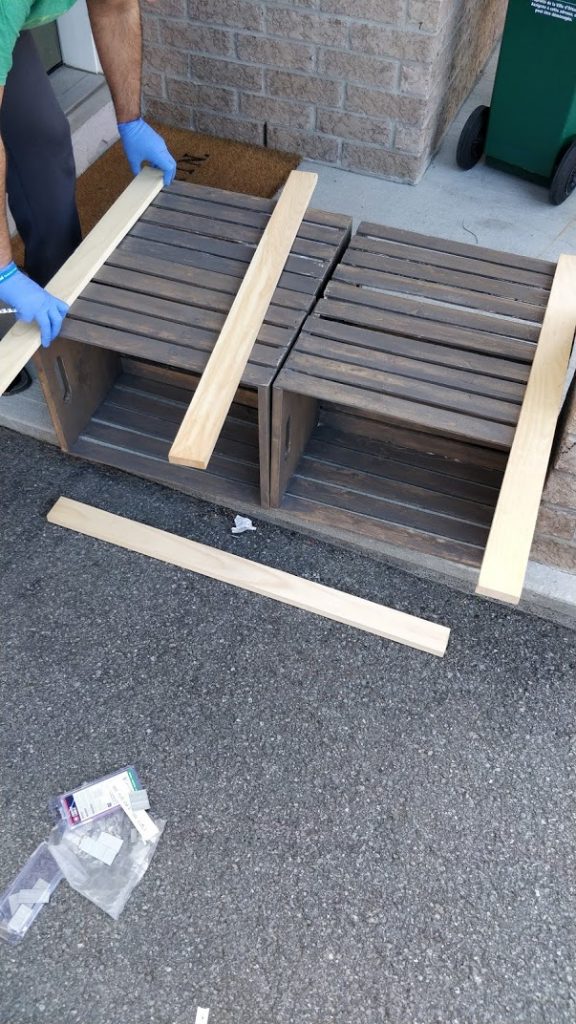
Use 1 x 4 pieces of lumber, measure and cut the wood using a saw.

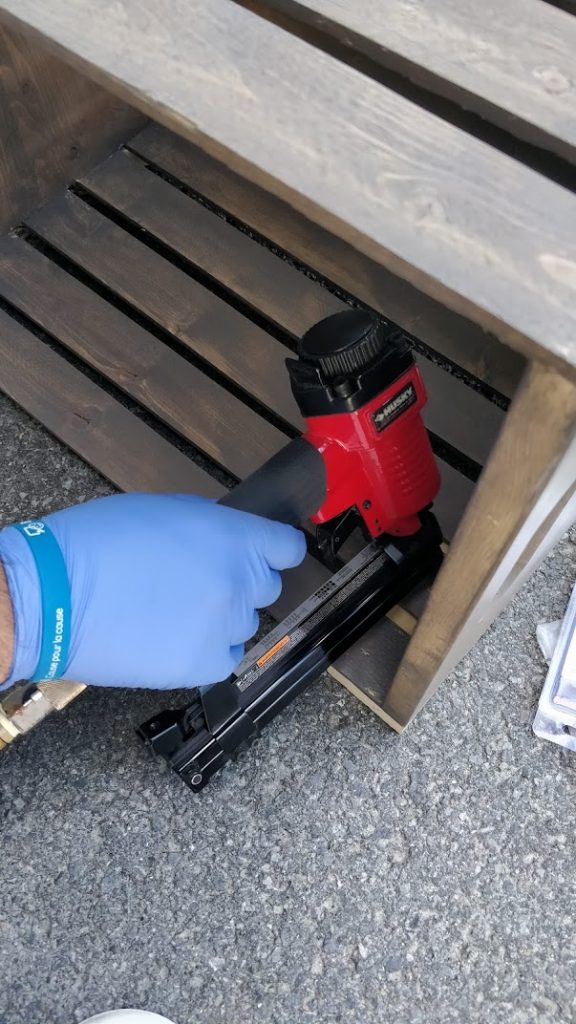
Use a nail gun to nail the crates into the base. You will need to flip over the crates to do this step.
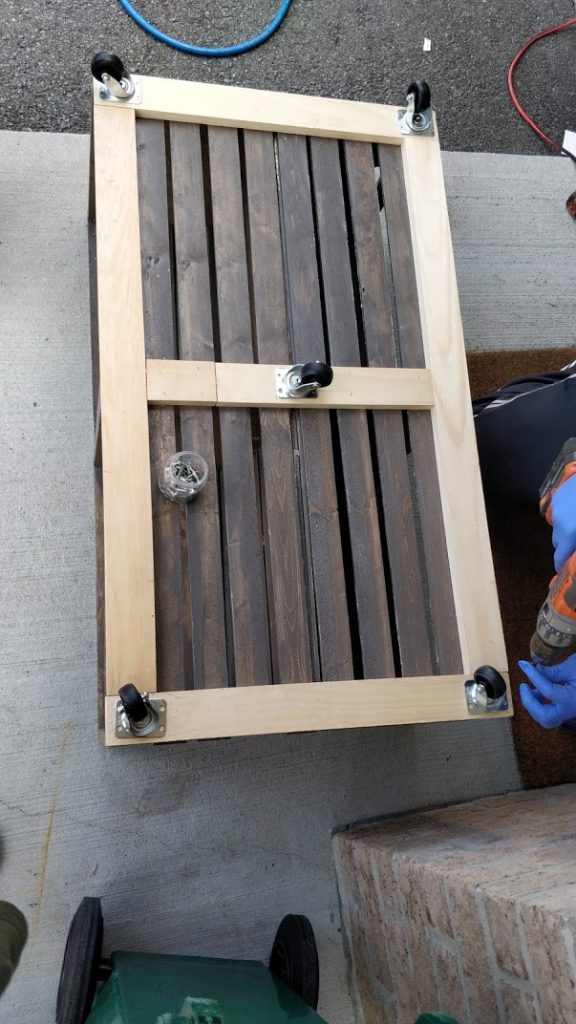
Once your frame is all nailed to the crates you can screw in the wheels!
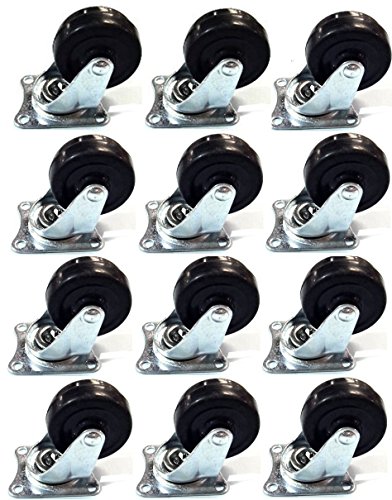
I used 2" castor wheels and found they were a perfect size. We used 5 of them. I wanted to add one in the center for extra support- but you don't have to, it should be fine with the 4 wheels with the frame.
Backyard Patio Makeover
I absolutely LOVED how this crate coffee table came out. I loved it so much it inspired me to decorate my backyard patio a bit and inject a bit more color into it.
We're spending much more time at home these days, so it was an investment that pays back in joy. Who doesn't feel happier being in a bright, cheerful, and welcoming space?
I was inspired to inject bright bold colors into my outdoor space from my fellow blogger friend's guide on how to decorate your deck or patio. Check out her post for more inspo!
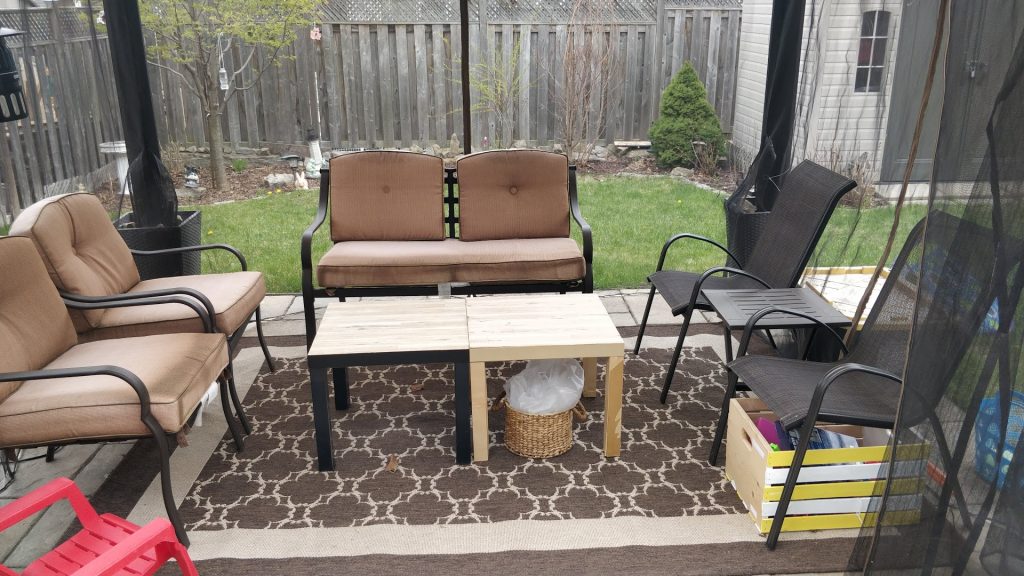
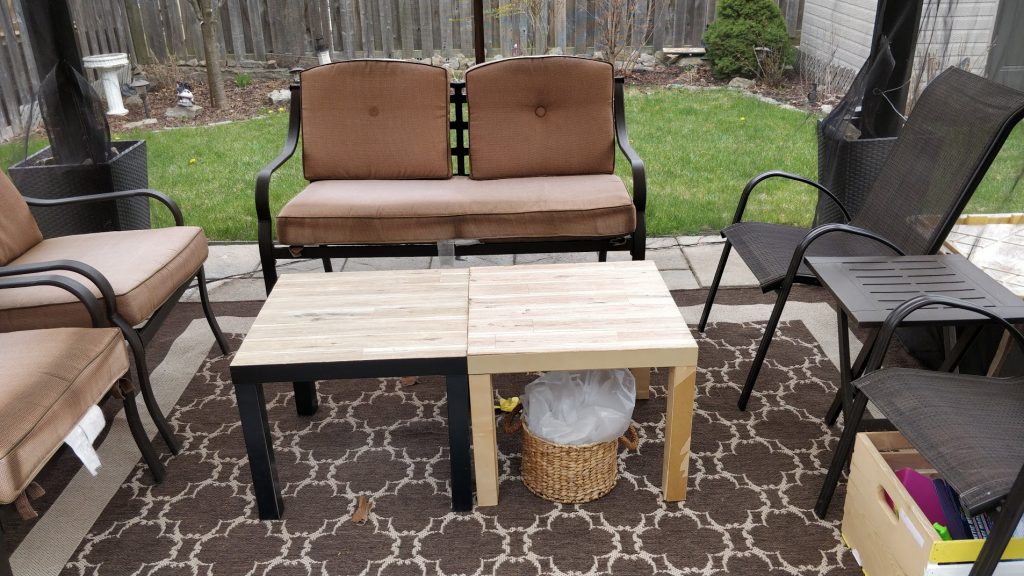
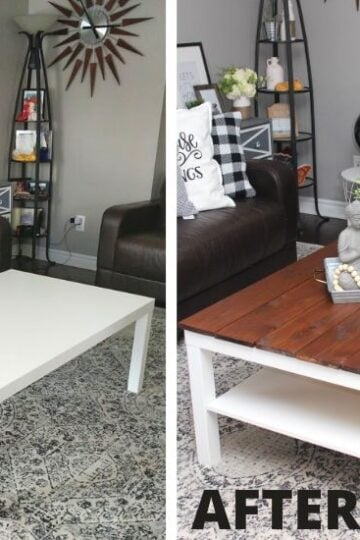
BEFORE
The before picture of my patio (before my crate table and decor) is below.
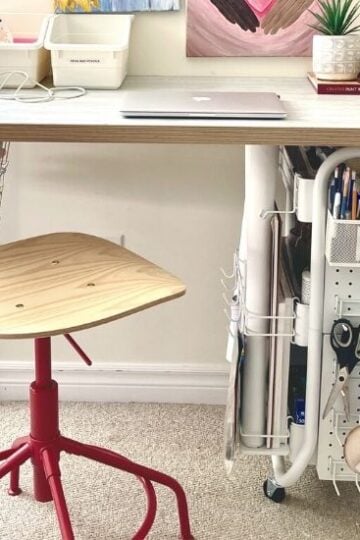
I used to have 2 Ikea Lakh tables as a coffee table hack, which I got free from my local Buy Nothing Group. But I soon learned these babies can't be kept outdoors. They got some water damage on the legs, hence why I created my DIY outdoor coffee table.
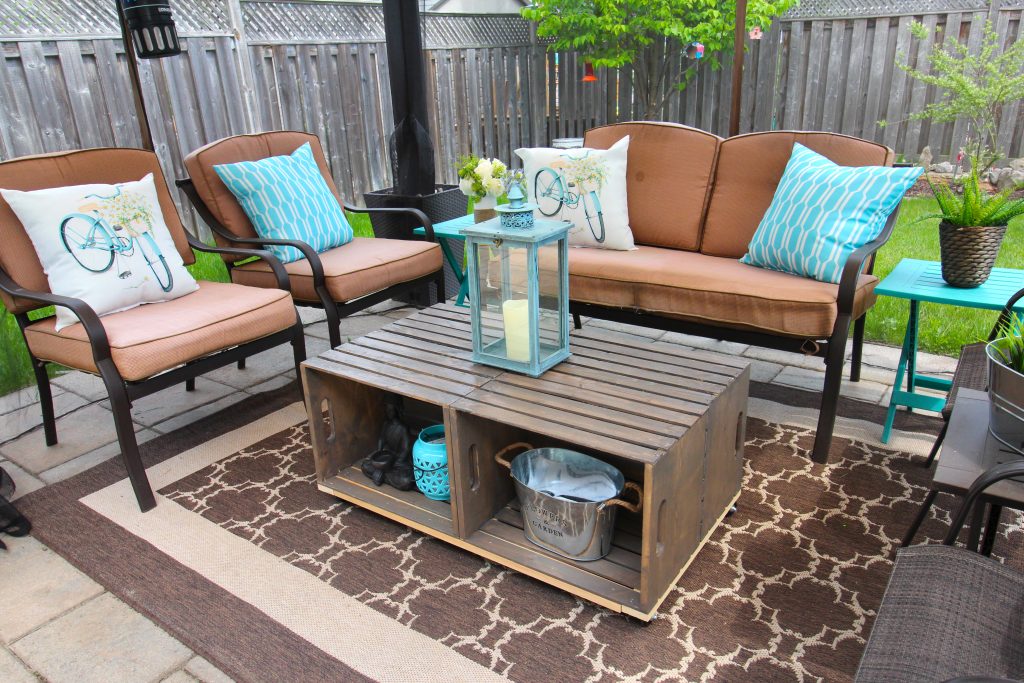
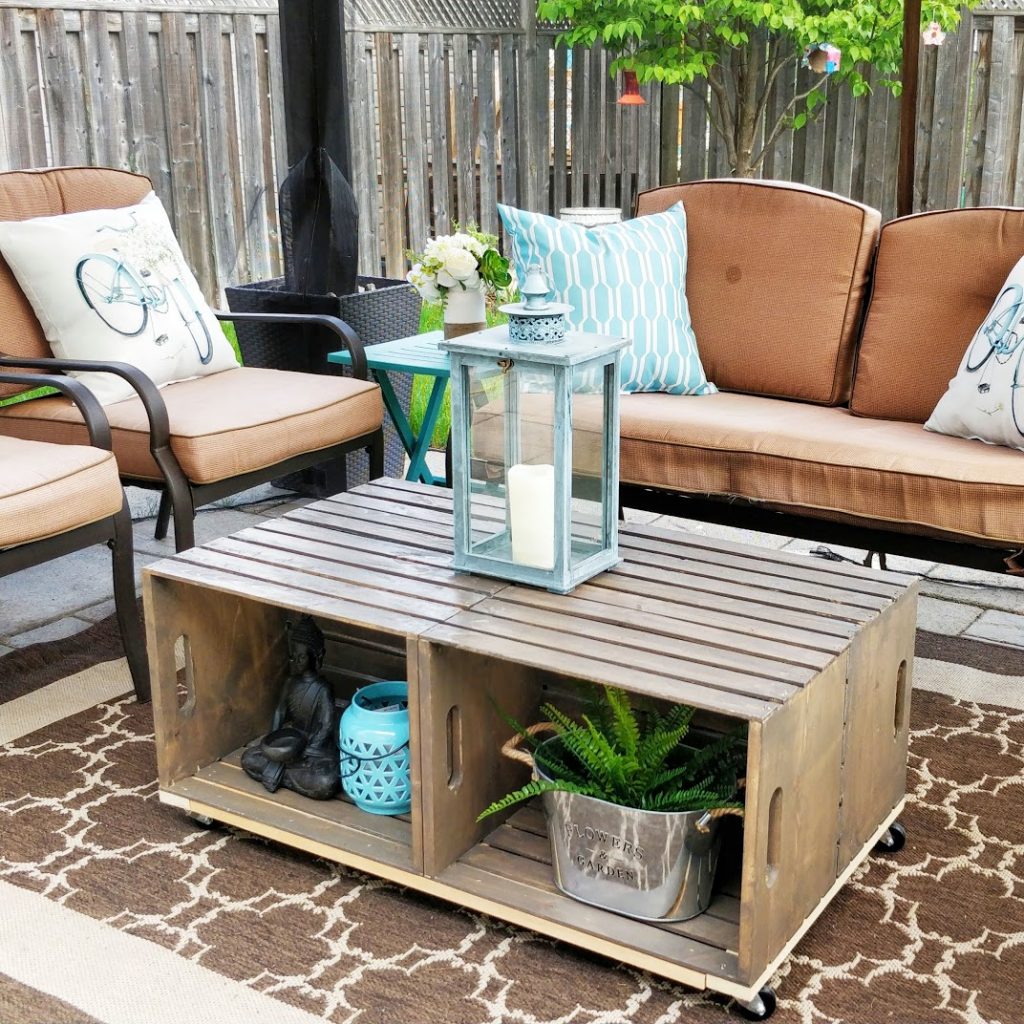
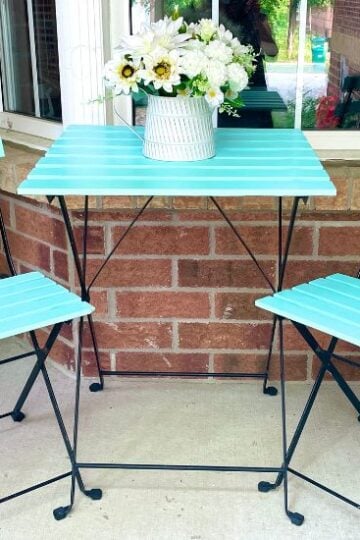
AFTER
Here are the after pics! I added a new DIY crate coffee table, pillows, cute turquoise plastic side end tables, and some decor items from the Dollarstore/Walmart.

DIY Crate Coffee Table

Make this easy, cheap and beautiful rustic DIY crate coffee table
Materials
- -4 18 inch wooden rectangle crates
- -5 1X3 wood pieces (40 inches long)
- -5 castor wheels
- -wood stain/ outdoor sealer
- -large paintbrush and old rag
Tools
- nailgun
- saw
Instructions
- Stain/seal all 4 wooden crates. See above for details on alternative options and color of the stain used.
- Once crates are dried assemble them with the bottom of the crates facing back to back. All 4 crates should form a rectangular shape.
- To form the base: Measure the length and width of your coffee table and cut your 1x3 pieces accordingly. Remember, they will overlap at the edges. (See pictures above for the base we made)
- Using your nailgun, nail the base to the crates.
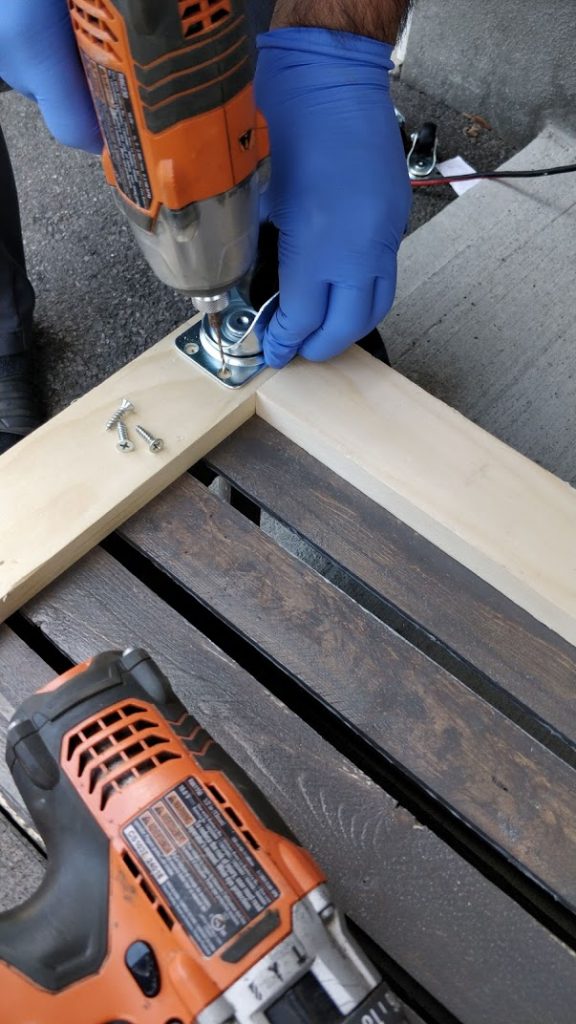
- Take 5 castor wheels and place them on each corner and 1 in the middle. Take screws and screw in the castor wheels into the base.
- You're done! Flip your table over and enjoy it!
Recommended Products
As an Amazon Associate and member of other affiliate programs, I earn from qualifying purchases.
-
 NuMax S2-118G2 Pneumatic 2-in-1 18-Gauge 2" Brad Nailer and Stapler Ergonomic and Lightweight Combo Brad and Staple Gun with Tool-Free Finger Depth Adjust
 -
MegaDeal 12 Pack 2" Swivel Caster Wheels Rubber Base with Top Plate & Bearing Heavy Duty
-
MPI WOOD Large Crate, Natural, 18" x 12.5" x 9.5"
-
Varathane 313608 Premium Fast Dry Wood Stain, 32 oz, Briarsmoke
-
Rust-Oleum 250241H Ultimate Spar Urethane Water Based, Quart, Satin Finish
-
Thompson's TH.042841-16 Waterseal Waterproffing Stain - Semi Transparent, Acorn Brown, 1 gallon
-
Prestige, Greens and Aquas 7 of 9, Exterior Paint and Primer In One, 1-Gallon, Semi-Gloss, Mint Frost


If you liked this post, please pin it!
Jasmine, I totally love this idea! Think I’ll make one for a coffee table in my living room. Thanks!
Thanks so much Peggy! Hope you enjoy making the table 🙂
Cheers,
Jasmine
In the tutorial you said you used a staple gun but in the supply list you said nail gun… which is it?
Hi Syd,
I will fix that in the instructions, it's a nail gun and not a staple gun. Thank you for letting me know about that. Hope it helps.
Cheers,
Jasmine