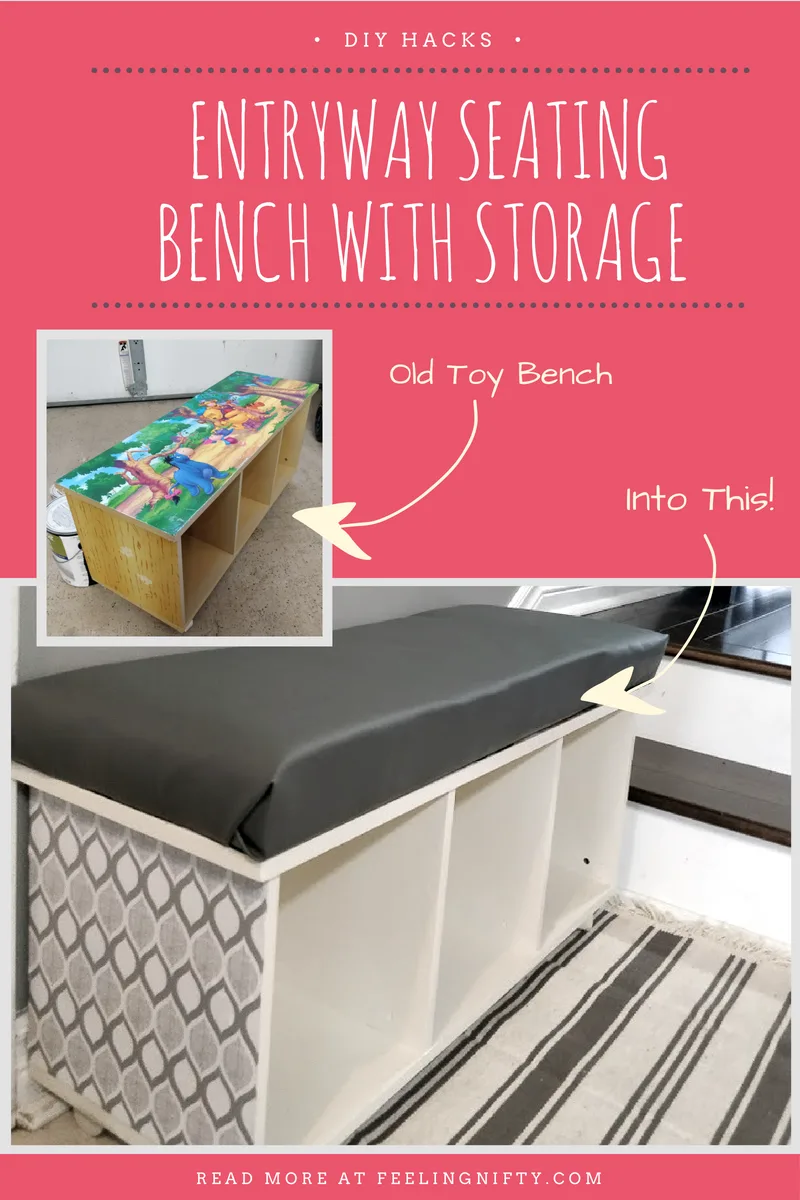
Transform an old toy shelf into this DIY cubby storage solution that’s perfect for small spaces!

School’s have it right. They have hundreds of kids, and along with that, hundreds of shoes, jackets, and bags they have to house daily. They use a system that works: cubby storage!
It prevents the chaos that would unfold if kids just flung their jackets shoes and backpacks anywhere after entering. This was the inspiration behind my DIY cubby storage project.
I wanted to recreate the cubby solution at home and add a bit more order to my current chaotic entry area. The area isn’t huge, so I had to look for something small but functional.
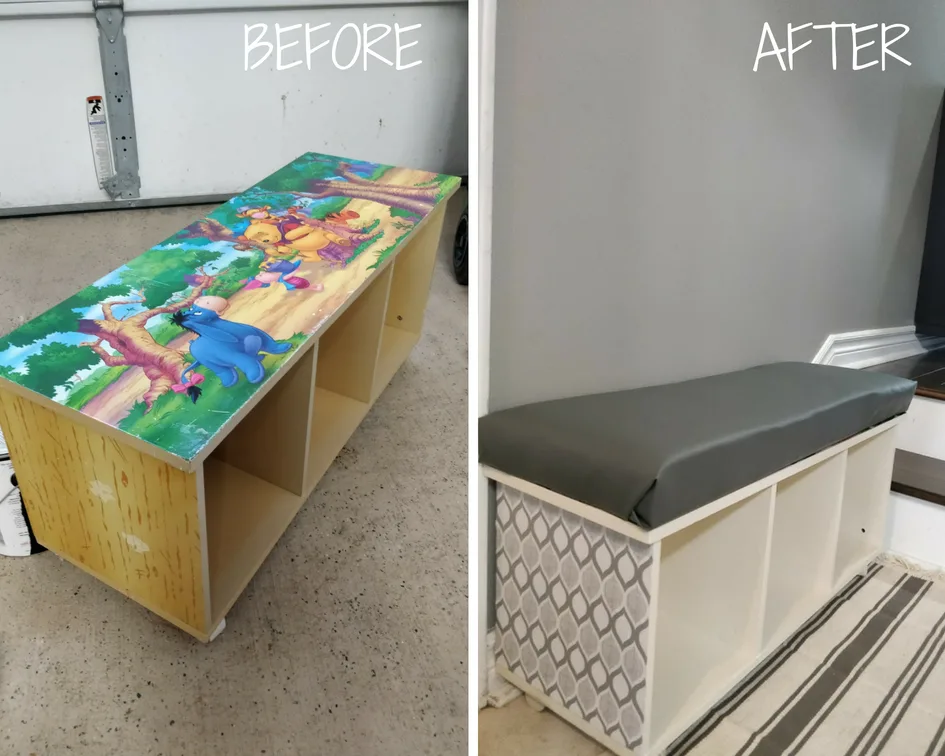
The entryway benches sold in stores were too large, so I had to improvise. I found an old Disney Winnie The Pooh toy storage bench on Kijiji for $10 that fit perfectly in the small space.
I could have left as is but I decided to revamp it and add a plush seating cushion to the top. Here’s how I did it:

Materials List
Step by Step Guide
Step 1
The Disney shelf came with a challenge in terms of painting it.
The outer part of the shelf where you see the colorful graphics was actually a layer of laminate on top of the wood.
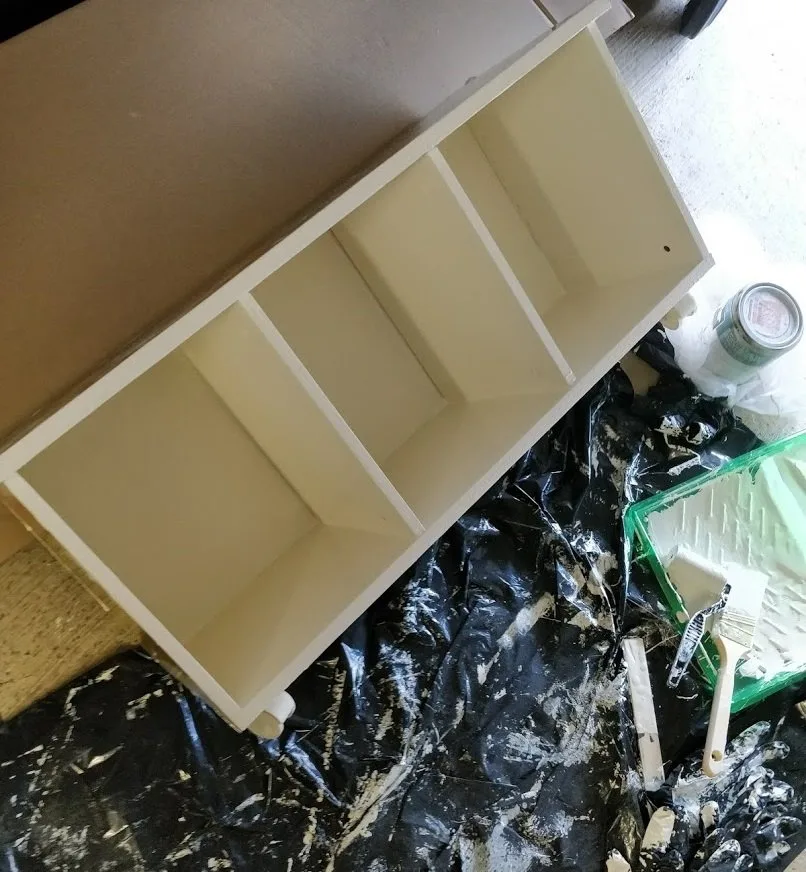
The inner part of the shelf (insides of the cubbies) was painted wood , which I easily painted over with some off-white latex paint I had lying around.
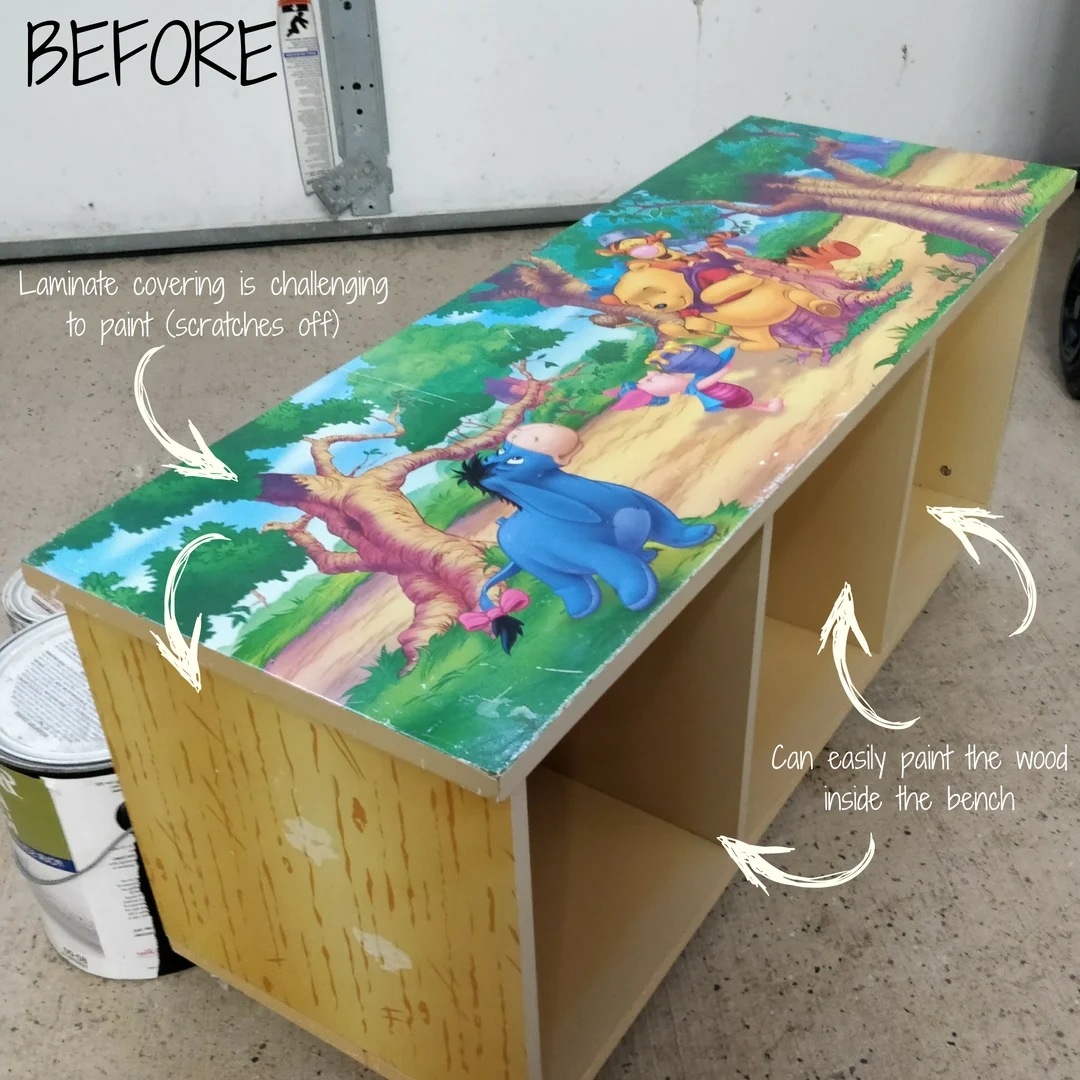
Paint the non-laminate portion of the bench with 2 coats of laytex paint
I couldn’t paint the laminate portion. Essentially, if you paint directly on top of laminate it scratches off pretty darn easily.
This is because laminate has a slick and non-porous surface. The way to make the paint bond properly to laminate is to first sand, then prime and finally paint it.
I chose not to, and came up with an easier and faster way. If you want to learn the right way to paint laminate, check out Designer Trapped post on how to paint Ikea furniture.
.Instead of painting it, I used another handy hack! I found a nicely patterned shelf liner that costed me less than $5 for the entire roll. It was self adhesive so I measure and cut it with the measurements of my shelf sides, then stuck it on.
It was easy!
Upholster the cushion portion on the top of the bench and stick in on top. You can see step-by-step instructions on how to do this in my Ikea hack kitchen storage bench
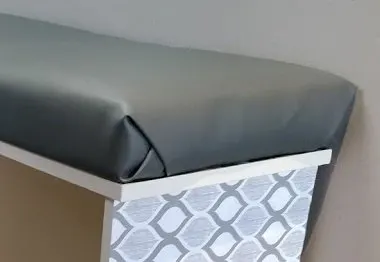
And voilà, a functional and pretty DIY cubby storage bench for the kids which costed me $30 (including the bench)!
Some before and after’s of the DIY cubby storage solution:
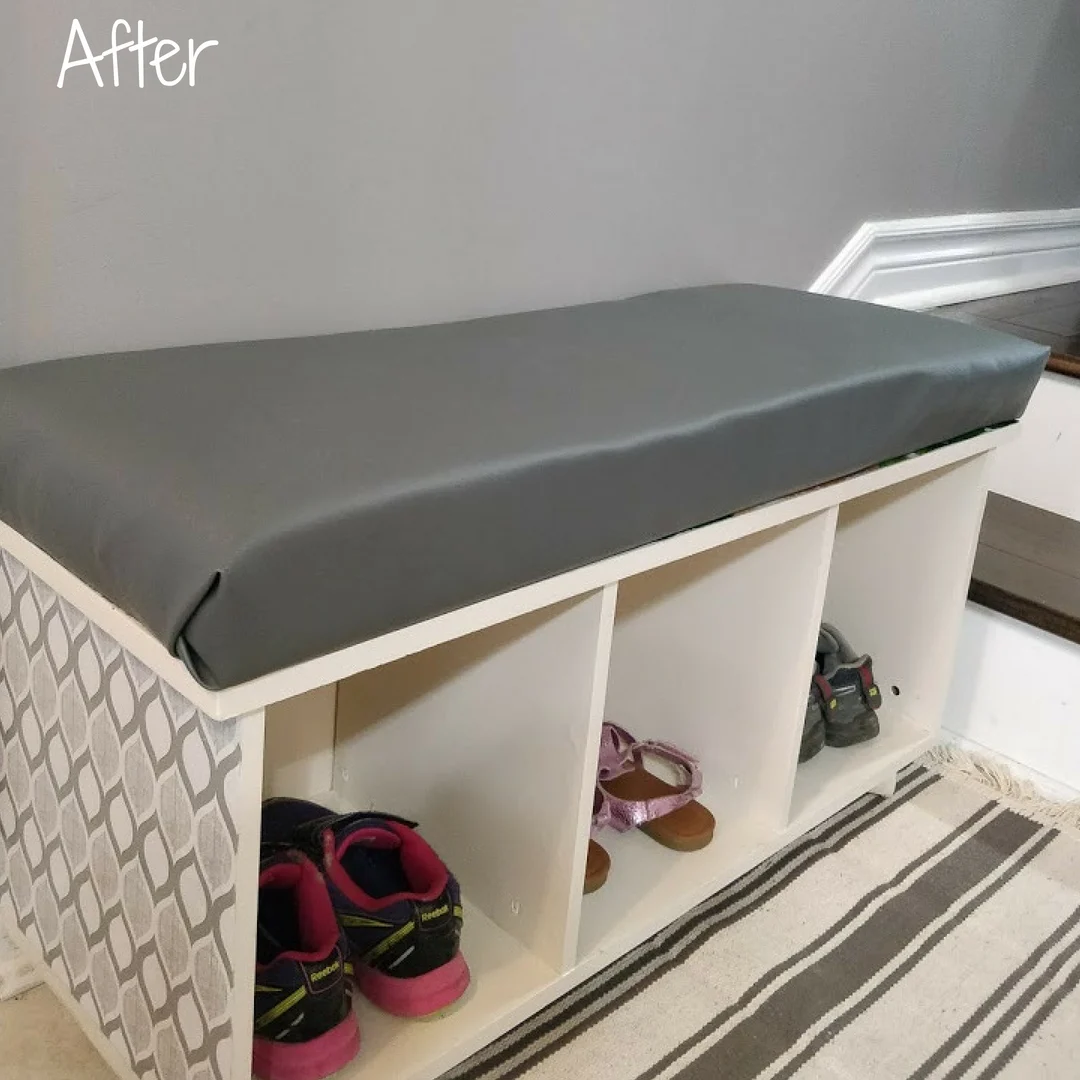
Extra: Now that their shoes had a place other than any random area on the floor, I wanted to tackle jackets and hats. For those, I added inexpensive hooks at their level, so that they could grab and put back independently. This finishes off the DIY cubby storage bench hack with some extra kid friendly organization ideas!
If you liked this post, pin it!