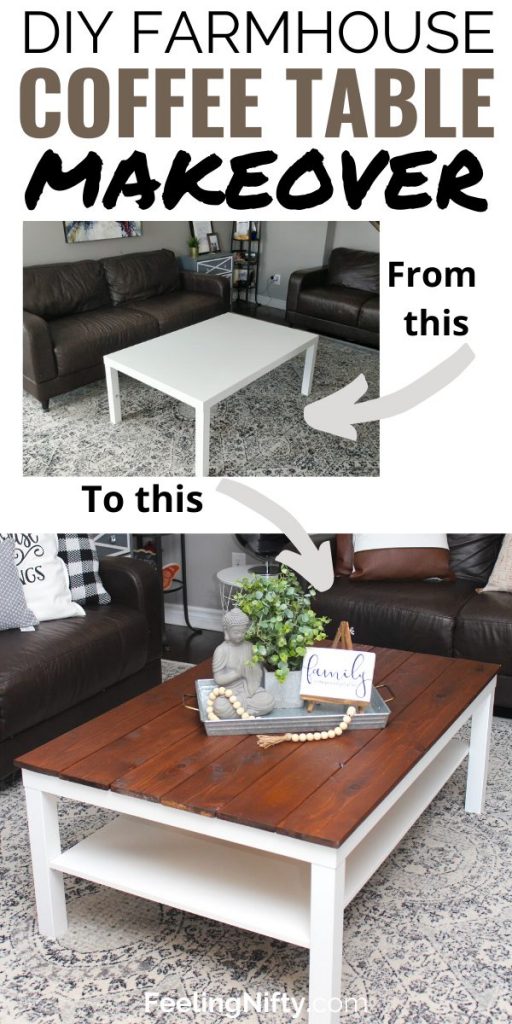
DIY Farmhouse Coffee Table: Ikea Hack Makeover
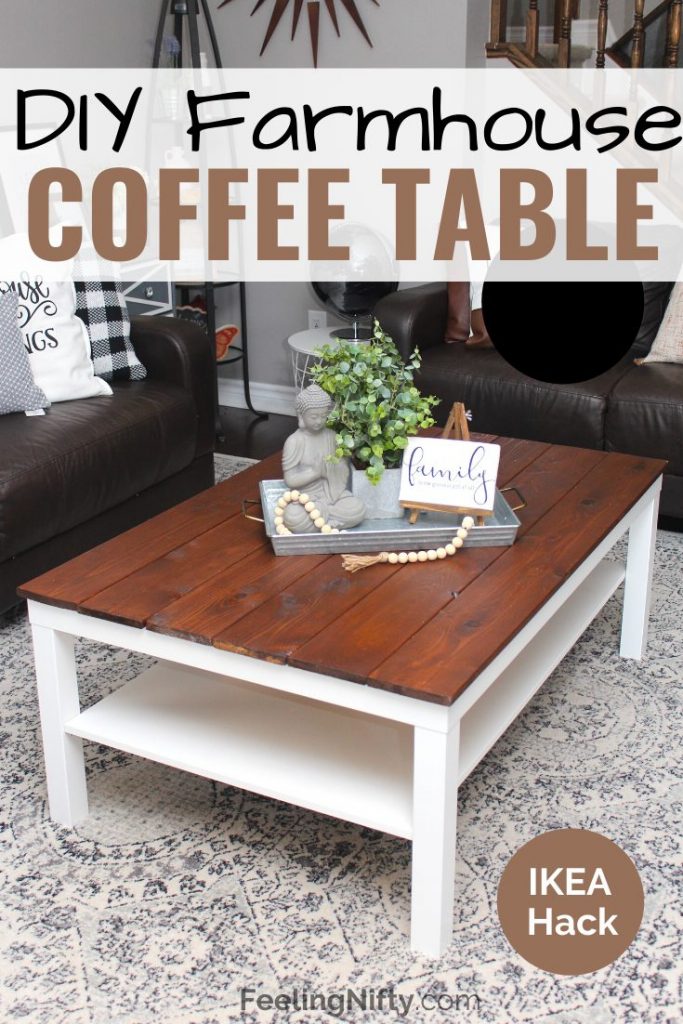
Do you love Ikea Hacks and Farmhouse Decor? Then this DIY Farmhouse Coffee Table project is for you!
This project is super easy, can be done without any power tools and completed in a weekend. Another benefit of going the DIY route is that you can stain your wood to your liking so that it fits your tastes.
DIY Farmhouse Coffee Table with a Twist!
If you're read any of my DIY farmhouse decor posts, you'll know that I've been slowly transforming my interior with more rustic pieces.
One of the projects I had at the back of my head was a big, beautiful rustic coffee table that would really bring our family room together.
And I love real wood, so I knew it had to have some wood to it.
One of the options was to buy one, but I enjoy a good DIY and saving money so I decided to craft one together- but not completely from scratch. Which is where the Ikea hack part comes in!
I researched a bit and found that the Ikea Lack Coffee Table was the perfect dimensions, easy to put together and inexpensive. Since the Lack coffee table is plain and simple, I could spruce it up with some beautiful wooden ¼" planks on the top!
TIP: We used ¼" cedar fencing planks and had Home Depot cut them to the measurements of the table in store.
Here's a before shot of the Ikea Lack Table in our space
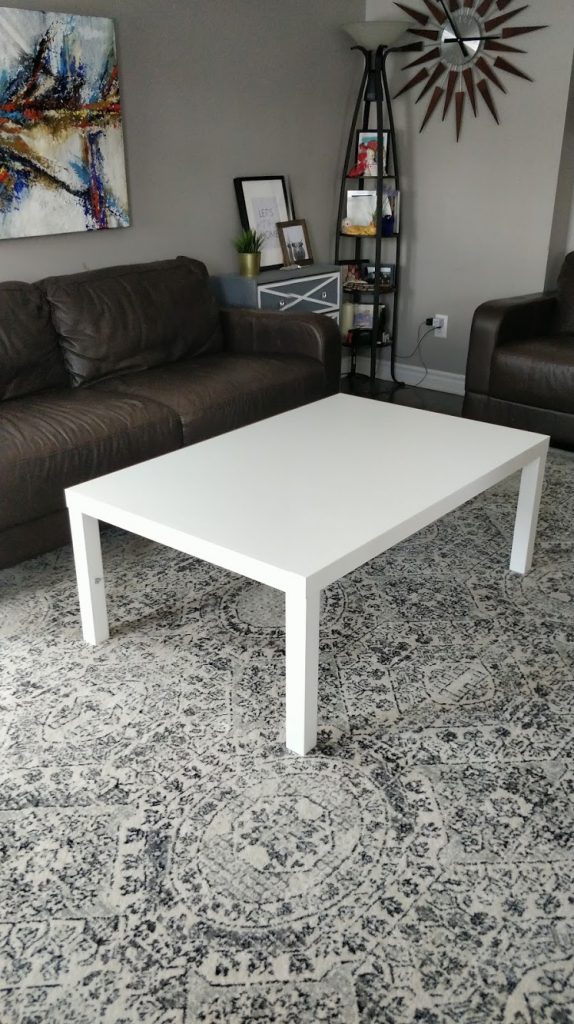
This hack made it much easier and faster to put the table together and no power tools needed! I measured the length of the Ikea Lack and asked the clerks at Home Depot to cut the wooden planks lengthwise before I left the store.
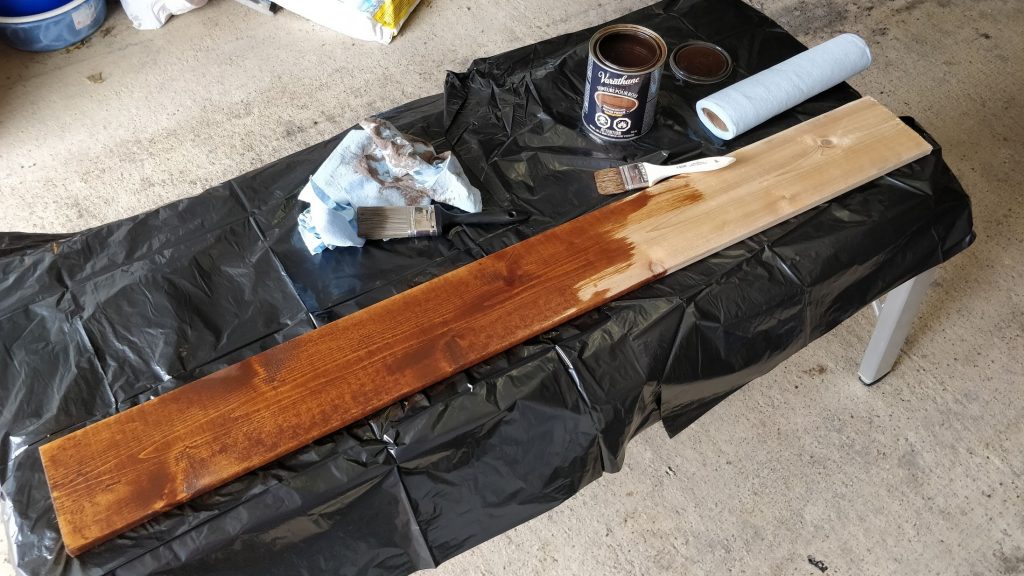
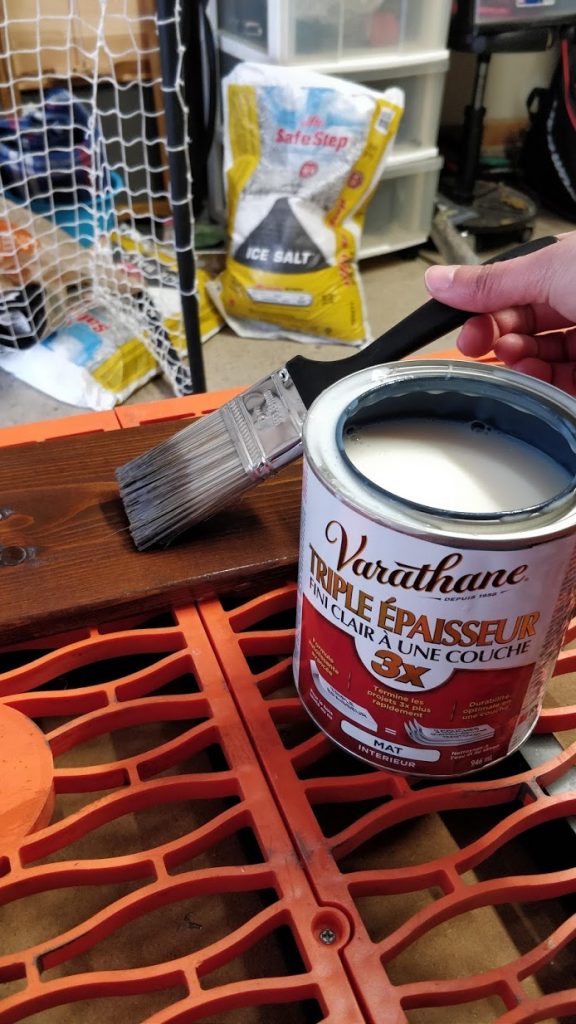
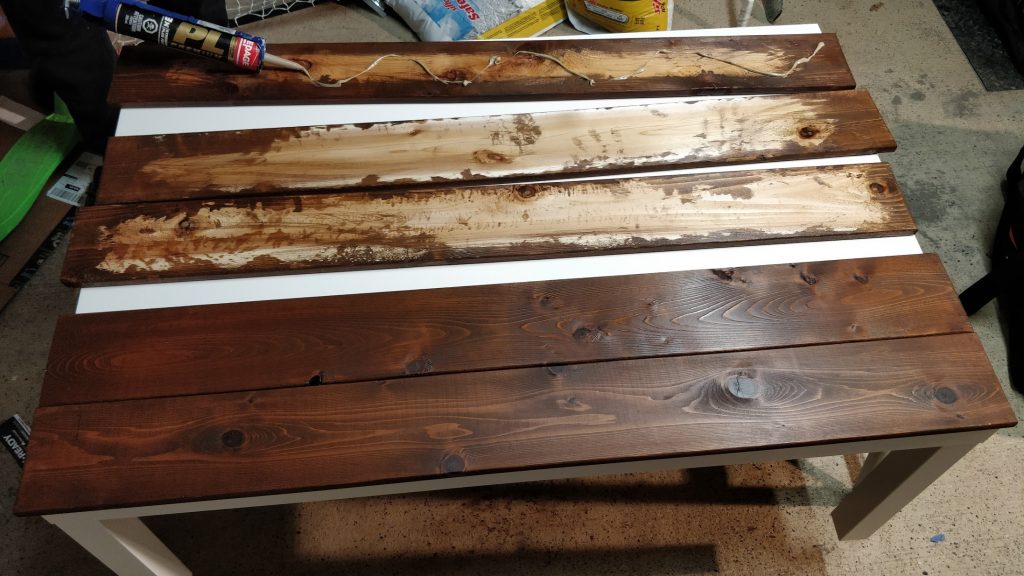
When we got home, I started staining the planks with this stain. I like this Varathane stain because I still want to see the beauty of the wood grain. This stain is very thin and not thick like others I've used, so I can control how much of the grain shows through by limiting the amount of coats. For this project I used 2 coats to get a nice rich color but still be able to see the wood grain.
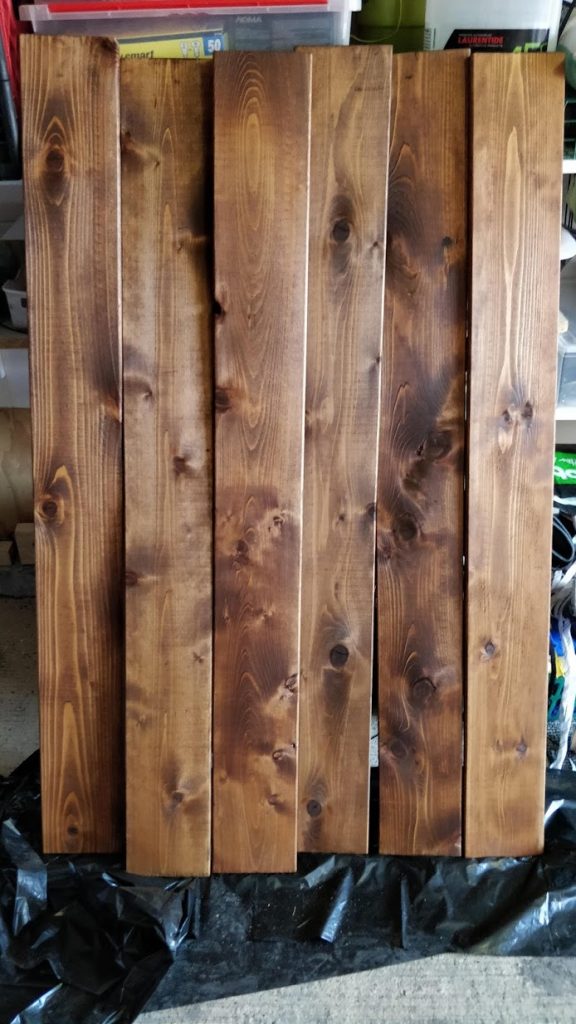
Once the planks were stained and fully dried, I used this sealer to seal the wood. If you don't seal your wood, then any moisture (think spilled coffee or drinks) will seep and potentially rot the wood.
The sealer I used its triple thick so only 1 coat was needed, which definitely cut down drying time. I also made sure I picked a "matte" finish. There are other finishes like glossy, semi-gloss and satin, but I was going for a rustic look so I chose the matte finish.
Once the sealer was fully dried, it was time to glue the planks to the table top!
Since we chose not to nail the planks down to the table we used a very strong construction grade adhesive, like this one. To ensure the glue dried with a strong hold we used clamps, like these, to add pressure from he planks to the table, and left it overnight while it dried.
Another option is to carefully flip the table upside down and put some weights on it, in lieu of the clamps.
Once dried, the glue forms a very strong bond and no nails are needed.
Love not having to use power tools! YAY!
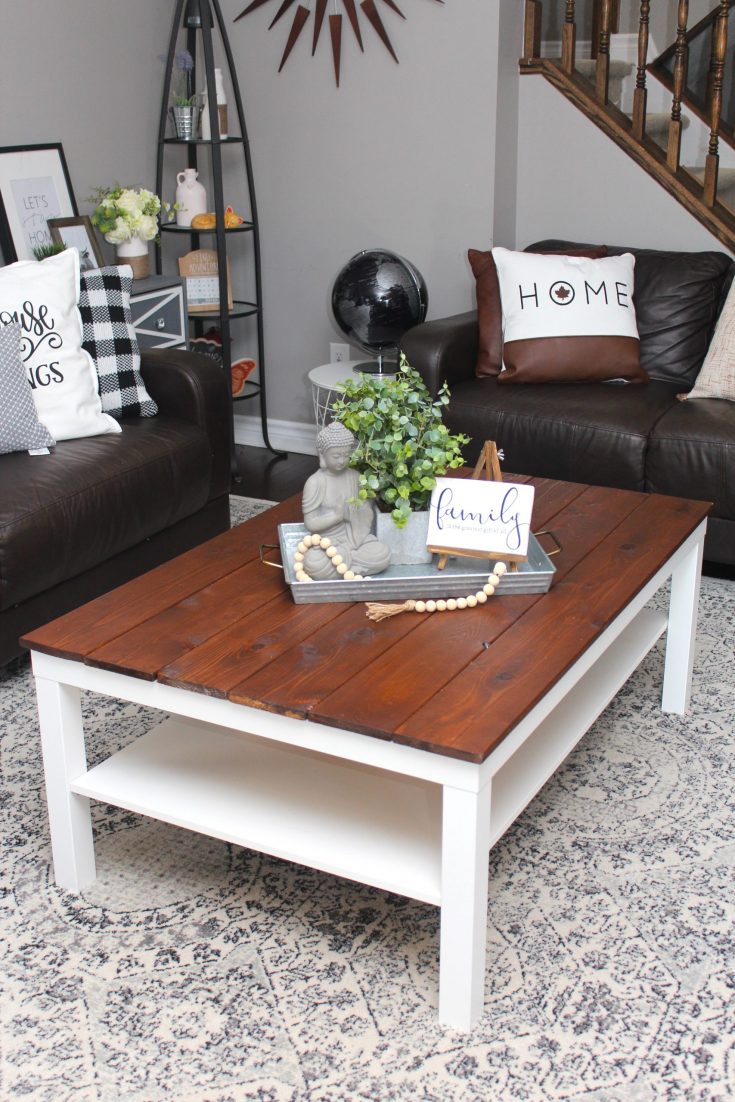
The next morning the glue was dried and the table was ready to be added back into our family room!
And I absolutely love it!
It's the perfect amount of rustic and I LOVE my wooden planks. I can see the grain and knots of the cedar which I just love! The other nice thing about the Ikea Lack table is it has a shelf underneath, that you can use to store things. I stored some of our family board games on it and now they're easily accessible to grab and play!
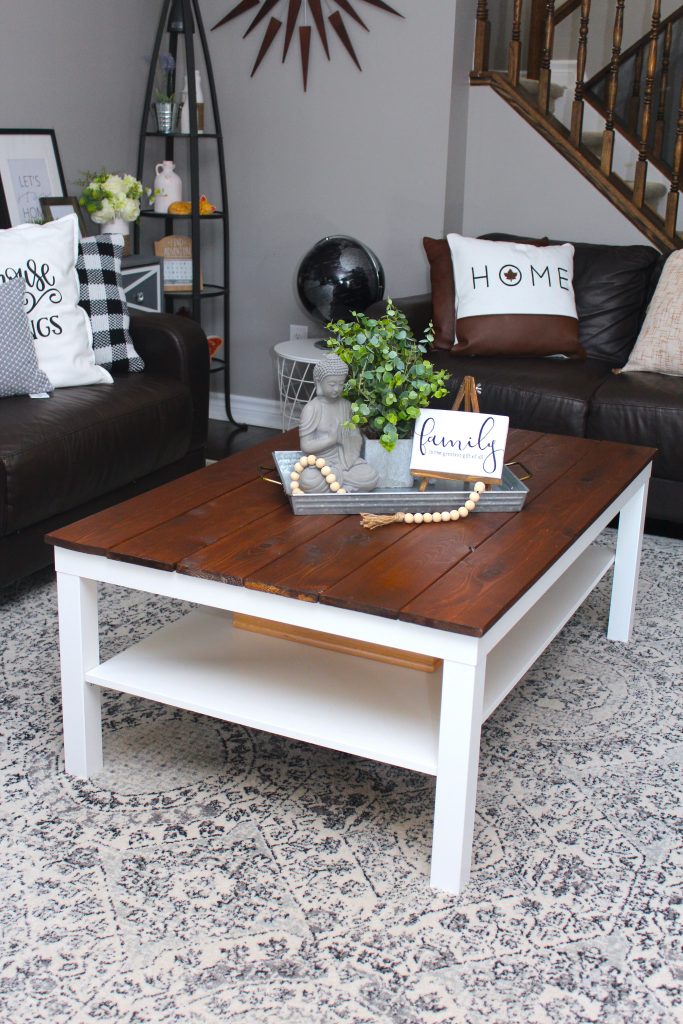
The total cost of this DIY farmhouse coffee table including a brand new Ikea Lack table was $90.
Coffee Table Decor Ideas with Farmhouse Flair
Adding a simple centrepiece to your coffee table is an easy way to add some decor into your space.
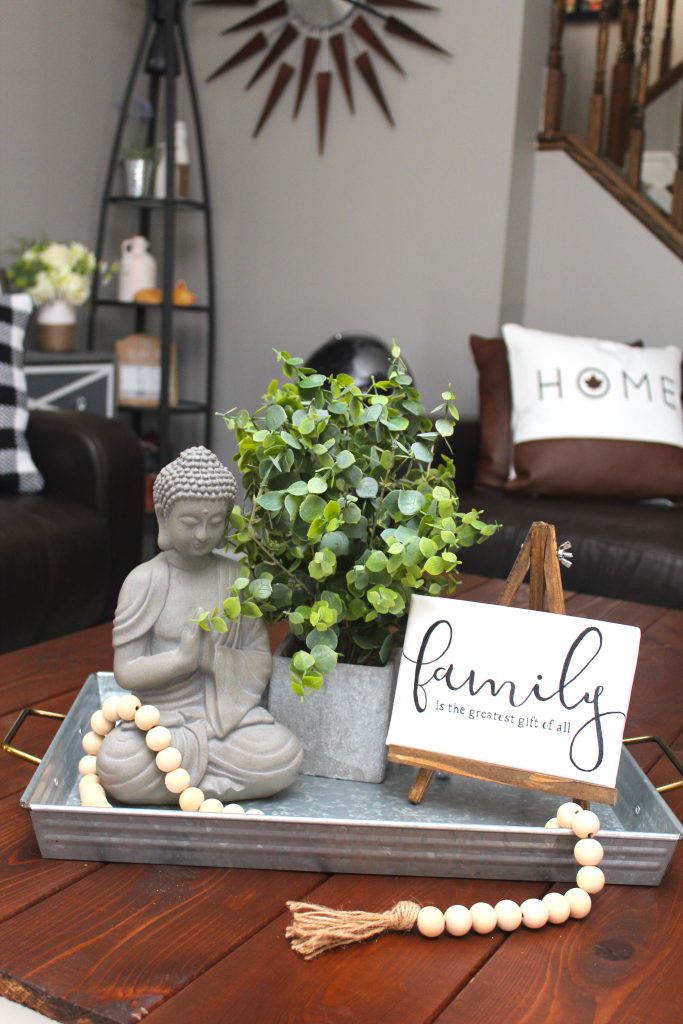
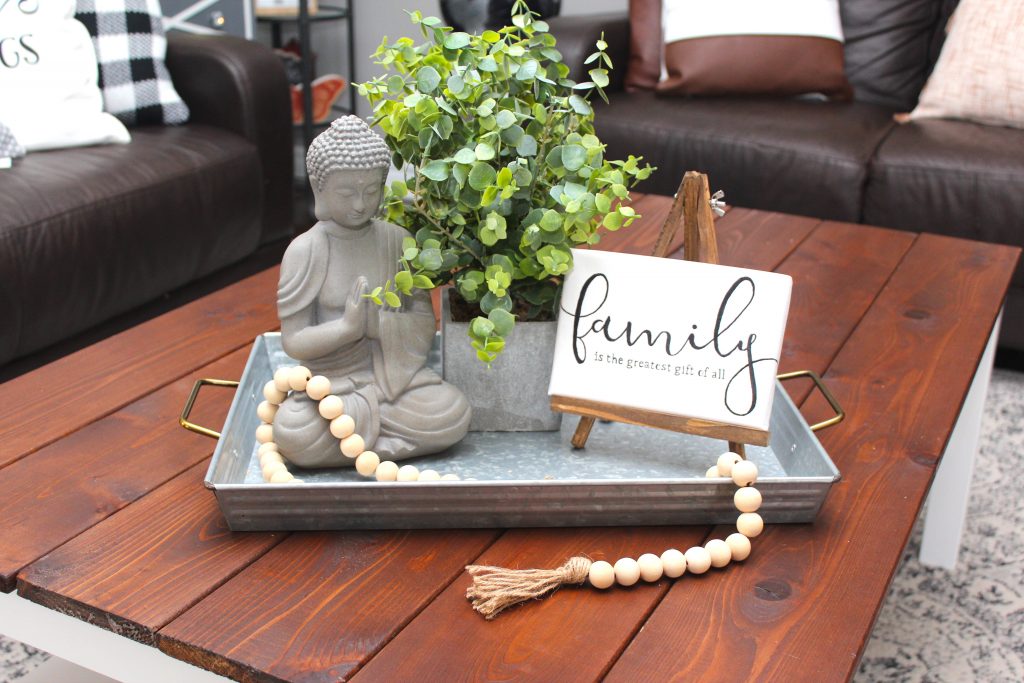
If you want to use multiple small decor pieces as your centrepiece, then using a galvanized tray really brings them all together and makes it look cohesive and neat. Which is what I did.
I found a beautiful stone buddha statue at my local Walmart and wanted that in my space since it evokes a sense of calmness for me.
Along with the buddha I added other items I love that had some "rustic-ness" to them: a faux eucalyptus plant, a wooden hand lettered sign I made using a Dollarstore mini canvas/easel along with a DIY wooden bead garland.
After placing all the items on the galvanized tray it really brought the centrepiece together.
Another budget-friendly option is to add some cute FREE farmhouse art to your coffee table vignette. Check out Lisa's (from aCountryGirlsLife.com) super chic free Farmhouse printable art. Just print, frame and you've got a cute coffee table decor addition!
No matter how you choose to decorate your coffee table, make sure you truely love each piece.
It's the is the best way to decorate, in my opinion.
Pick items that mean something or that make you feel a certain way. Or items that you just love.
If might take some time to collect them, but it will make a huge difference in term of mood and ambiance in your space.
DIY Farmhouse Coffee Table Ikea Hack
Make this easy and inexpensive DIY coffee table with farmhouse style.
Materials
- Ikea Lack Coffee Table
- 6 standard size cedar fence planks cut to length of table
- Interior Wood Stain
- Interior Matte Wood Sealer (Top Coat)
- Construction Adhesive
Tools
- Clamps
- 2" Paintbrush
Instructions
- Have your wooden planks cut to length of your table. I left a ½" overhang on each side, so I got them cut 1" longer than the table.
- Stain your planks with your choice of stain. Follow the instructions on the can of stain. I used 2 coats of stain to achieve a rich color that also allows the wood grain to show through.
- Leave the stained wood to dry in a dry area out of direct sunlight
- Once dried, paint on a coat of water-resistant sealant to prevent your wood from rotting. Check out drying times on your can of sealer.
- Flip your planks upside down and add your adhesive to the bottom of each plank and place them one by one onto the table top
- Once all planks are glued in place, take some clamps and clamp down the planks to the table. Add some heavy weights or other heavy object on the middle of the table where the clamps cannot reach. Alternatively, if you don't have clamps: carefully flip table upside down (you might need 2 people to do this to make sure the planks don't fall off), then add weights or other heavy objects to the underside of the table. Leave overnight.
- Once glue has dried overnight, your table is ready to use. Enjoy!
Recommended Products
As an Amazon Associate and member of other affiliate programs, I earn from qualifying purchases.
-
 Biedermann & Sons Stone Buddha Tealight Holder
 -
HomeRoots Mix Media Galvanized Tray with Rope Handles, Gray
-
Varathane 262025 Premium Fast Dry Wood Stain, ½ Pint, Dark Walnut
-
Rust-Oleum 302736 Triple Thick Polyurethane, Matte, 32 oz, Clear
-
Loctite PL Premium Polyurethane Construction Adhesive 10-Ounce Cartridge - 1390595 (Packaging May Vary)


If you liked this project, please pin it!