How to Draw Tulips: Easy Step-By-Step Tutorial For Beginners
Hey, art enthusiasts! Buckle up for a creative joyride because today, we're demystifying the art of how to drawing tulips, and guess what? It's easier than whipping up a bowl of cereal!
This step-by-step guide is designed for everyone, from kids armed with crayons to the seasoned pros itching to try a new technique.
Imagine creating a tulip masterpiece with the basic supplies already hanging out in your art stash – yes, it's that simple!
Whether you prefer the bold strokes of acrylic, the dreamy washes of watercolor, or the vibrant hues of crayons and markers, this guide is your go-to. We're talking about customizable tulips where your imagination holds the paintbrush. And if you're feeling the acrylics, check out this full step by step how to paint tulips in a jar tutorial.
If you're looking for more bloom inspired art, check out these 53 flower painting ideas or these drawing tutorials.
So, gather your art buddies, raid your supply drawer, and let's turn that blank canvas into a tulip wonderland using the simplest, most enjoyable steps you can imagine!
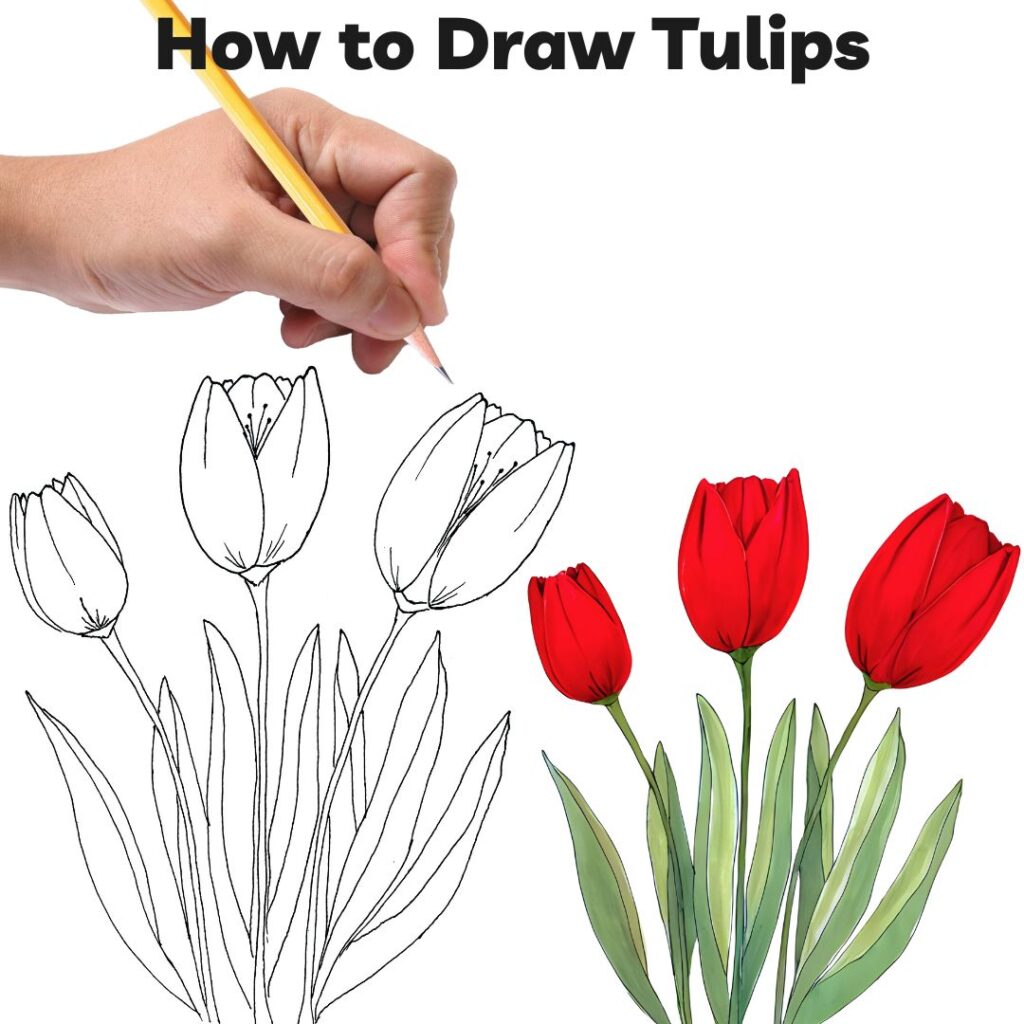
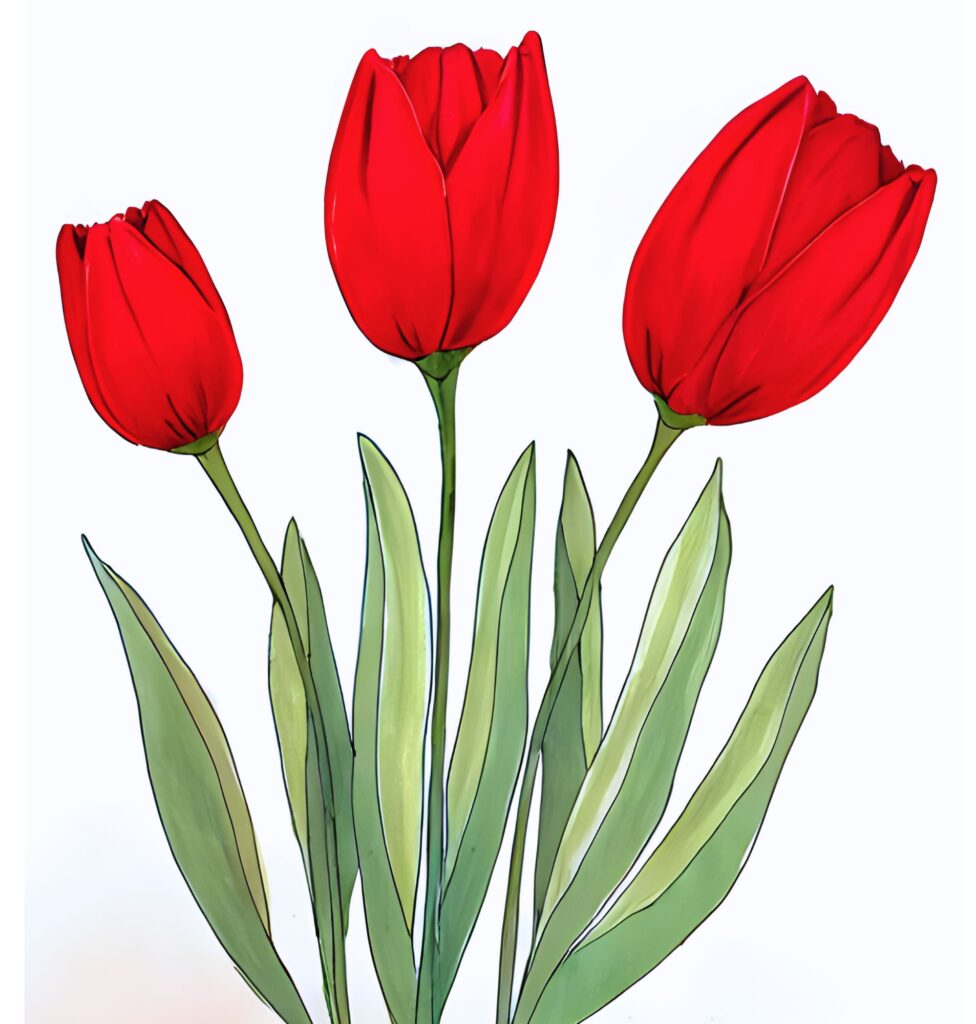
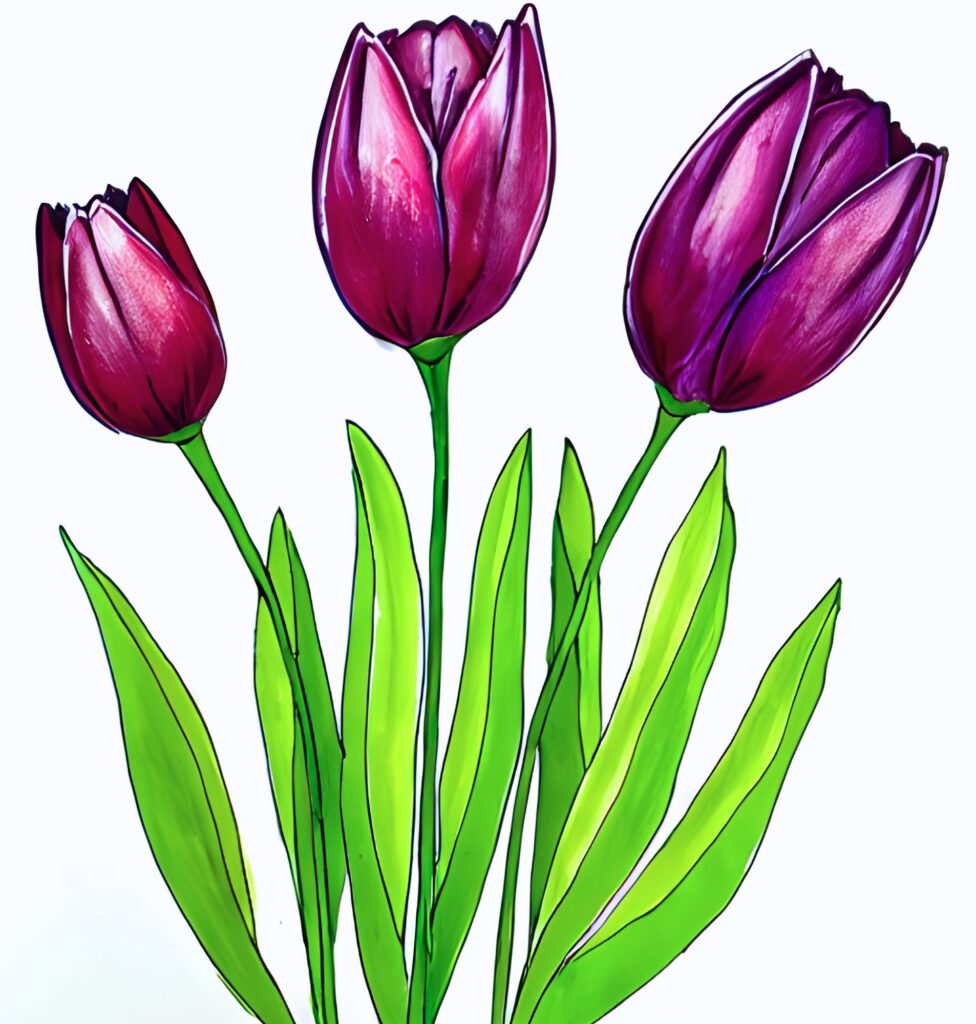
how to draw tulips

Learn how to paint tulips in this easy step by step guide. Learn how to draw the perfect shape and enjoy coloring it in with a variety of different colors.
Materials
- pencil
- piece of paper
- choice of coloring medium (watercolor paints, acrylics, crayons, markers, pencil crayons)
Instructions
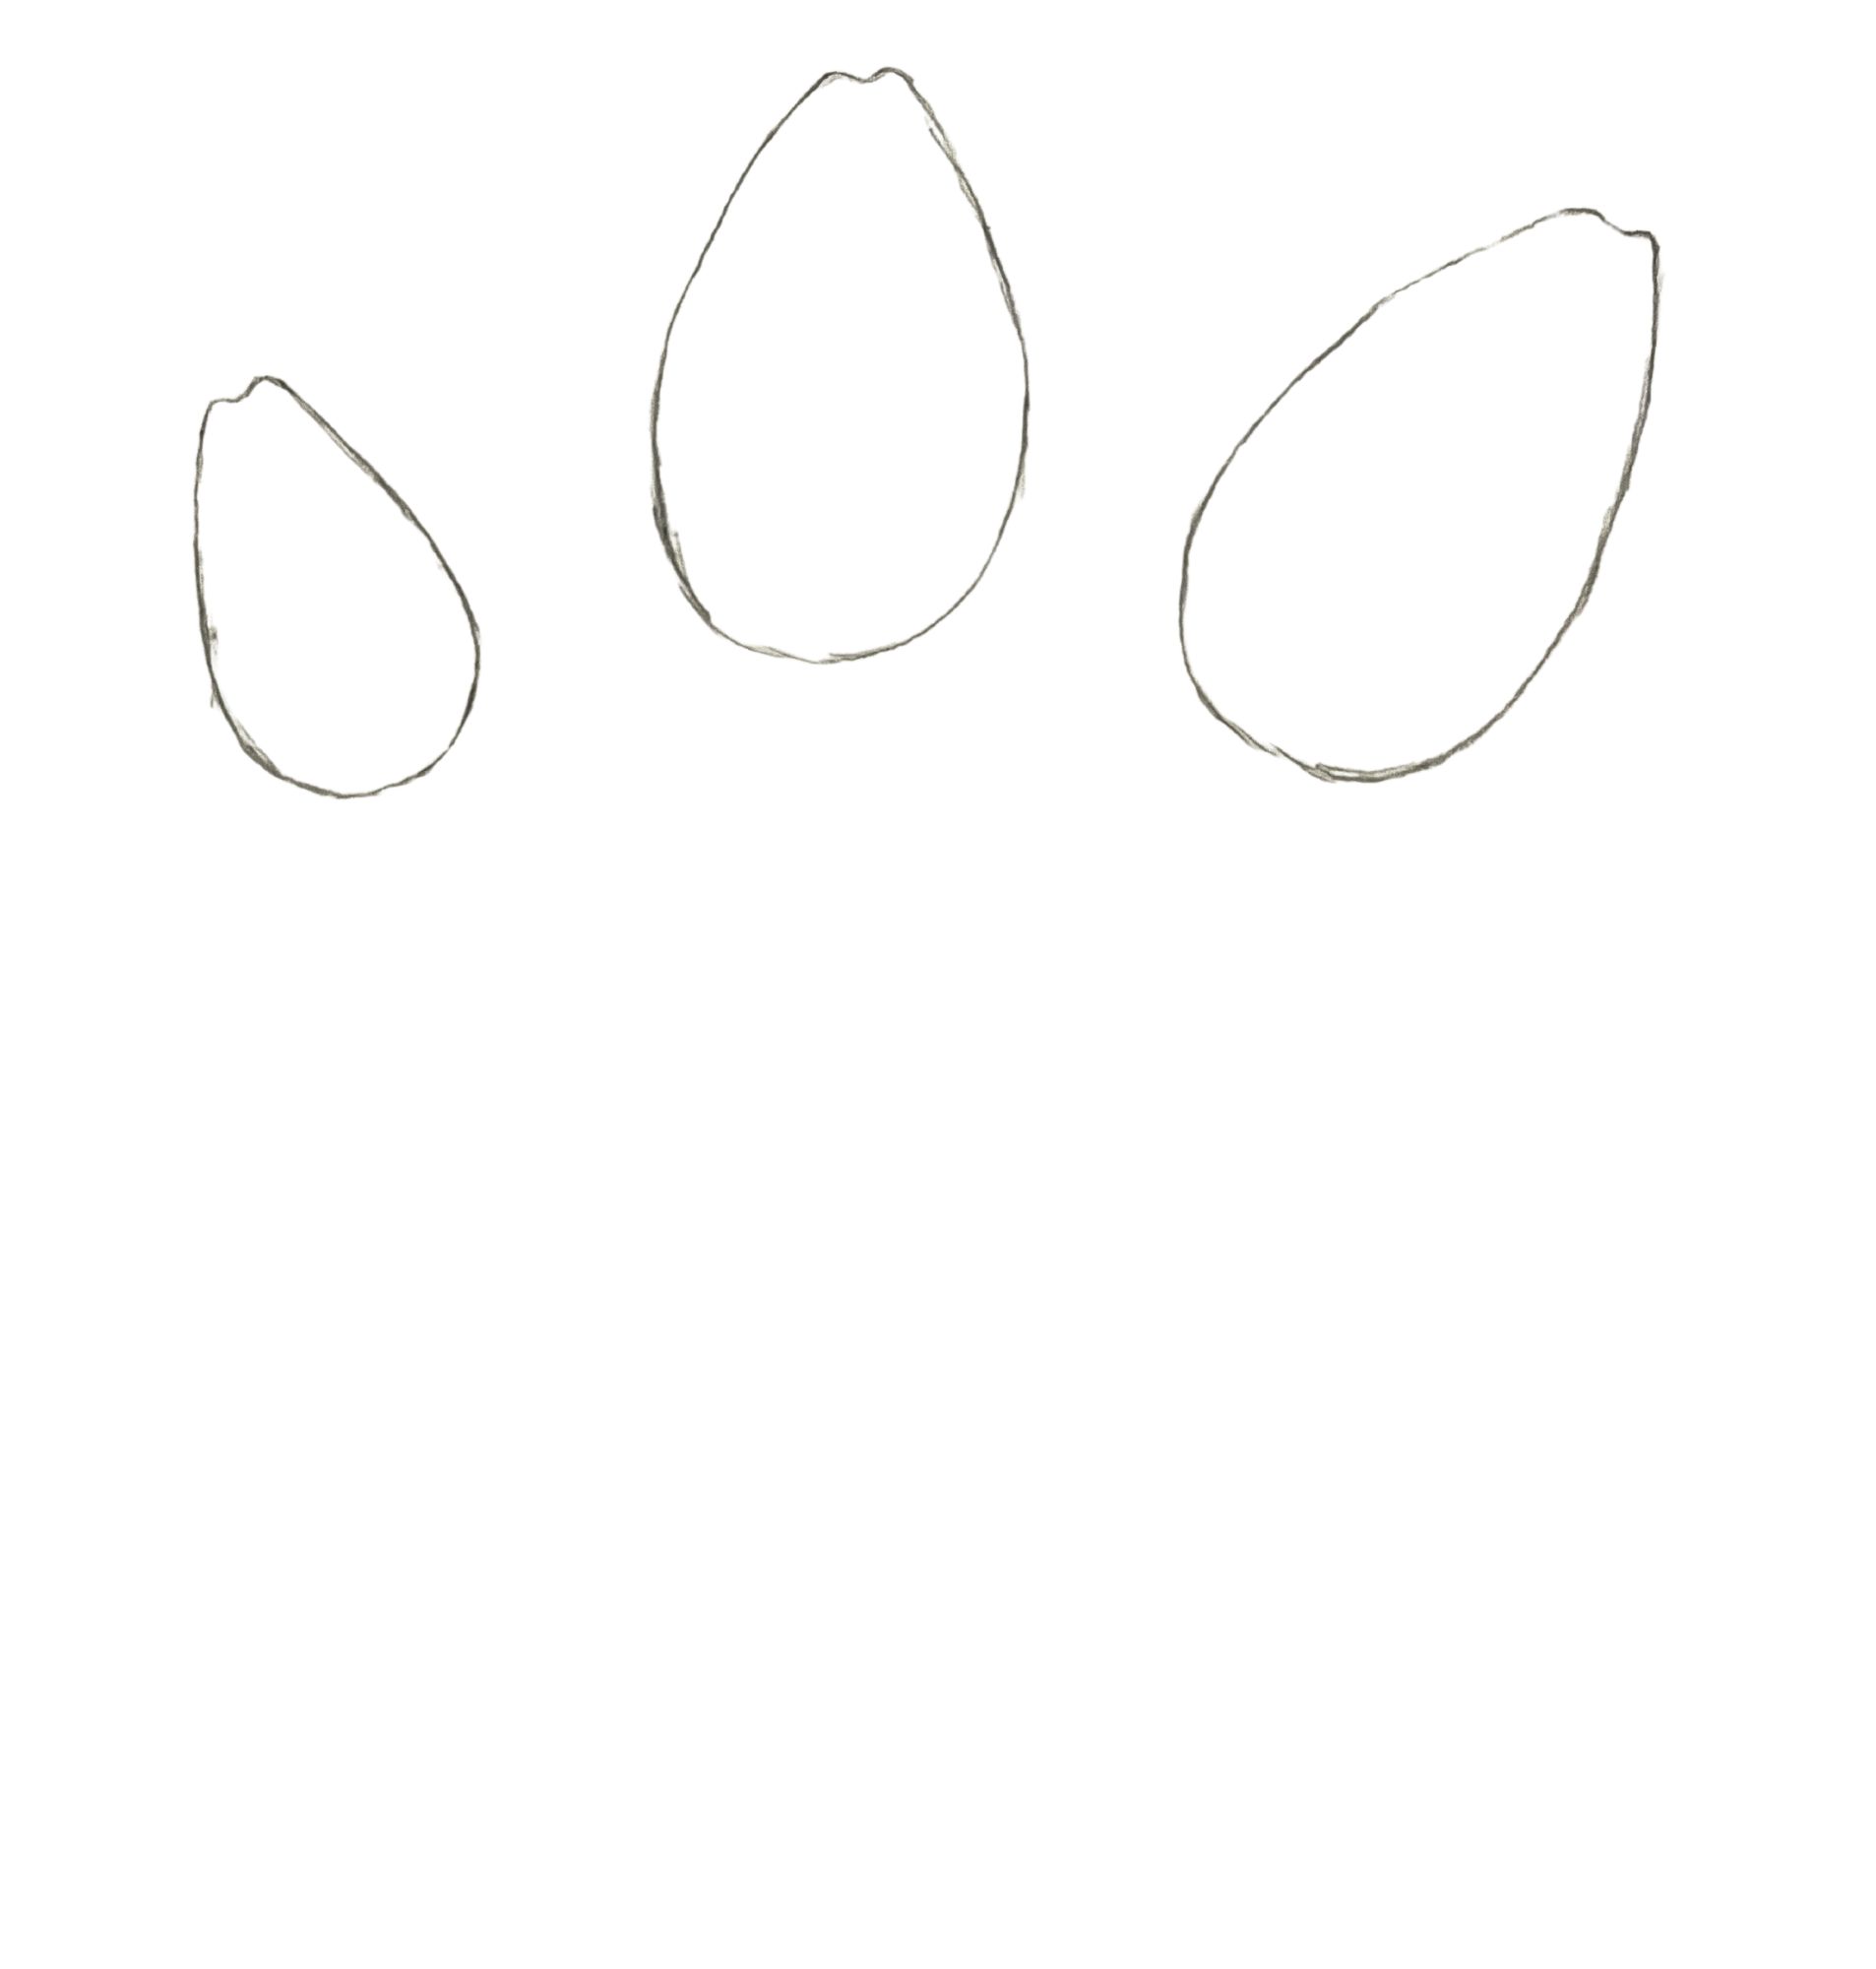
- Draw the basic shape of the first petal on each tulip. The shape of a tulip petal is like a tea cup at the base of the flower and a wavy line at the top. It kind of looks like a tongue. Make each petal a different size to give variety.

- Now draw the side petals on each tulip. Make sure to keep the tulip overall shape like a tea cup or letter "U". Make each side petal go in an opposite direction.
- Next, erase the inner lines of the tulip. And add the tips of the back petals.
- Draw the middle crease line on each tulip petal with a curved line for extra detail.
- Draw the tulip stamens for a little bit of a peak inside the tulip's centre. Tulips have 6 stamens in total, you can choose to draw all 6 or draw less (not all are visible).
- Now draw the tulip's stem. Draw along curved line on the left side of the stem and right. The stems of the tulips are thick and stalky.
- Next, draw the tulip leaves. Tulips have large, broad leaves that curve, since they are so broad.
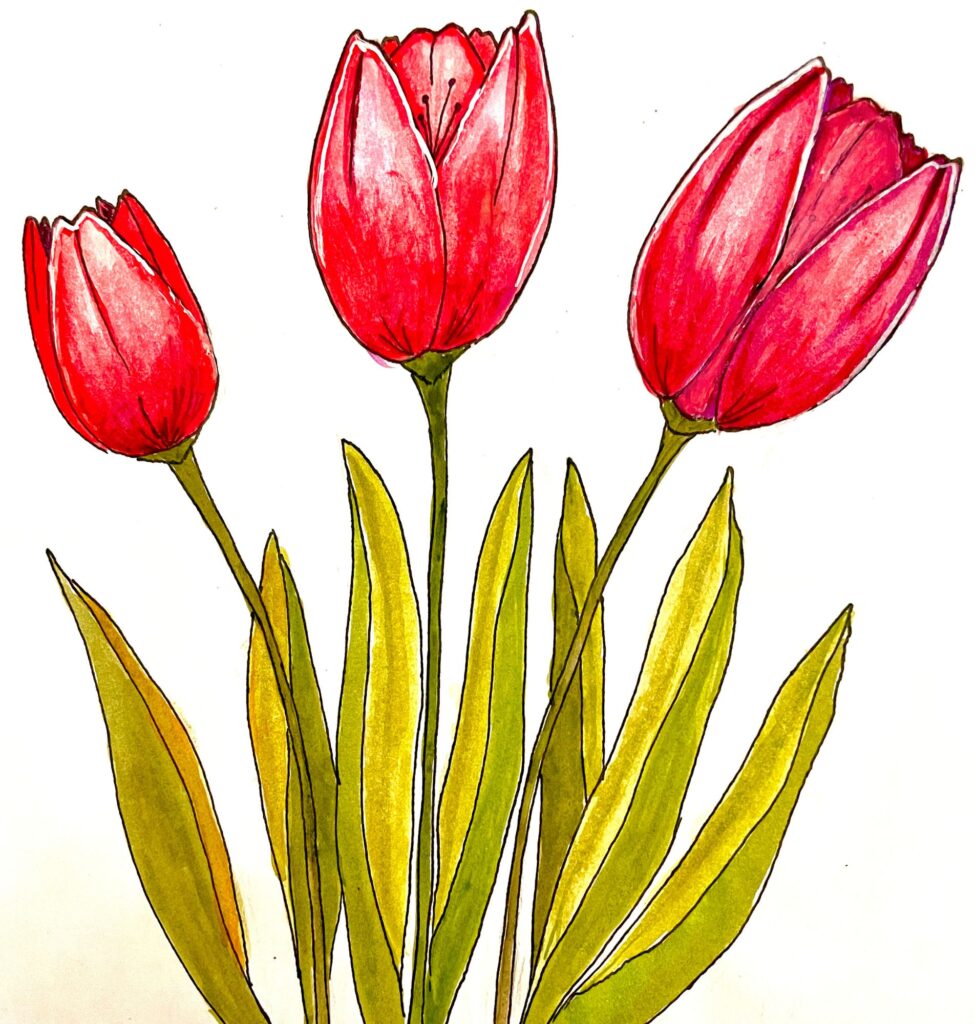
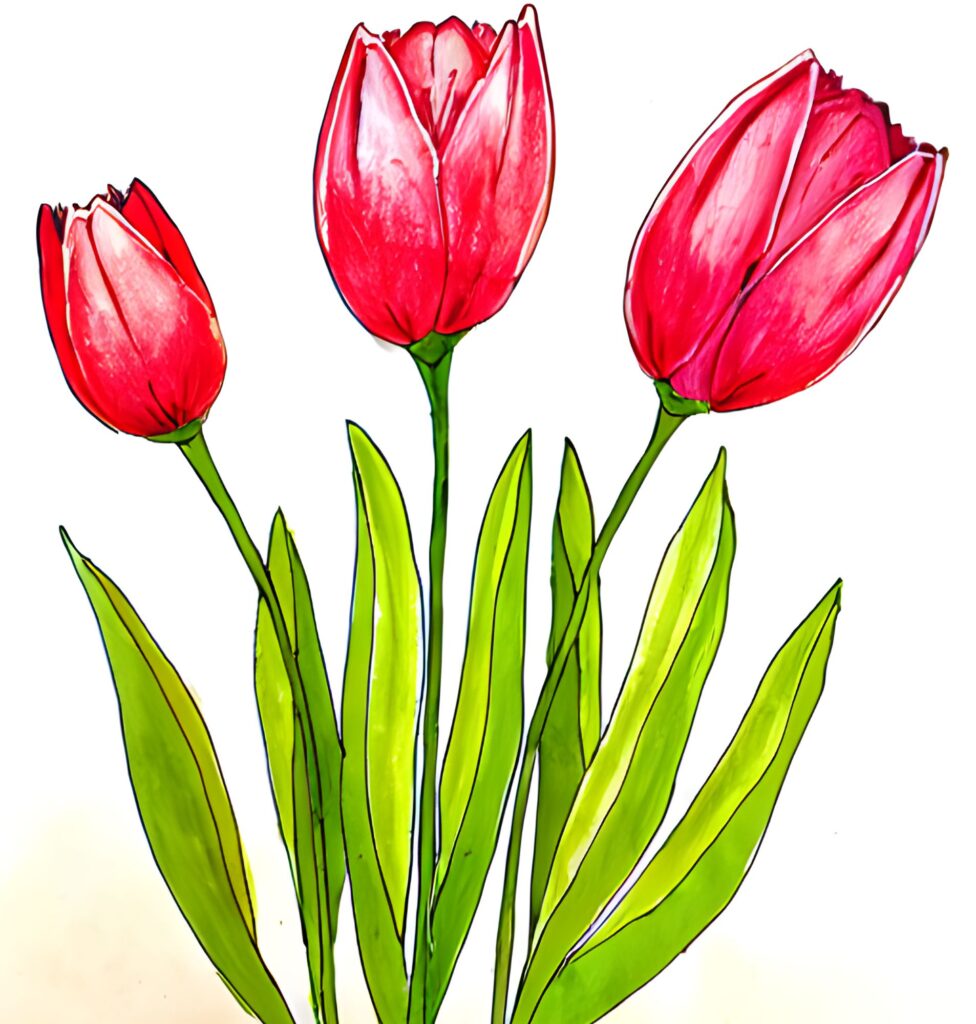
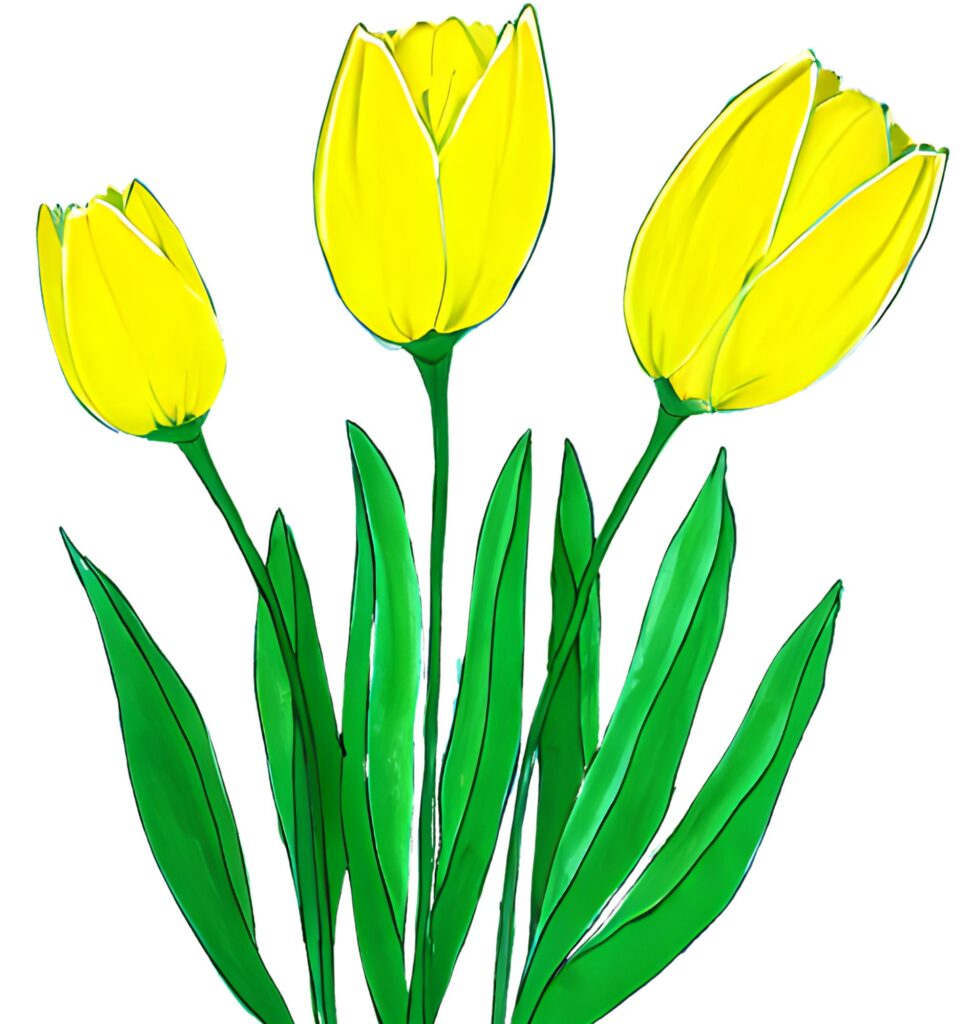
- Last step is to pick your coloring medium and color in your tulips. Some color combinations are pink, purple, yellow. Or you can try orange, red and yellow for a warmer color combo. The only color tulips don't come in are blueChoose bright colors, muted, or pastel colors. Color in the stems and leaves with a couple shades of green to give dimension depending on the light source. Good job drawing in your tulips, now enjoy coloring them in!


Tips for Realistic Tulips
- Paint each tulip a different color to give interest: choose all warm colors (red, yellow, orange), all cool colors ( purple, turquoise, pink) or a mix.
- Color all tulips the same color. Choose from pink, yellow, purple, orange, red. The only color tulips don't grow in are blue.
- Paint the bottom part of the tulip a darker shade with the tops of the tulips a lighter one, since the light source is usually coming from above.
- Paint the back tulip petals a darker shade of the color. This will create illusion of depth.
- For a variegated look, paint each tulip with 2 colors.Paint the top of the tulip petals with a lighter color and the bottom with darker color, add some dots, splotches for an added interesting touch. Google search the term "variegated tulip" to get some ideas.
- Color the tulip stems with green paint. If your light source is on the right, color in the right side of the stem with lighter green and left side of the stem with darker green. Do the opposite if light source is on left.
- Take a white paint pen, marker or a fine brush with white paint to add some bright white highlights on the border of the top of each petal.
Tulip Color Ideas
If you found this tulip drawing guide useful, share it on Pinterest!