How To Paint A Portrait With Acrylics: A Beginners Tutorial
Embark on a creative beginner portrait painter journey with this "Acrylic Portrait Painting" tutorial!
Straight from my grade 10 high school art class, this easy-to-learn method is perfect for those stepping into the colorful world of acrylics. This technique is perfect for your first portrait.
From snapping a reference photo to transferring it onto the canvas, we'll make the process a breeze and it won't take much time either. There are no such thing as a wrong brushstroke in this tutorial, nor will you have to deal with a "panic sets..." situation.
Every skill level of painter/artist is welcome and is more than able to conquer this style- from beginner to intermediate portrait painters and beyond.
Dedicate a little bit of time to each step, focusing on portrait painting techniques and brush strokes that accentuate small details. Despite using student-grade paints, watch your masterpiece evolve throughout the painting process—it's art class revisited, but with a newfound flair! 🎨✨
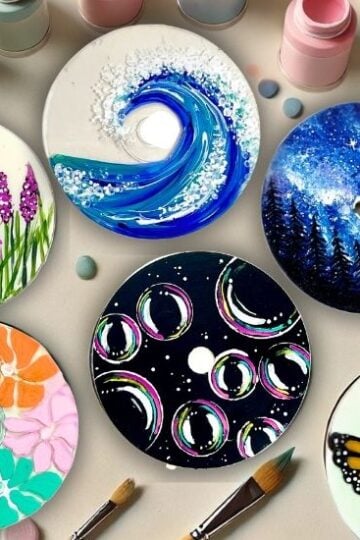
After you master this portrait and then looking for more projects, check out these 75+ easy painting ideas for beginners.

From Reference Photo To Beautiful Portrait

The key to a beautiful portrait is to start with a good reference image.
I used a fabulous picture of one of my favorite performers/singers, Beyoncé Knowles! I recently went to see her Renaissance Tour concert with a couple of my girlfriends. It was an out of this world experience, and such a great time with my BFF's.
Below are some pics we took from the concert.

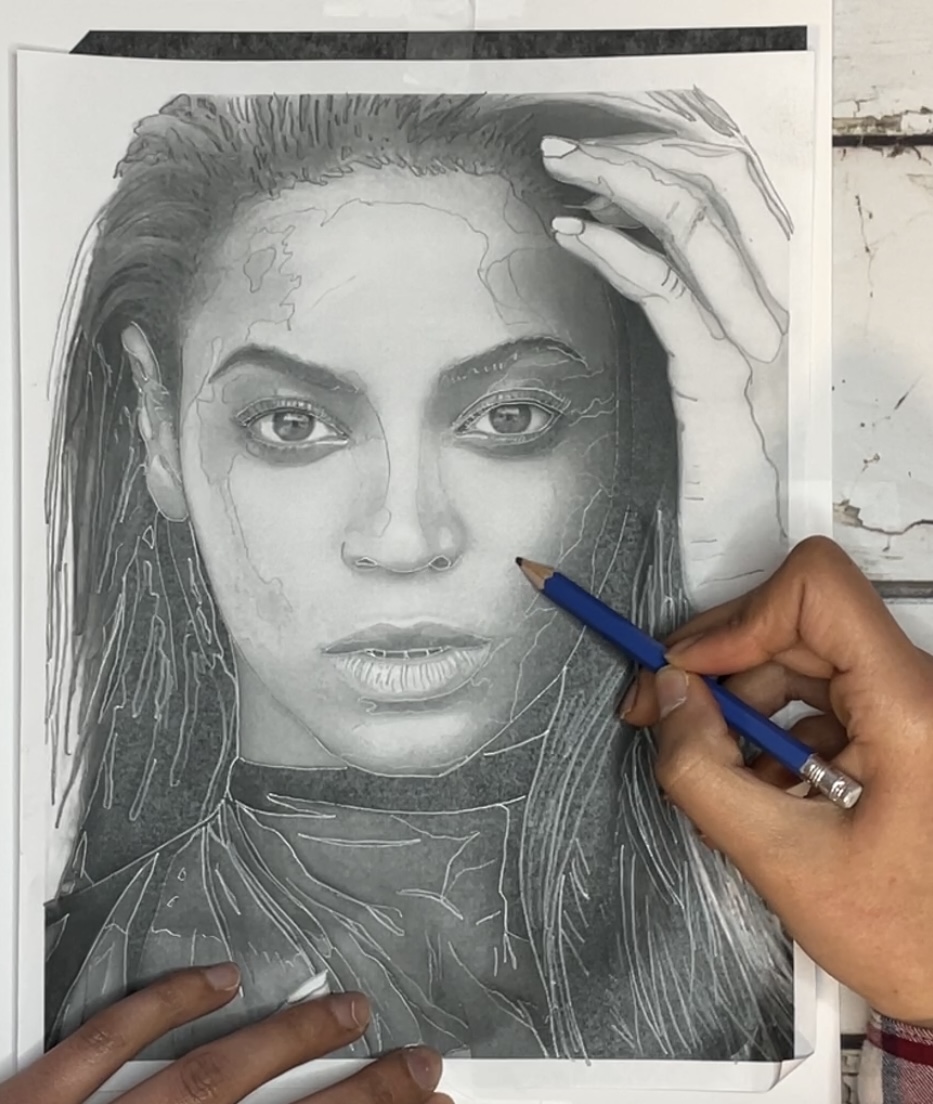
Now, back to Queen Bey's portrait. I found a black and white picture of Beyonce online and then resized the picture on Canva to fit on standard printer paper(8.5x 11) - see below. I printed it out in black and white and it was ready to be transferred to my mixed media paper (canvas works too).
Transferring your Reference Photo To A Sketch
After you have a solid reference photo, the next step is to transfer the image to a surface . Your first instinct might feel like that's taking a shortcut, but I'm here to share a little secret before you decide.
Portrait artists and old masters like Vermeer, Canaletto and Rembrandt are said to have used a nifty invention called the camera obscura to help with any subject matter even a portrait drawing. I think this is similar to tracing your picture.
In my opinion, transferring your image over to your surface is a tiny step in bringing a painting to life.
The real skill involves learning how to use dark, mid and light tones to capture every shadow, light area, physical feature and expression in the human face.

Light and Dark Tones: Easiest Portrait Technique
I learned an easy beginner portrait technique from my 10th grade art teacher, Mr. Ambrose. While he taught this method with acrylic paint, the same can be done in oil painting.
My 10th grade art class weren't your typical art students- most of us had never painted before! So these portrait painting techniques were especially helpful. Helpful to not only to learn it, but to ensure we each made a peice we were all proud of.
Mr. Ambrose explained that by limiting your color palette to just black, white and grey, it's much easier to pick up on the right values in skin colors and skin tones. Values are must easier to decipher and see when in black and white, opposed to color.
Once you master eyeing the different values in a face, then attempting a portrait in full color will be a breeze.
And everyone in that class were blown away with how their portraits came out. The simple steps Mr. Ambrose taught us made us feel like Picasso's-in-training!
Thank you Mr. Ambrose!
Another plus is that you can use basic and cheap student grade paints and still get exceptional results. No need to splurge on expensive paints.
It's win-win!
Now let's learn how to paint a portrait!
How To Paint A Portrait In Acrylics

Discover acrylic portrait painting with this beginner-friendly tutorial, blending brush strokes, dark tones, and details from my high school art class. Create your masterpiece with student-grade paints.
Materials
- Printed reference photo that's enlarged to fit on 8.5x11 printer paper (black and white setting)
- 9x12 canvas or mixed media paper
- Titanium white acrylic paint
- Mars black acrylic paint
- Size 3 round brush
- Size 1 or smaller round brush (detailing)
- Pencil
- Carbon transfer paper
Instructions
- Lay the sheet of carbon paper (carbon side down) on your canvas/ mixed media paper. Tape it down so it doesn't move. Then place your printed reference photo on top of the of carbon paper and tape that into place also.

- Use a sharpened pencil to trace the outline of the face, eyes, nose, mouth, hair, neck, shoulders of your portrait. Use your pencil right over the printed picture. You also want to trace around all the shadows and variations in black/white/grey you see in the face. It's almost like a map of the face when you're done. This will give an outline of the different shades of darker tones verses lighter tones in the face. Remove the carbon paper.


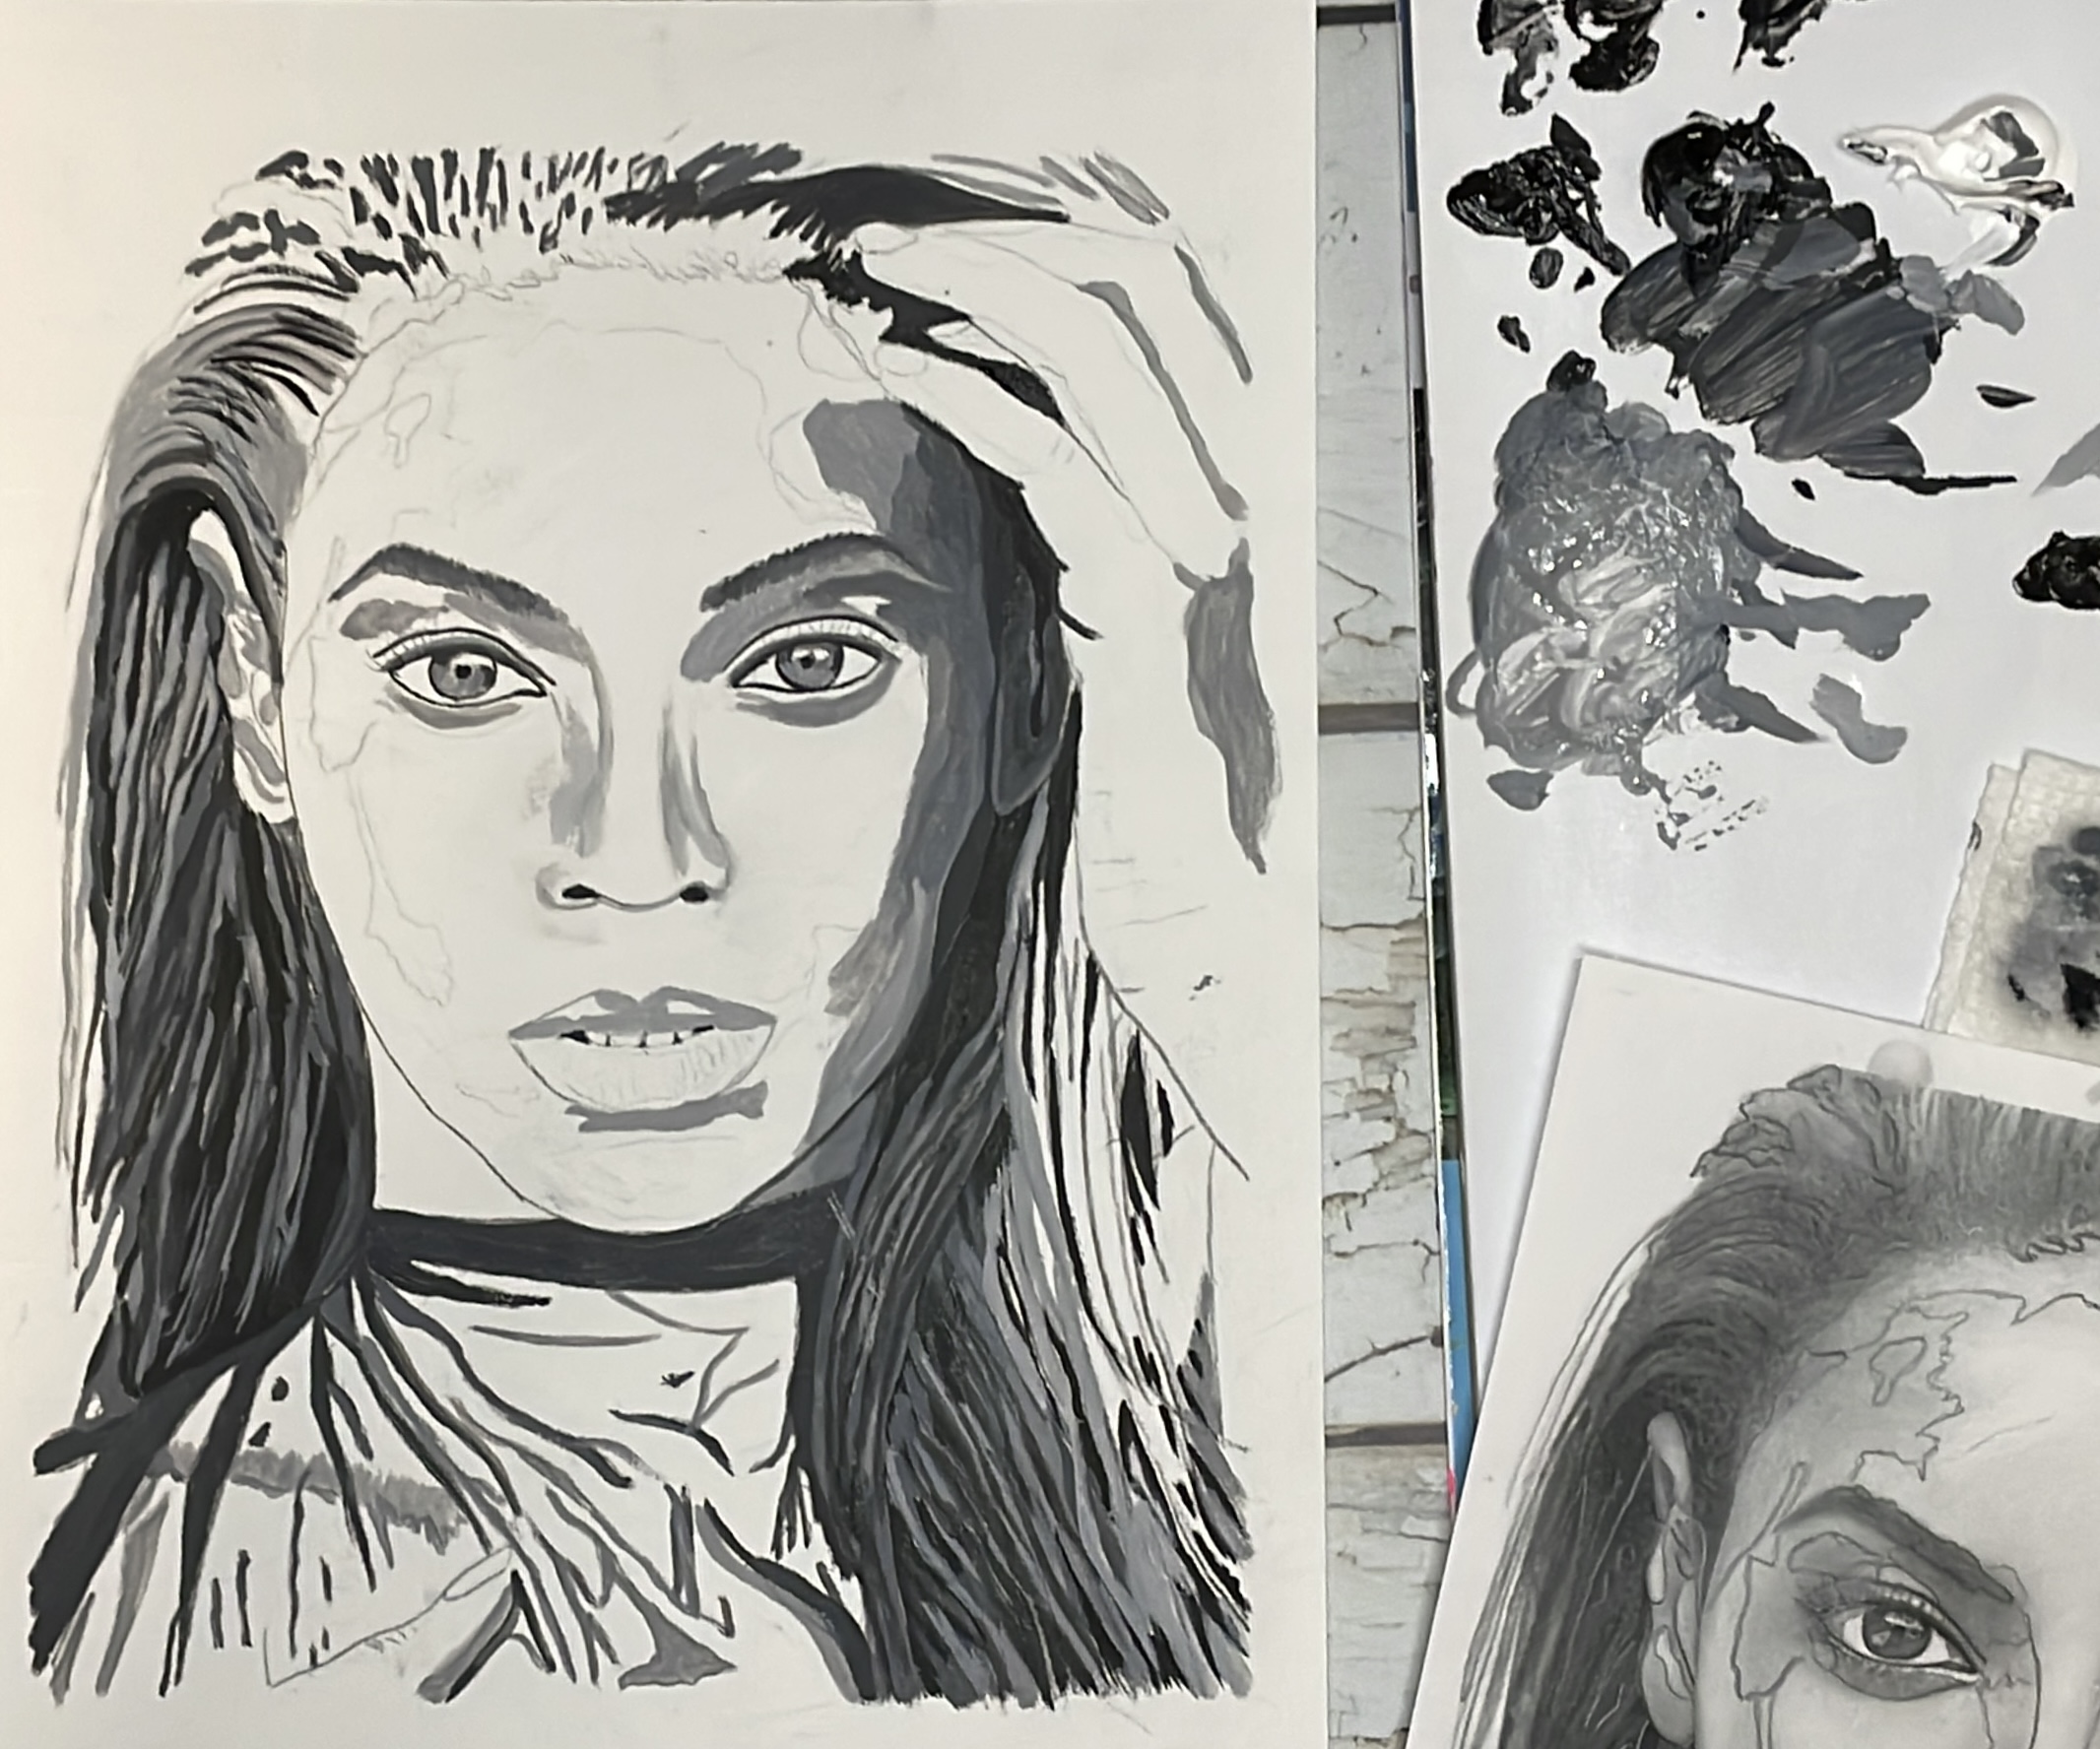
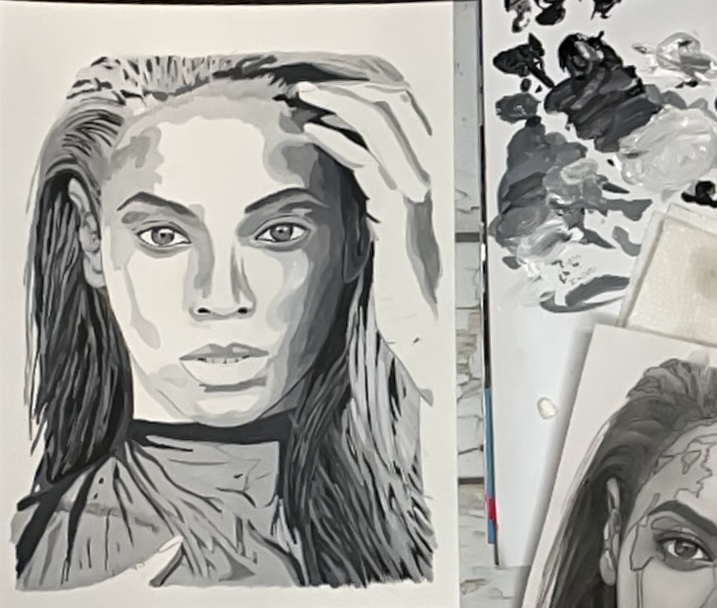
- Start with the darkest tones first. Take some black paint on your palette and use the appropriate brush size to fill in all the areas in your portrait that has the darkest black tone (hair, eye socket, pupil of the eye, lips, nails, etc...)

- Mix a slightly lighter version of your darkest tone. Use a small amount of white with black to mix this dark grey paint color. Use the appropriate size round brush to fill in the parts of the face, hair, neck with the slightly lighter grey.Switch over to a smaller brush for those beautiful details.

- Use a little bit more white to mix a slightly lighter grey color. Use your brushes to find and fill in the areas of the face, neck and hair that have this tone of grey.


- Mix an even lighter version of the grey by adding more white into the mix. Use your brushes to fill in areas of the face ,cheeks, chin, nose, forehead and neck with this grey tone.

- Keep mixing lighter and lighter versions of grey and filling out your face in incremental steps. This will ensure that all versions of grey from the shades to highlights are in painted into the portait. You'll want to end with pure white. Reserve the white for the whites of the eyes, the highest part of the cheeks, bridge of nose, teeth, chin and the light reflecting in the hair.


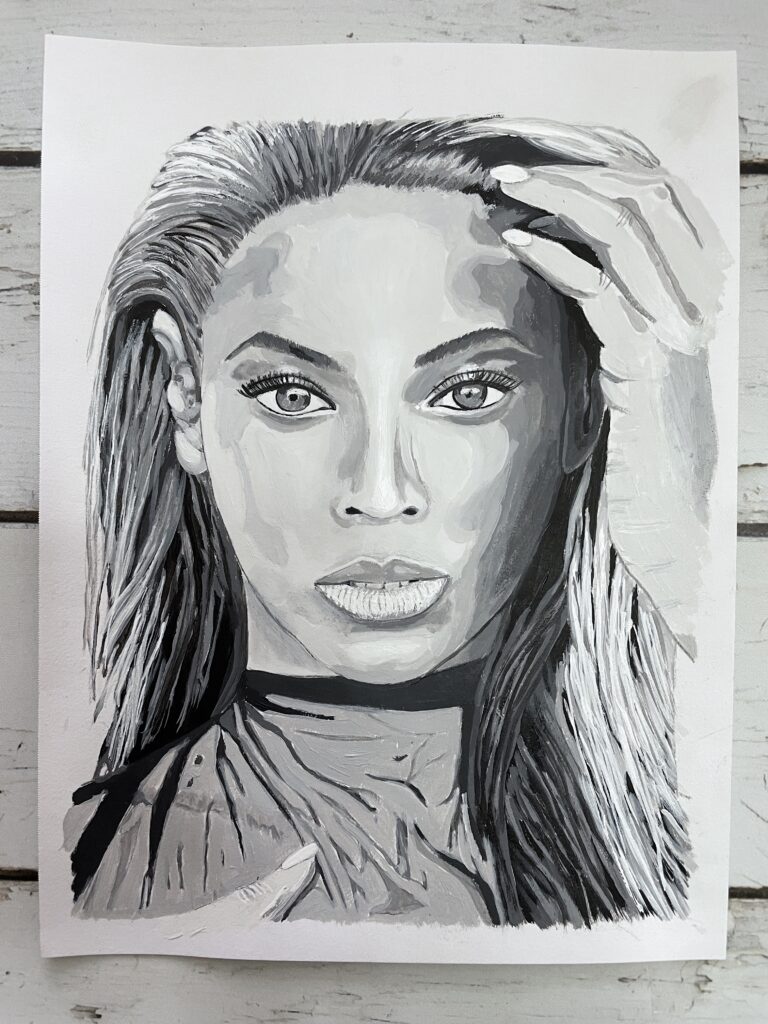
Finished Portrait Painting Shots

Tips for Your Best Portrait Painting Experience
Painting a portrait can seem like an intimidating feat. I'm here to tell you that everyone can make a great portrait they are proud of.
Here's some tips to make it an empowering experience, to boot:
- Leave your self-judgement at the door. You can do this!
- Don't spend a lot of time over analyzing and paying too much close attention to anything you think is a flaw when you start. Keep flowing, it all comes together like a puzzle.
- Use a small brush to capture fine details. A smaller brush will make your life easier and in control of every stroke.
- Thin down your paint to a gravy like consistency, it will make your paint strokes less streaky and the smaller details easier to achieve.
- Start with the darkest color then work your way to the lightest color
- Make a sketch or preliminary drawing with a pencil
- Break down your subject matter into simple shapes. Even the toughest subject can be made simple by eyeing the main shapes.
- If transferring your image from standard printer paper, choose a comparable size of canvas. The closest I have found is 9x12.
- If you want a more realistic portrait, blend the areas more.I.e. blend the lighter colors into the darker colors so it's more of a seamless transition.
- Don't talk down to yourself about your finished piece. We are our own toughest critics, and if you wouldn't say it to your closest friend, don't say it to yourself.
- Sign your portrait with a grateful heart!
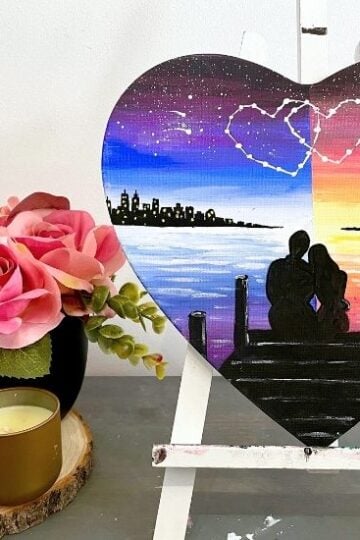
More Portrait Painting Ideas
I've used this portrait painting technique many times over the years to paint portraits of people in my life. Some have been gifts, some were hung in our home in a family gallery wall. The nice thing with portraits are that you can display them in different ways: paint them on a simple canvas, or on watercolor paper that can be framed.
Here are the portraits I've painted so far. Also notice that each painting is slightly different. Some are are a more blended look (realistic portrait painting) while others are more painterly.
You can pick the style you like.
One portrait I still haven't done, that's on my bucket list, is a self portrait.


Wishing you all the very best with your art. I know you're going to make your own portrait paintings that are spectacular! You'll make it in the best way for YOU and your painting style. Which is the most important thing.
Your best work is yet to be made.
If you liked this portrait painting tutorial, please pin it!