Want to learn how to paint a turtle? Immerse yourself in the enchanting world of sea turtle art with our easy-to-follow tutorial. If you’re a beginner artist eager to make a splash with your painting skills, this guide is tailored just for you. Join us as we dive deep into the captivating realm of painting a sea turtle on canvas using acrylic paints.
In this step-by-step tutorial, we’ll demystify the process, breaking it down into simple strokes that even beginners can ride on. Learn how to skillfully recreate the mesmerizing patterns of a sea turtle’s shell, and bring it’s majestic head to life with detail. Also discover the art of drawing a sea turtle from scratch. Get ready to embark on an artistic adventure that will leave you with a fin-tastic sea turtle masterpiece.
Looking for more painting ideas? Check out this 70+ painting ideas curated list. Or if you’re in a summer painting mood paint this bright and sunny beach painting or this serene sunset beach painting.
Now let’s learn how to paint a turtle.
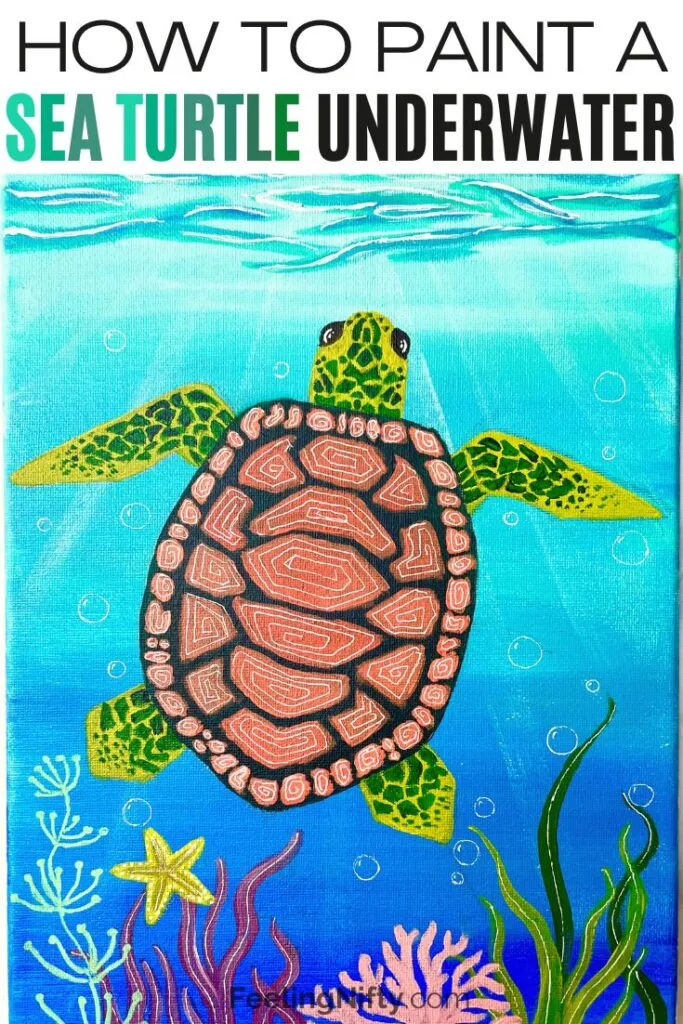
How To Paint a Sea Turtle
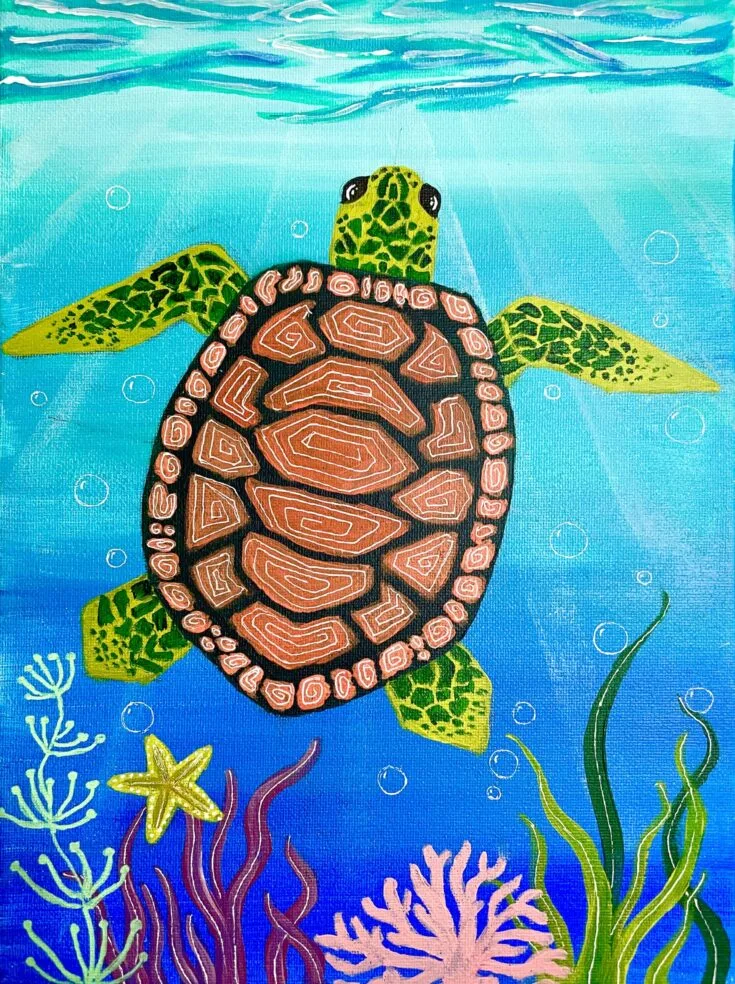
Learn to paint a captivating sea turtle, mastering intricate shell patterns and bringing their mesmerizing heads to life on canvas with acrylic paints.
Materials
- 9x12 canvas
- Aqua Green/Teal
- Ultramarine Blue
- Titanium White
- Phthalo Green
- Cadmium Red Medium Hue
- Cadmium Yellow Medium Hue
- Mars Black
- 3/4" Flat wash brush
- 1/2" flat brush
- Medium round brush (Size 5)
- Small round detailing brush (Size 1)
- Palette
- Jar of clean water
- Rag/paper towel
- Fine Tip Paint Marker/Pen in white (optional)
Instructions
- Click here for the full YouTube video tutorial.
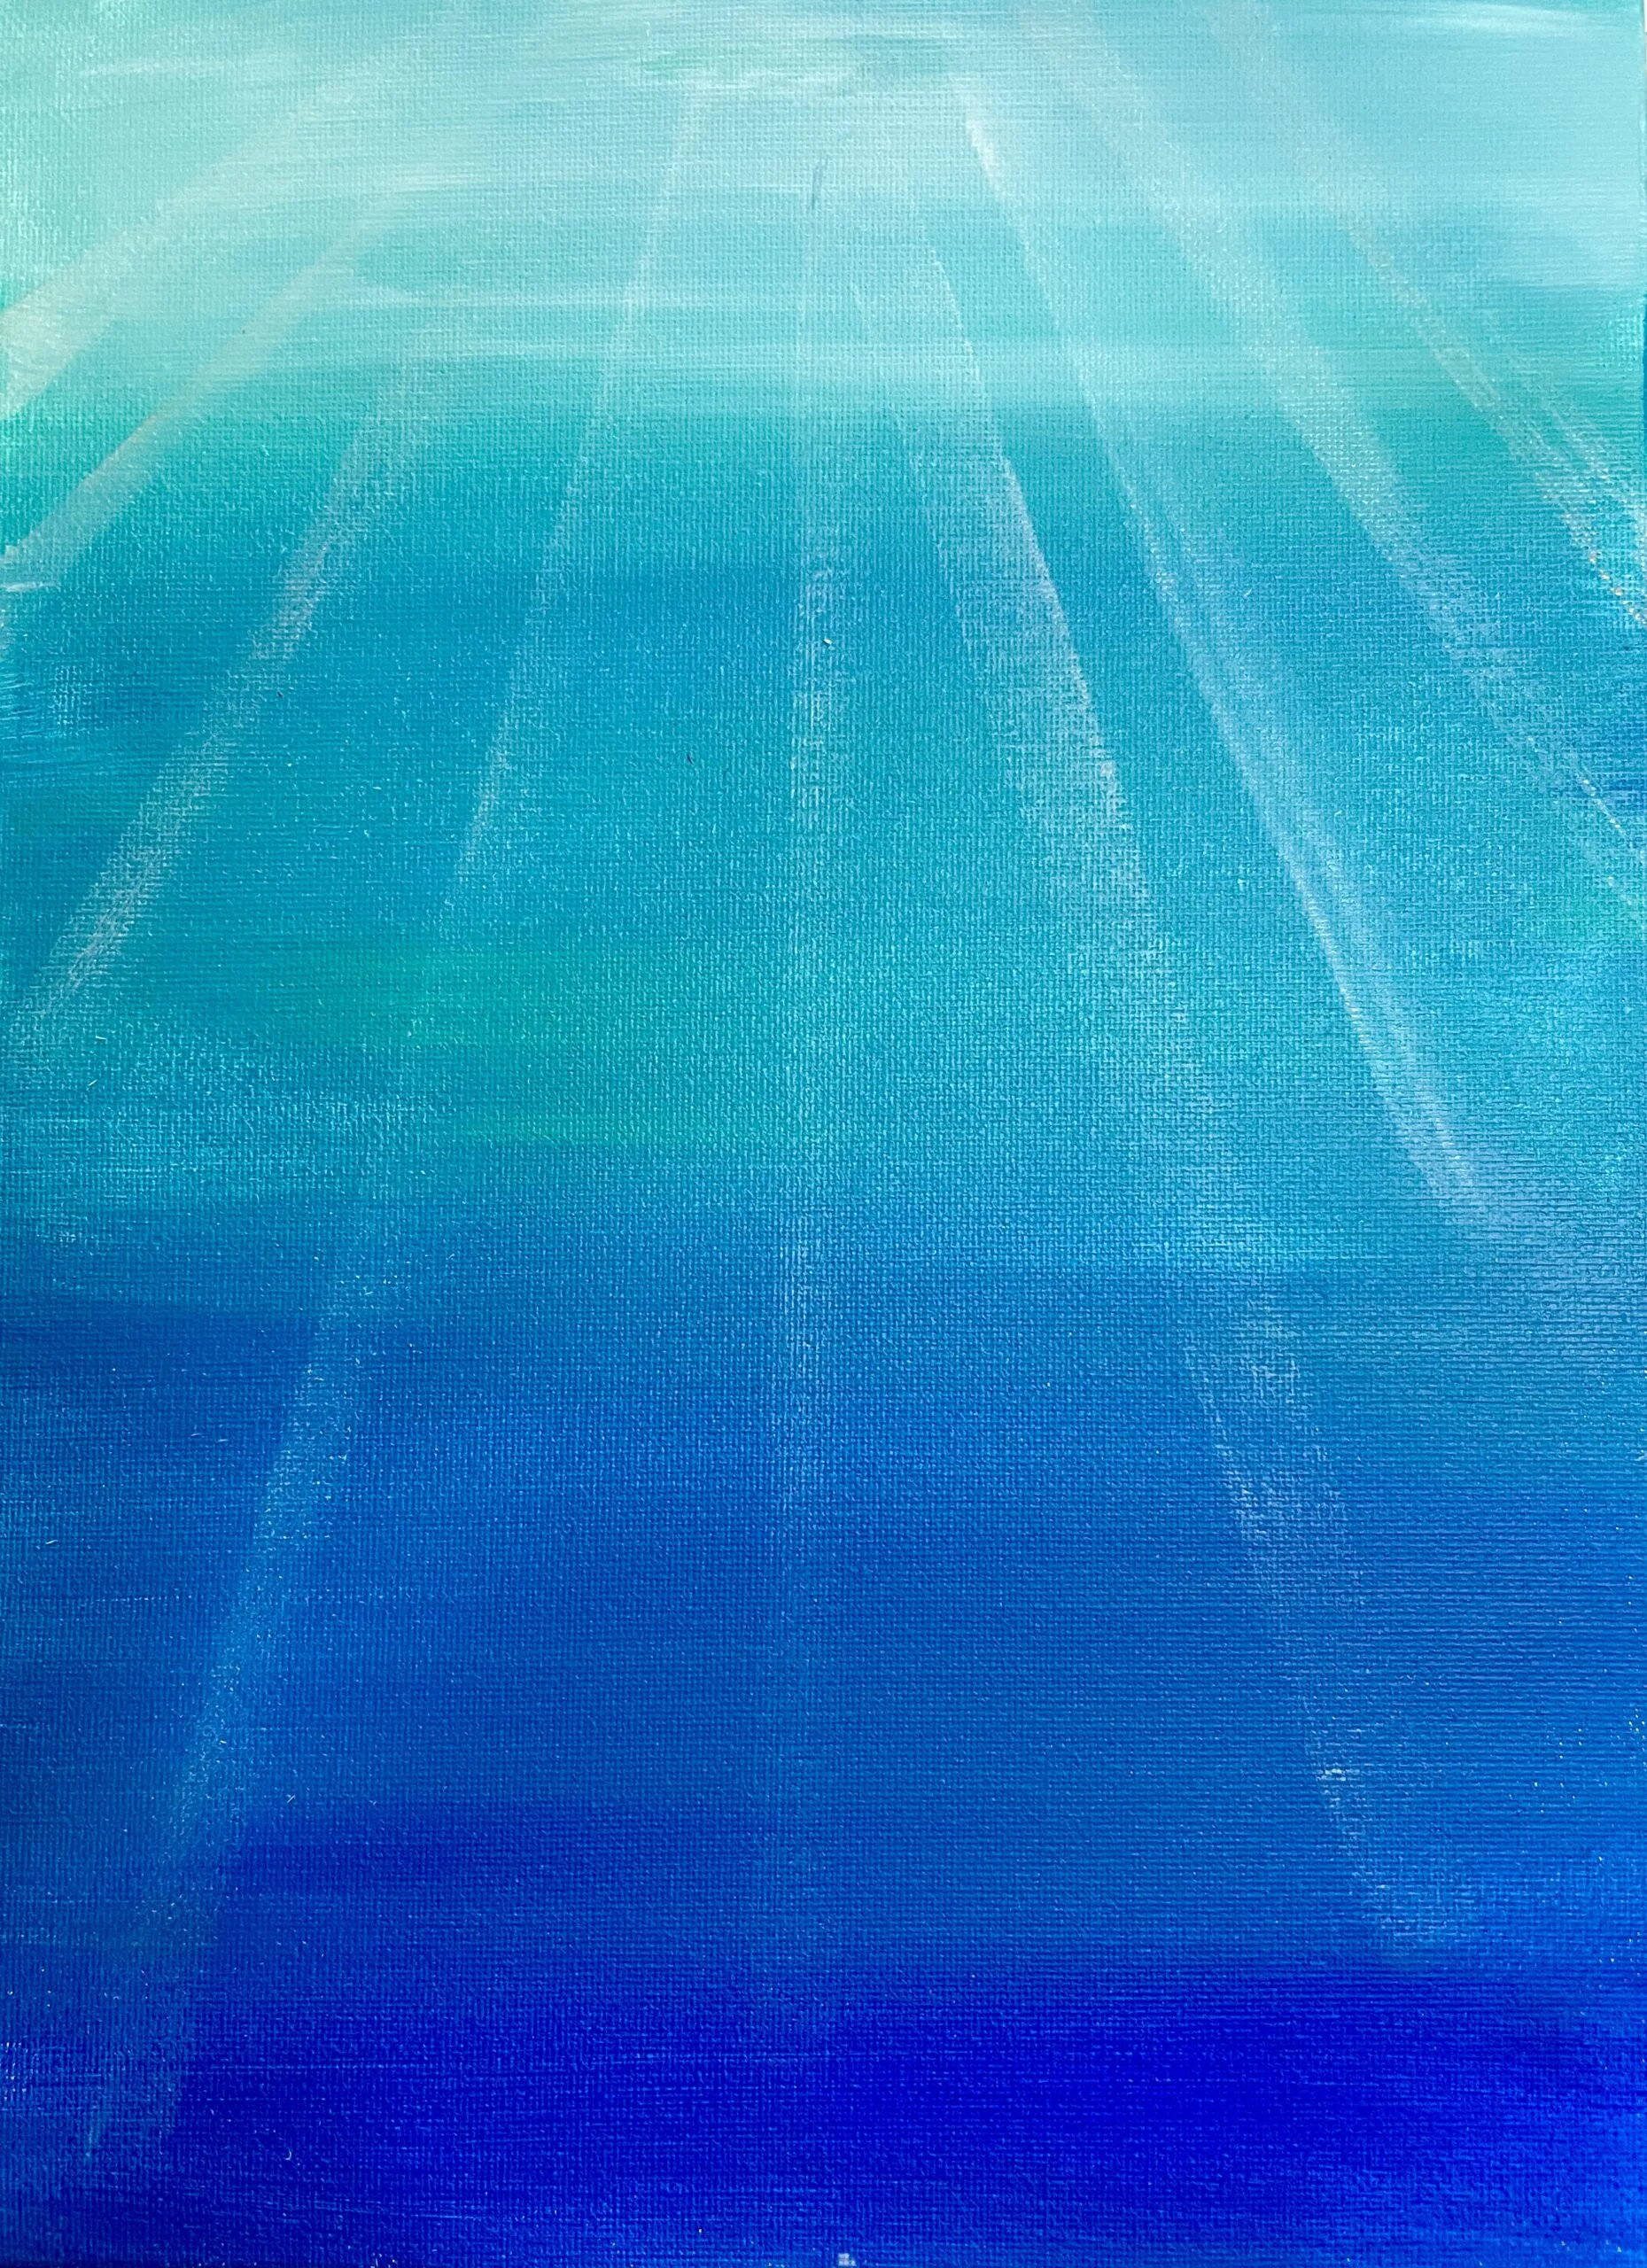
- Mix White with Aqua Green and paint the top part of your canvas with horizontal back and forth strokes (about 2 inches down)

- Clean off you brush and pick up some pure aqua green and paint it to the middle part of the canvas. Use the same horizontal back and forth strokes, blending it with the color above.
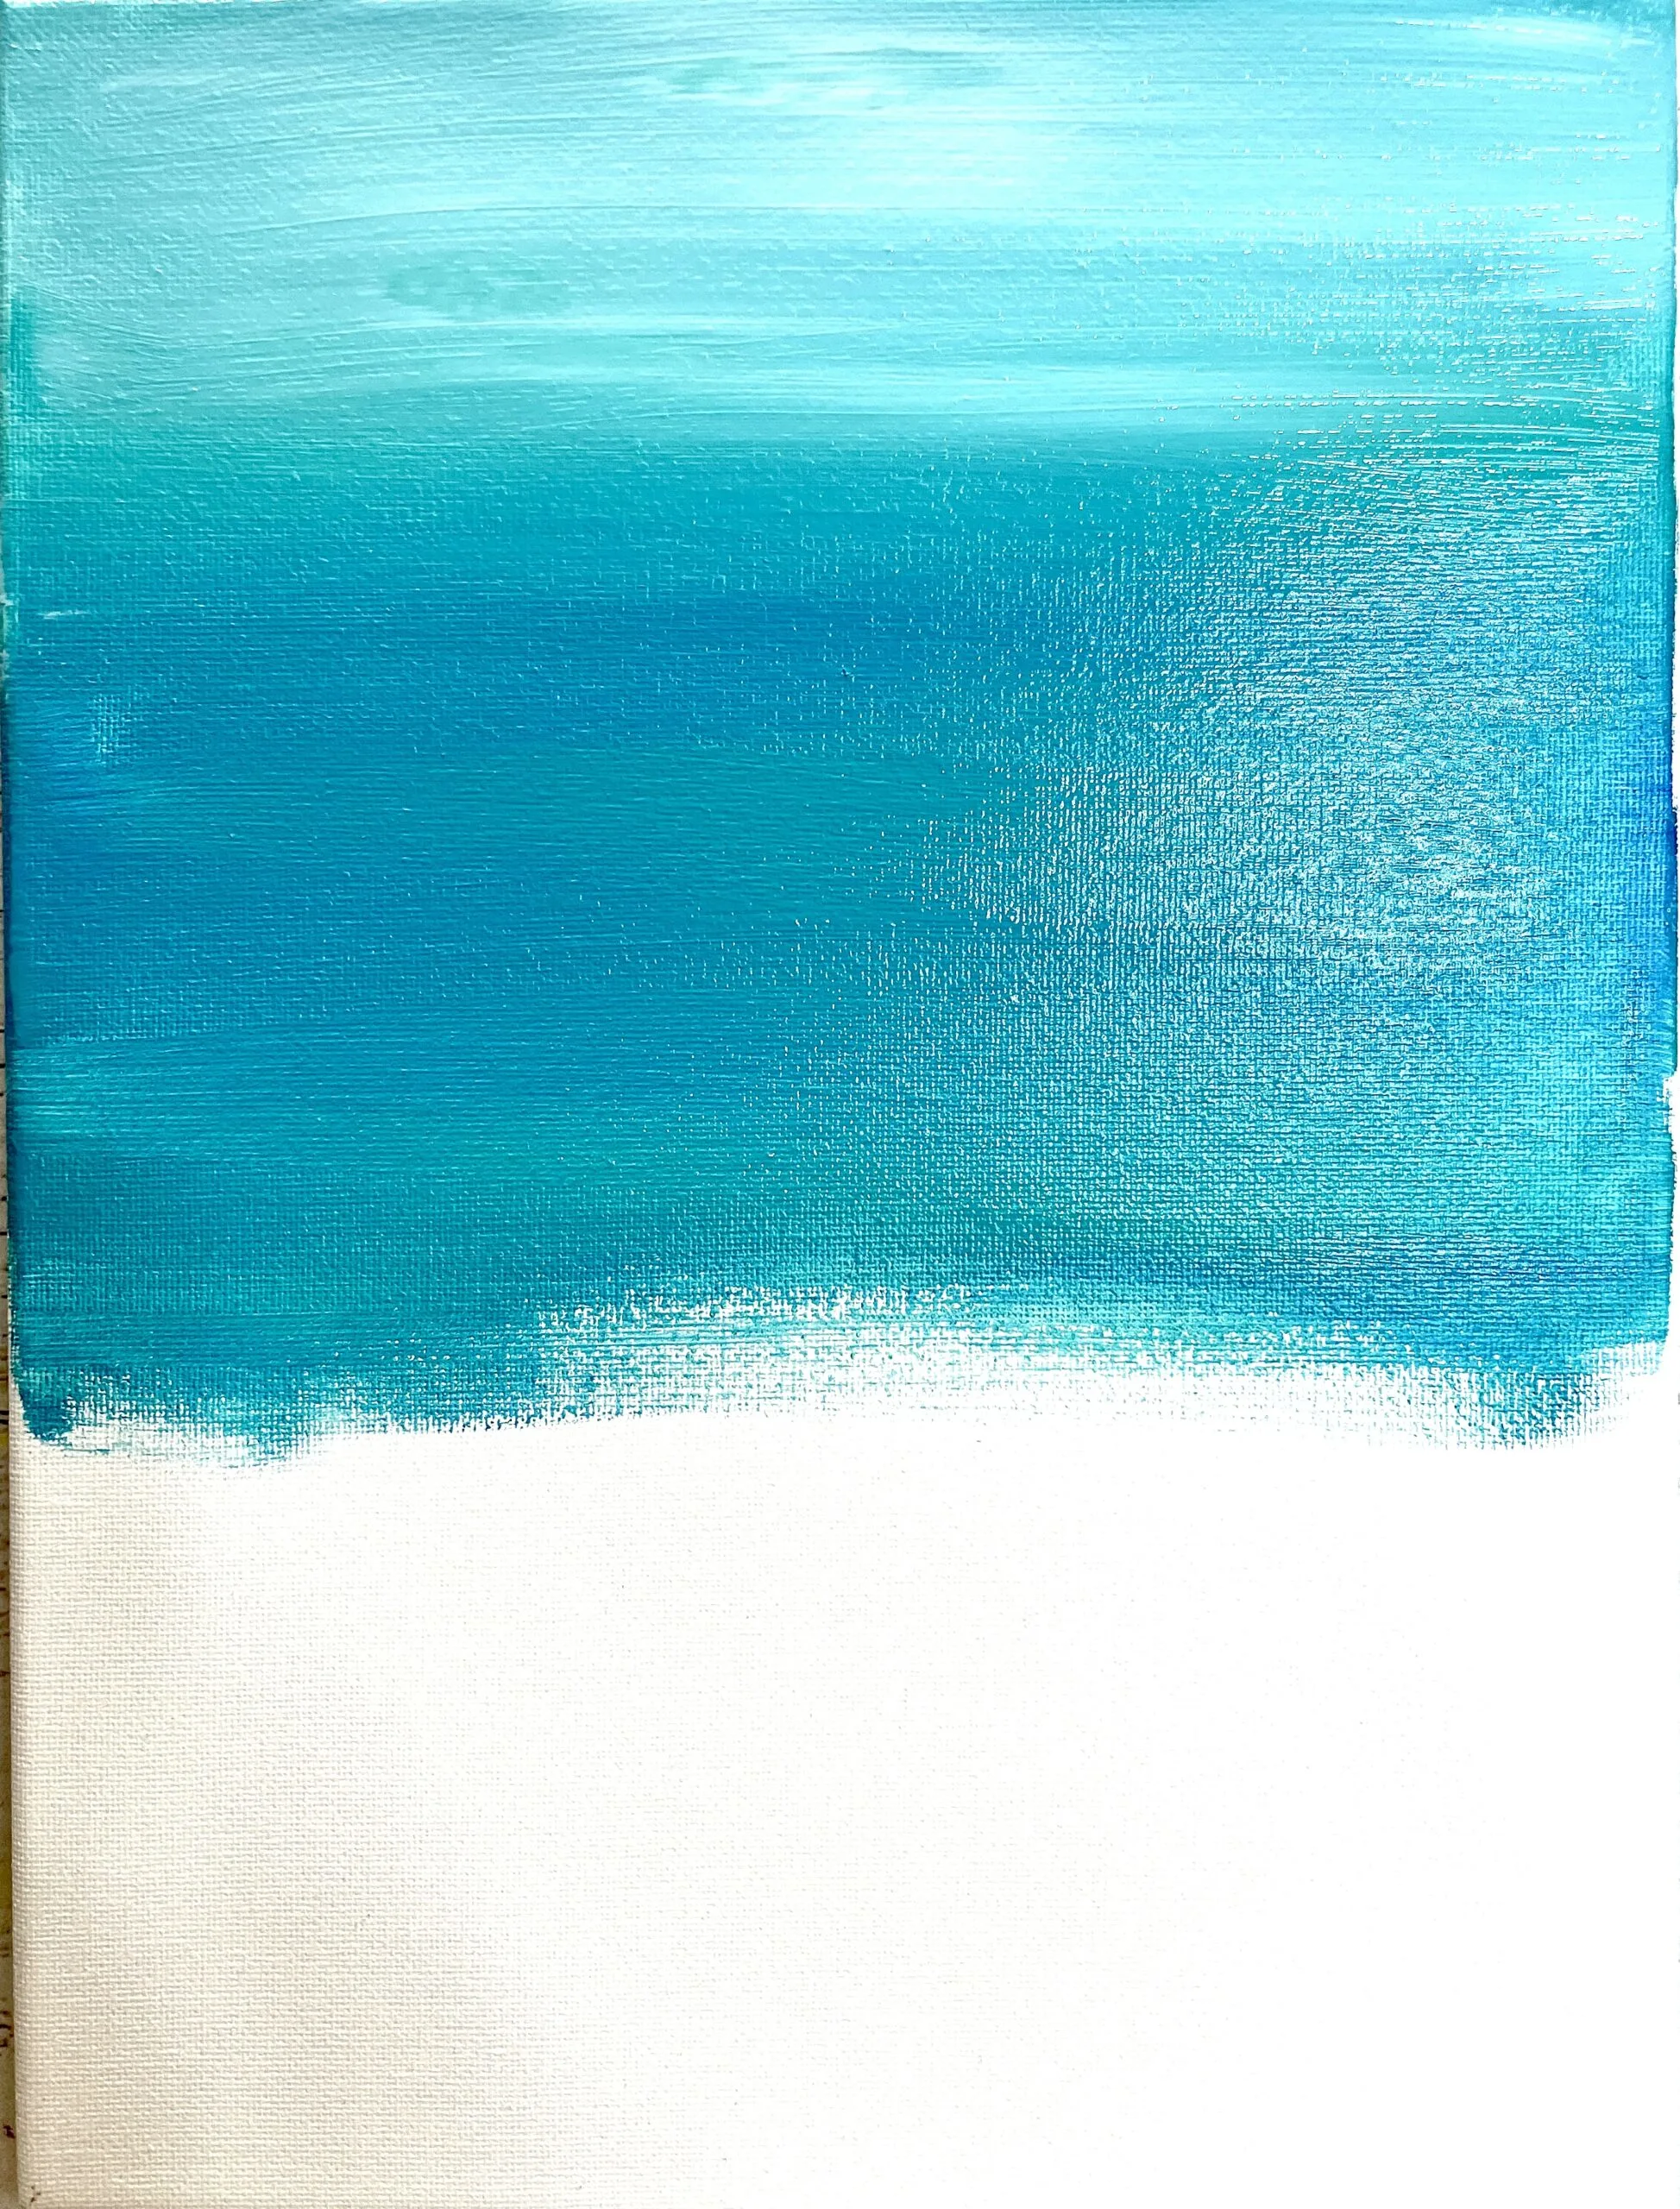
- Mix a little bit of Ultramarine Blue with the Aqua Green and paint that a couple inches from the previous layer. Use the same back and forth strokes.
- Pick up some pure Ultramarine Blue paint and paint down to the bottom of canvas, ensuring you’re blending with the previous color. Wait for background to dry. You can use a hairdryer for faster drying time.

- Water down some pure titanium white until its liquid. Pick some paint up with your 1/2” flat brush and paint some very faint sun beams fanning out into the ocean water.If the white is not faint enough, dab it with a paper towel to soften the lines and color. Wait for the paint to dry
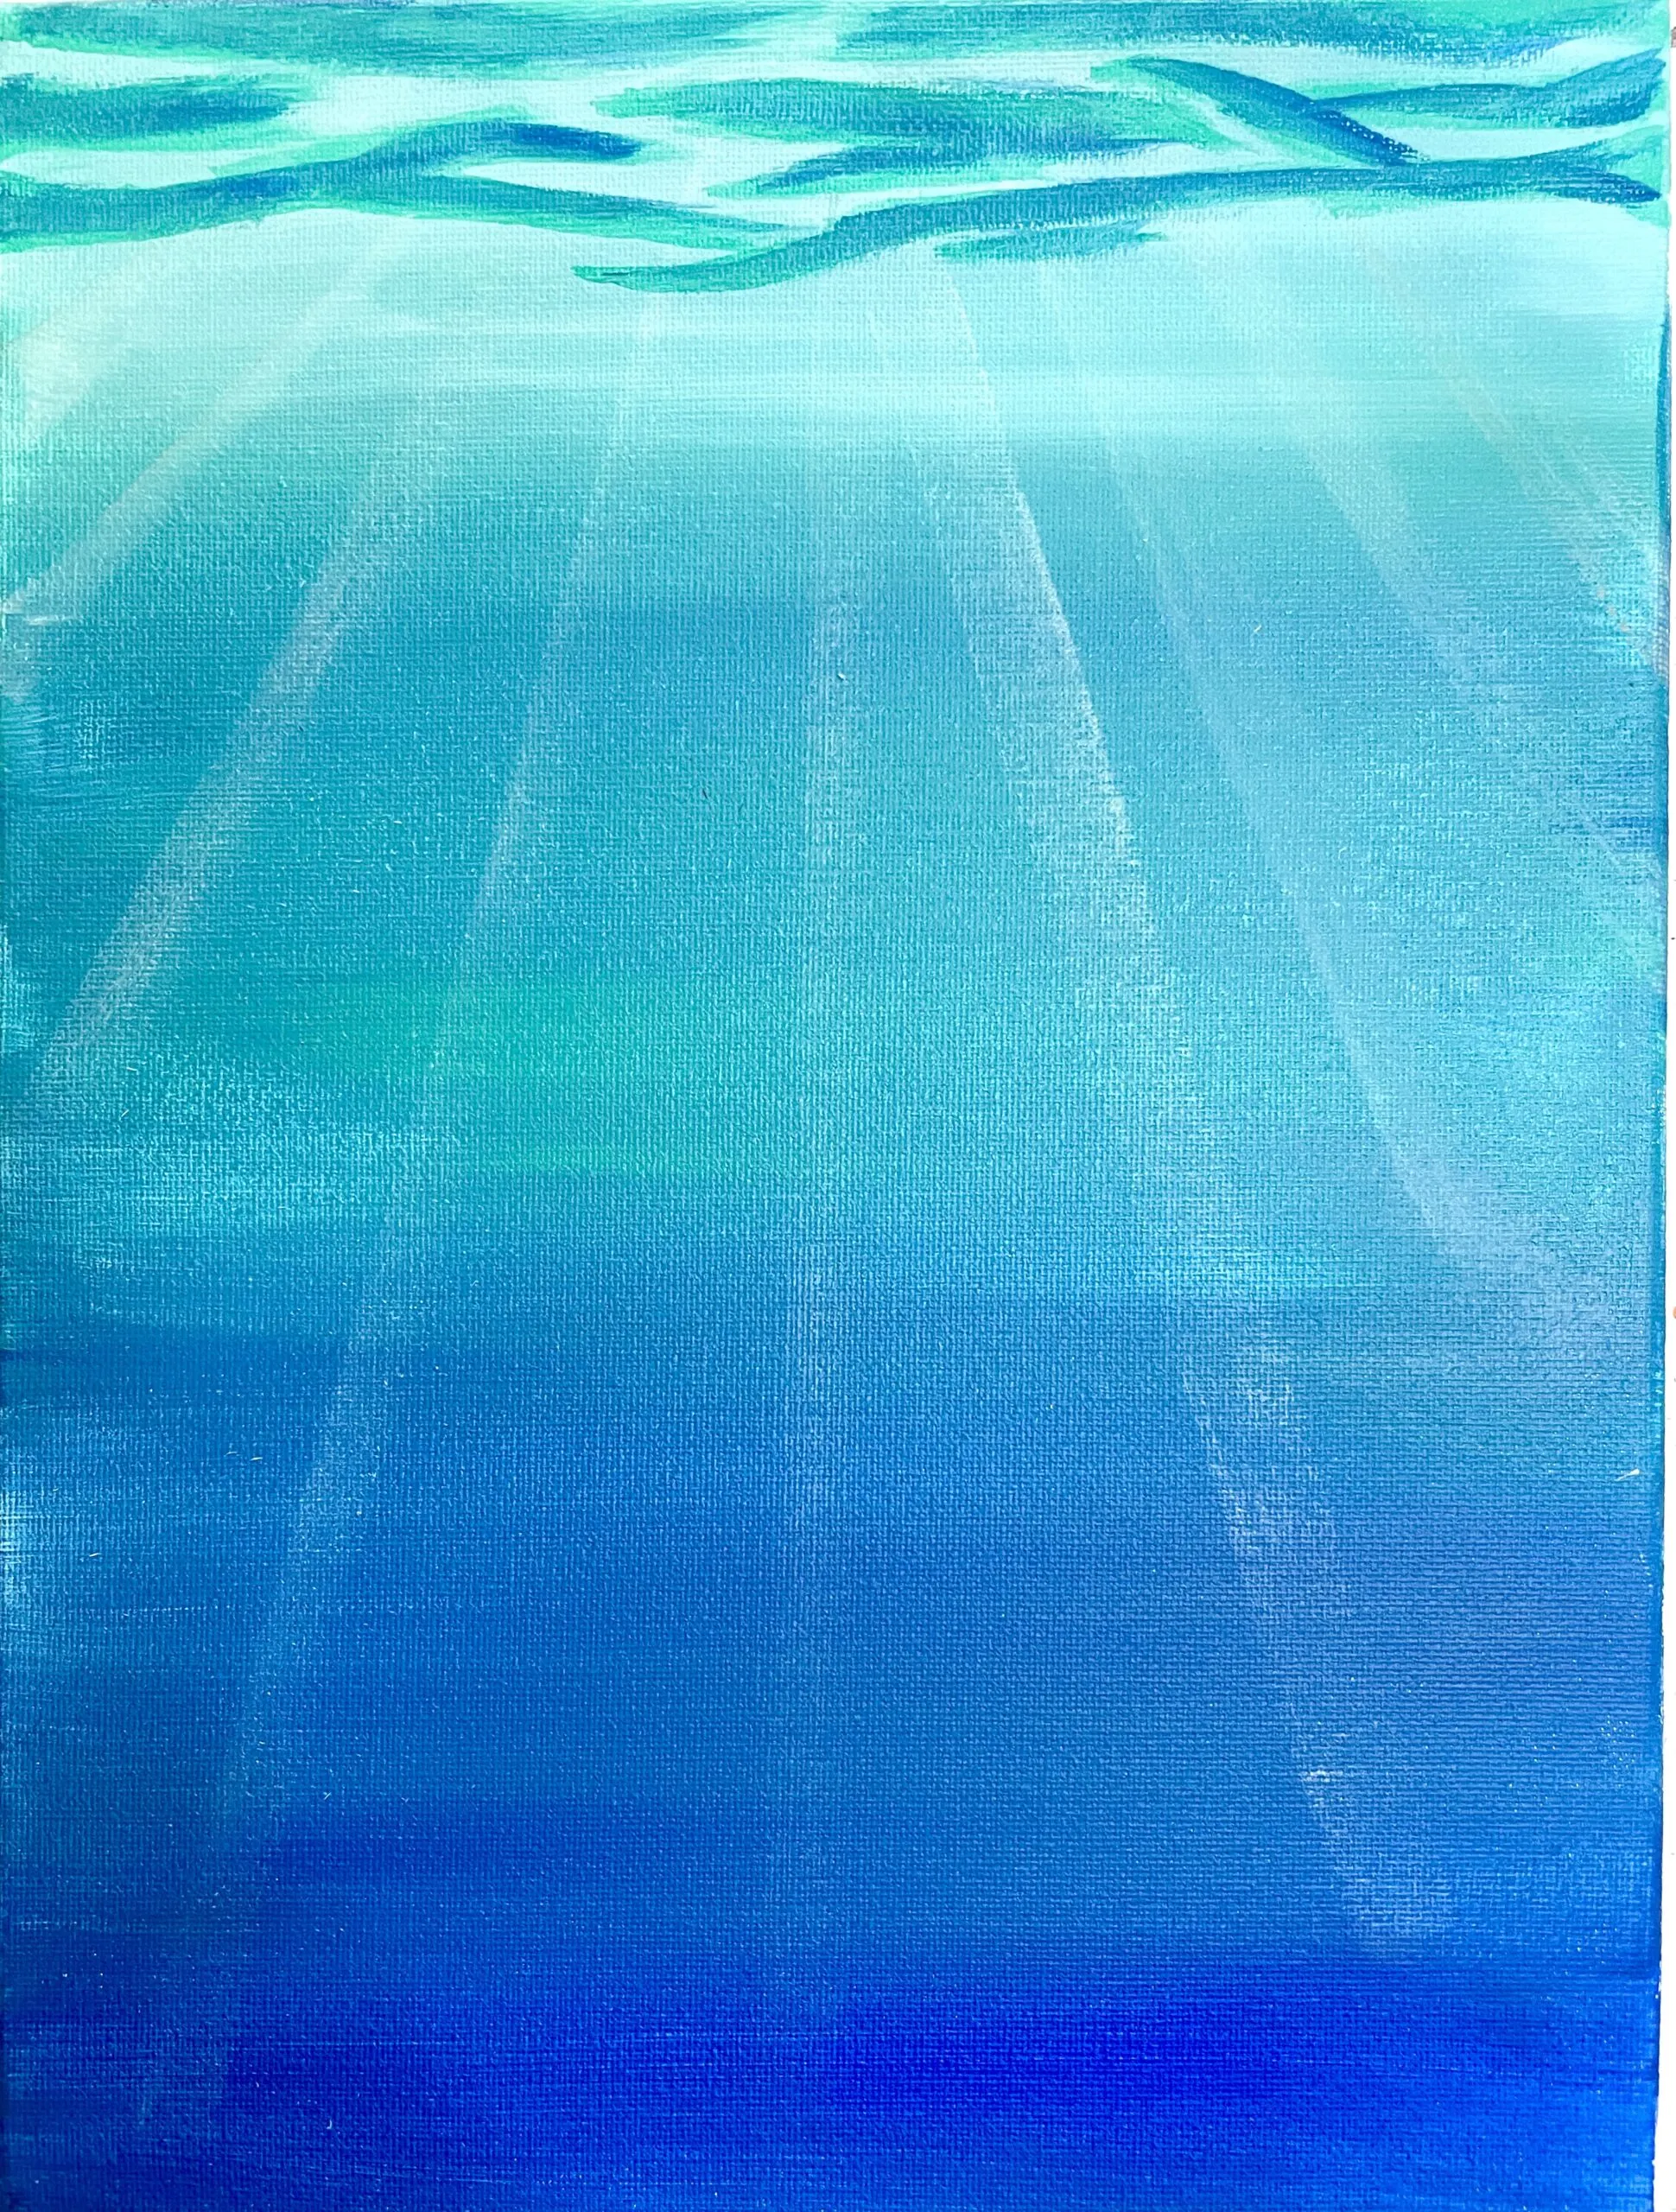
- Using the Ultramarine Blue and Aqua green mixture from step 3, and your medium round brush, paint some loose ocean waves at the top of the canvas. Wait for paint to dry.
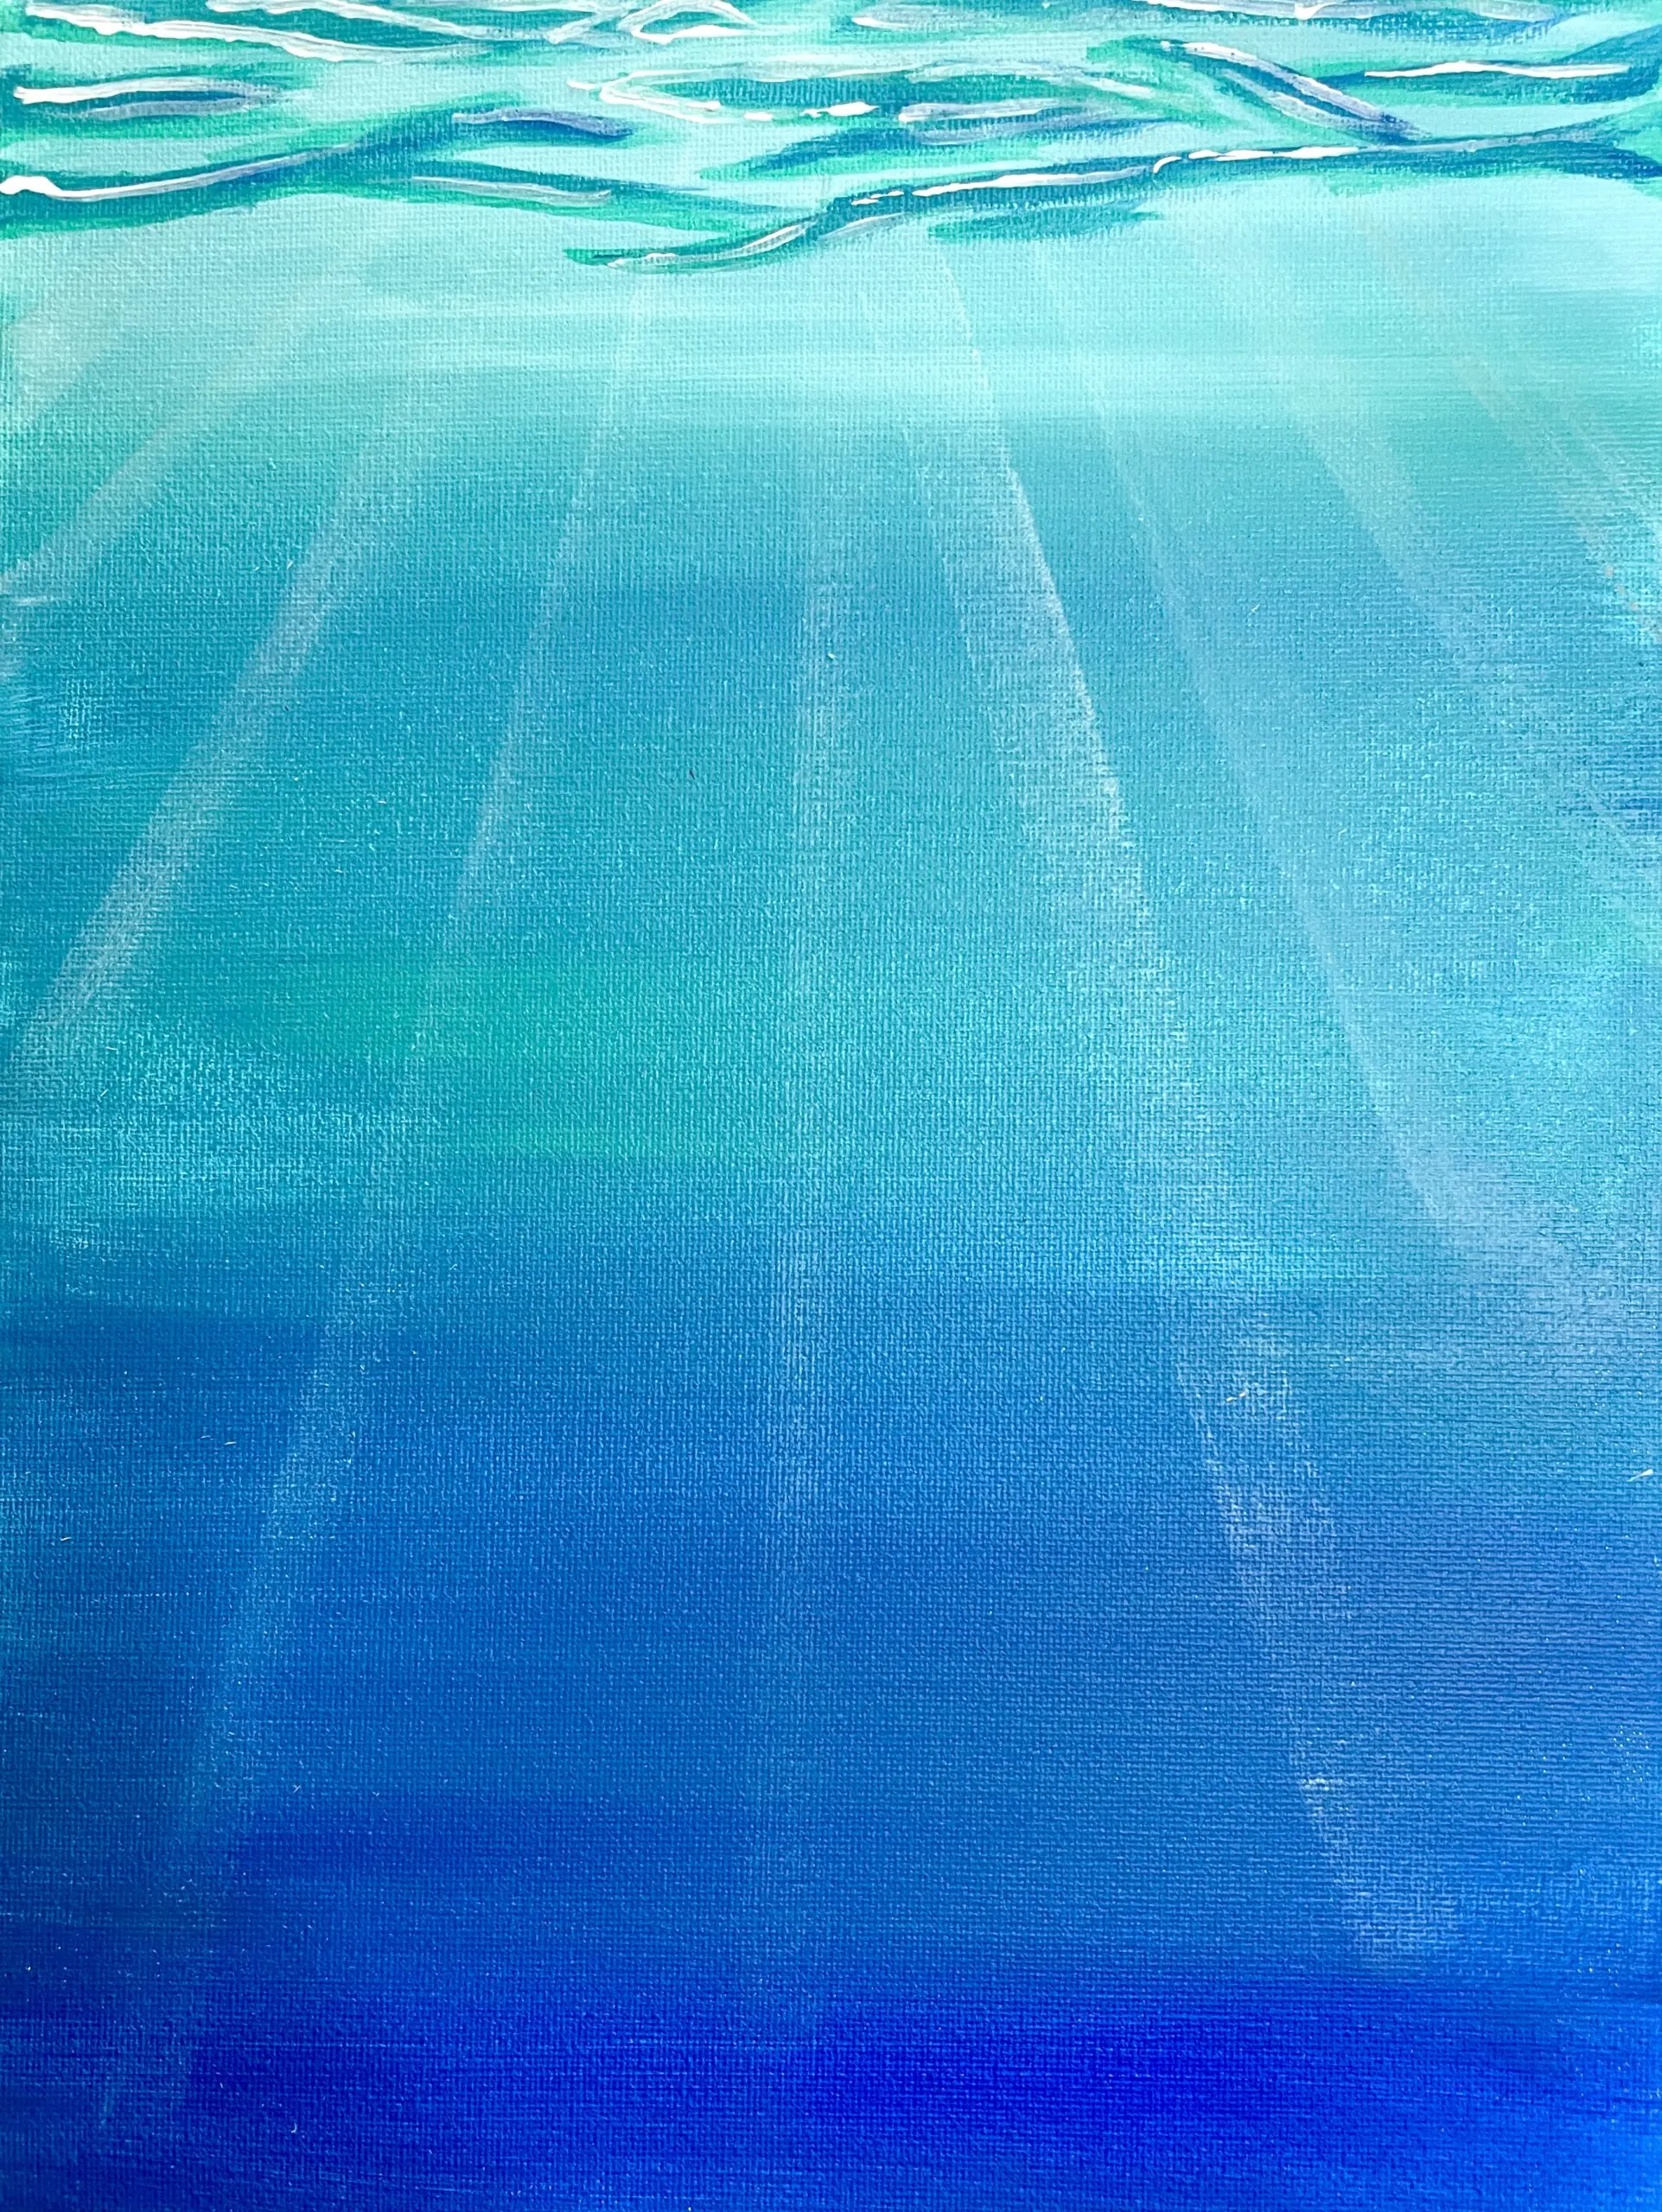
- Pick up some pure white paint with your smallest round brush and paint highlights on each wave.
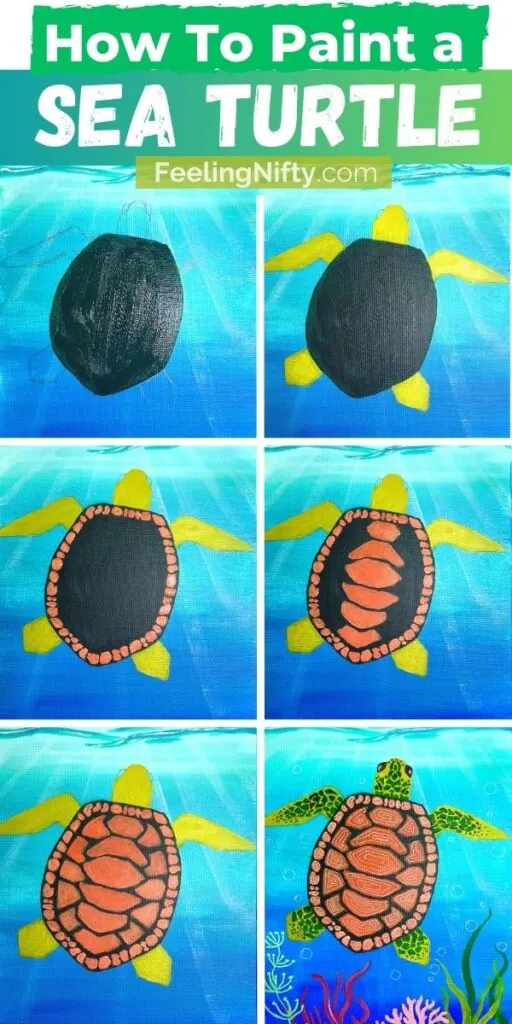
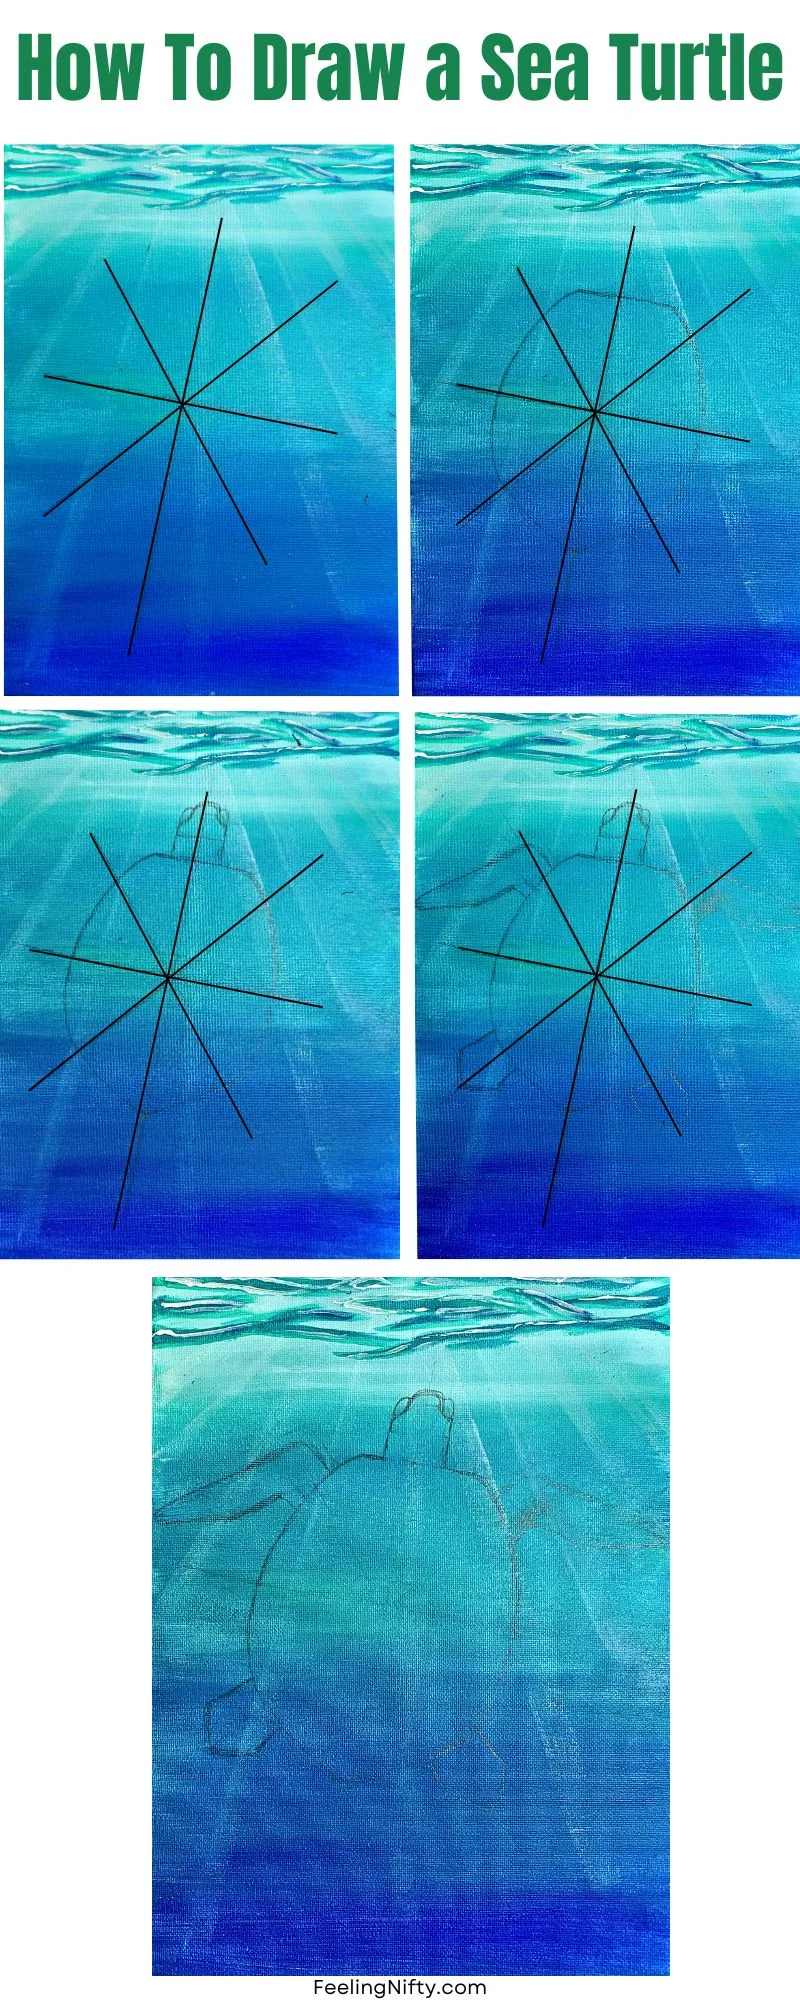
- Using a pencil draw your sea turtle. For detailed step by step drawing instructions please visit this post. Draw an angled cross, then draw an “x” through it (will look like a star) This will ensure the turtle is symmetric and helps with placement and size. Then draw the shell shape using reference star shape. The shape of the turtle shell will be like an upside down spear shape (5” long and 4” wide). Draw the head and eyes (1.5” long) centring it on the shell. Draw the sea turtle’s front 2 flippers using the “x” part of the sketch. Draw the back flippers (shapes are similar to spears). Erase the "star" reference symmetry guide.
 .
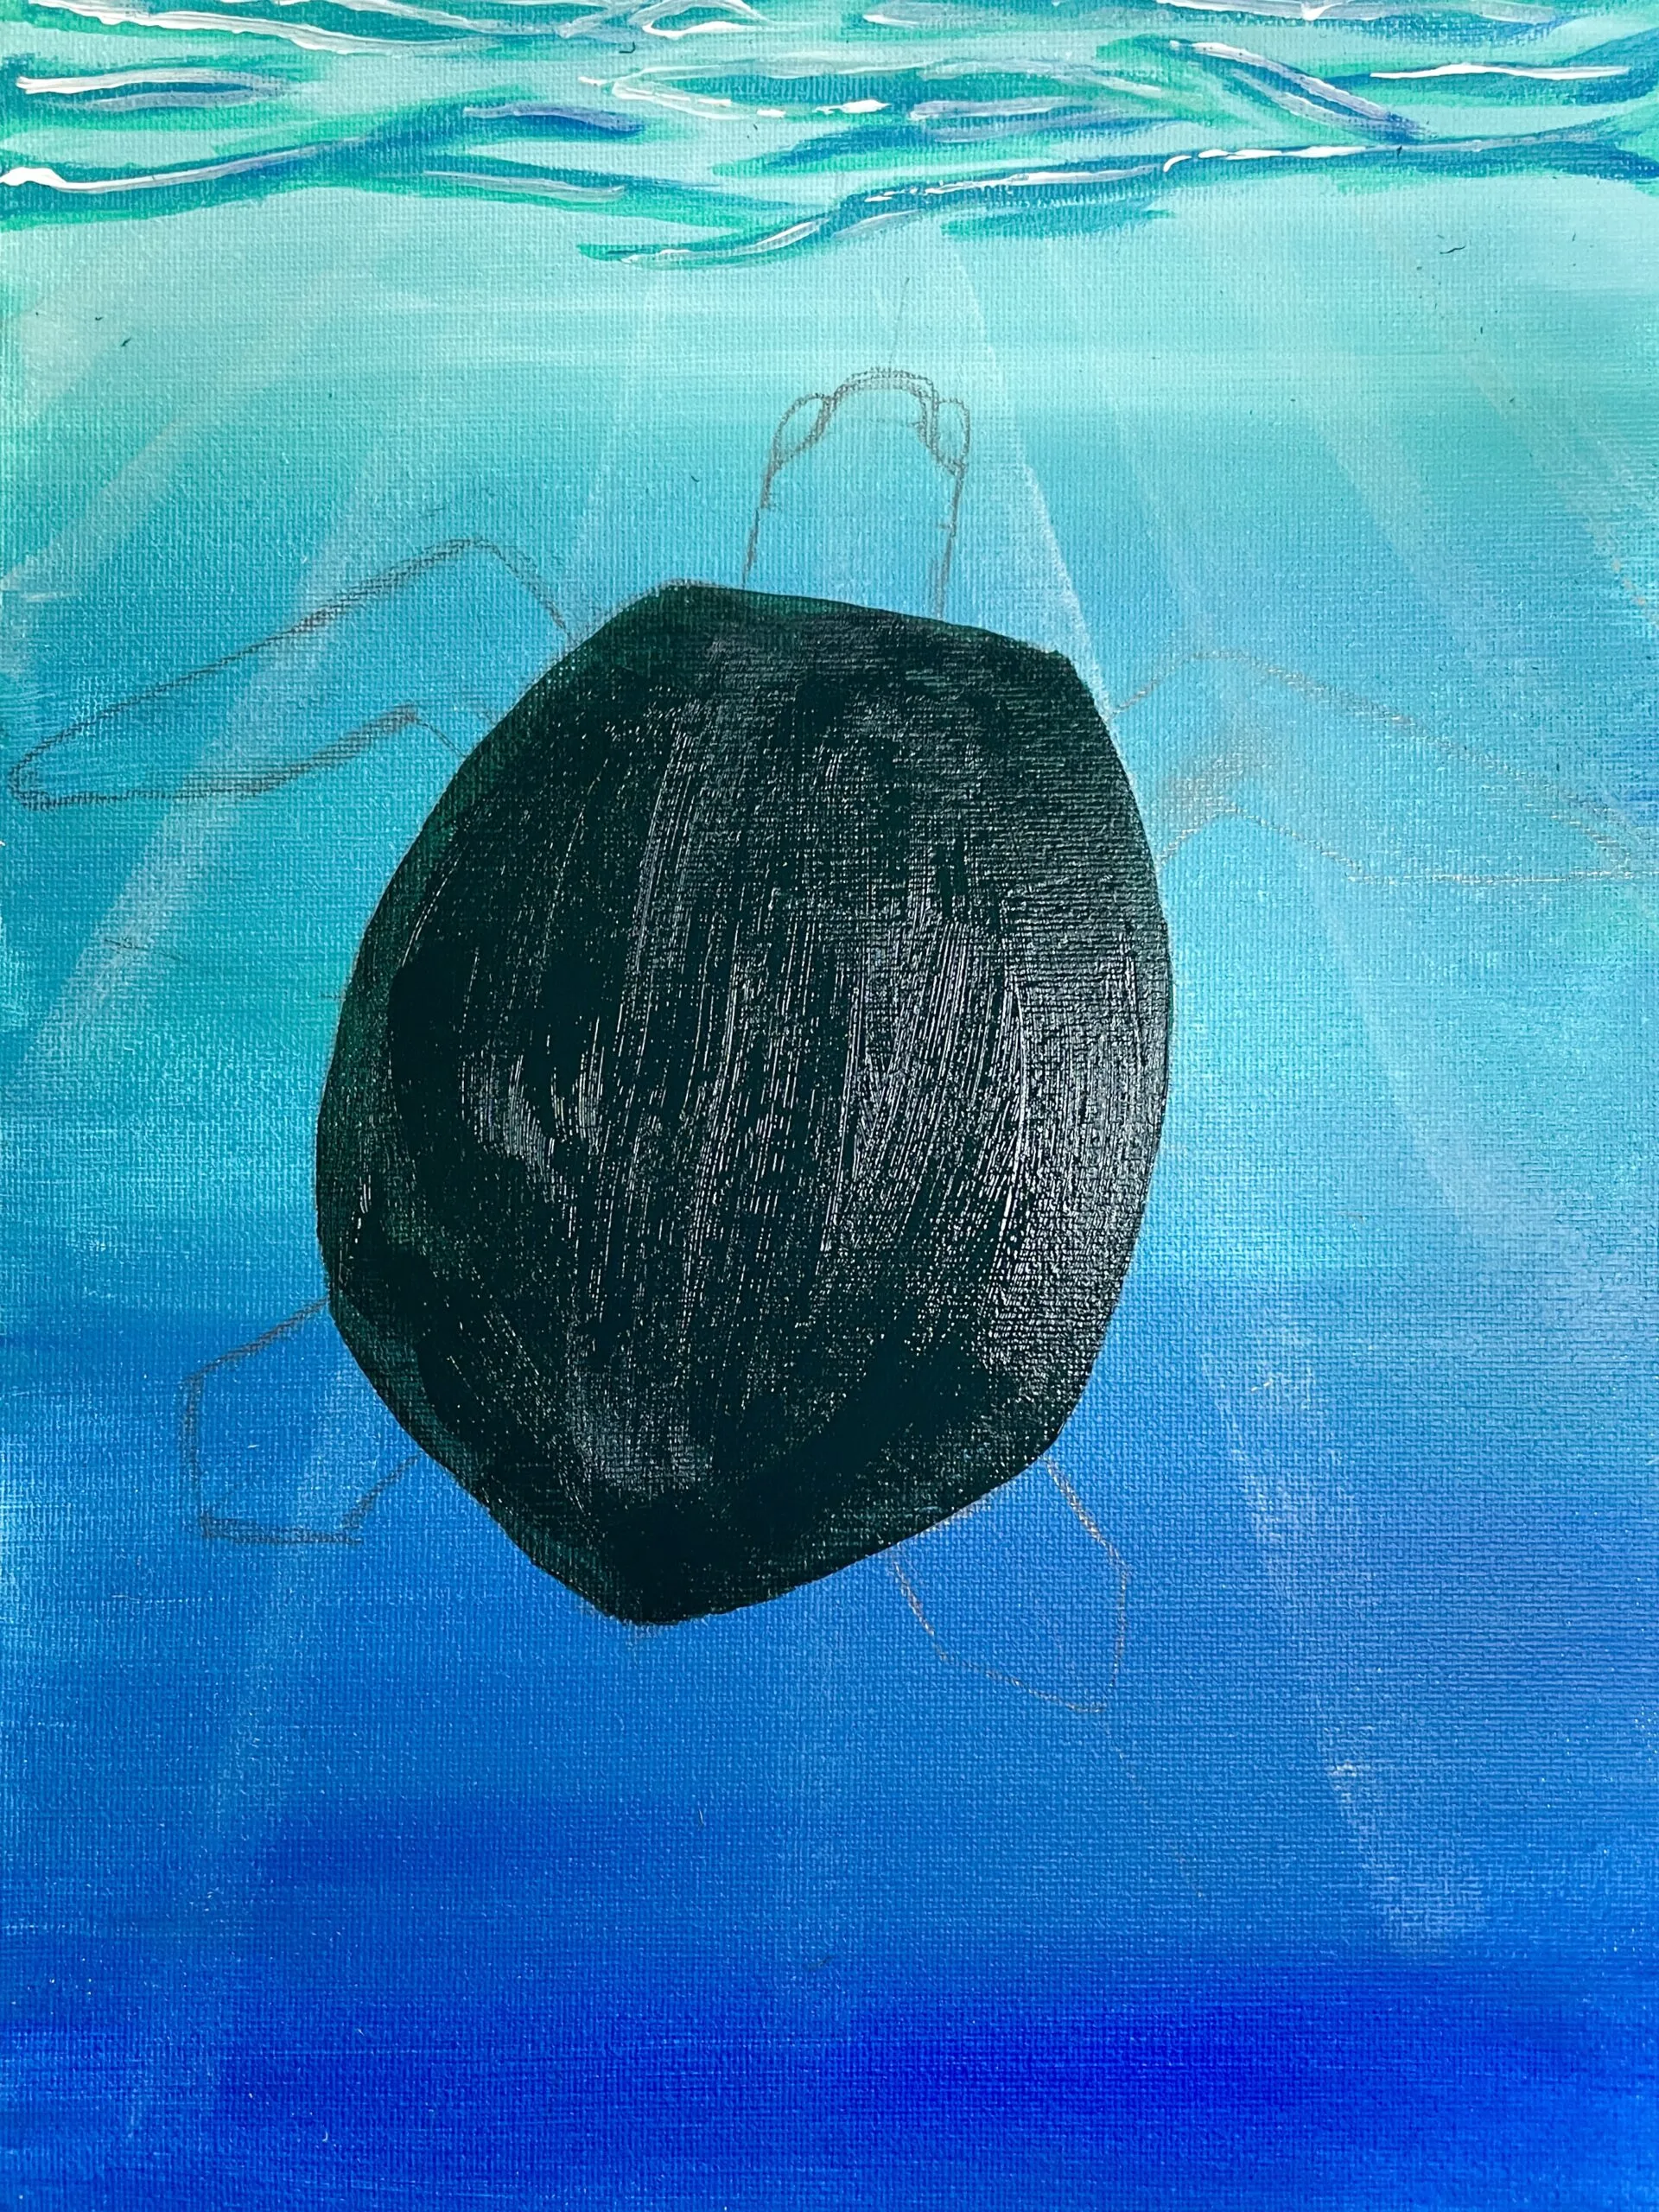
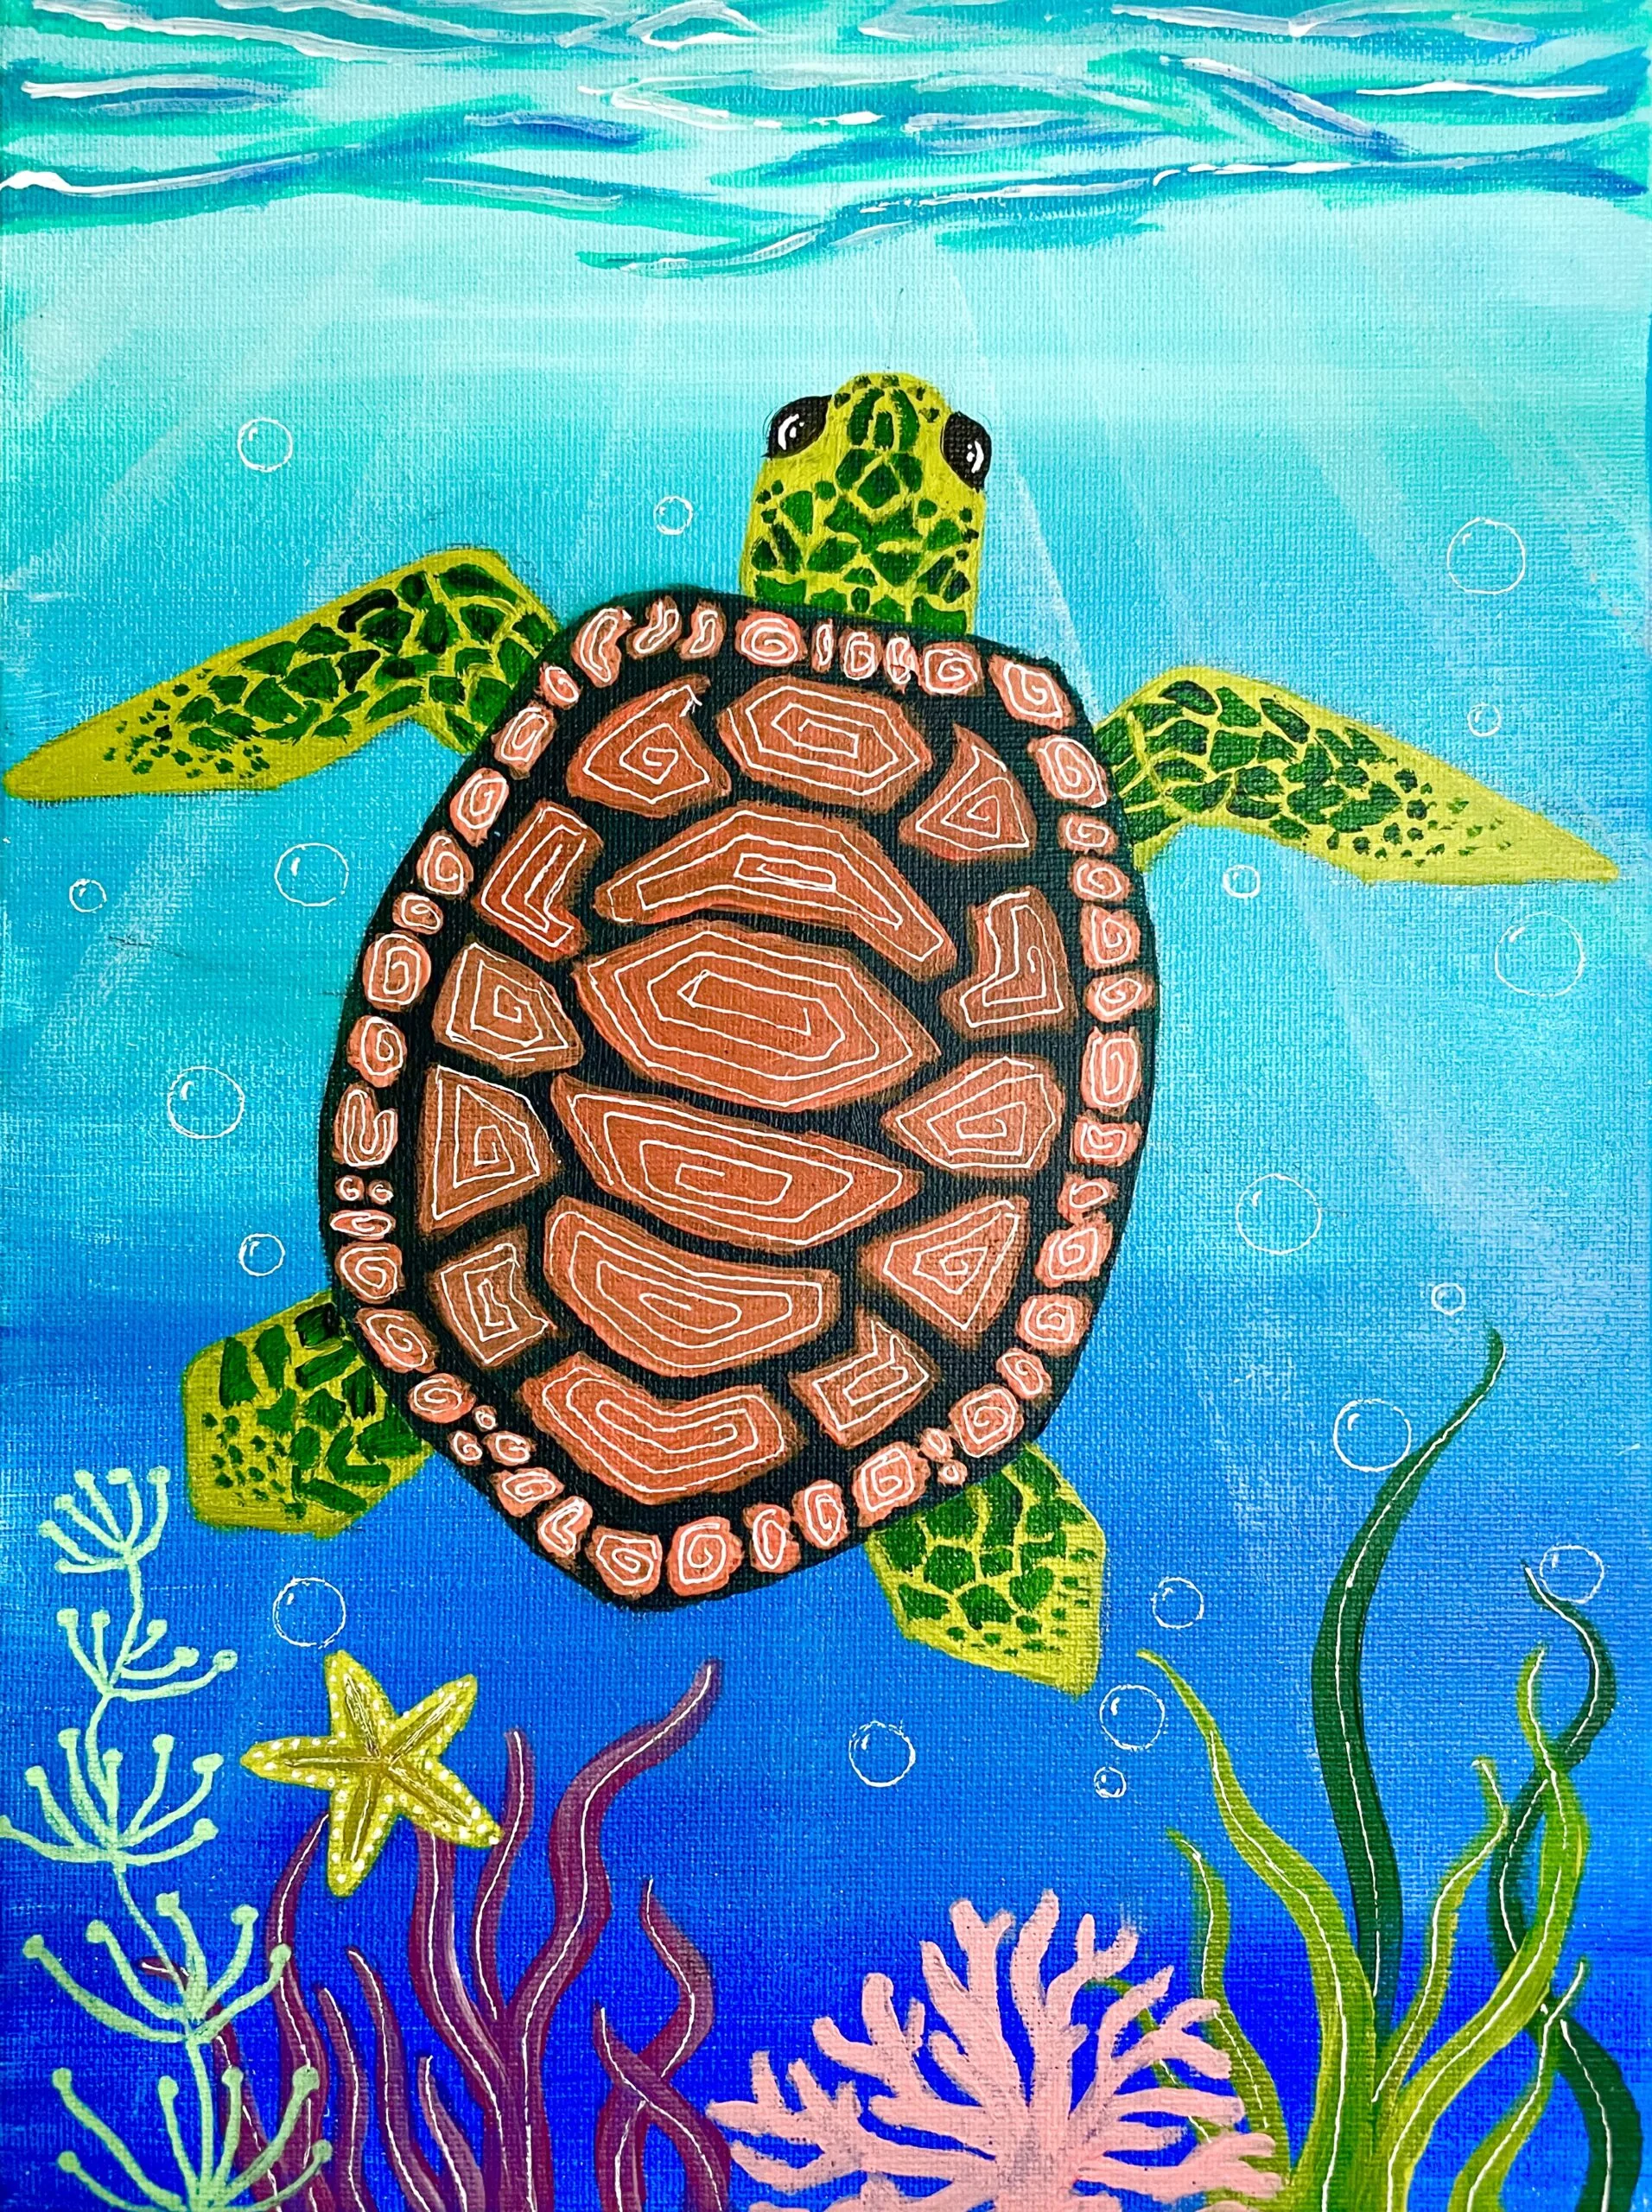
. - Mix some phthalo green with a smidgen of black to make a dark green. Using your medium size round brush paint in the entire turtle shell with this green color.
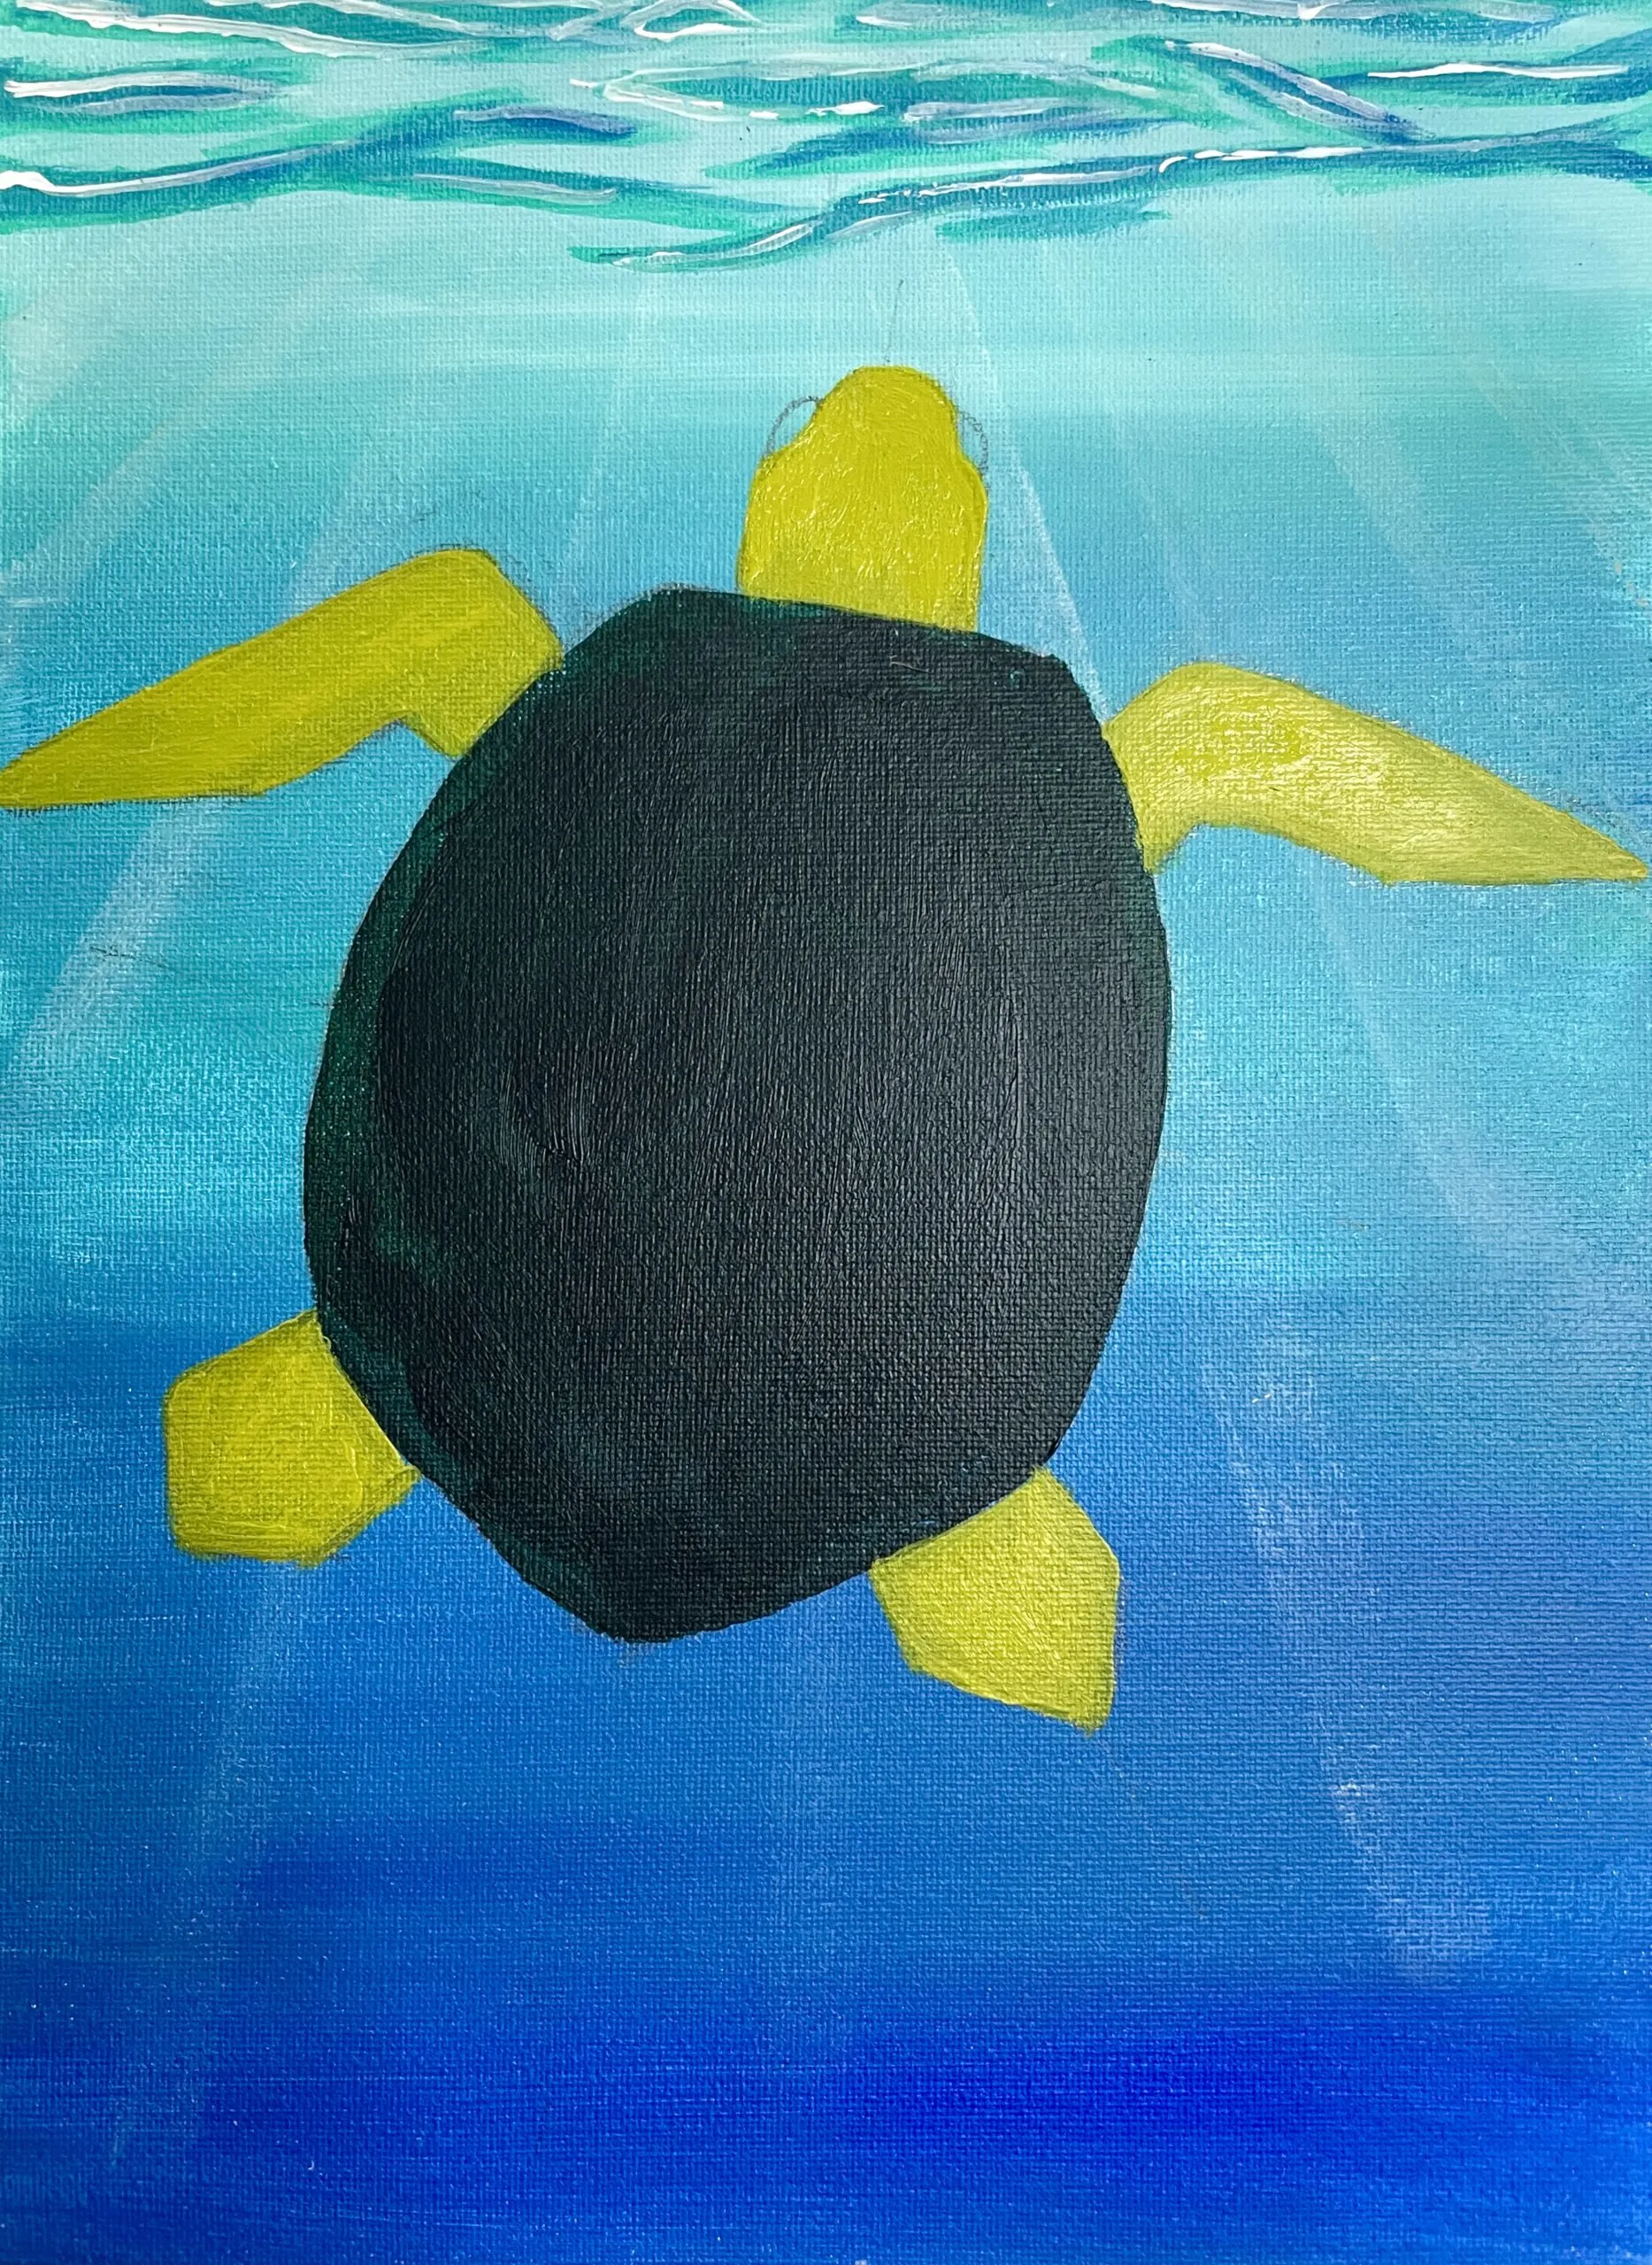
- Mix some yellow with a smidgen ultramarine blue to make a bright neon green color. Paint the head, and all 4 flippers with this color (using medium round brush.
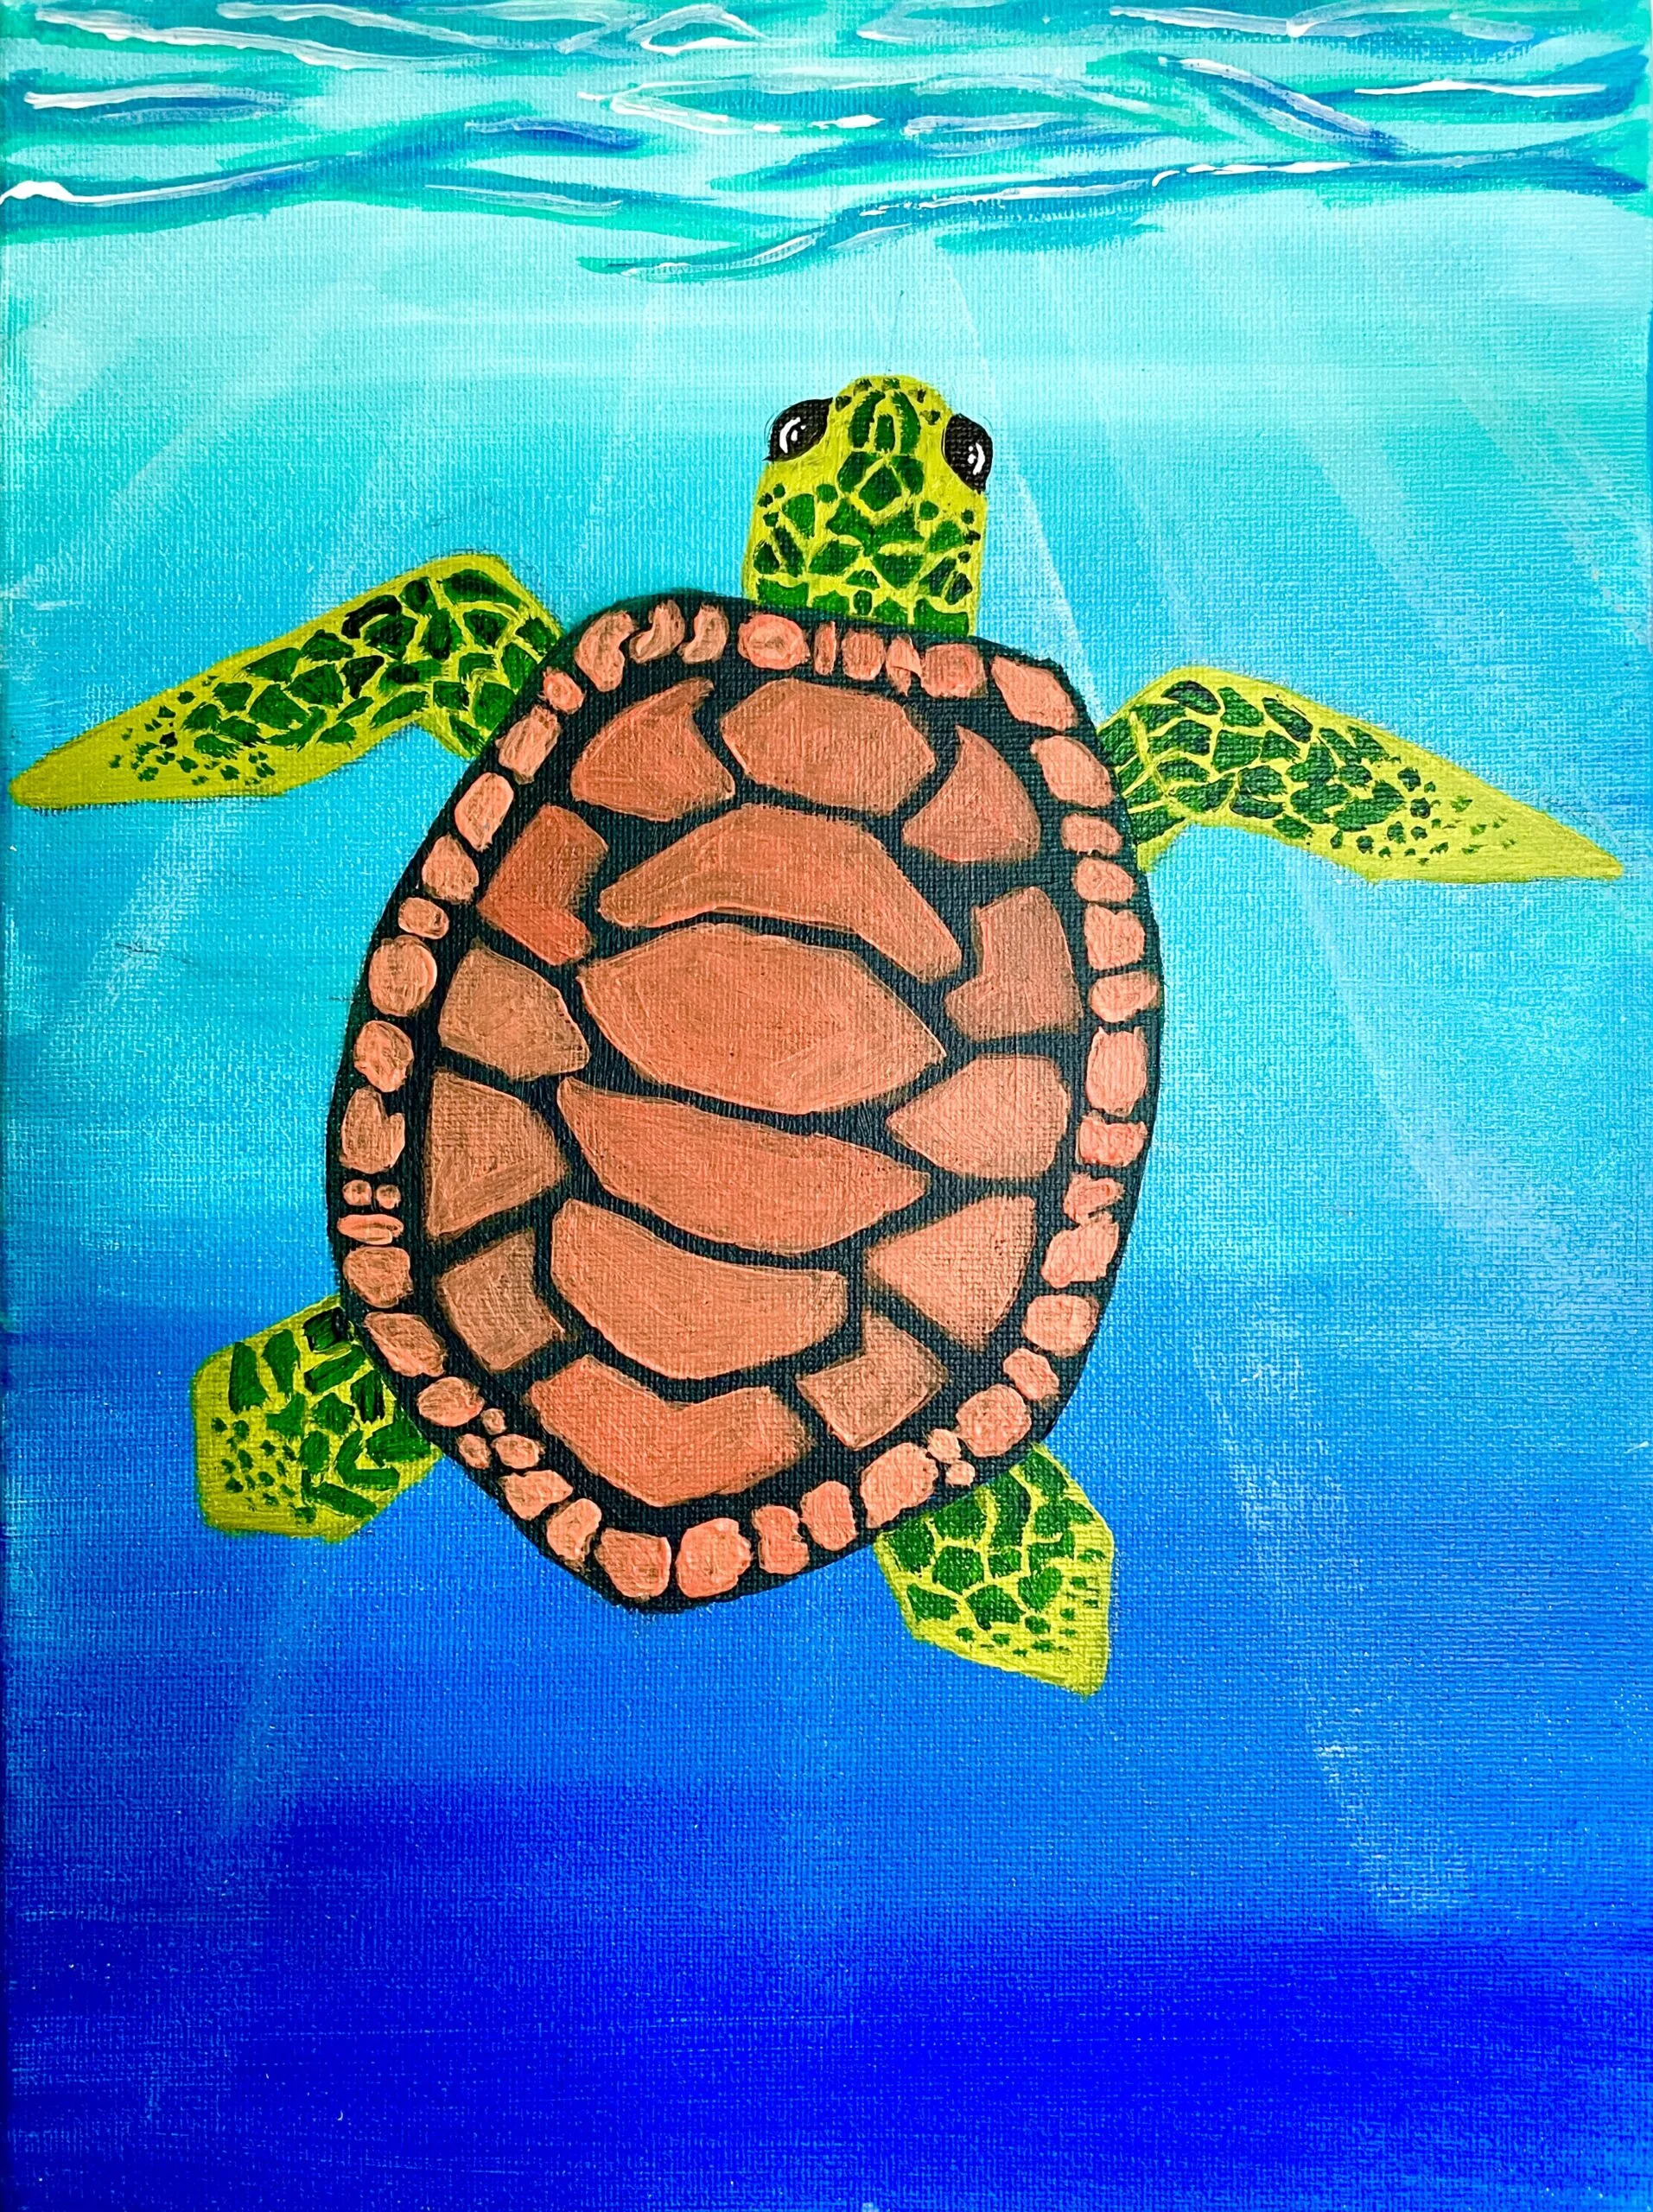
- Now make some vibrant orange by mixing yellow with a tiny amount of red (add more red as you go to make an orange you like). If you want to make it less vibrant and more muted mix in a dot size amount of blue. Using your smallest round brush paint the exterior border of the turtle shell. The pattern on the exterior border of a sea turtle’s shell is like a line of rectangular rounded bricks (about 0.5” inches wide). Make sure to leave some dark green gap in between each “brick”. You can stylize this pattern too and add different shapes in addition to the rounded rectangular shape, to give it your own flair.

- Using the same orange paint, paint the centre pattern on the turtle’s shell. The centre pattern is like a line of hexagon’s down the centre of the turtle’s shell.

- Paint the patterns on the sides of the turtles shell using the same orange paint. The patterns are formed with irregular shapes and pentagon shapes. They fill in the gap between the outer border and the centre pattern. And are a bit smaller.

- Using your smallest detail brush and phthalo green, paint in the pattern on the seat turtles skin (all 4 flippers and head). The pattern is random and like a mosaic pattern. Imagine it’s a bunch of tiny broken pieces of glass that are glued in a mosaic pattern (with space in between each piece). You can paint this pattern and fill in each flipper, or you can leave the tips bare for a different look.

- With your smallest brush and some black paint, fill in the turtles eyes. Wait for the paint to dry. Then using the smallest detailing brush you have or optionally a fine tip paint pen or marker, add white reflection marks on the turtles eyes to make it look like it's looking forward. Curve the line outward like the shape of the eye. Draw in 2 dots on the inside.
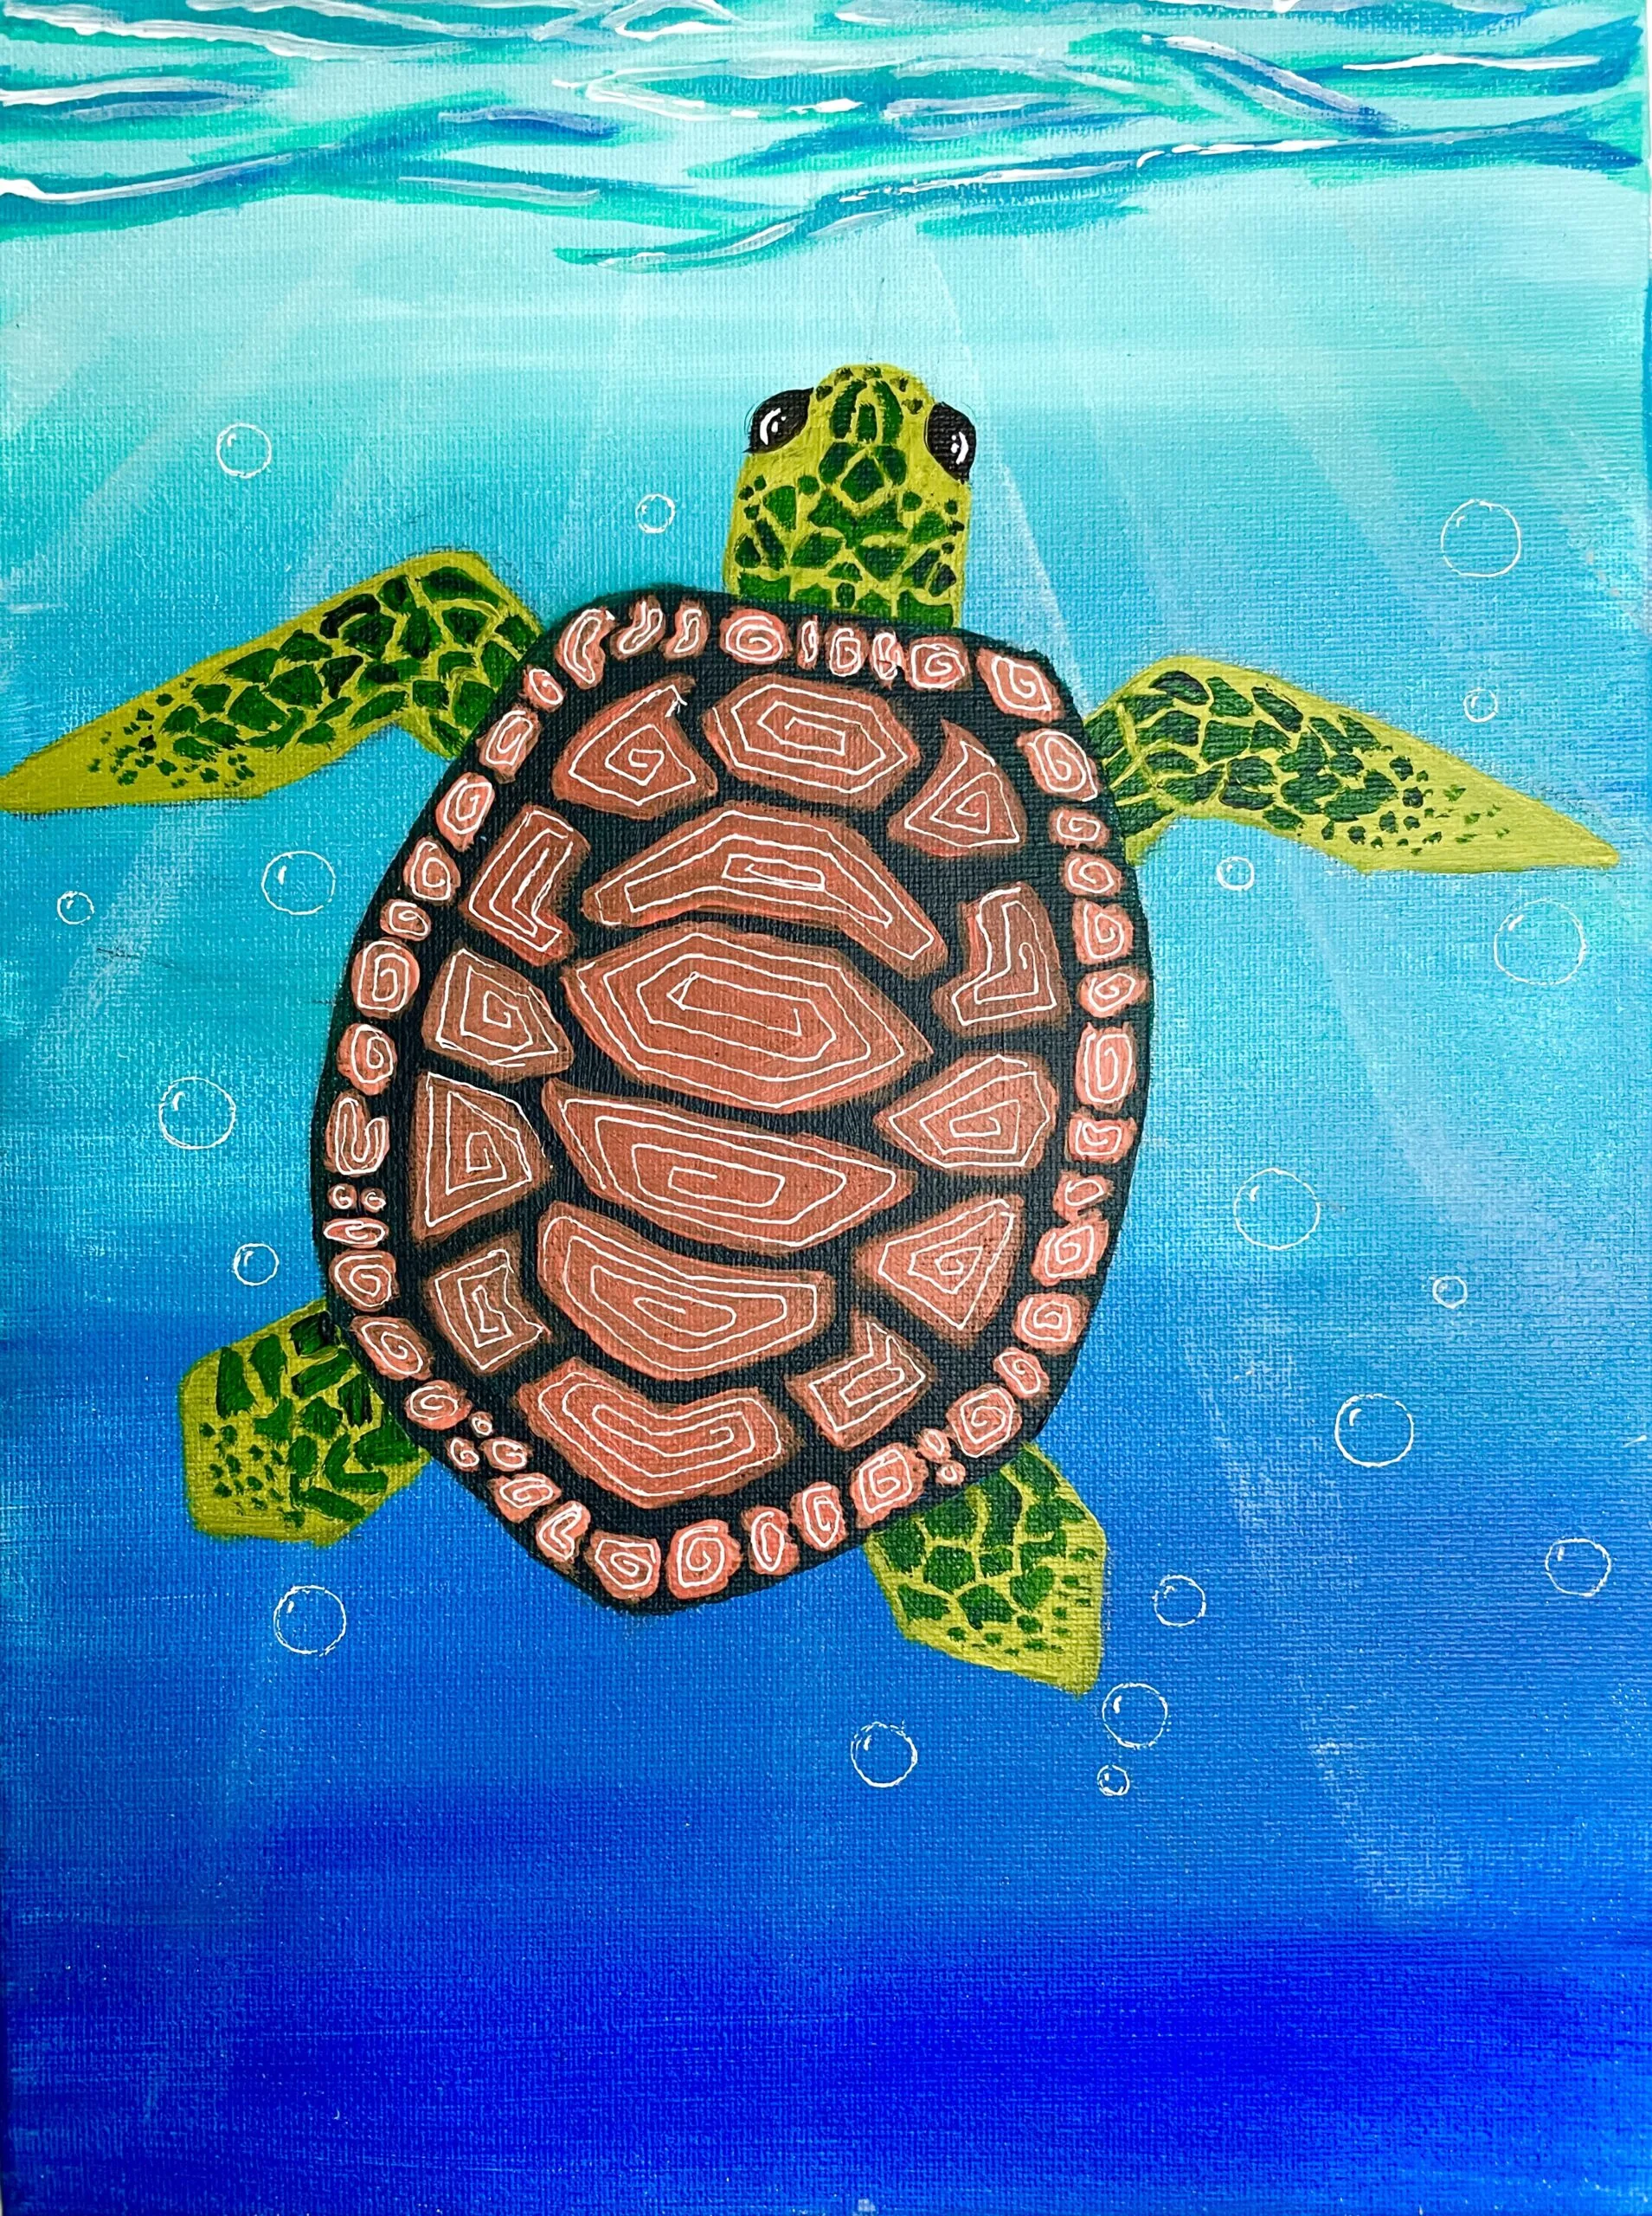
- Optional step: If you have a paint marker or paint pen you can optionally further stylize the pattern on the turtles she’ll by drawing in “maze-like” patterns in each section of the shell. Or you can leave as is for a more vibrant look.

- Paint in little air bubbles in the water using your white paint pen/marker or some white paint and your smallest detail brush. Simply free hand some small circles in varying sizes around the turtle. Add a reflection curve at the top left of each bubble to give the illusion of roundness.
- Paint in some beautiful sea weed, sea plants and coral at the bottom of your canvas, Using a variety of greens, pinks (red and white mixture), dark purple (red+ blue + white) And your smallest round detailing brush. You can also paint in a starfish in your color of choice (I chose yellow)

Recommended Products
As an Amazon Associate and member of other affiliate programs, I earn from qualifying purchases.
-
 Strathmore 300 Series Palette Paper Pad, Tape Bound, 9x12 inches, 40 Sheets (41lb/67g) - Artist Paper for Adults and Students
 -
 FIXSMITH Stretched White Blank Canvas - 9x12 Inch, Bulk Pack of 8, Primed,100% Cotton, 5/8 Inch Profile of Super Value Pack for Acrylics,Oils & Other Painting Media.
 -
 Liquitex BASICS Acrylic Paint, 118ml (4-oz) Tube, Cadmium Yellow Medium Hue
 -
 Liquitex BASICS Acrylic Paint, 13.5-oz bottle, Cadmium Red Medium Hue
 -
 Liquitex BASICS Acrylic Paint, 118ml (4-oz) Tube, Phthalocyanine Green
 -
 Liquitex BASICS Acrylic Paint, 118ml (4-oz) Tube, Ultramarine Blue
 -
 Liquitex BASICS Acrylic Paint, 118ml (4-oz) Tube, Bright Aqua Green
 -
 LIQUITEX Acrylic Paint Basics B-057, Mars Black, 4.0 fl oz (118 ml)
 -
 LIQUITEX Acrylic Paint Basics B-065, Titanium White, 4.0 fl oz (118 ml)
Completed Sea Turtle Painting Pictures

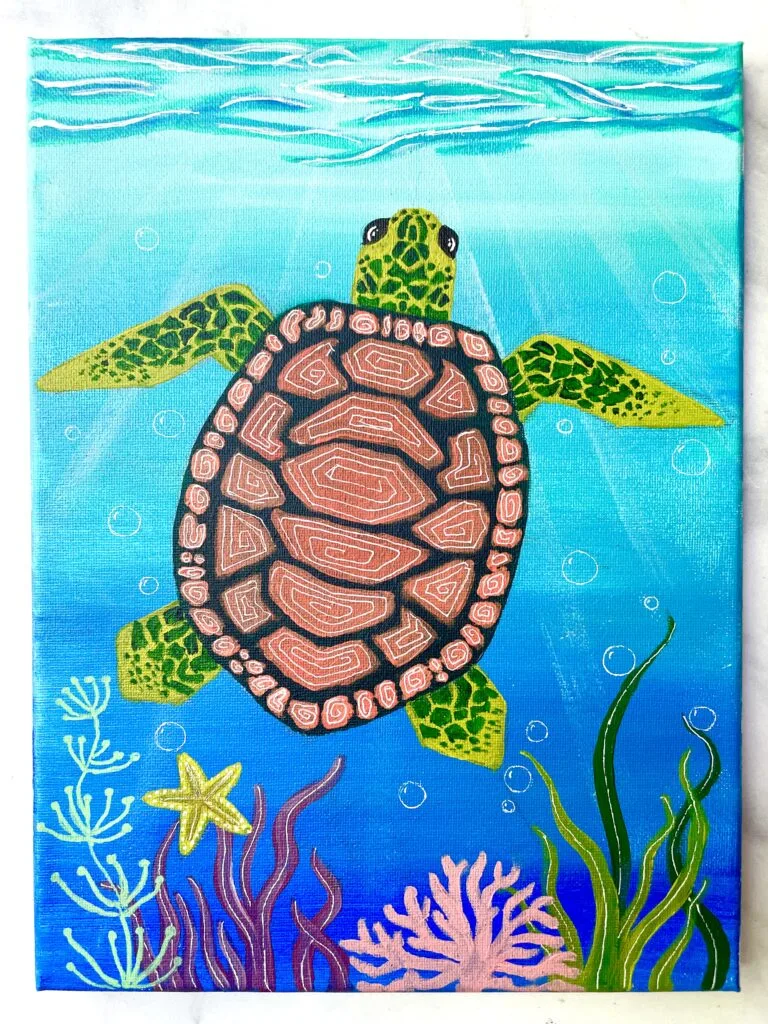
If you liked this sea turtle painting tutorial please pin it!
