Create some funky sea glass art with sea glass and pebbles collected from the beach. A unique piece of art thats simple to make and ready to hang!
Sea Glass Art Inspired by a Trip to the East Coast
We visited the eastern coast of Canada this summer and it was literally a dream come true! I love the coast AND I’m a huge nerdy Anne Of Green Gables fan so it’s always been a childhood dream of mine to explore the gorgeous island of PEI, Canada. This vacation also inspired some sea glass art – the step by step tutorial is below!
On the last day and last beach of our vacation – we were exploring the shoreline in the town of Souris- a beach known for sea glass.
It was low tide and we were literally walking on the ocean floor- so cool by the way! We spotted some sea creatures like crabs, clam shells and multiple jellyfish waiting for the sea to come back.
After walking along the entire beach, I spotted a local family that were digging for soft shell clams, for a yummy traditional east coast clam meal.
They shared a tip to look along a pebbled path on the shore, which is where sea glass usually washes up.
What is Sea glass and where can you find it?
I didn’t know what sea glass was until I saw some pretty neat art on Pinterest. I was intrigued and wanted to know more.
Here’s what I learned.
Sea glass is the result of broken pieces of jars, glass and ceramics being tumbled for years in the ocean. Cool eh? So basically the ocean naturally recycles these sharp glass pieces, and gorgeous sea jewels are left behind. Amazing mother nature!
It takes on average 30 years for the sharp pieces of glass to get their naturally frosted and soft edges.
Sea glass is traditionally used in DIY jewellery, but a recent trend has been to incorporate it into art pieces. You can find a bunch of beautiful pieces on Pinterest and even wrapped sea glass pendants on Etsy!
Where to find sea glass?
Sea glass and beach glass can be found on many coastal shores, and even on the shores of the Great Lakes.
Here’s some awesome tips on how to spot sea glass. They were given by some sea glass experts. And I totally agree with looking on a pebbled beach, versus sandy, that’s what worked for us!
Can you Buy Sea Glass?
You can buy sea glass online online on amazon and Etsy. But there are a couple of things to watch out for.
If you are looking for the authentic sea glass (I.e. made by lakes or oceans), make sure you read the description very carefully. There are many people selling “at home tumbled” sea glass pieces, which are often cheaper in price.
I personally haven’t bought any online, but from the reviews the “at home tumbled” variety can be a hit or miss.
If you’re looking for authentic sea glass, Etsy is a great place where you’ll find many people who have collected them from beaches and are willing to sell them.
But they are more expensive.
If you do choose to buy online, make sure you ask the seller before you buy- if the sea glass come from the beach/ocean or has been made by a tumbler machine (at home).
How do you Glue Beach Glass?
There are a couple of glue’s you can use to stick sea glass to card stock, canvas, wood, etc. Some experienced sea glass artists use E6000 glue (just make sure you wear gloves when using this stuff), since its an industrially strong glue.
I wanted to use something a little safer (since I often craft with my kids). I found that Aleene’s Tacky Glue worked perfectly with my Sea Glass art.
I’ve had my sea glass art hanging up on my wall for almost a year without a problem!
Now, that your up to speed on all-things sea glass- let’s move on to the tutorial!
Heads up: My post may contain affiliate links. That means if you click and buy something I recommend, while it won’t cost you a penny more, I might earn a small commission. It helps keeps this site up and running. Thank you for your support!
Tutorial
Materials:
1. Sea glass
2. Pebbles
3. Tacky Glue
4. White card stock
5. Shadow Box Frame. I bought the square Ribba Frame from IKEA. If you shop online I found this one which is similar and got good reviews.
Step by Step
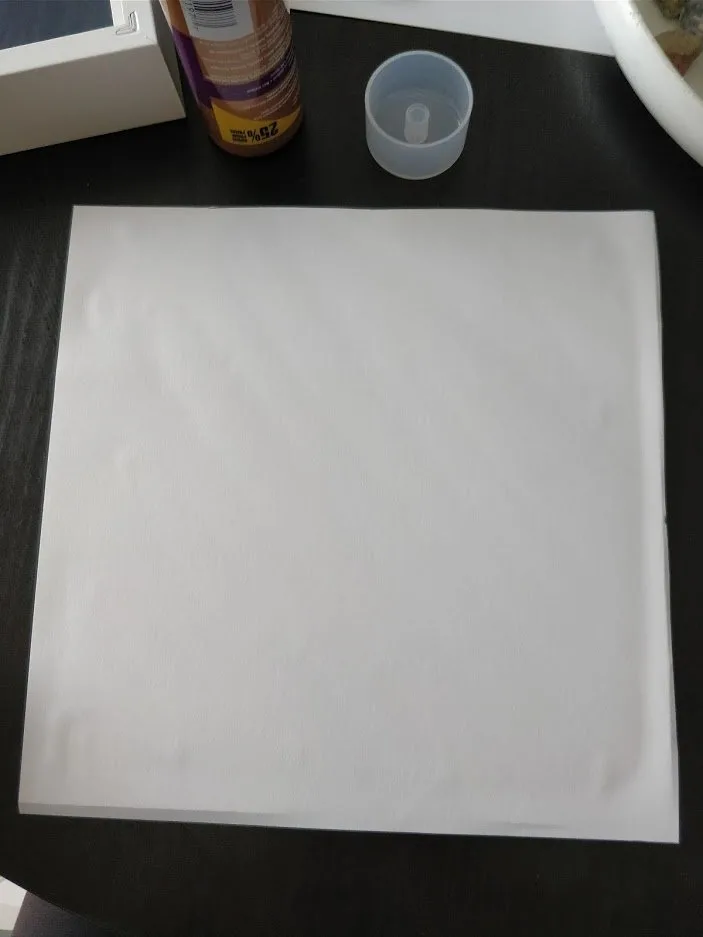
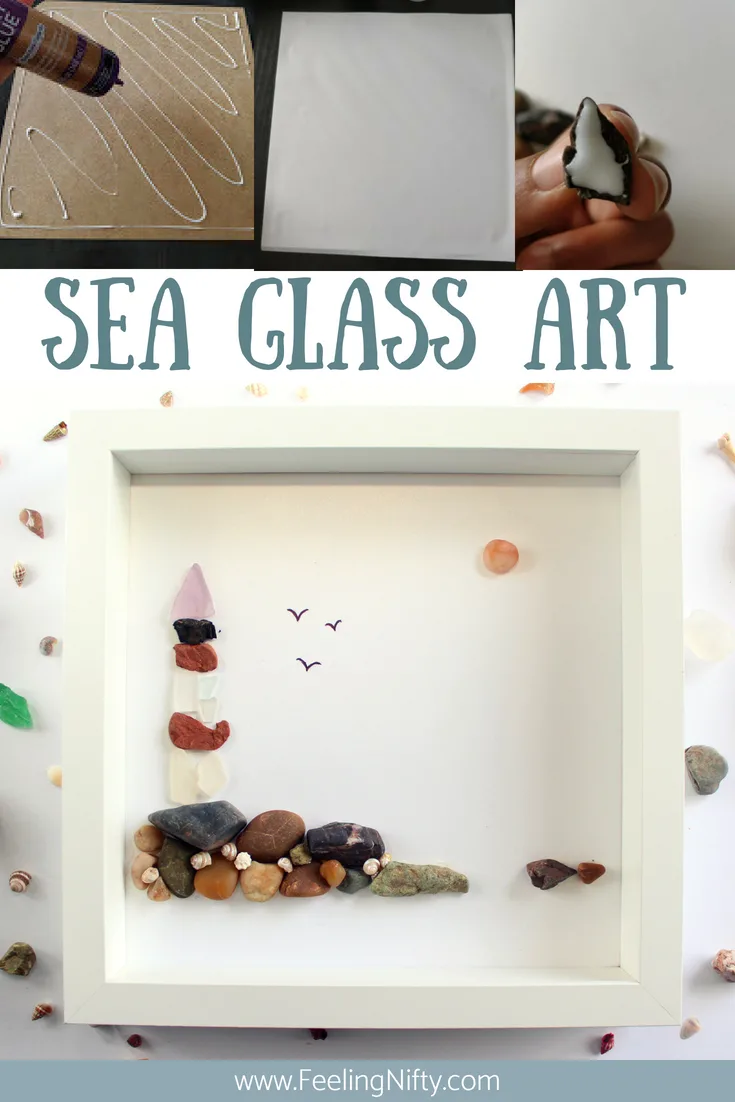
1. Cut your card stock to the size of the frame. You can use the frames backing piece as a template.
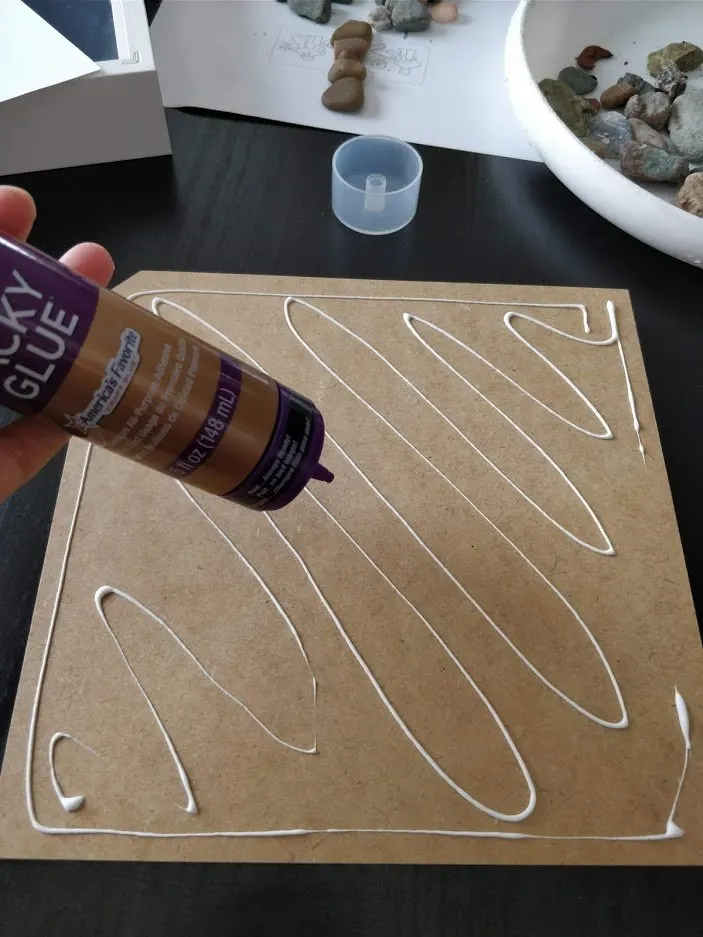
2. Glue the card stock to the backing with the tacky Glue.
- Glue the backing of the frame
- Place card stock on frame backing
3. Place your sea glass and pebbles on the card stock in the design you want. Do NOT use glue in this step. This step is to plan out where everything goes, before gluing.
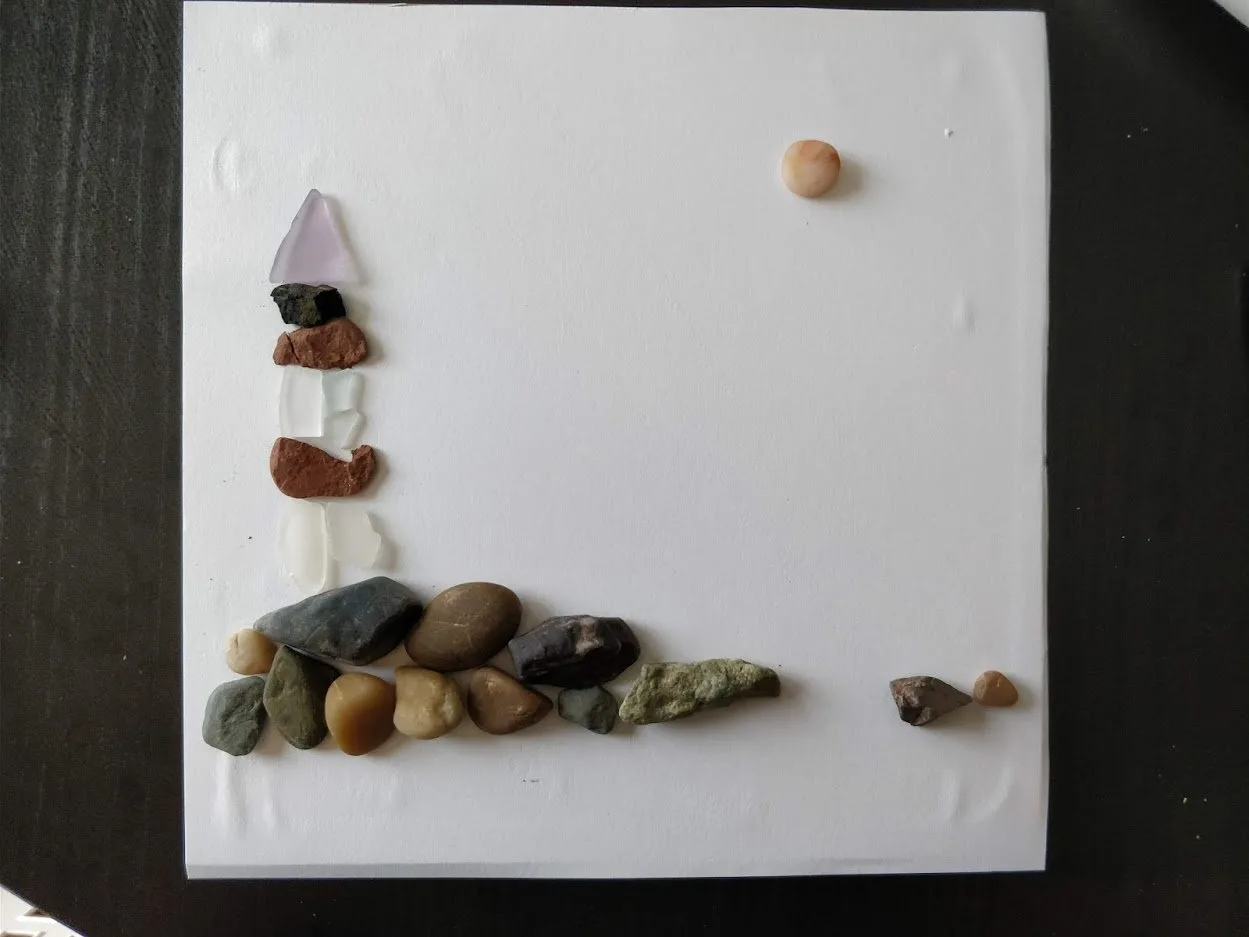
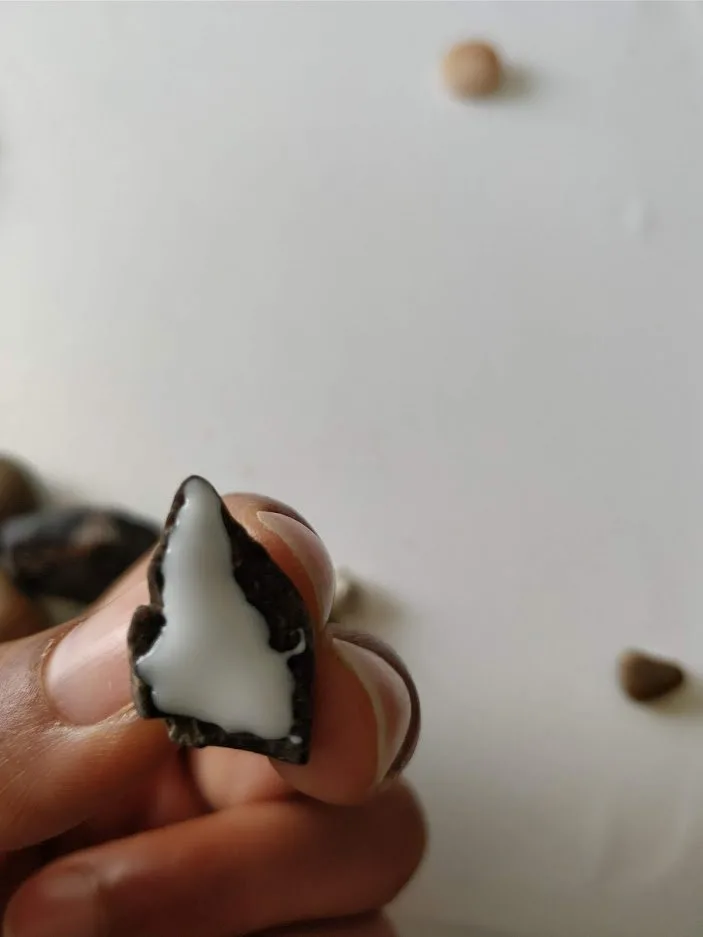
4. Once you’re happy with your design start gluing your glass/pebbles one by one, until you’re done. The tacky glue takes a couple minutes to dry, so you can readjust your pieces within that time.
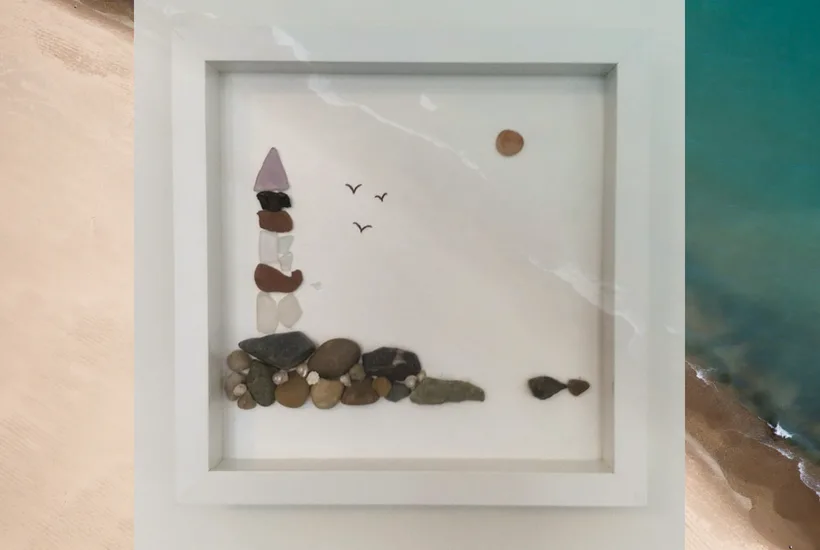
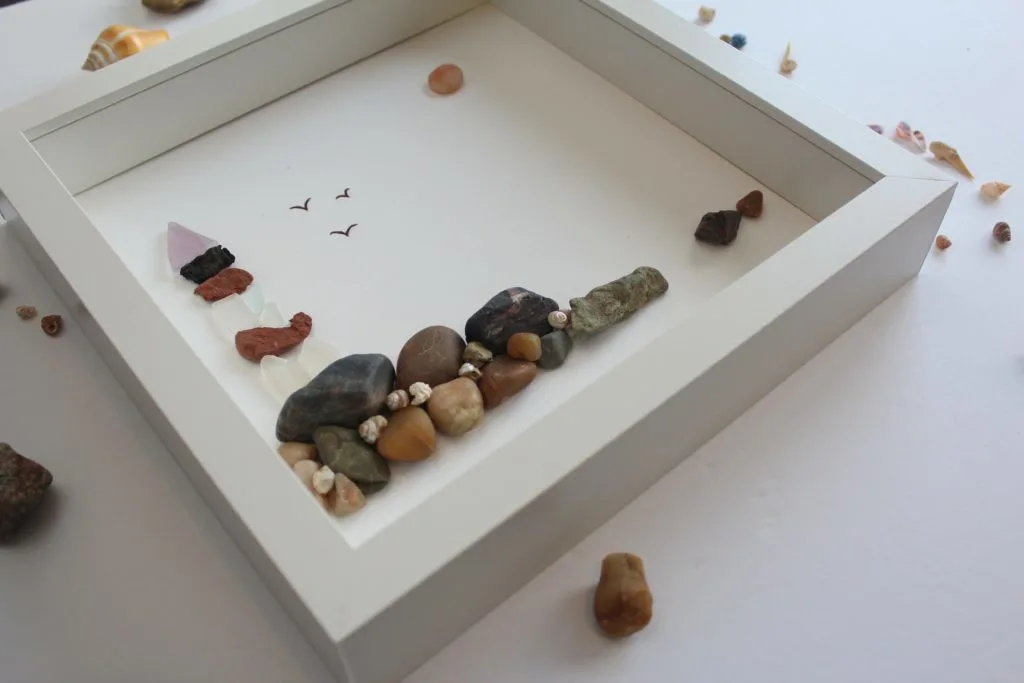
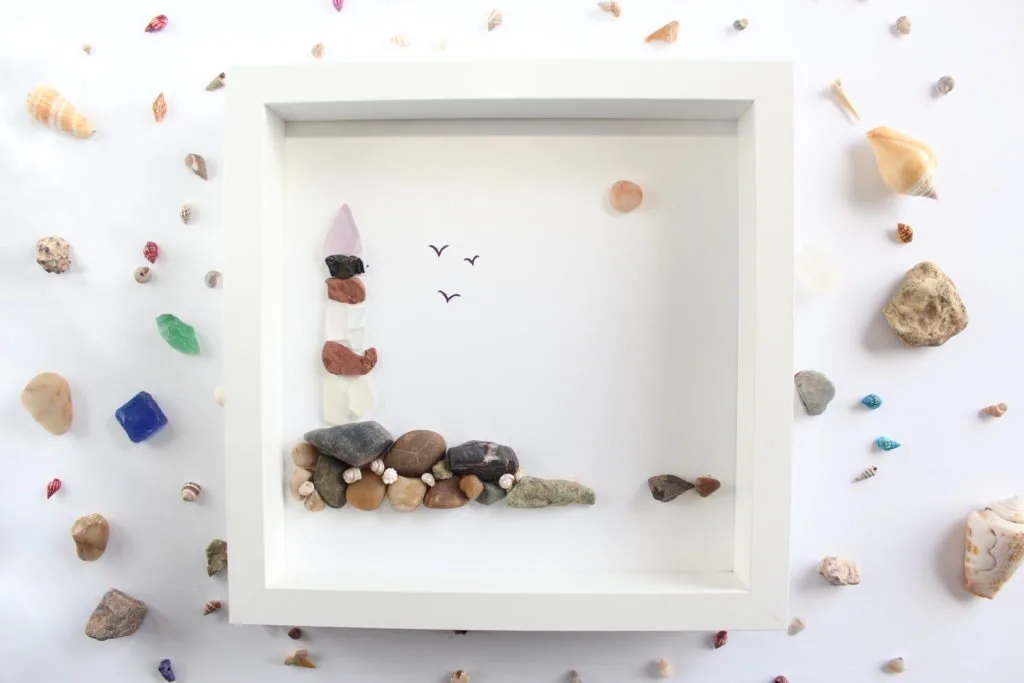
5. Once completely dried, attach the frame back and your unique sea glass art is complete! I ended up drawing some seagulls with a black Sharpie, and I added in a couple of tiny sea shells.
And there you go, a fun way to create an art piece with some sea glass!
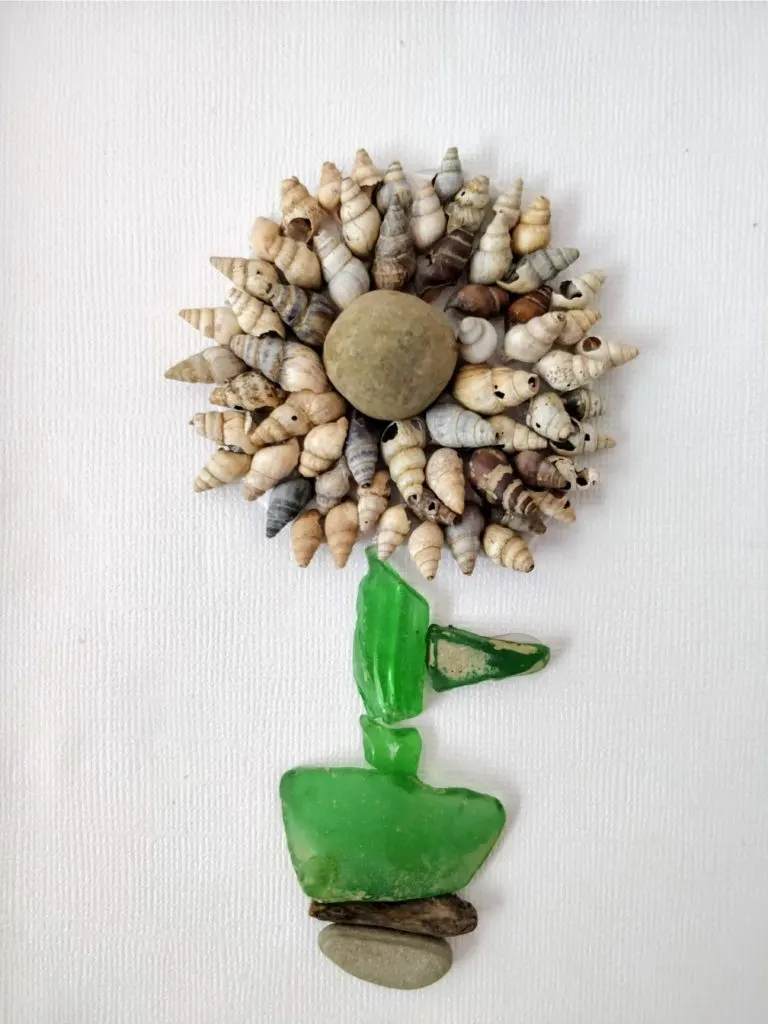
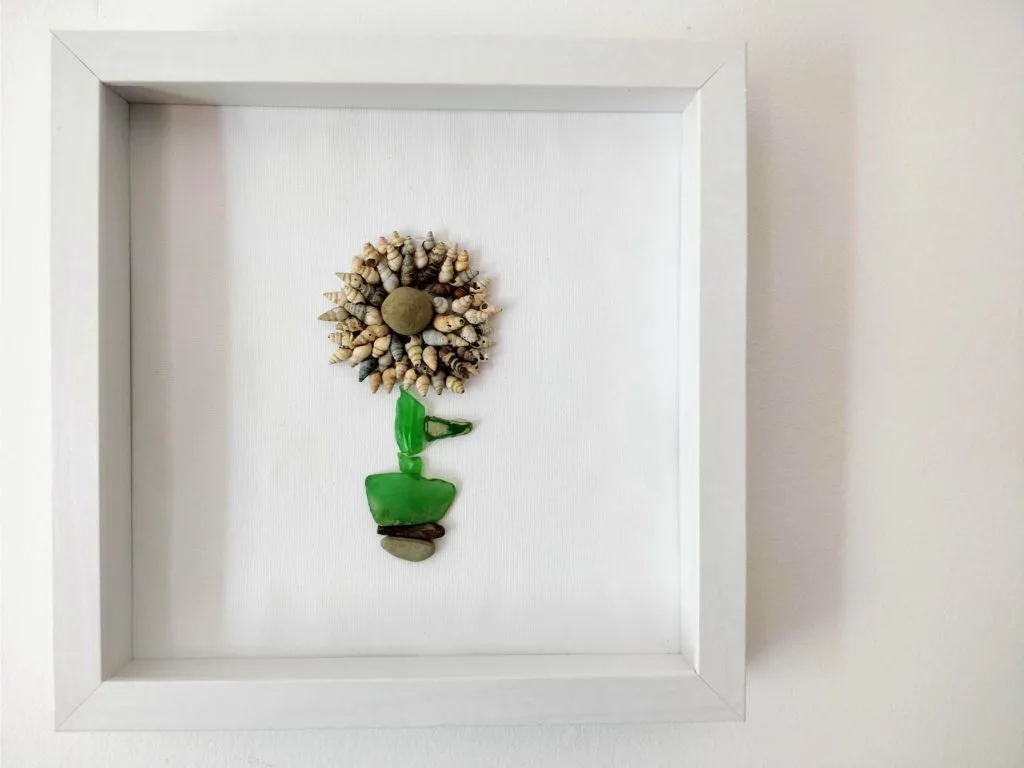
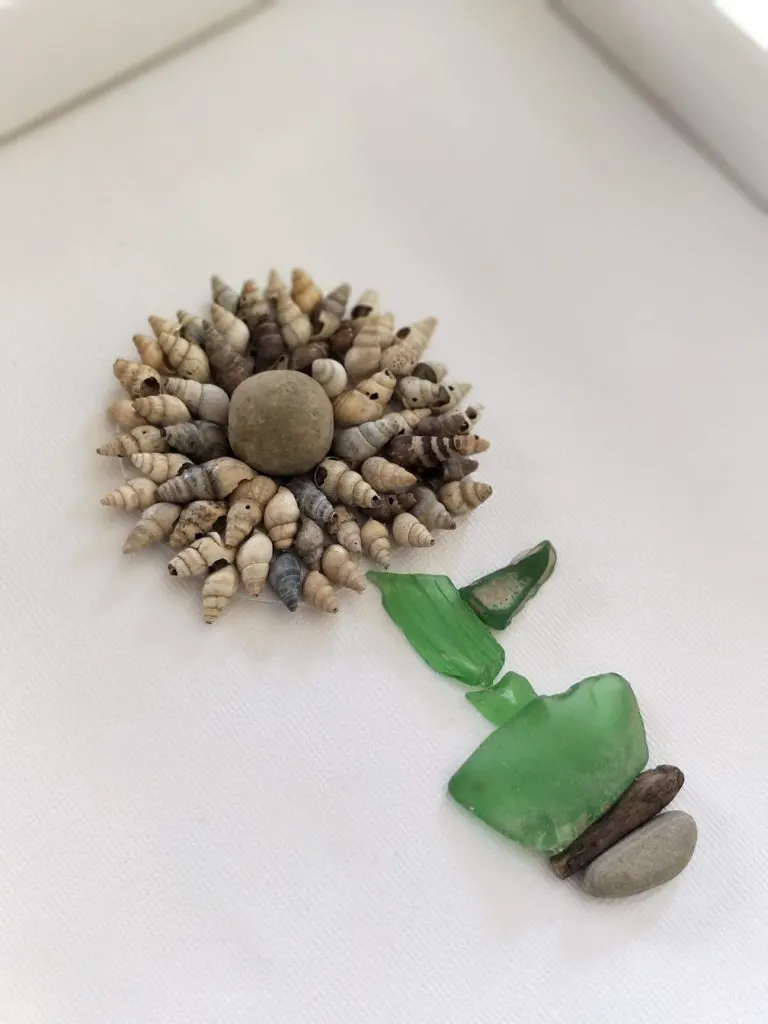
In addition to the sea glass lighthouse I ended up making a DIY sea glass flower below.
Here it is…
If you can’t get enough of beach inspired crafts, like me, check out my other posts:


Carole
Wednesday 16th of March 2022
Hello, thank you for this tutorial, do you put the glass back in the frame to protect your sea glass artwork?
Jasmine Khinda
Monday 21st of March 2022
Hi Carole,
Yes, I do put the glass part of the frame back on. For the pictures I think I took it out because of the reflection in the pictures. Otherwise the glass part will protect the art and shows beautifully too.
Cheers, Jasmine
Jan
Sunday 15th of November 2020
Hi Thank you for making this, I have just started collecting sea glass I live in the uk( Northumberland) and I am disabled so it’s not easy for me to find sea glass but my husband helps, I can’t use a drill either to my health issues and I was looking for glue but everything effects me the smell and so I found it difficult to buy till you said you use tacky glue so will try that. I wish I could make jewellery but I can’t do will try the beach pics you have done and see what I come up with. Thank you Jan
Jasmine K
Sunday 15th of November 2020
Hey Jen, so glad you found the tip of using the tacky glue helpful. I'm a big fan of less noxious materials, and tacky glue is one of my favorite glues to work with. I hope you like it also, and enjoy making your sea glass art! I bet there are many gorgeous pieces in Northhumberland!
Cheers, Jasmine
Viv
Friday 31st of July 2020
Hi, I have been collecting sea glass from Seaham here in the UK and wanted some inspiration for sea glass pictures, your tutorial was fab but one thing I want to ask is do you lacquer your glass to make it shine?
Jasmine K
Friday 31st of July 2020
Thank you Viv, glad you enjoyed the tutorial! As for your question regarding lacquering the glass, I wash them in warm soapy water to clean the dirt of them but have not lacquered them. Cheers, Jasmine
Debbie
Thursday 9th of July 2020
Jasmine, Do you have a special technique for smoothing your card stock down, so that the glue lays down even?
Jasmine K
Tuesday 14th of July 2020
Great question Debbie! One tip would be to lay down your glue in as per usual, then take a piece of thick cardboard or plastic scraper to flatten it out all over your surface. I didn't do that, because I found that after the glue dried the cardstock settled very evenly( I used a thicker cardstock so it's more forgiving). I layed down the glue in a "x" pattern and also along the perimeter.Hope that helps and gluck!
Cheers,
Jasmine
Annie
Sunday 14th of June 2020
I’ve just started having a go at beach type crafts and found your sea glass tutorial really helpful, especially in regards to where to look for sea glass, along the shore where the pebbles are. I live near the South coast in England so will be out searching! I also found your internet advice helpful regarding sea glass from lakes and oceans versus machine tumbled. Thank you for your easily explained tutorial and hoping I can also find some ‘ gems of the sea’.
Jasmine K
Sunday 14th of June 2020
So glad you found the info useful Annie! :) Goodluck and enjoy the sea glass hunting!!