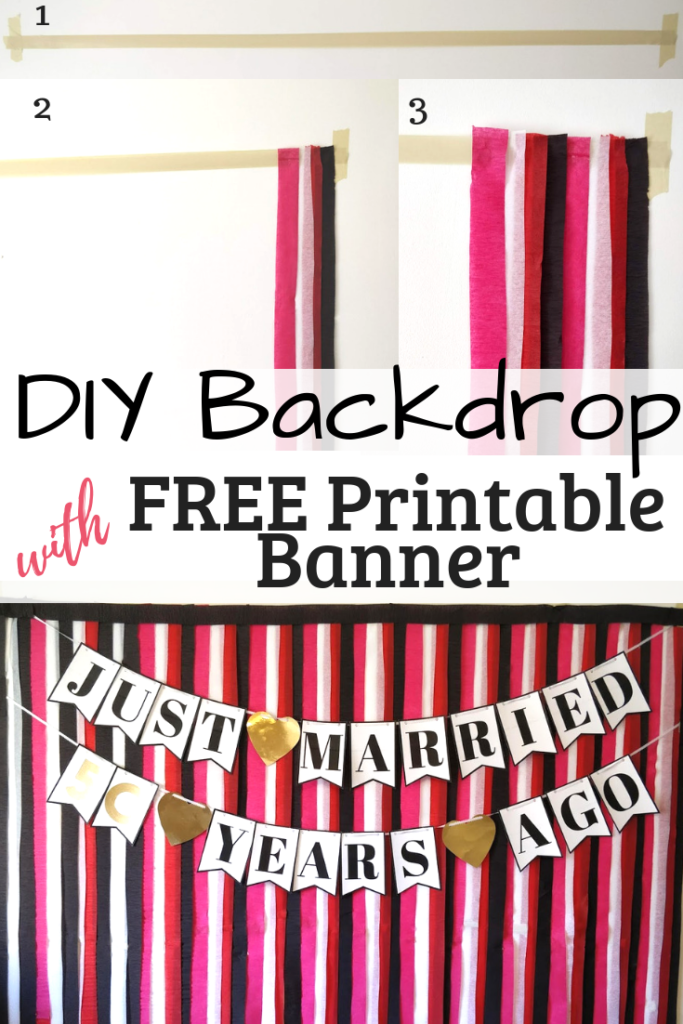
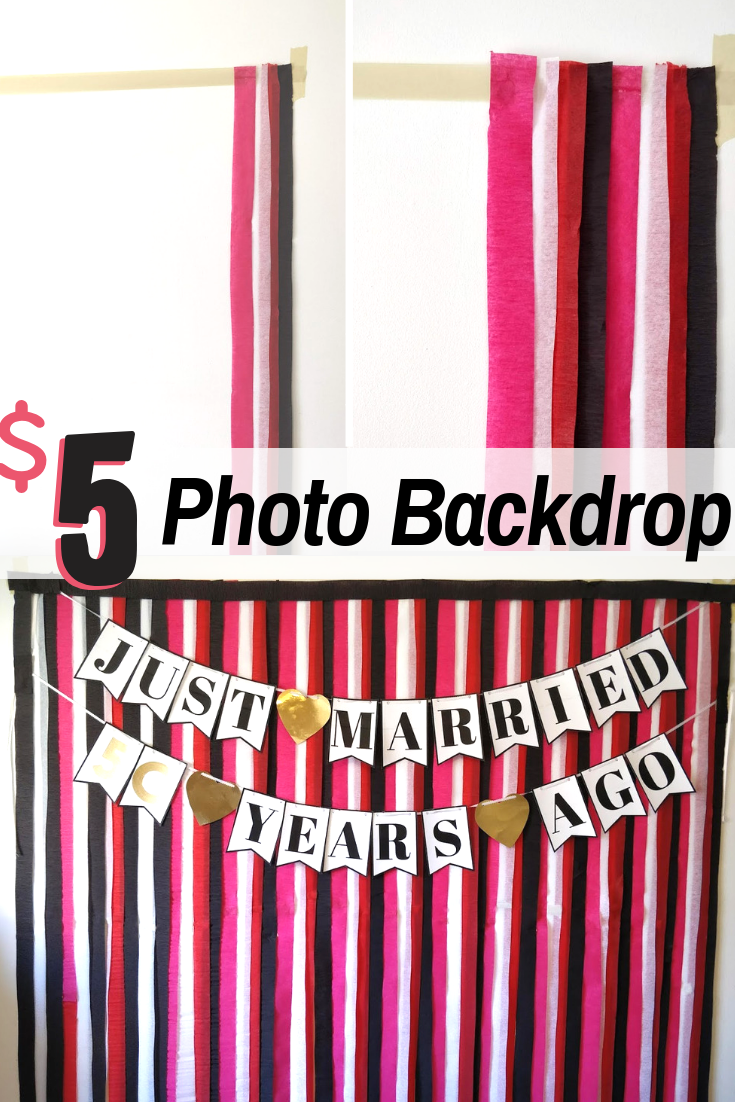
How To Make A Streamer Backdrop for a Photobooth
A streamer backdrop is a quick and easy way to decorate for any occasion. Pair it with a banner or simply use it as a photobooth backdrop. Either ways, this $5 super easy DIY will surely be a hit at your next party!
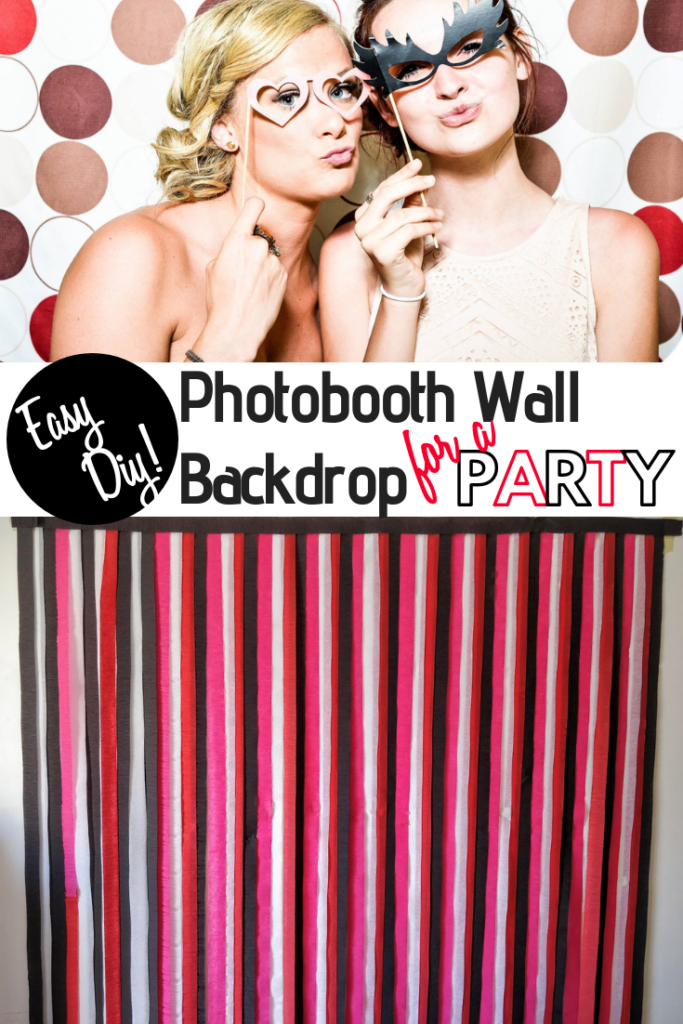
A streamer backdrop: the best $5 I've EVER spent for party decorations.
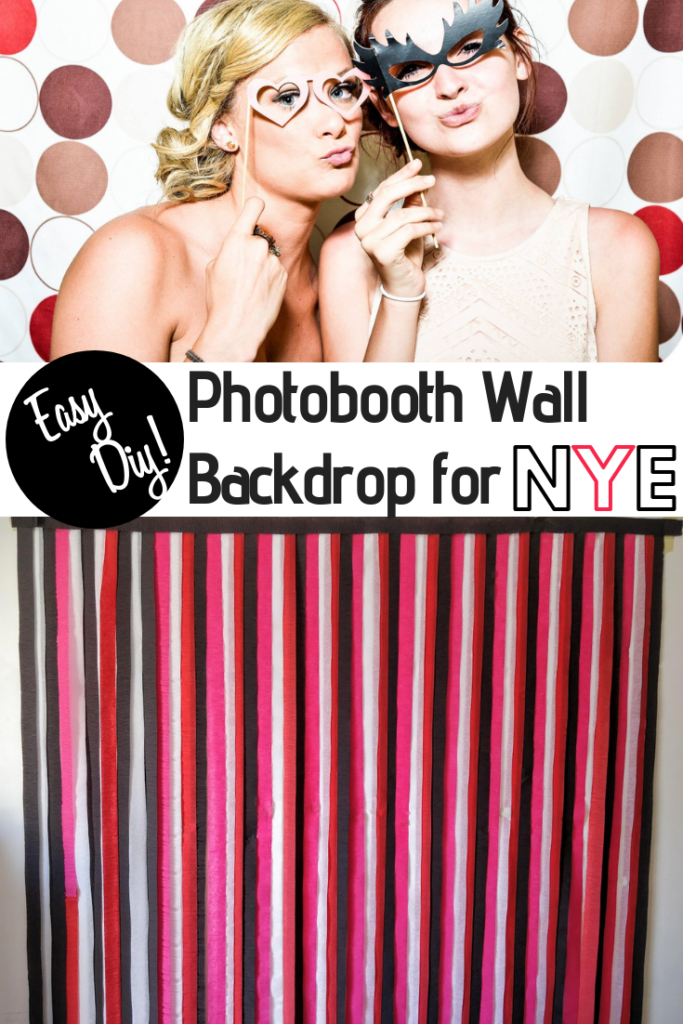
You can't get much for $5 now a days, let alone for party decorations that make a big impact. This backdrop does just that. I also love that it can used as a DIY photobooth background - a great way for guests to get fun pictures!
You can customize the colors of this streamer backdrop to your party's theme so it can be used for any type of celebration ( Graduation, Christmas, New Years Eve, birthdays...). I had so much fun making this, I'm already thinking of my next one- my kids birthdays! It would look gorgeous with pastel colors paired with gold or I'm thinking full on rainbow!
How do you make it? The full tutorial's below, but to put it simply: paper party steamers!
Yep those simple, paper party streamers you've probably come across countless times and if you're like me, have no idea what to do with them.
They've always intrigued me. You can find them in every stores party aisle, they come in every color of the rainbow, and are super cheap. I ended up using them a few times when I awkwardly twisted them and hung them horizontally along a wall.
Little did I know, there is so much more these amazing rolls of paper can do. This backdrop is just one neat way to use them, but I'm sure they're so many other party idea's out there. These streamers will be a staple in my party decorating toolbox from now on!
As promised here's the tutorial ...
Oh yeah, just in-case if your looking for the FREE PRINTABLE BANNERS, they're at the end of this post. There's ones for Anniversaries, Birthdays and Graduations. I'll be adding more types soon, so check back (or leave a comment below with suggestions!)
Materials:
- paper party steamers. I used 3-4 rolls to make 5ft x7ft backdrop. You can buy yours from the Dollarstore, or online here.
- Masking Tap
Instructions:
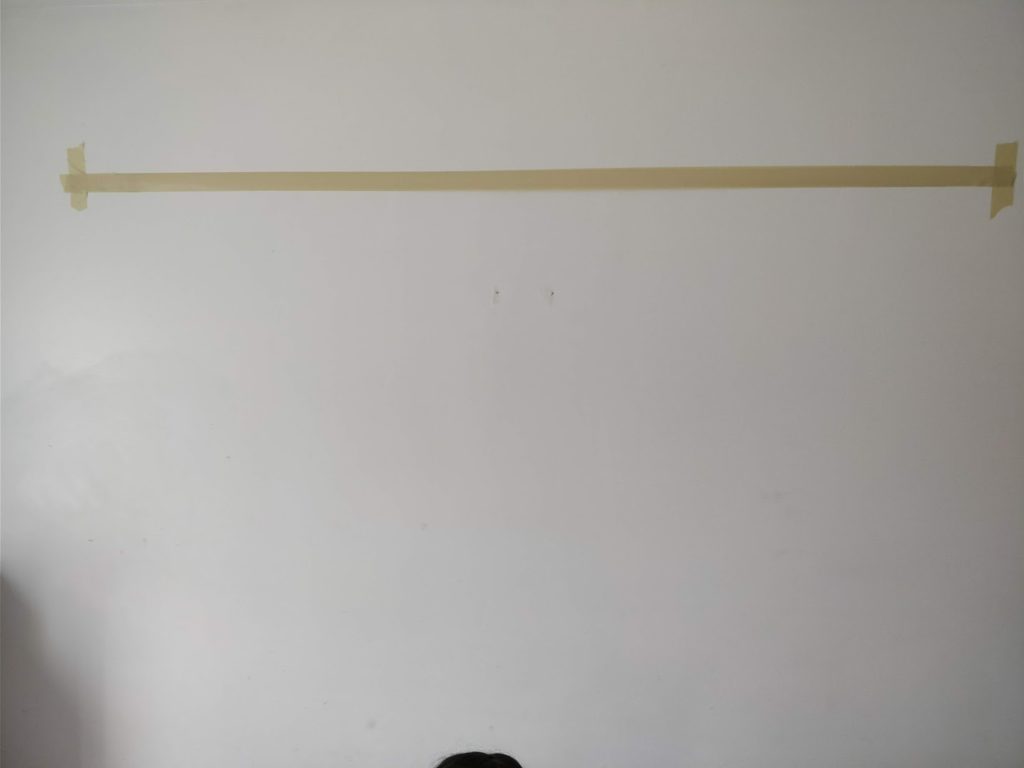
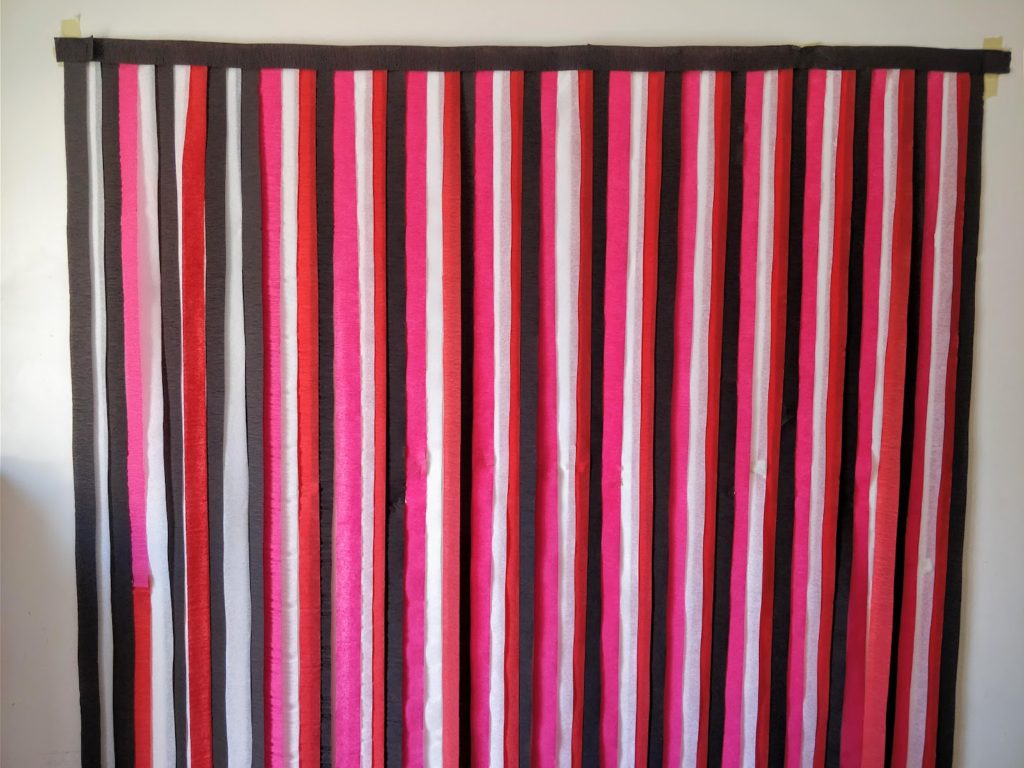
- Place a long strip of masking tape (sticky side up) along the wall - where the top of your streamer backdrop will be. To secure the tape, use another piece of tape on either end as shown in the picture. My photo backdrop was really wide so I needed to double tape in along its edges since the crepe paper weighed it down a bit.

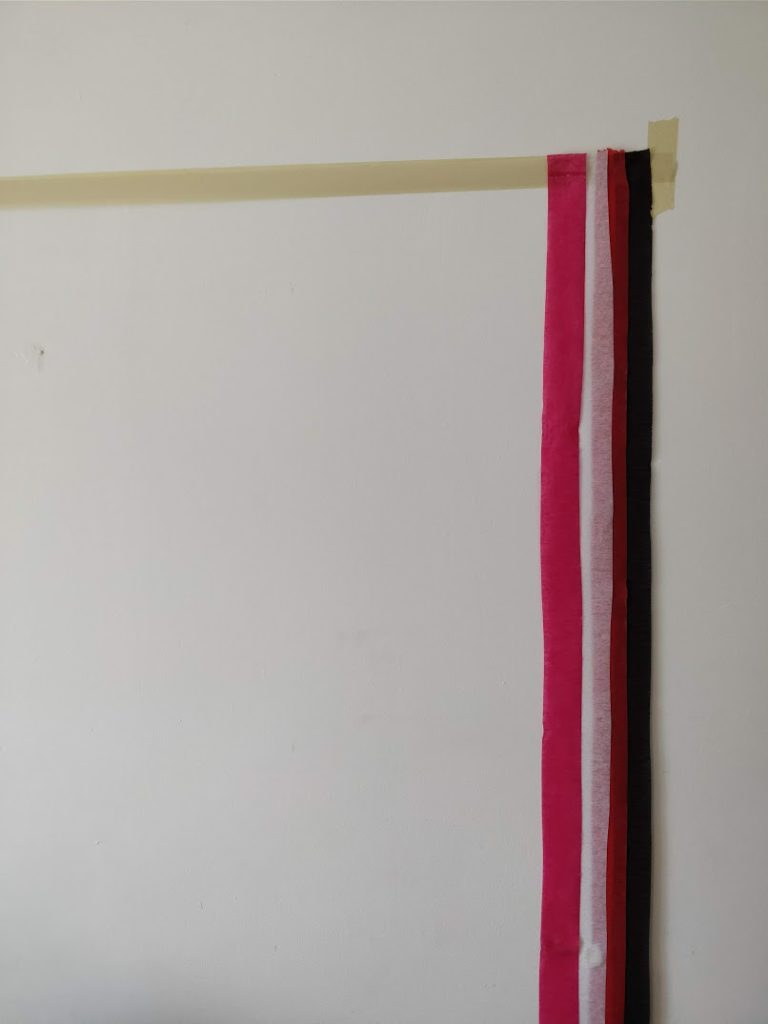
- Take your first color (streamers) and stick it on the masking tape. Cut it even with the ground. I secured it with another piece of masking tape at the bottom of the wall, so it stays flush along the wall.
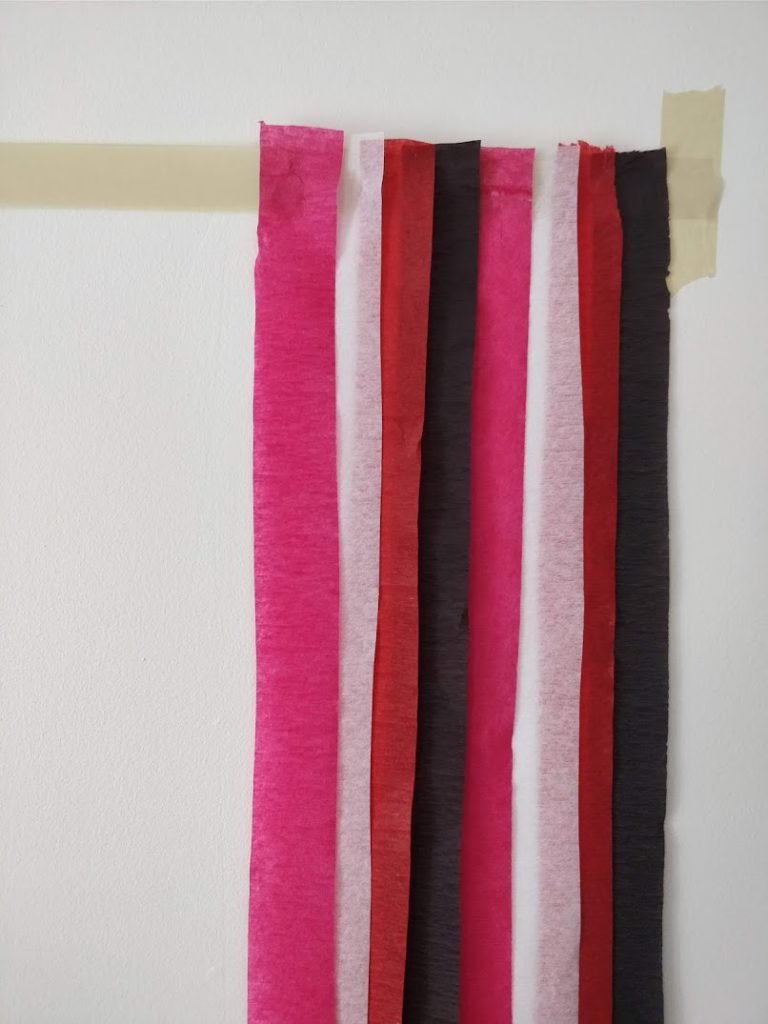
- Take your next color steamers and place them next to each other, overlapping each other slightly.

- Repeat step 3 with the pattern you wish - until you are done. My pattern was: black, red, white, fushia and repeat.
- Once you're done, stick a long piece of streamer horizontally on the top and bottom border. Secure with masking tape to the underside. And voila, your amazing streamer backdrop has come to life! Enjoy your party!
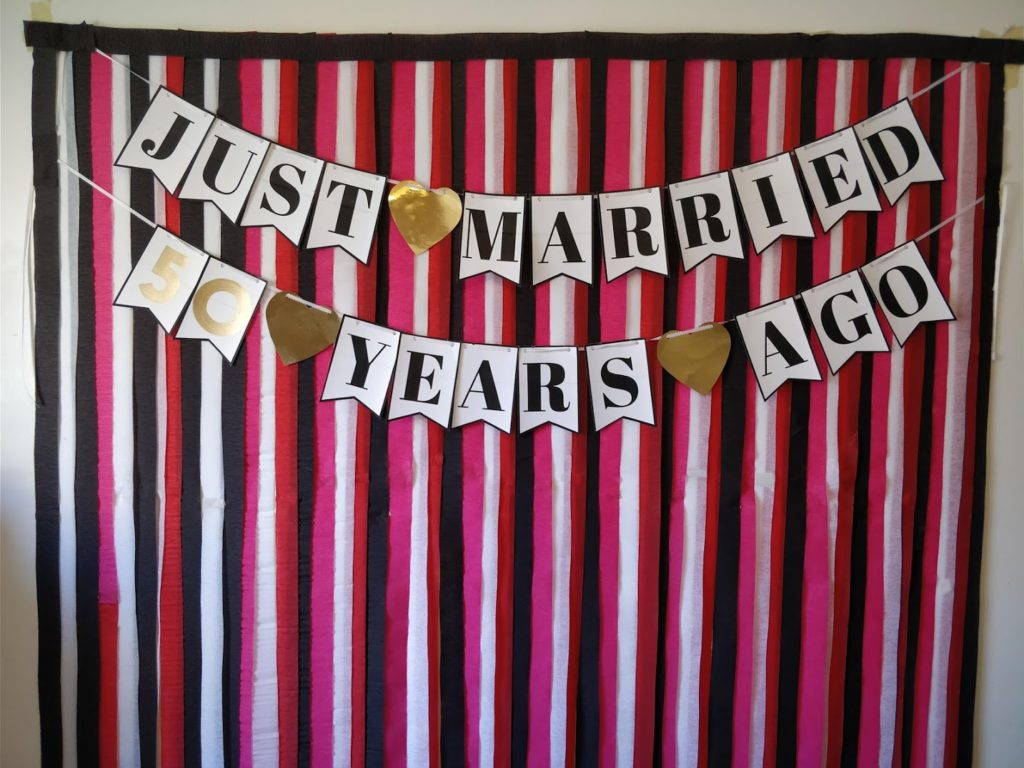
Party backdrop with banner
DIY Banner (FREE Printables)
You can add a banner to your streamer backdrop(like shown in the pictures) if you wish, I think it looks good either ways. I used Canva to design the banner I used for my in-laws 50th wedding anniversary, and wanted to share it with you so you have the same option.
There are 3 free printable DIY banners below (Anniversary, Birthday, Graduation). The first file is for an anniversary banner where I included all the numbers so you can make it for any # of years anniversary. The banner in the end will display "Just Married 50 Years Ago", where you can chose your custom number.
The second file is for birthdays "Happy 40th Birthday". I've included all the numbers so you can customize it also.
The third one is a Graduation Banner. There are 2 versions. The first one will ready "Class Of 2019" (with customizable year numbers) . The other one will read "Congrats Grad" with a customizable year number to go along with it.
Materials:
- Saved File Below
- Printer
- Plain printer paper or 80lb Cardstock paper for a fancier look
- Hole punch
- Ribbon (a gold ribbon would look great)
- Optional: Gold Leaf Pen
Instructions on how to print and make your custom party banner
- Save the zip/pdf file (BELOW) to your computer and print the entire document on sandard printer paper. I used 80 lbs cardstock paper stock to make it look fancier and more sturdy.
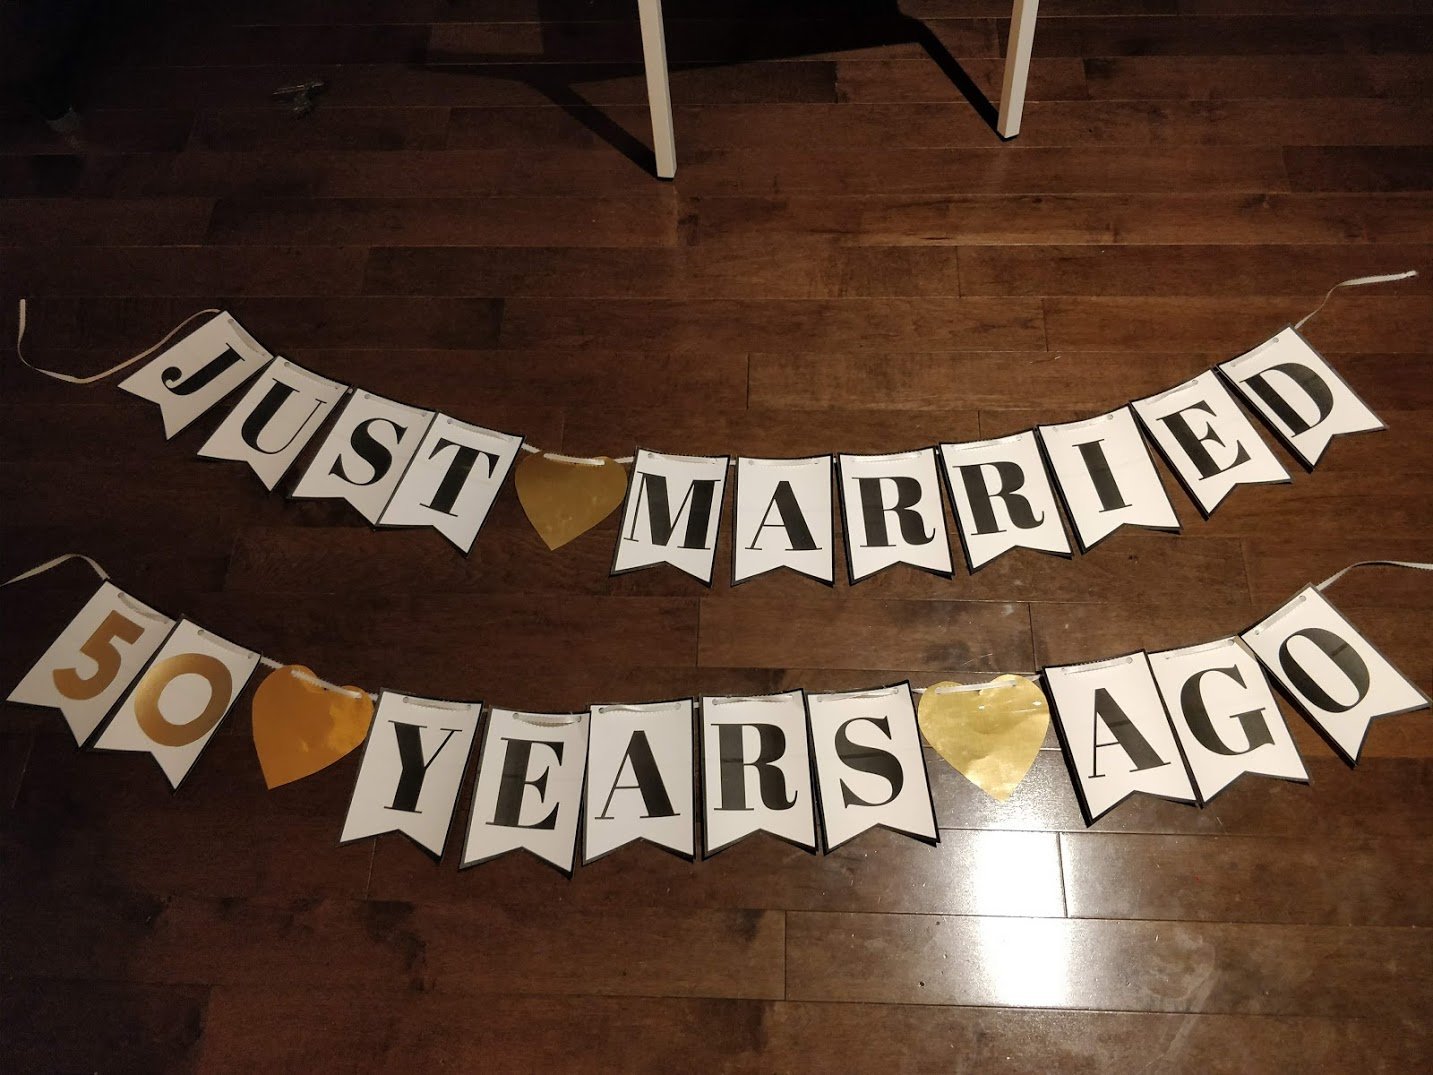
- Once they are printed, cut them out.
- Using a hole punch cut 2 holes at the top of each letter.
- String the banners together with a nice piece of ribbon.
- Optional: I used a Gold Leaf Pen to color in the numbers/shapes (after it was printed).
FREE Printable Anniversary Banner( Just Married <customizable number> Years Ago)
FREE Printable Birthday Banner( Happy <customizable number>th/st Birthday)
FREE DIY Graduation Banner Printable(Banner #1: Class of 2019, 2020, 2021...)(Banner #2: Congrats Grad 2019, 2020, 2021, etc..)
If you liked this tutorial please pin it on Pinterest!

Admiring the dedication you put into your site and in depth information you offer. It’s great to come across a blog every once in a while that isn’t the same out of date rehashed material. Wonderful read! I’ve bookmarked your site and I’m adding your RSS feeds to my Google account.|