Make a trendy DIY pebble art piece out of pebbles and twigs from your own yard!
DIY Pebble art and crafts are quite popular these days. Making wall art with pebbles is an easy, inexpensive, and gorgeous way to decorate your walls and home decor. It’s also an easy craft with pebbles for all skill levels and ages from kids, teens, adults, and seniors.
If you’re curious how to make one of these trendy art pieces, you’re in the right place!
And it’s super easy to make.
My 7 year old was inspired to make her own because she saw how fun and easy pebble crafts can be!
Next week I’ll post her project to show you how you can apply this project for kids too -it’s a gorgeous colorful under the sea pebble framed wall art.
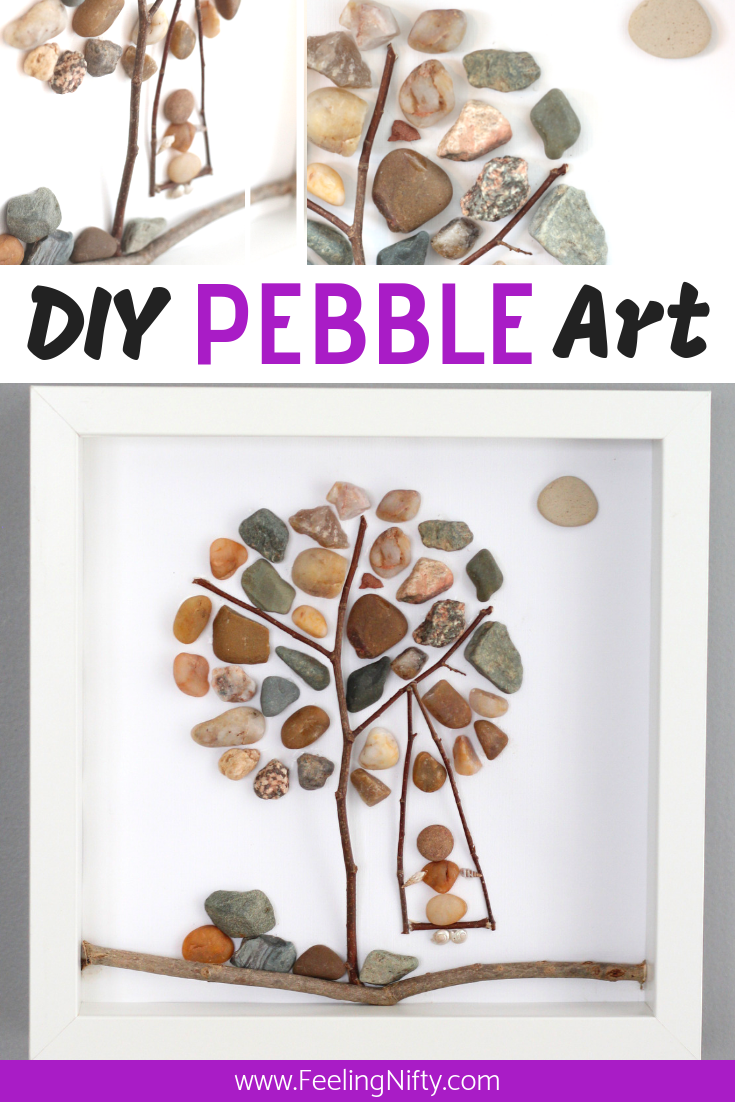
Today I’m going to show you how to do pebble art with some pebbles and twigs or branches you can find in your own yard!
I made a pebble art tree, but the possibilities of what you can create with this project are endless.
If you’re looking for some more pebble art ideas you can quickly search on Pinterest or Etsy with some of these ideas: pebble family, dog, cat, birds, couple, flowers, etc.
There are some pretty inspirational pebble art creative designs out there – you might just want to make more than one after seeing the possibilities!
I made this art piece the same way I created this seashell wall art. The same supplies were used, except I used pebbles in instead of seashells. Here’s all the things you will need to complete this project
DIY Pebble Art Supplies
You don’t need many things to make this project, which is one of the reasons why I love it so much! The basic supplies you’ll need are pebbles and twigs or branches, glue, white card stock and a frame.
Where to get Pebble Art Pebbles
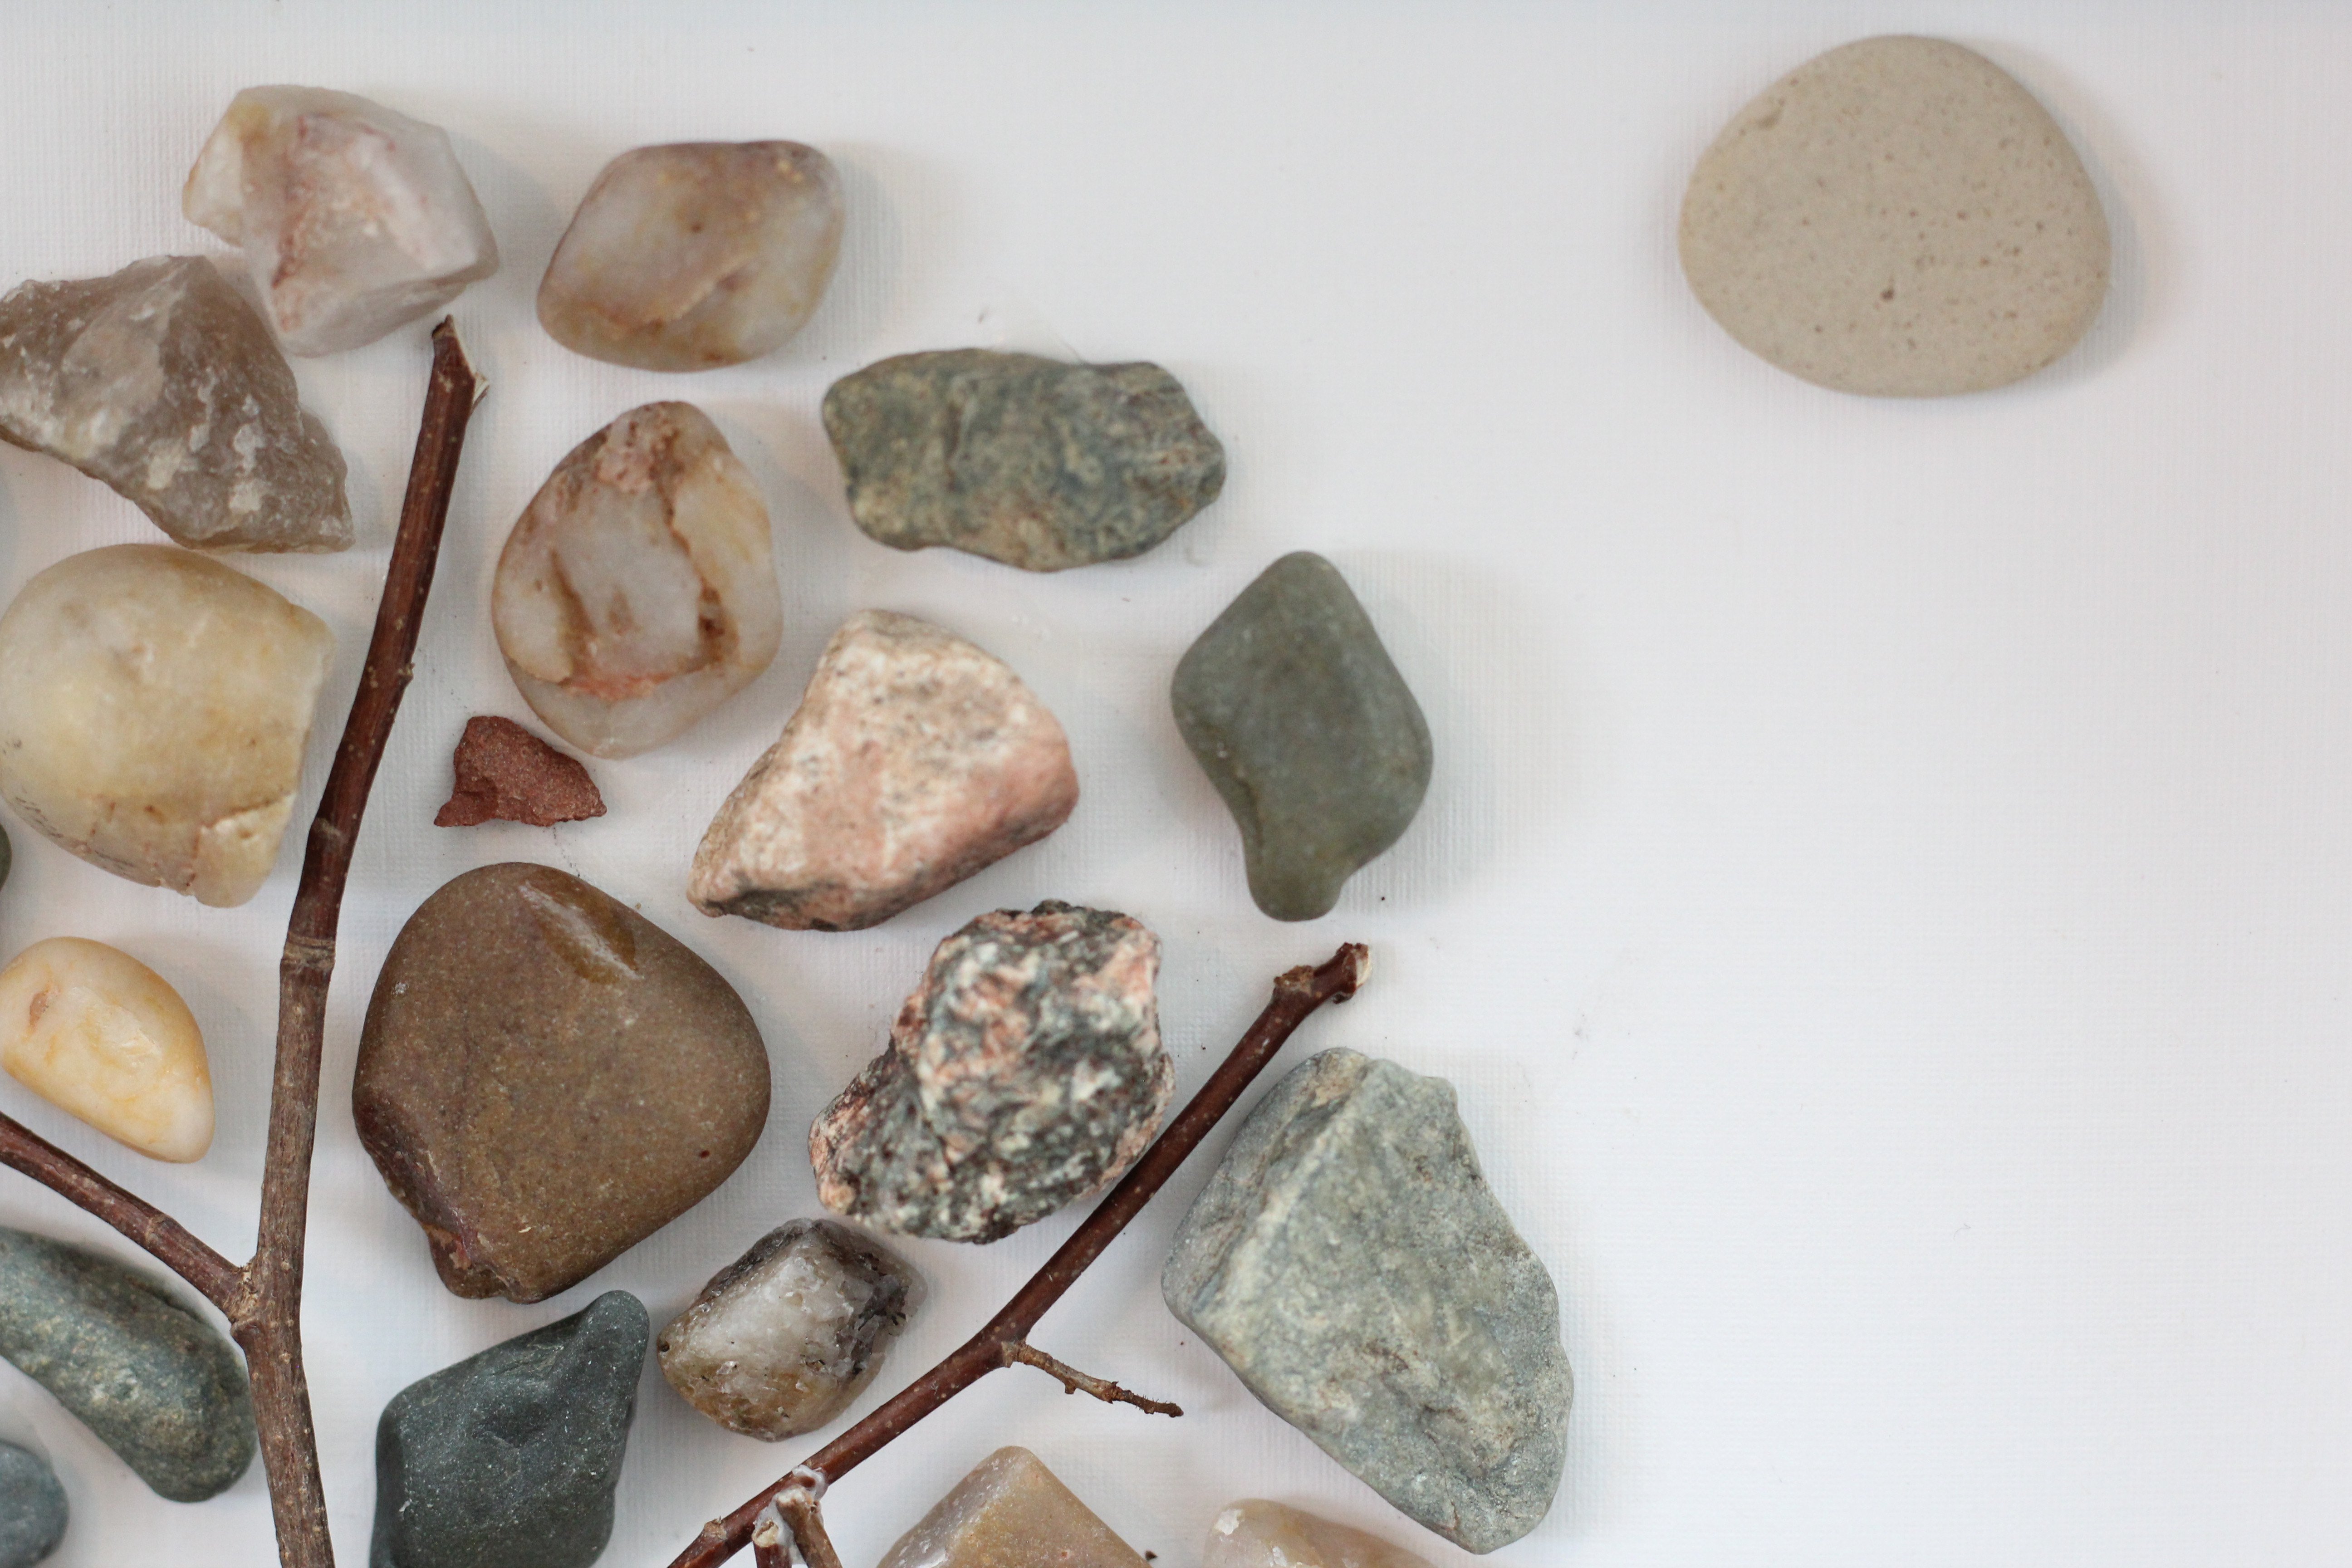
You can look for the pebbles and twigs in your yard. If that’s not possible, than you can try a local park, lake/ocean shore, nature trail, etc. If that’s still not possible (like during the winter months), you can buy them.
Where to buy pebbles for pebble art ?
I’ve seen some decorative rocks and pebbles at Micheals and the Dollarstore. Look in the home decor area as they are used for decoration purpose (they come in mesh bags). Here are some pebbles on amazon.
Pebble Art Glue
The type of glue you use for this project is important. You want to use a glue that has strong bonding qualities since rocks/pebbles have some weight to them. I used Aleene’s tacky glue, which worked well.
If you’re looking for something heavier duty (like if you’re planning to sell your art), some experienced pebble artists say that the best glue for pebble art is E6000 glue (just make sure you wear gloves when using this stuff), since its an industrial strength glue.
If you’re using this project for home decor or if kids or teens are doing this craft then Aleene’s worked perfectly fine (It’s been on our wall for 8 months now, no problems)
The other question people have is how to frame pebble art. I’ll talk about this next.
Pebble Art Frames
The type of frames that work the best for this type of project (like the ones you see on Etsy and Pinterest) are called shadow box frames.
Shadow box frames are usually used to frame memorabilia or other objects that are NOT paper/photo thin. They have a large gap in between the back of the frame and the glass(front) portion.
This makes it ideal for pebble and rock art because pebbles and rocks have thickness to them.
Once you’re done gluing and making your art, it will fit nicely inside a shadow box frame and will be ready to hang as wall art.
That doesn’t mean you can’t make DIY pebble art with a traditional picture/photo frame, but you’ll have to leave out the protective glass part if you do. If you’re okay with that, then any frame will work.
Another idea is to make your pebble art on canvas. I haven’t tried, but I imagine it working quite well too.
Now let’s move on to the tutorial!
How to Make Pebble Art Tutorial
DIY Pebble Art Supplies
Instructions
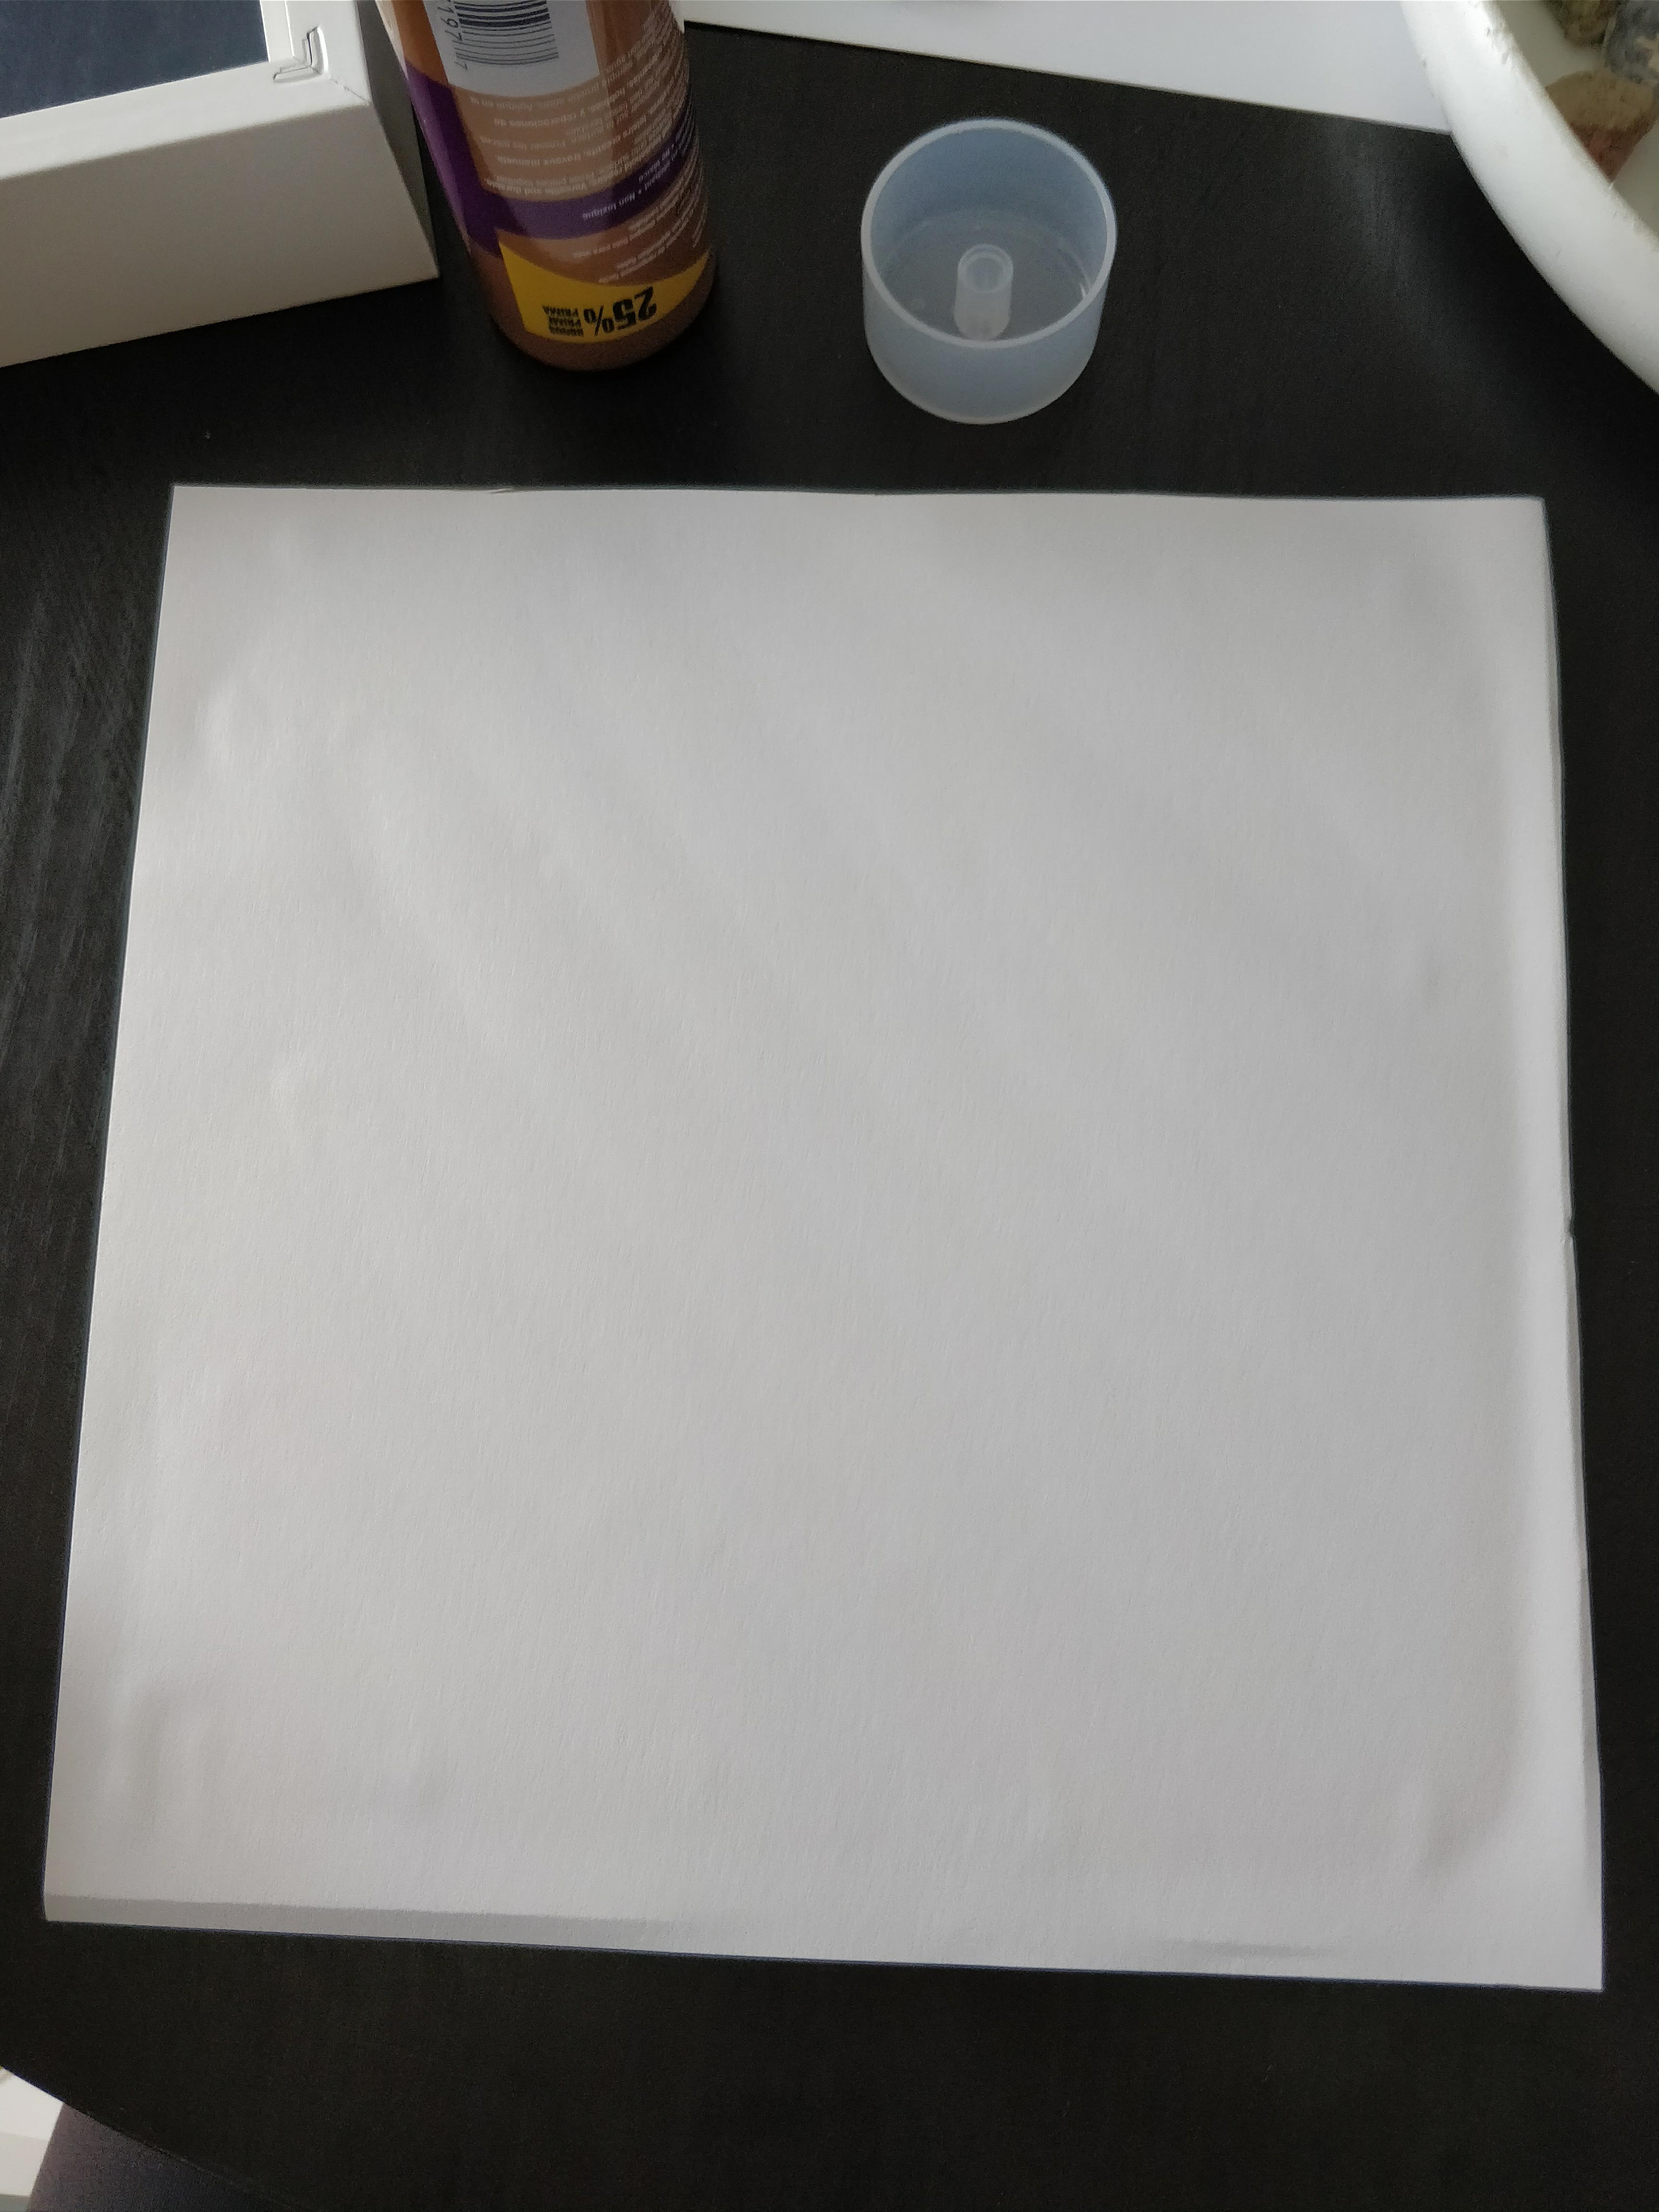
Step 1. Take out the backing from your Shadow Box frame. Measure and cut your cardstock to fit on the backing of the frame and glue it in place
Step 2. Take your pebbles and make your design on the cardstock. DO NOT GLUE them on yet.
This step is important to plan out what your design will look like. You can fix any issues in this step, rather than after gluing the rocks or pebbles in place. If you’re using twigs or branches you can use a piece of tape to keep it in place for this step
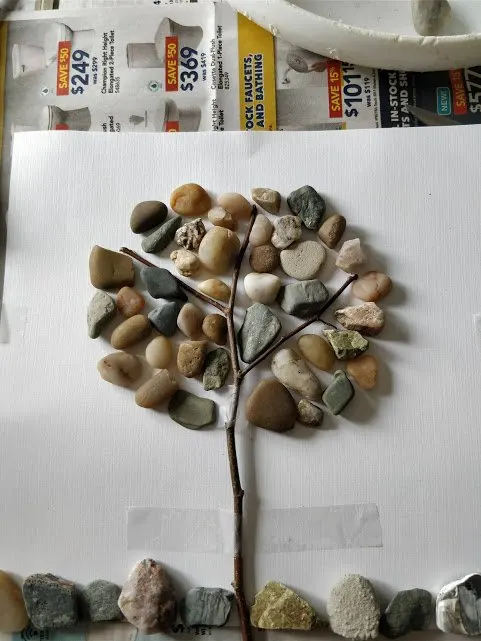
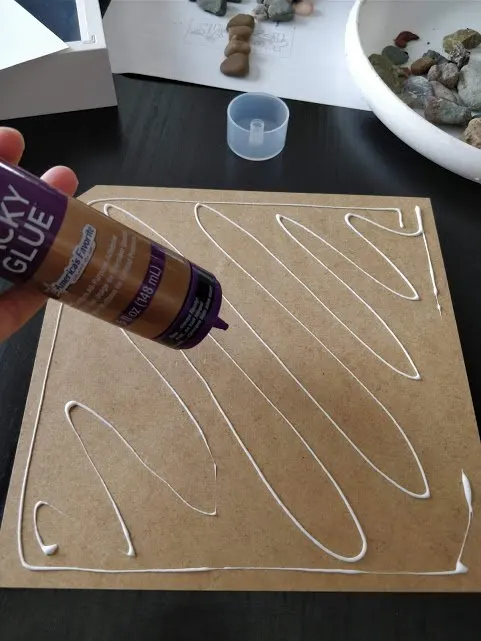
3. Once you are happy with your final design, it’s time to glue it on! Take each rock one at a time, put some glue on it, and place it back in its place on the cardstock.
If you’re using the Aleene’s glue, it takes a couple of minutes to dry so you can still move the rocks around for a couple of minutes. If you’re using Krazy glue, it dries instantly so you have to make sure you put it in the right place on the first try.

4. Once you’re done gluing all your rocks, Glue the branch/twigs next.
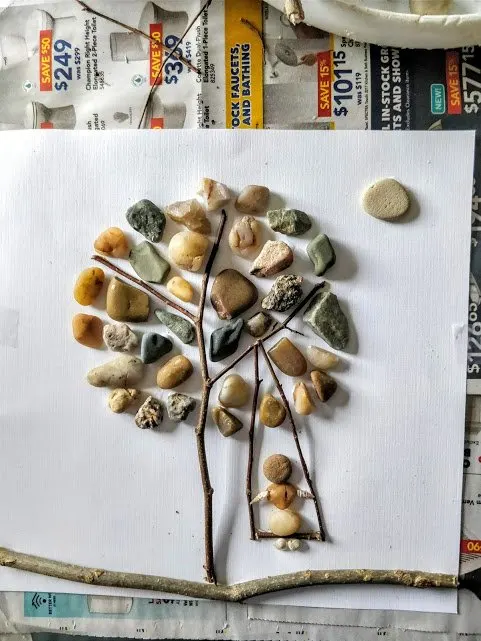
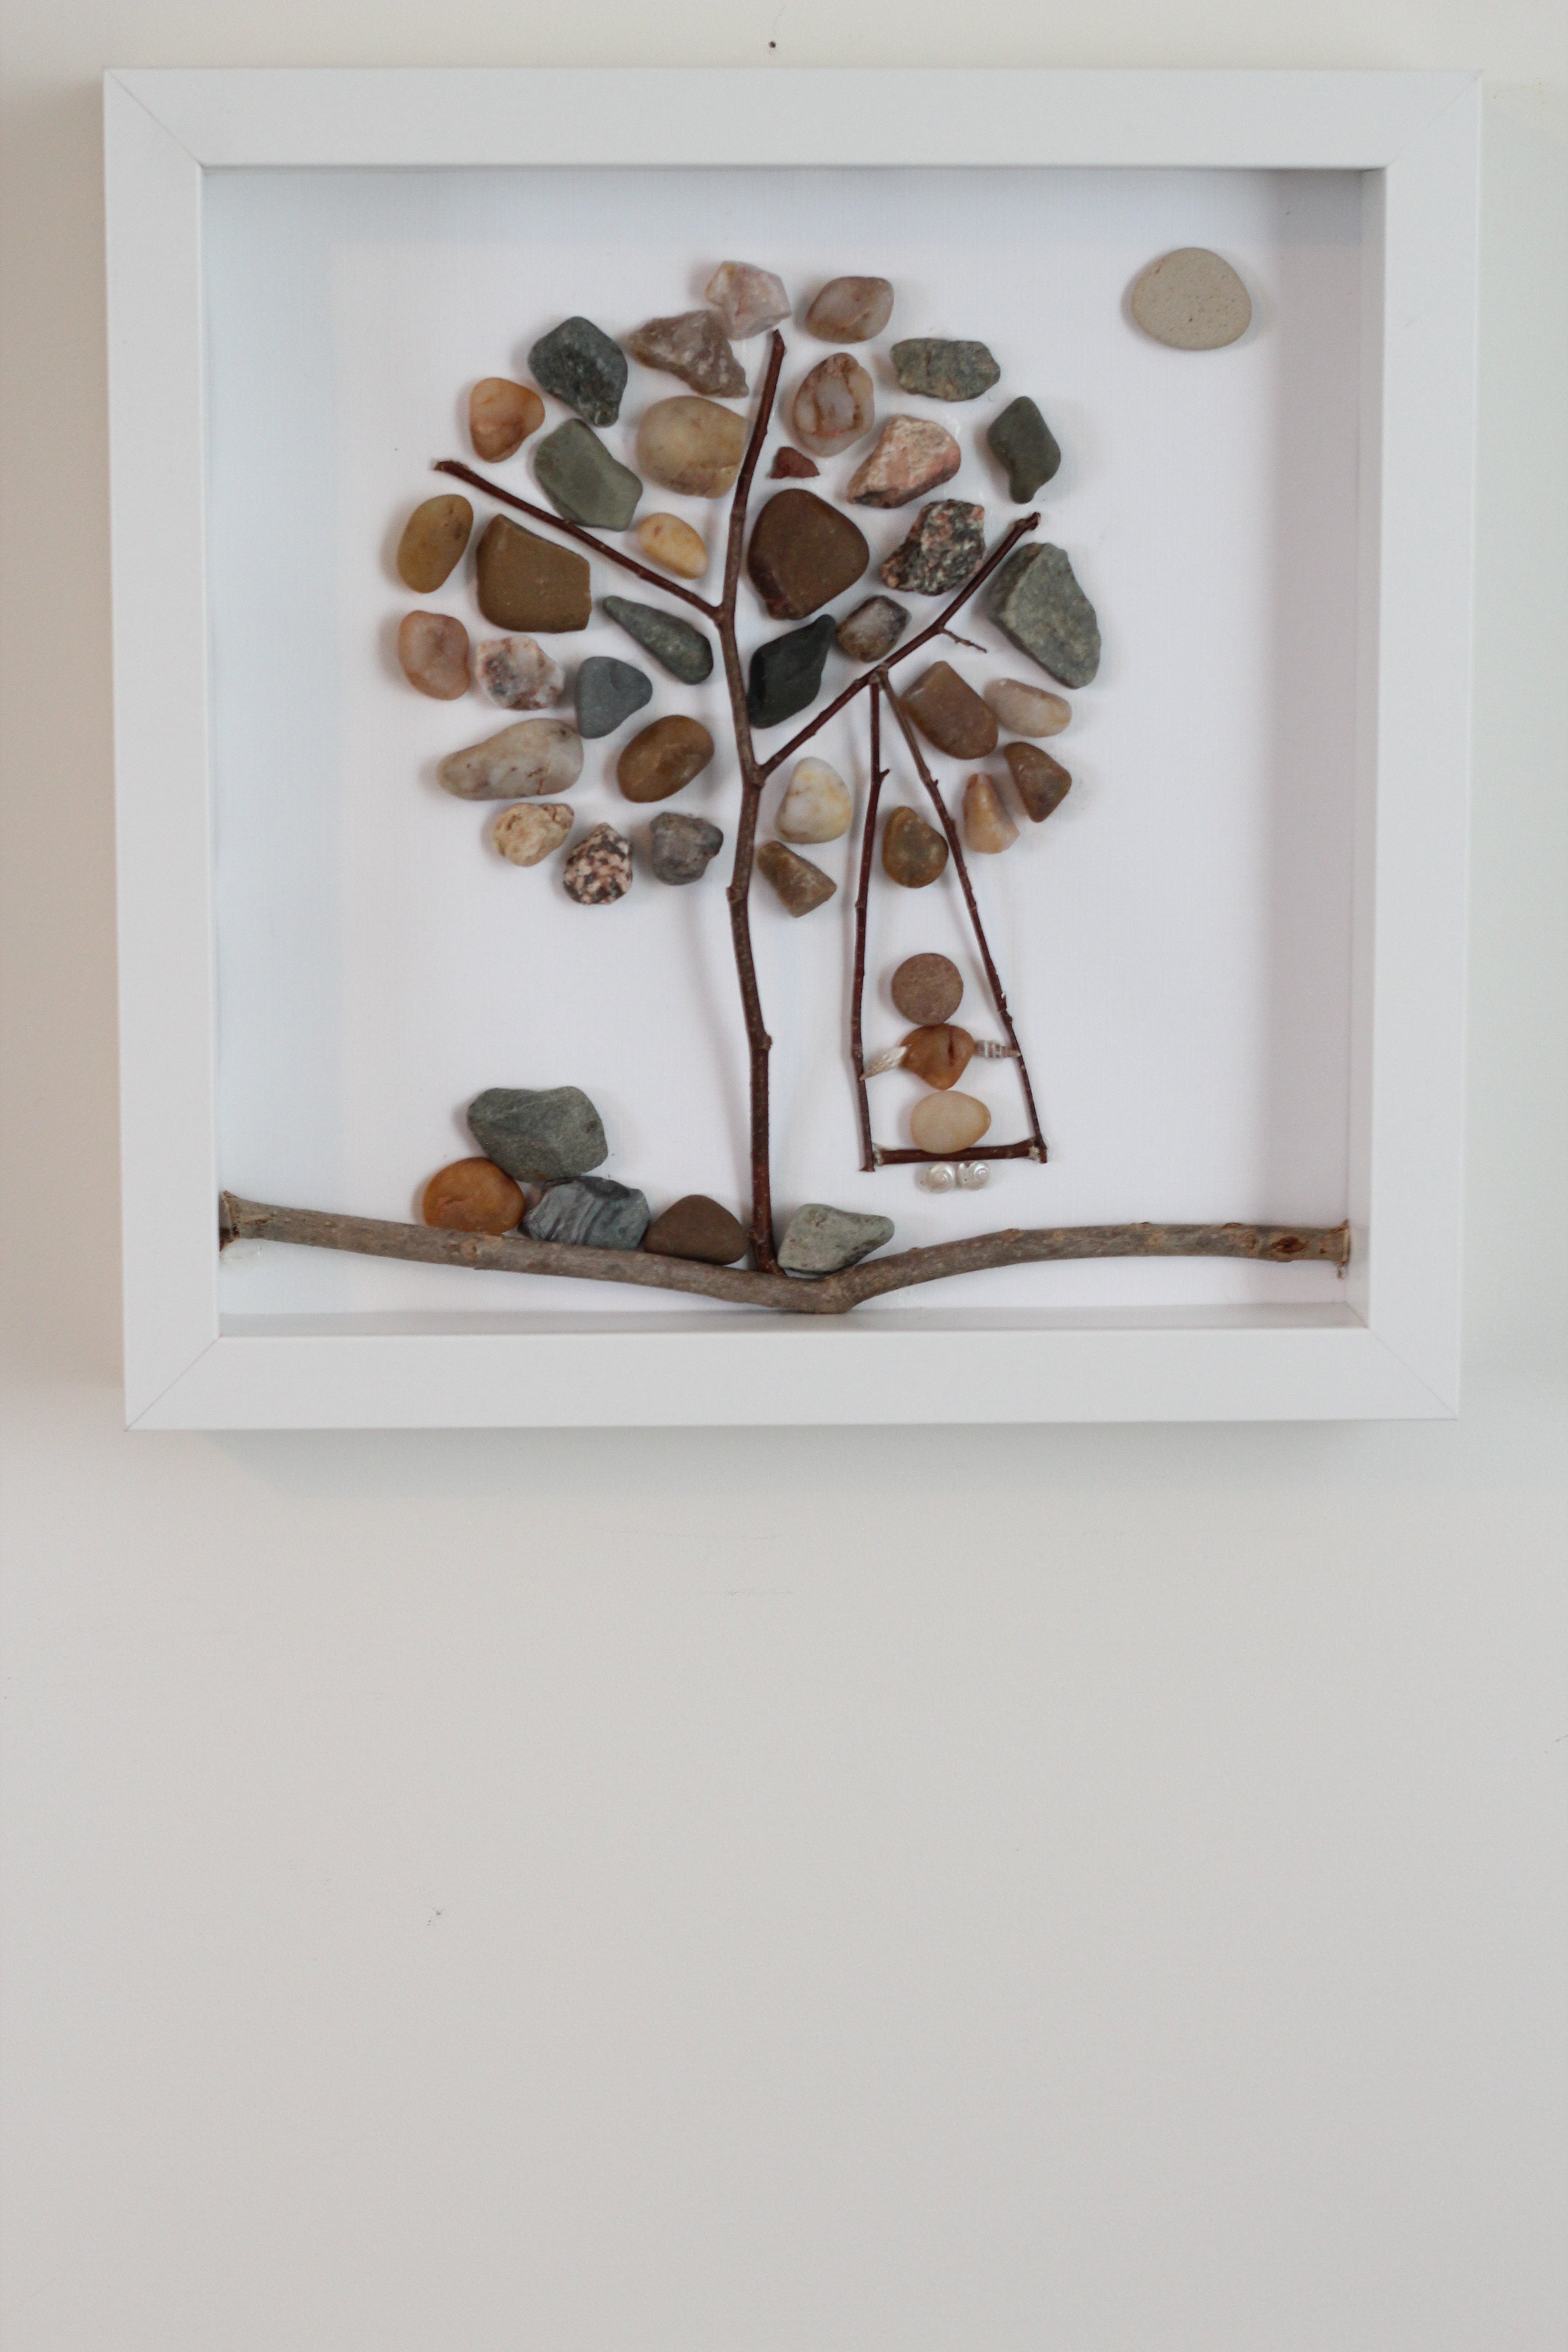
5. I also decided to make a pebble art swing with a girl on it. You can take a look at a close up of the picture to see what I used to make it.
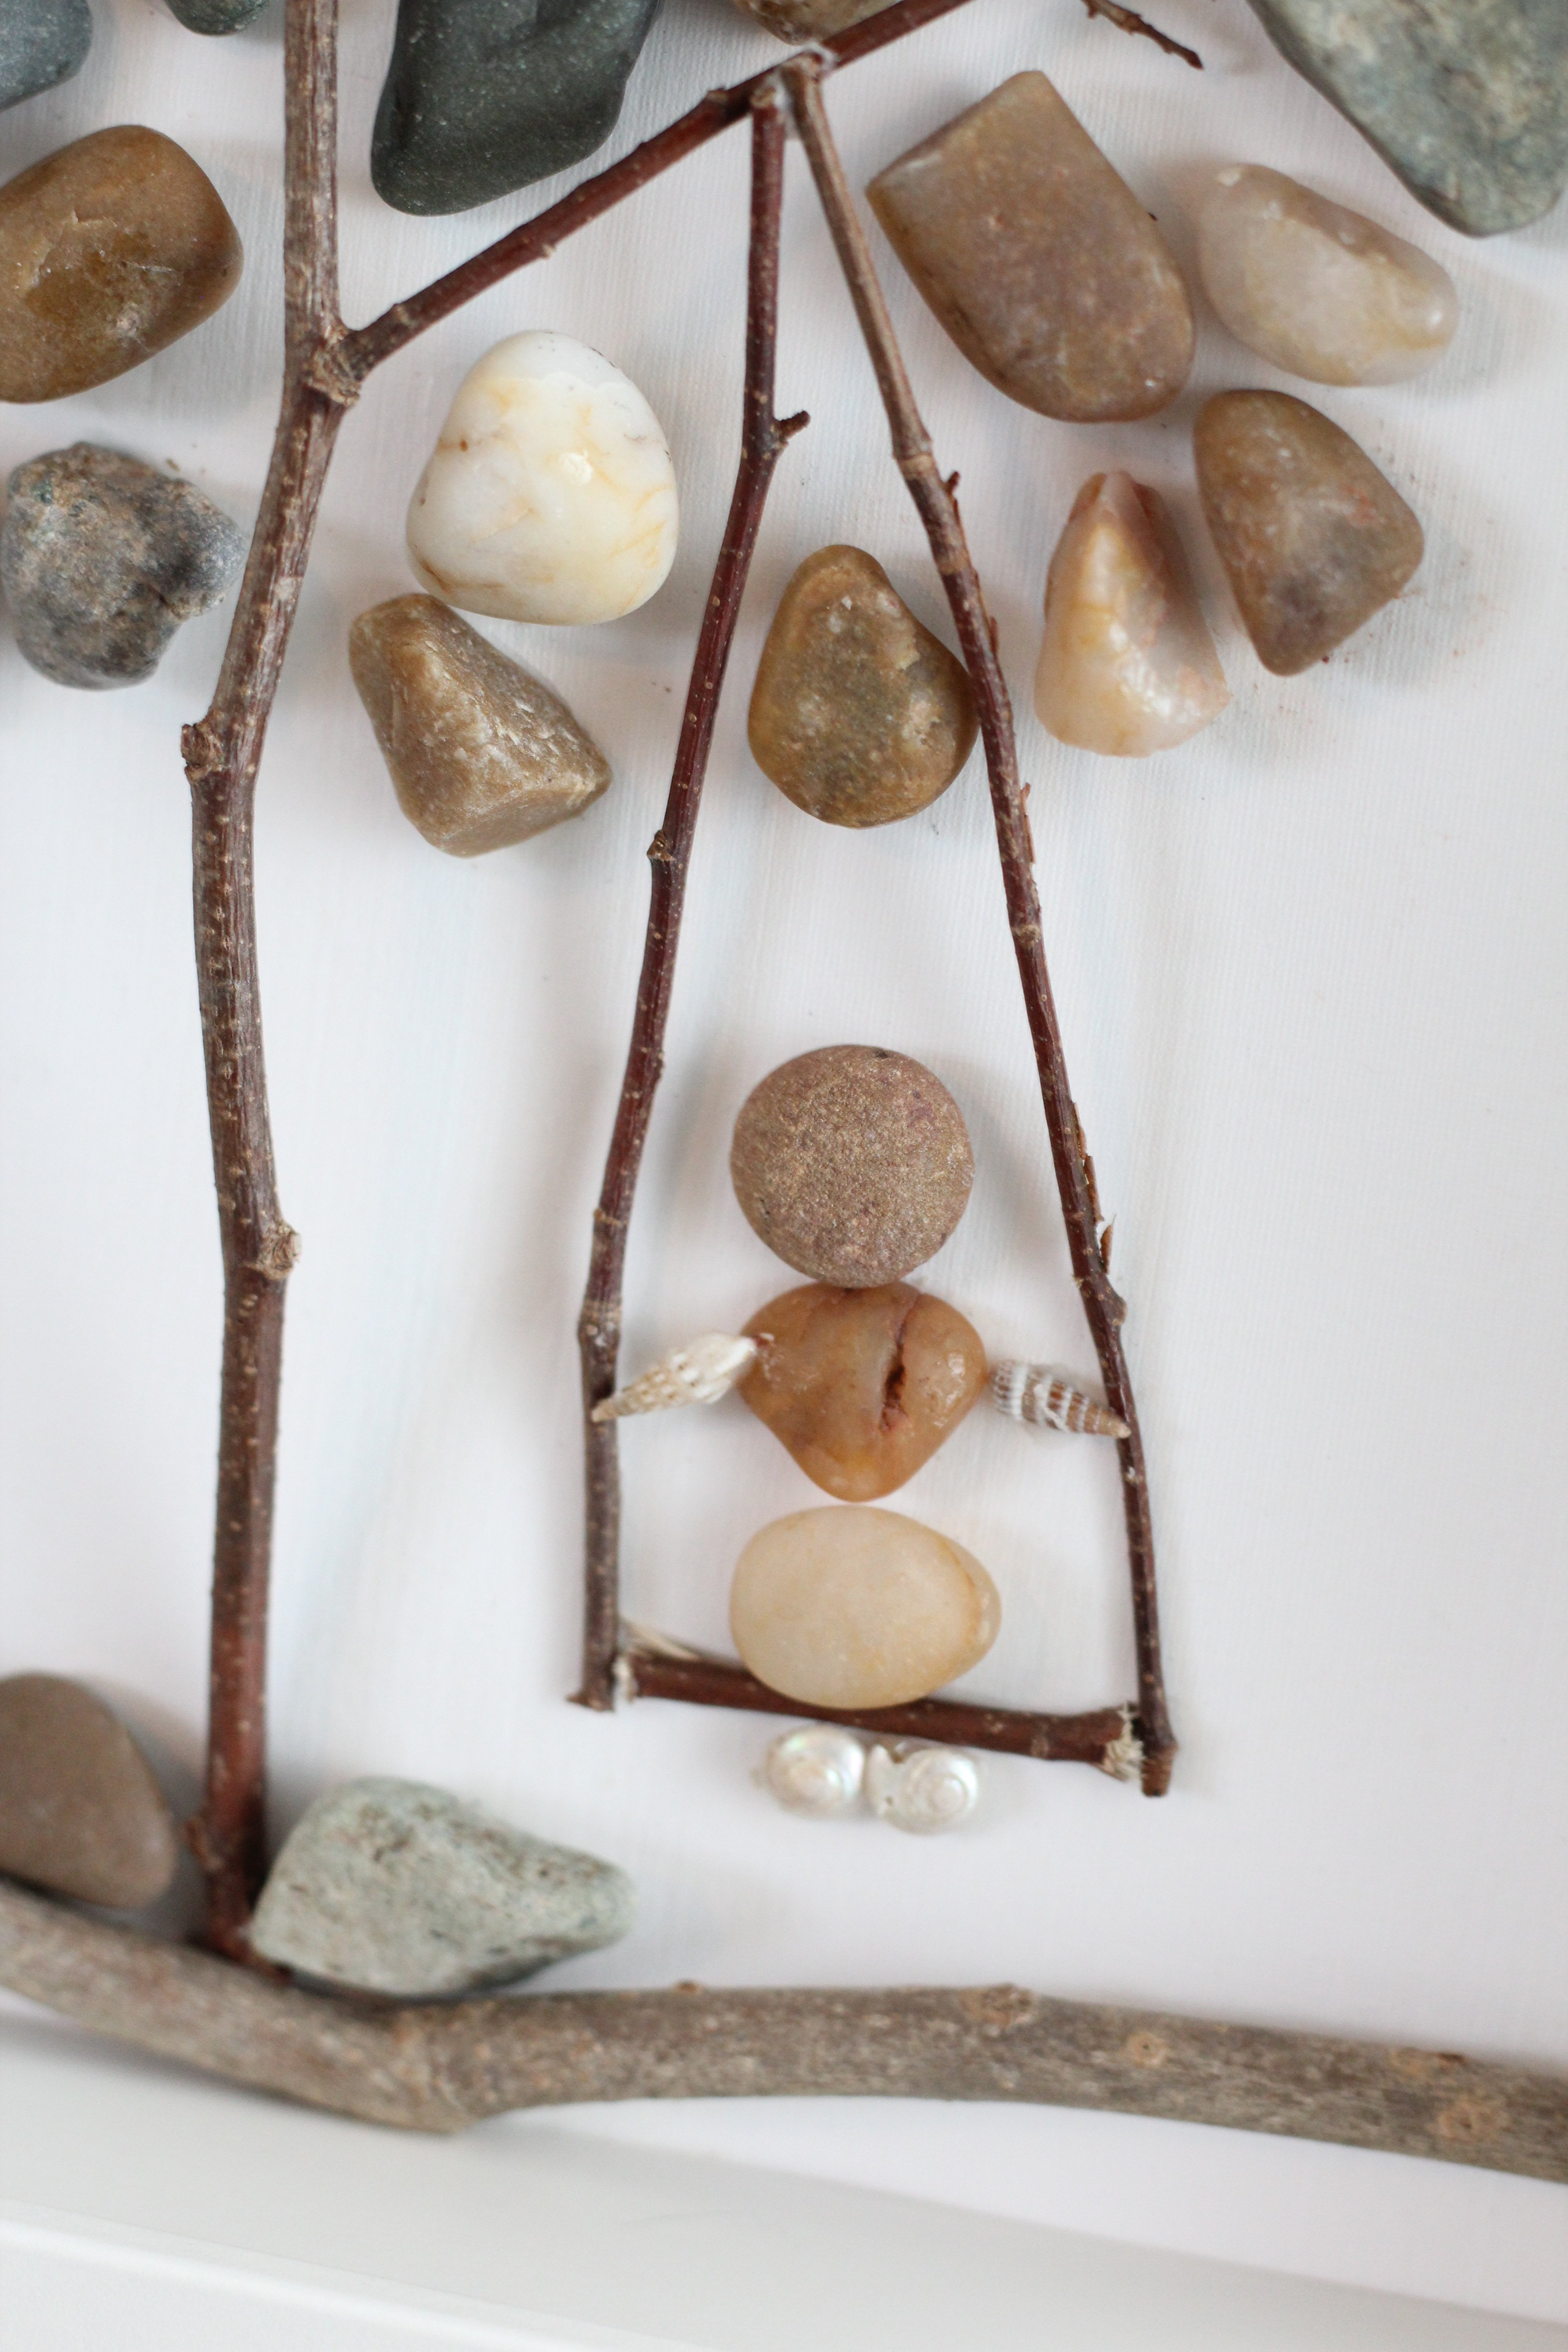
6. Once you’re done gluing everything, make sure you sign your art piece then let the glue dry. Once dry you can put the frame backing (with your pebble art glued onto it) back into your Shadowbox frame. It’s ready to hang, gift or display!
And there you have it, an easy and pretty art piece made with pebbles and ready to decorate your house with.
Here are some extra pictures of this final project.
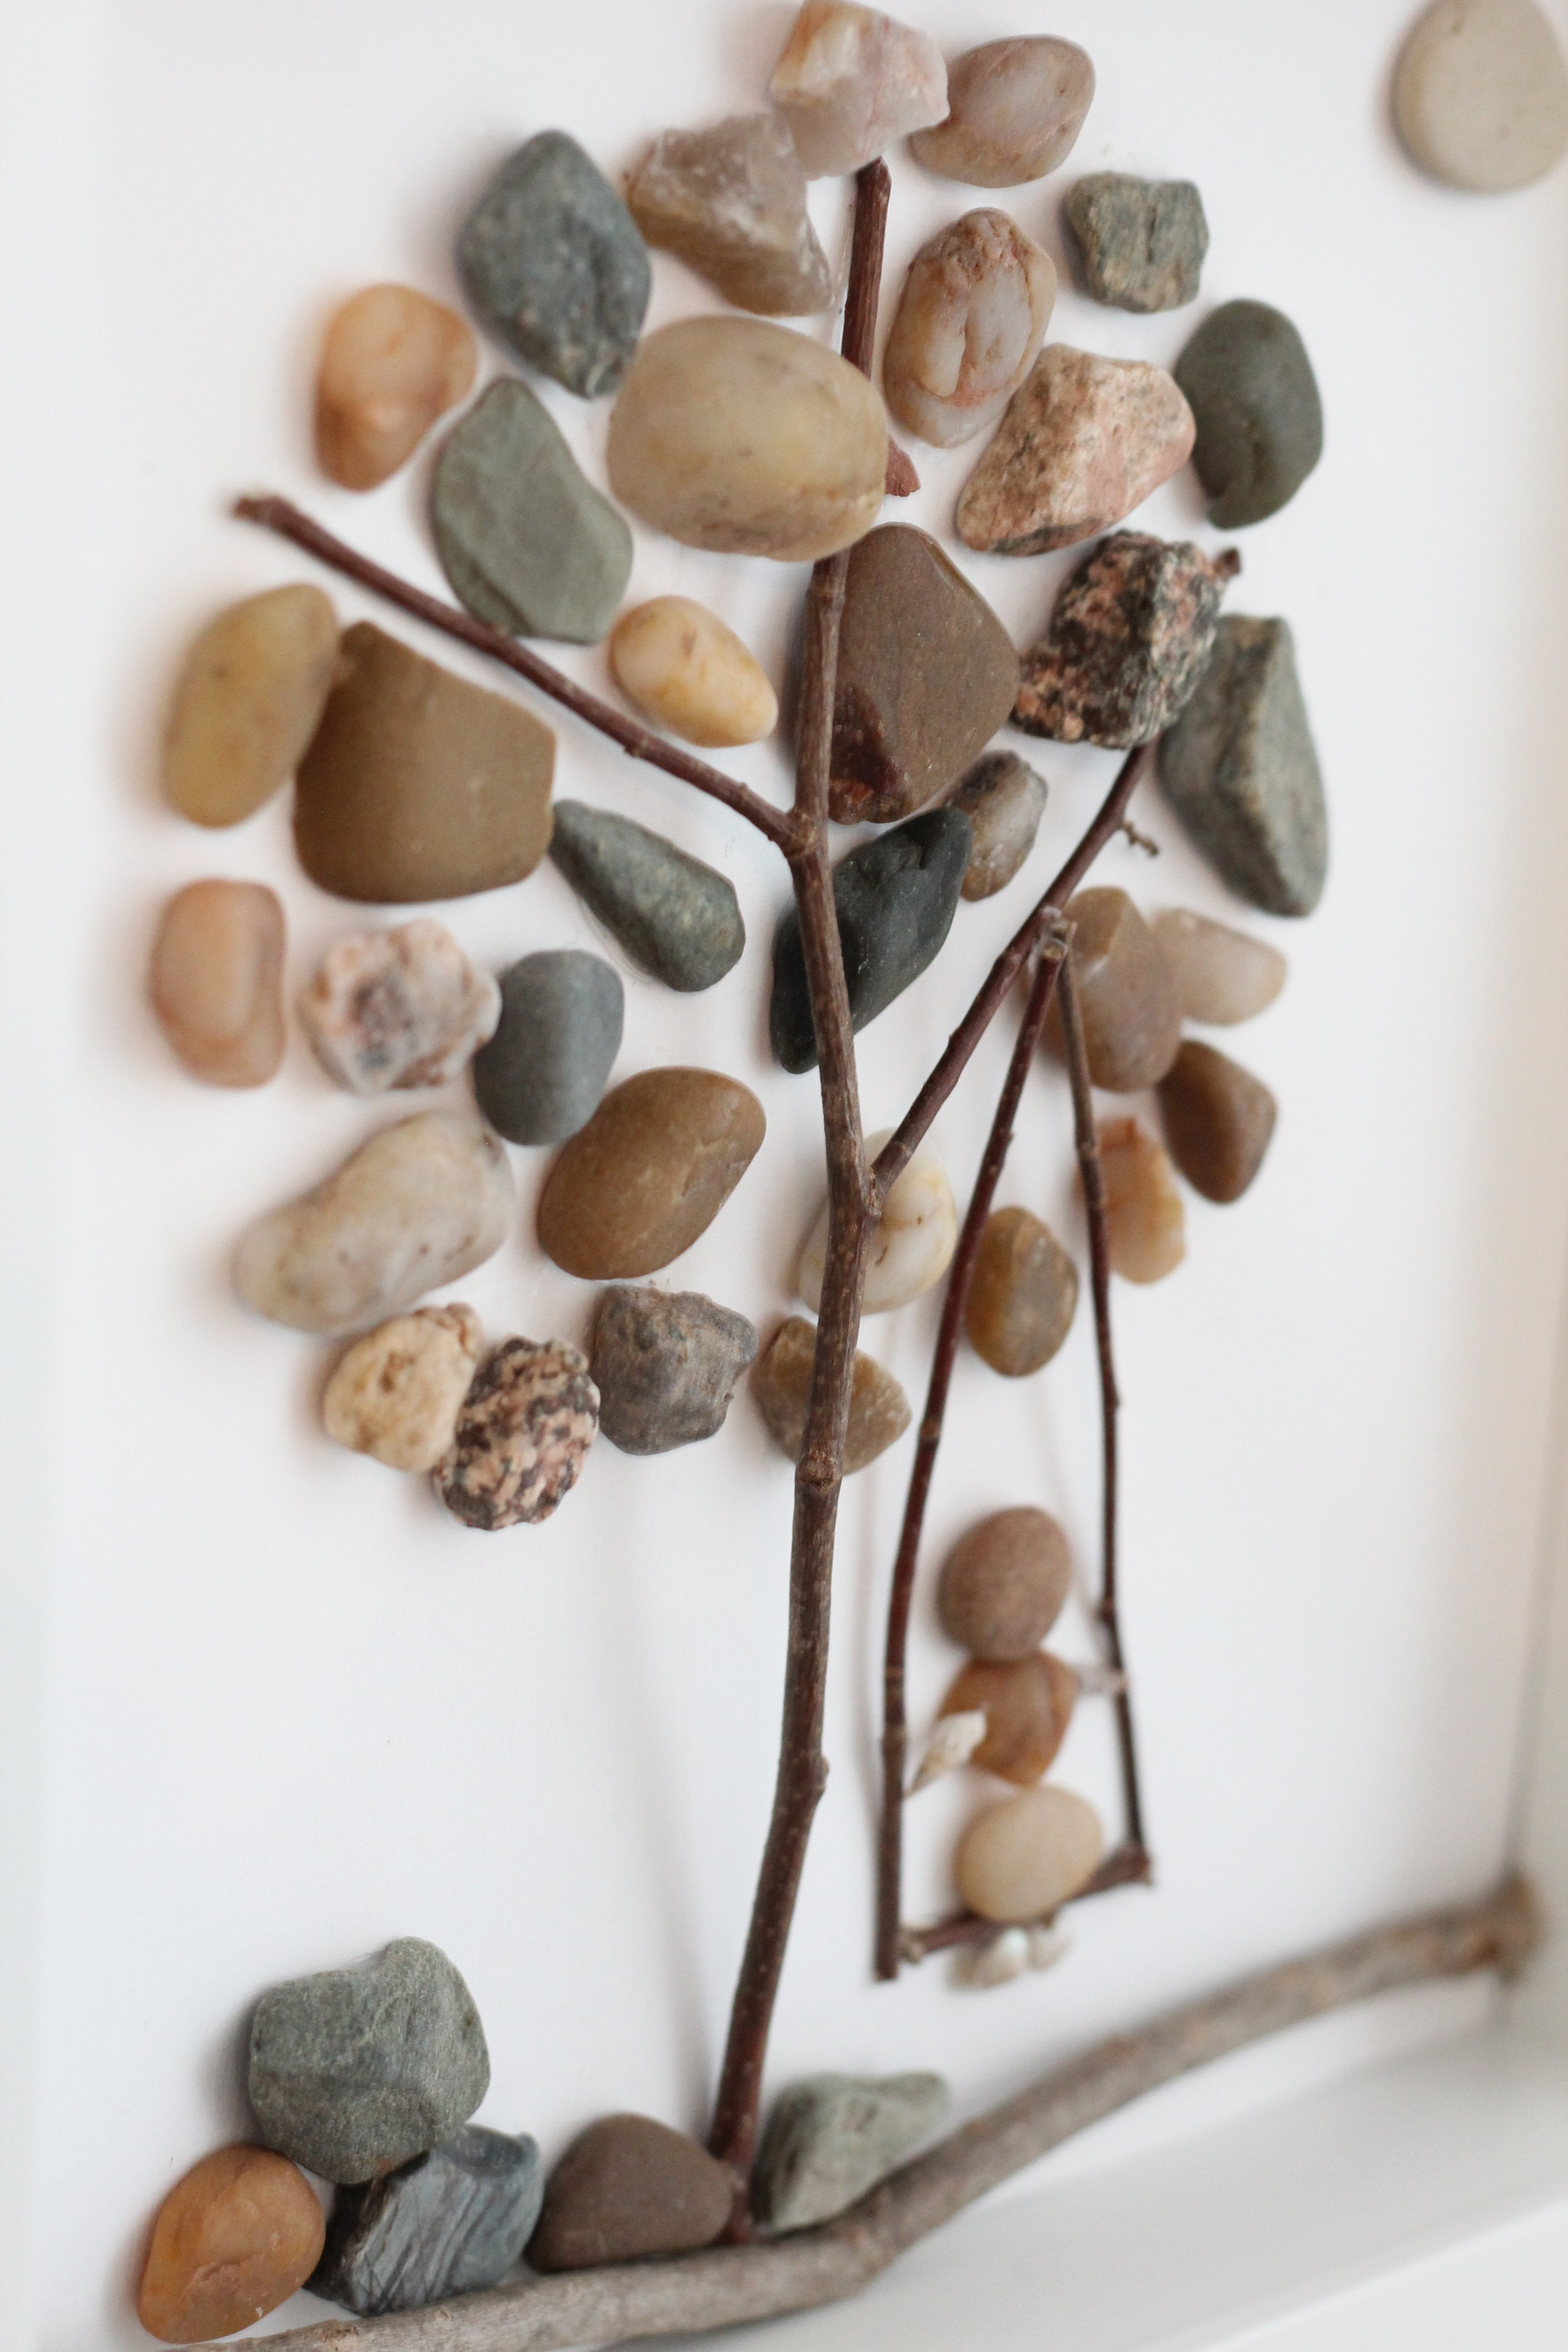
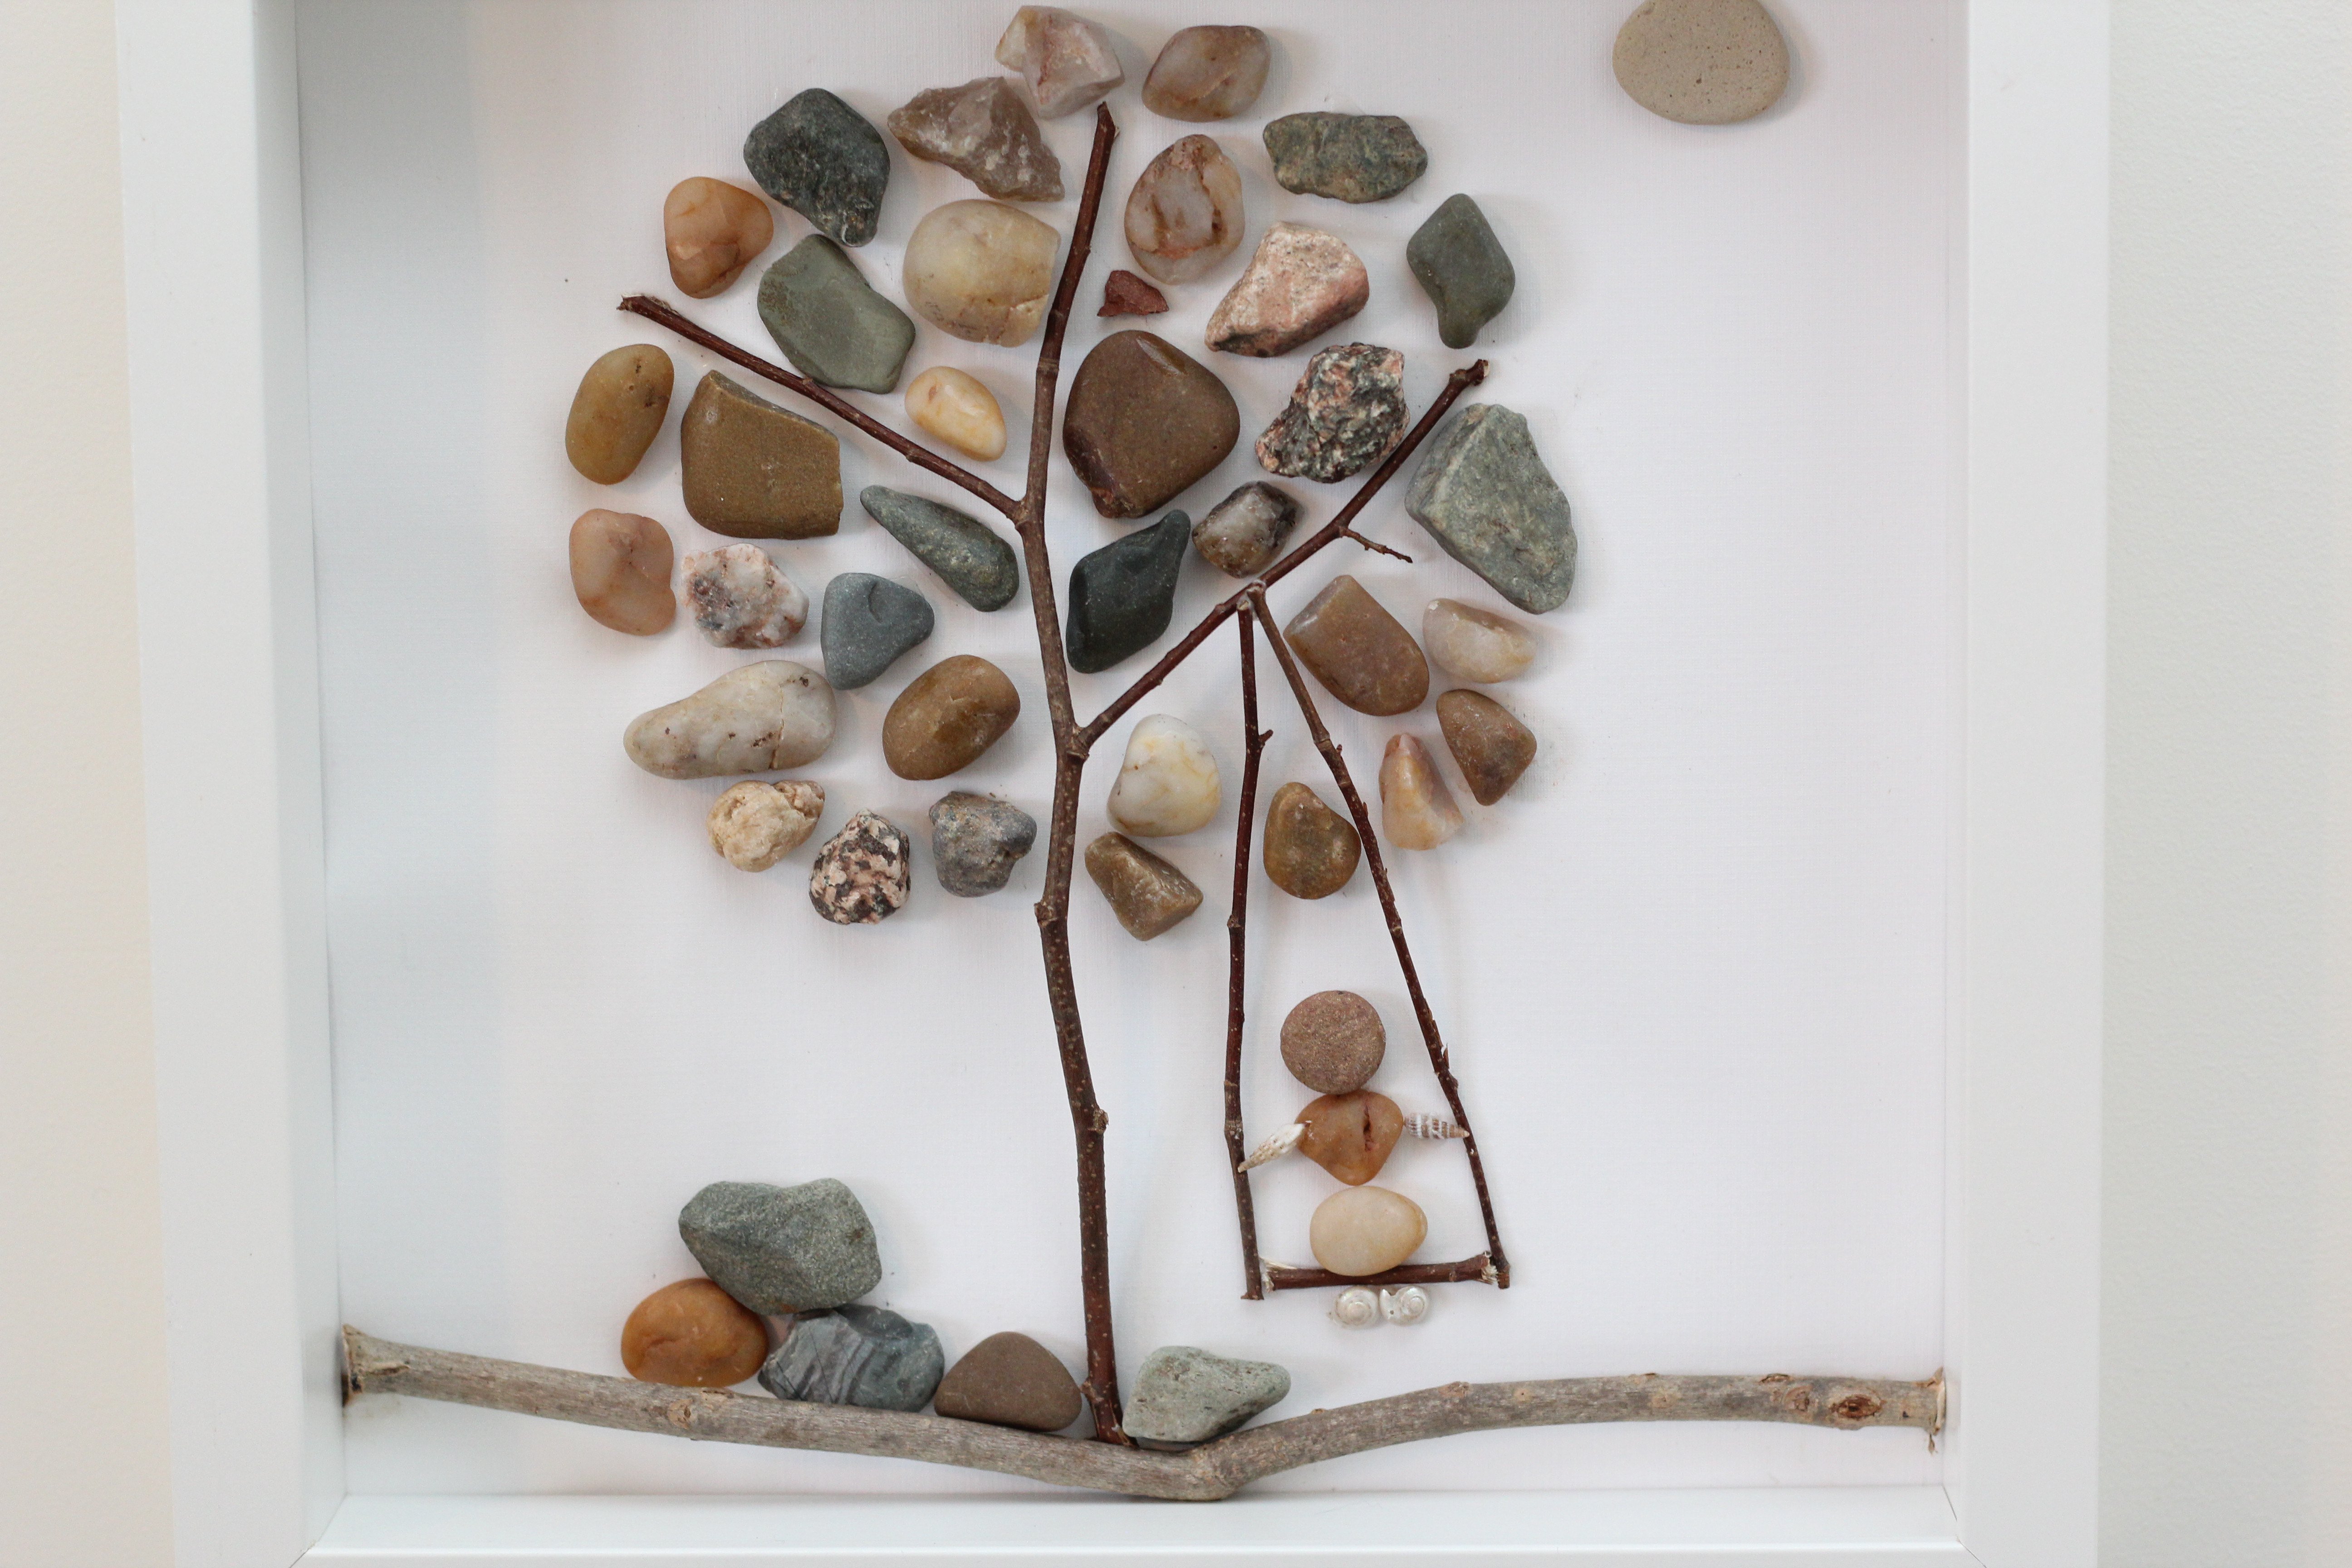
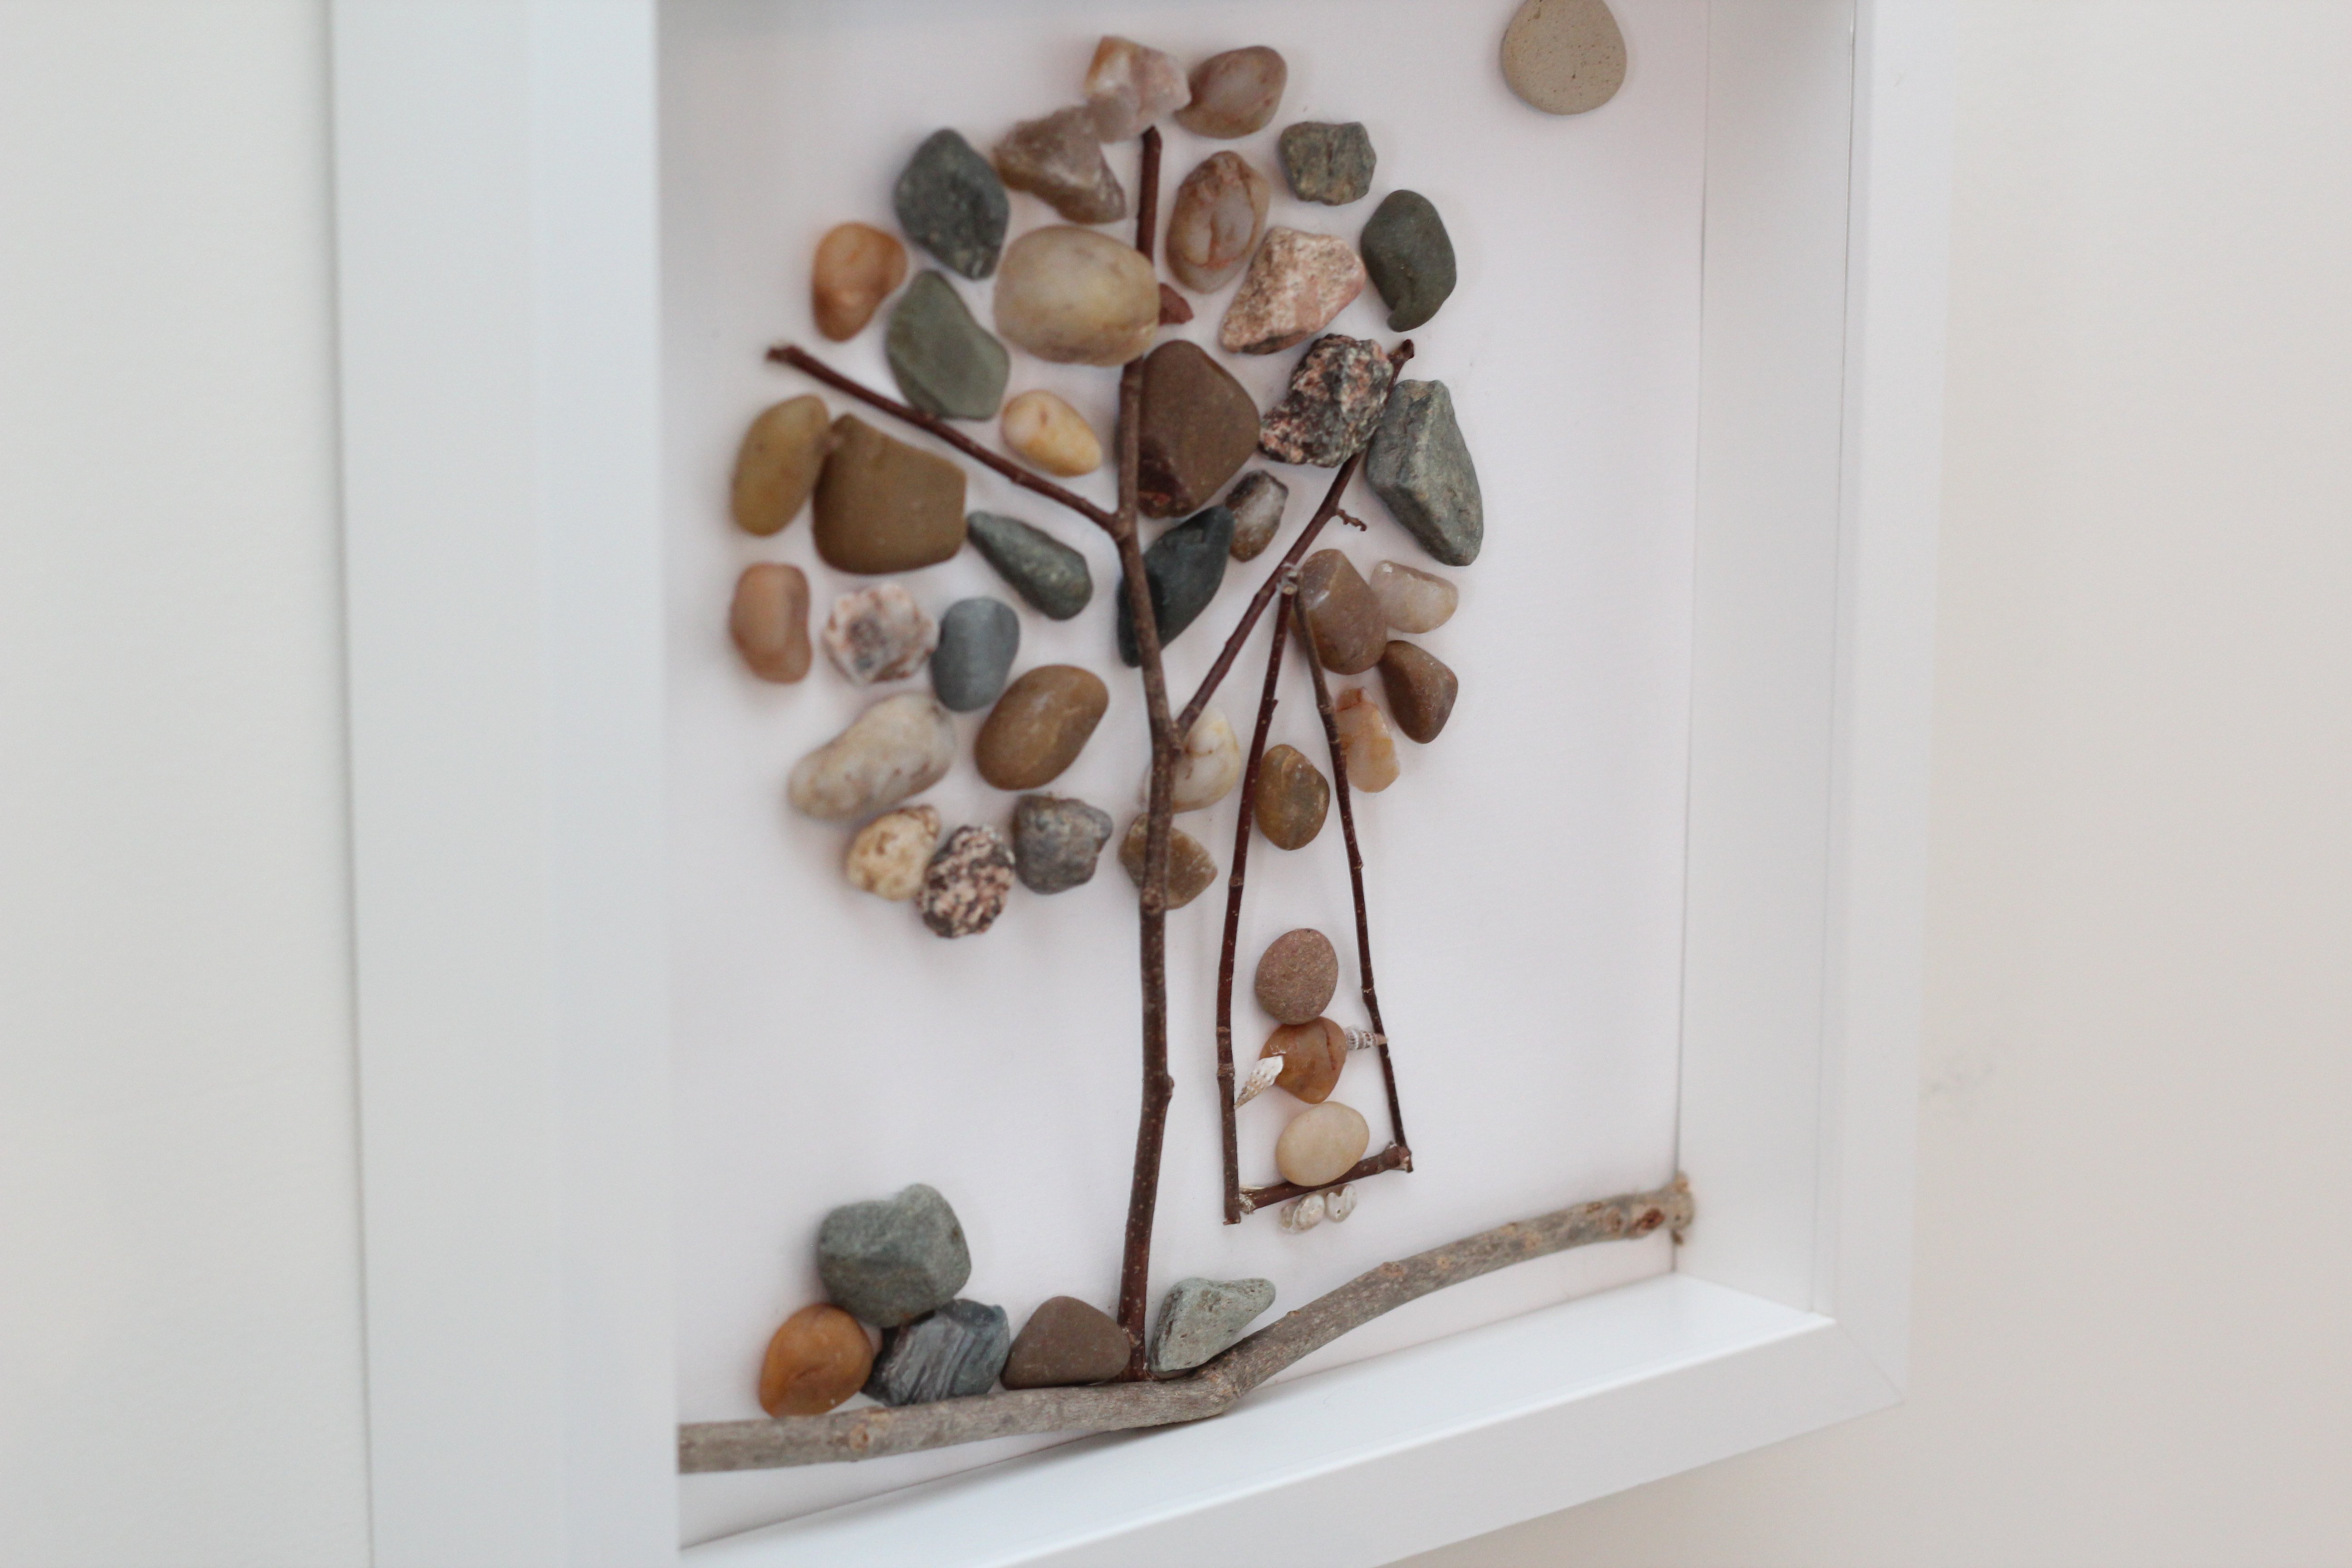
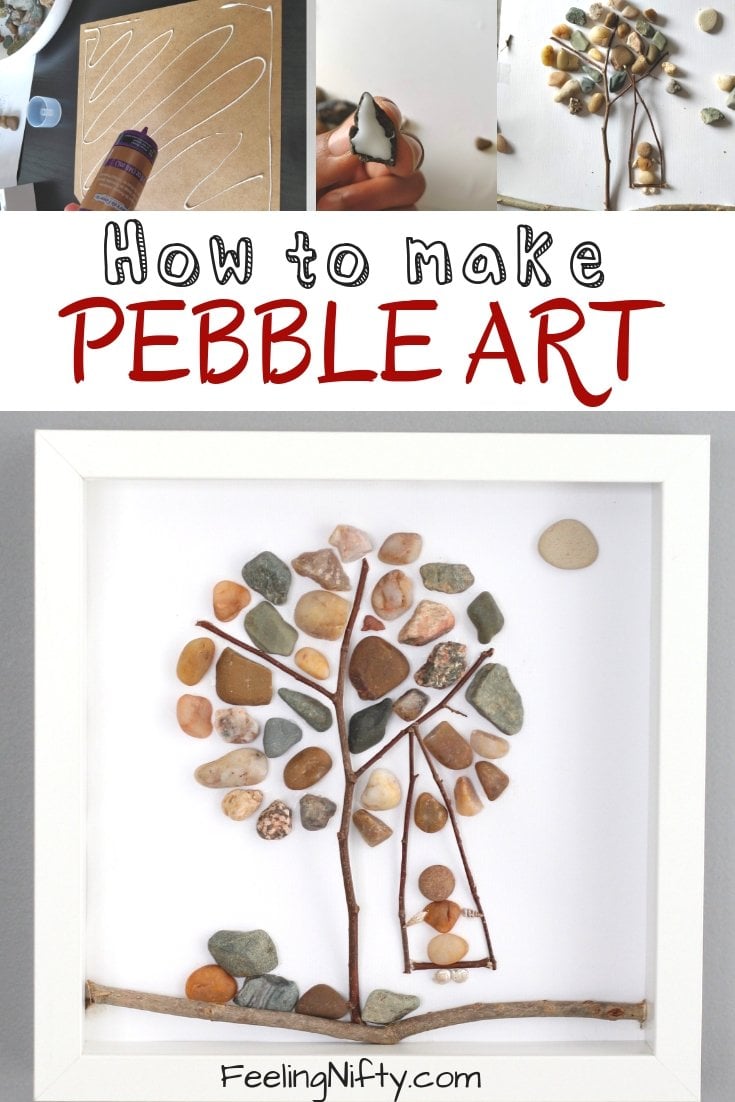
If you liked this art project please pin it!



Jacqui Szymanski
Sunday 14th of January 2024
How do I Pin the tutorial ? I’m get lost doing some of these computer things! I loved the tutorial-thank you so much. Please just let me know how to Pin it? Thank you
Jasmine Dhillon
Tuesday 23rd of January 2024
Hi Jacqui,
To pin the tutorial, just click on the red Pinterest button at the bottom of the post. You should then be able to select a picture from the post to pin to your board. Hope that helps!
Cheers, Jasmine
Elaine
Sunday 7th of August 2022
Thank you for the tutorial I'm thinking of doing a christening on for my grandson. I can't find one to buy so will have a go at doing my own.
Jasmine Dhillon
Tuesday 14th of March 2023
That's a wonderful idea Elaine! And its way more special/personal. One that your grandson will cherish for years to come :)
Cheers, Jasmine
Darlene
Saturday 18th of June 2022
Thank you for the Pebble art tutorial- Your tips were very helpful and I can't Wait to begin.
Jasmine Khinda
Wednesday 22nd of June 2022
Thank you Darlene, glad the tips helped :) Enjoy making the Pebble art!
Cheers, Jasmine
Linda
Monday 14th of June 2021
Hi Love your idea's. Can you tell me if there are small black rocks for crafts that are NOT POLISHED? Thank you for your time.
Jasmine K
Monday 21st of June 2021
Thanks Linda! You can try searching for "black river rocks unpolished" and it should give you a few options for black rocks.
Cheers! Jasmine
Betsi
Thursday 18th of June 2020
Love your easy instructions. My project turned out great. Please note, however, that “your” is possessive. The contraction for “you are” is “you’re“. Sorry to be the grammar police - just one of my pet peeves.
Jasmine Dhillon
Tuesday 14th of March 2023
Hi Betsi,
So glad your project turned out :) And a big thank you for pointing out the grammatical error with "your" (it was a bad habit). Your comment resonates with me every single time I spell either version of that word, so much so that now I spell it correctly every time. Not even exaggerating- so thank you for your honest feedback!
Cheers, Jasmine
Cheers, Jasmine