Easy Hot Chocolate Bombs Recipe for Beginners + Video Tutorial

Hot Chocolate Bombs Recipe
Looking for an easy hot chocolate bombs recipe (filled with marshmallows inside)? In the post below you'll learn everything you need to know to make these trendy, gorgeous and fun hot chocolate bombs (video coming in the next couple days). They make great gifts for Christmas, Valentine's day and more!
Hot Chocolate Bombs for Beginners
When I heard about this amazing new trend on of hot chocolate bombs I grew curious. I heard they were huge on Tik-Tok but I also many people talking about them on my Facebook groups.
I must admit though, I'm a complete beginner when it comes to anything baking or in this case candy/chocolate making. Let's just say I still used boxed cake mix for my birthday cakes.
But a promise to myself and to all my readers is to try new things in the name of creativity. So, I risked complete failure to see if I could make these nifty little chocolate-ly concoctions.
And I'm happy to report they all turned out great! And weren't as hard as I thought (just takes a bit of patience).
I'm going to share with you how I made them, from a beginners perspective.
First let's go over some common questions you might have.
What is a Hot Chocolate Bomb?
If you have no idea what they are, don't worry- I had to google them at first!
Hot chocolate bombs are hollow chocolate ball filled with cocoa powder (or hot chocolate mix) , marshmallows and other dried sweet goody you'd like to add.

How Do you Use Hot Chocolate Bombs?
Put the hot chocolate bomb into an empty mug then pour hot milk over it to melt the chocolate and release the ingredients inside. (watch for fun floating marshmallows!). Stir until creamy and enjoy!


TIP: Don't pour too fast and try to focus pouring your milk on one area of your chocolate bomb, to create a hole so the ingredients can escape through.
Can I use Hot Water Instead of Milk?
Yes! But it won't be as creamy and rich as with using milk.
What Size of Mold Do You Need?
I used the 2.5" size hot chocolate bomb mold (made with silicon), which makes the chocolate bombs fit perfectly in most mugs and fit a good amount of mini marshmallows inside. This size of hot chocolate bomb works well with 1 cup of hot milk.
I've seen them also made with 2" molds and bigger, so you should be fine the many sizes, depending on what you can get your hands on.
Since they were so popular to make this year, another option is to see if you can borrow one from a neighbour or friend. I asked in my local Buy Nothing Group Facebook Group and someone in my neighbourhood lent it to me for a few days.
How Do You Make a Hot Chocolate Bomb Without a Mold
I was so excited to find this amazing hack (which I plan to try soon). Essentially you can use Kinder Surprise Eggs and fill them with cocoa and marshmallows. For around $1 each, it's an inexpensive way to make them. Check out this YouTube video to learn how. Nifty!
How Long Do Hot Chocolate Bombs Last?
You can store them at room temperature for up to 2 weeks (if the chocolate is tempered). Make sure you store them away from heat and the sun so they don't melt.
What Kind of Chocolate is Best for Hot Chocolate Bombs?
While you can use chocolate chips, or melting/candy wafers (easier to melt), they will not taste the greatest in your hot chocolate. Wafers have an additive in them that make them taste a bit waxy.
You'll also want to make sure its dark chocolate or semi sweet. Milk chocolate will be too sweet with the added hot cocoa powder.
I recommend buying a good quality chocolate bar like Lindt dark (or any Lindt dark chocolate 70%), Callebaut 70%, etc. Or if you plan on selling them you can go with professional quality coverture chocolate. Read more about it here.

What is Tempered Chocolate and Do I Need To Do It?
Tempered chocolate is just the fancy way of saying "melting chocolate" so it doesn't get too hot.
Don't run away- there is nothing to be scared about! It's actually an easy thing to do, without fancy equipment.
But why bother tempering?
If you don't temper your chocolate it will melt and not hold its shape at room temperature, and not be shiny and pretty.
If you have a microwave, a microwave safe bowl and a meat thermometer- then you are good to go!
Chocolate thats tempered properly will be shiny when hardened and also make a loud sound when snapping it in half.


How To Decorate How Chocolate Bombs
I ended up melting some white chocolate and putting them into pipping bags (without tips). Then I drizzled the white chocolate on each ball. It was pretty easy and doesn't have to be perfect which is nice.
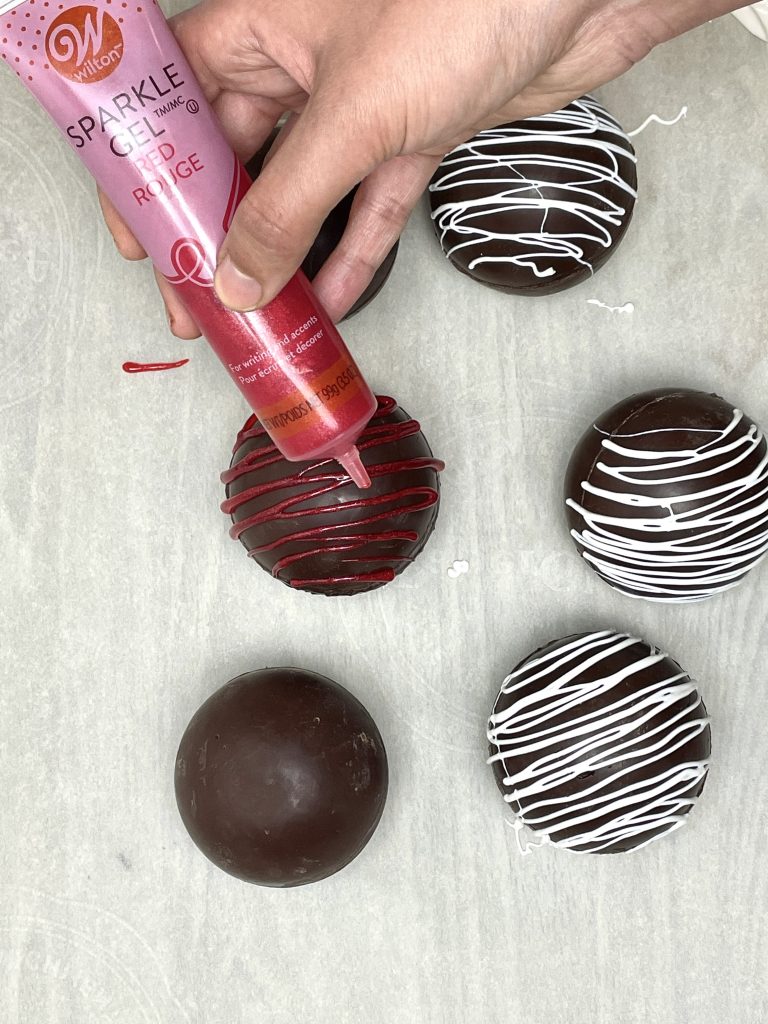
I also wanted to make some valentine's themed ones (which would also work for Christmas) so I got this lovely Wilton's Glitter Gel that has a slight raspberry flavour. It brings a nice subtle raspberry flavour to your hot chocolate which was delicious!
One thing I want to mention is the Wilton's gel icing doesn't harden like the chocolate drizzle. It smudges if it's touched. Something to keep if you're packaging it to sell or to gift to someone.
If you want the red drizzle to be hardened, you can use red chocolate melts instead.

Hot Chocolate Bombs Recipe : Tempering Chocolate
Step 1
Clean the inside of your silicone mold with a paper towel and make sure it is completely dry and free of residue. Any water will make the chocolate seize (I.e. a clumpy mess) and any residue on mold will impact the shiny-ness of your chocolate.
Important: water and chocolate do not mix. I had no idea about this until I read this article.
Step 2
Chop your chocolate into small pieces using a large knife. I used 7(100g each) full size chocolate bars (or 700g of your fave chocolate)and it was more than enough to make 6 full size chocolate bombs.

Step 3
Once chopped place the chocolate in a microwave safe bowl. Heat for 30 seconds. No more than that. Then stir with a baking spatula making sure to scrape the bowl to move the chocolate from the outside edges to the center, for even heating.

Step 4
Put back in microwave for another 15 seconds (ignore the 20 seconds in the picture below). Take out and stir around like in step 3. Your chocolate might me starting to melt at this point. Use a meat thermometer (or candy one if you have it) and make sure the temperature doesn't go over 90ºF for dark chocolate and 86ºF for milk or white chocolate.

Step 5
Repeat step 4 another 2-3 times until almost all the chocolate is melted and never going over 90ºF . Once it is almost melted, stir chocolate around and let the non-melted pieces melt from the heat of the bowl.


Step 6
Once chocolate is all melted, to test to make sure your chocolate tempered properly, put a dab of it on parchment paper and put it in the fridge for 5 minutes. Once it hardens, take note of a couple things: is it shiny? Does it snap and make a sound when breaking it? If yes, your chocolate is tempered and ready to move on to the next step
If your chocolate is dull or it bends and nots snaps when breaking it, it might have been heated too much. No worries though, you can fix it!
Simply add a 4-5 ounces of chopped chocolate, and mix around until completely melted. You might have to reheat for another 5-10 seconds to get a good melted consistency.
Hot Chocolate Bombs Recipe with Marshmallows
How to Make Hot Chocolate Bombs
How to make hot chocolate bombs (with marshmallows) for beginners using silicone molds.
Materials
- -24 ounces or 7 100g good quality dark chocolate bars (60% cocoa and above)
- -Silicon molds (I used 2.5" size)
- -Paper Towel
- -Clean/dry food grade brush
- -Baking spatula
- -Microwave safe plate
- -Premade hot chocolate powder mix (or make your own)
- -Mini Marshmallows
- Decorating:
- -Pipping Bags
- -White chocolate /Red Chocolate melts
- -Red Wilton glitter gel (optional)
Instructions
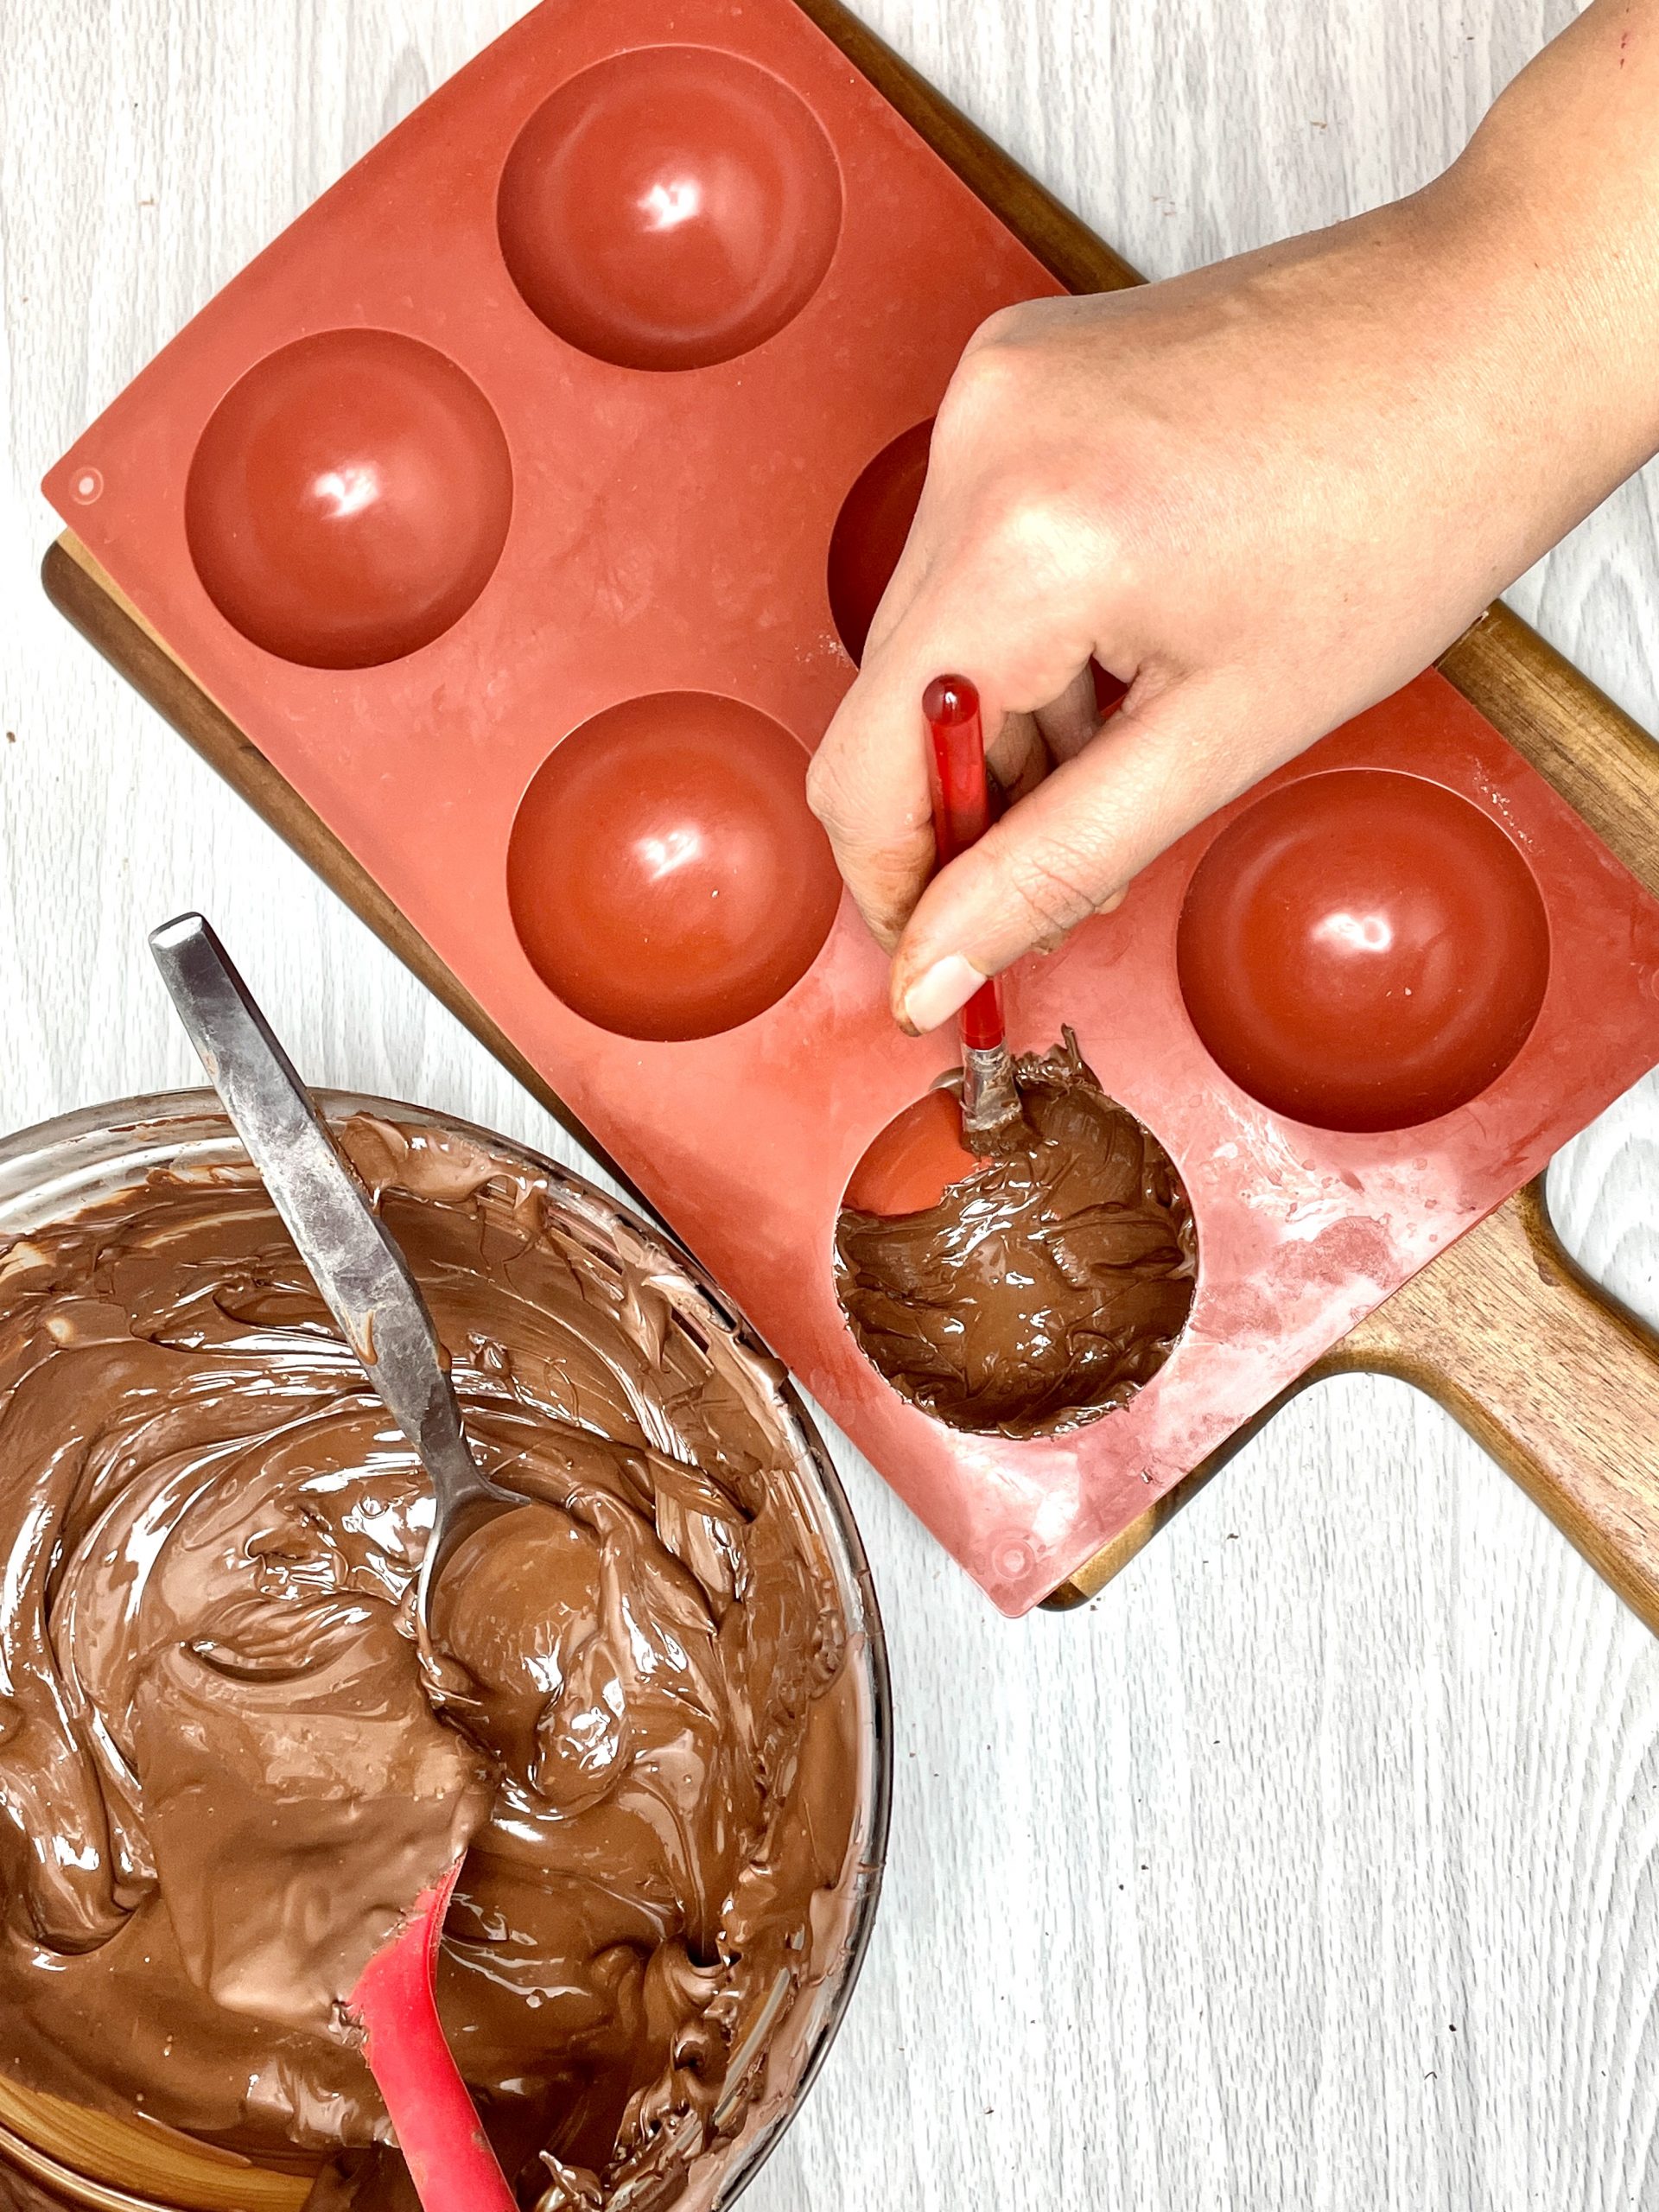
- Clean/buff your silicon mold with a clean paper towel to make sure there is no reside in the spheres.
- Temper/ melt your chopped chocolate using the instructions above

- Add a spoonful of chocolate into one of the sphere moulds. Using your brush, apply chocolate so that it completely covers the mould (paying special attention to the top edges). Repeat this for the remaining spheres
- Once all the spheres are covered, pop the molds in the fridge for 5 minutes to harden.
- Take out of fridge. Now time for your second coat of chocolate. Having only 1 coat will make the spheres too delicate to work with and might crack when handled. Add a second coat of chocolate to each sphere, concentrating on the top edges. Once done, pop back into fridge for another 5 minutes
- Once the chocolate spheres are hardened, gently pop them out of the silicon molds. Gently remove the edges first then rest should come out easier. Place your half spheres on a plate to be assembled.
- Warm up a plate in the microwave for 30 or so seconds (doesn't have to be hot, just warm), or use a pan on the stove with heat turned on. Most of the spheres might not have an even edge, this will cause gaps at the seam and your ingredients inside to fall out. To even them out, place each sphere (one by one) edge side down on the warm plate for 2-3 seconds. When you lift off you should see a ring of chocolate. If you don't you might need to warm your plate a little more. Repeat for all the remaining spheres.
- Place a spoonful (I added 1 tablespoon exactly) of hot cocoa mix into a sphere. Add marshmallows and any other dried toppings

- Take an empty sphere and put it edge side down on your warm plate (or hot pan) then gently place it overtop the filled sphere. The melted chocolate will act as a "glue".
- If you find there are still gaps between both spheres, you can add another layer of chocolate using your brush at the seam.
- Repeat for remaining hot chocolate bombs.
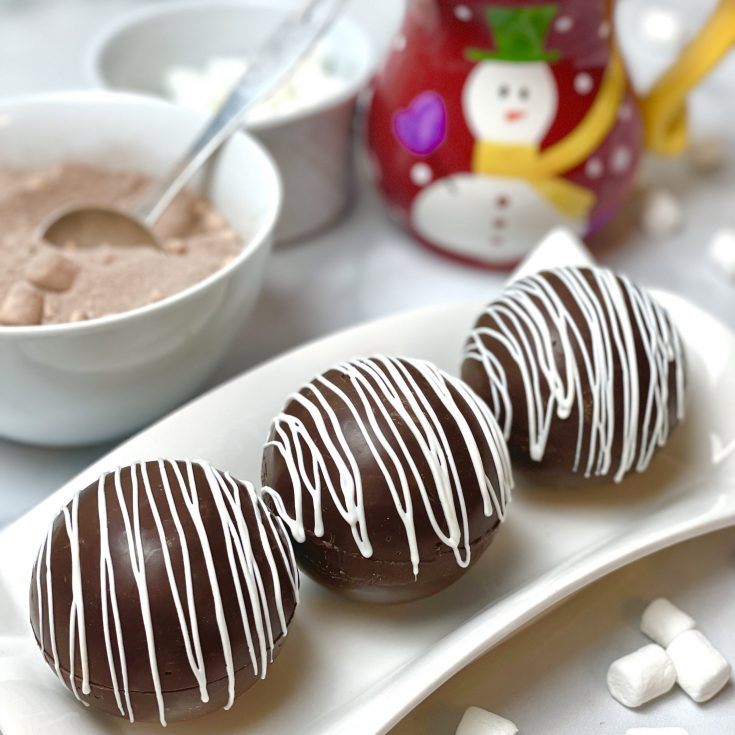
- To decorate I melted some white chocolate, then added them to a pipping bag and drizzled them over my chocolate bombs. You can do this with red chocolate wafers (or add in red food coloring into your white chocolate). I also used this red Wiltons Sparkle Gel that had a nice raspberry flavor. Although it didn't harden like the chocolate (so you have to be carefully if packaging it) it gave a nice flavour to our hot chocolate.


Recommended Products
As an Amazon Associate and member of other affiliate programs, I earn from qualifying purchases.
-
 Wilton Cake Decorating Tools, 5-Piece Brush Set
 -
Thickened 100pcs/set Disposable Pastry Bag Icing Piping Bag Cake Cupcake Decorating Bags (12inch Thickened)
-
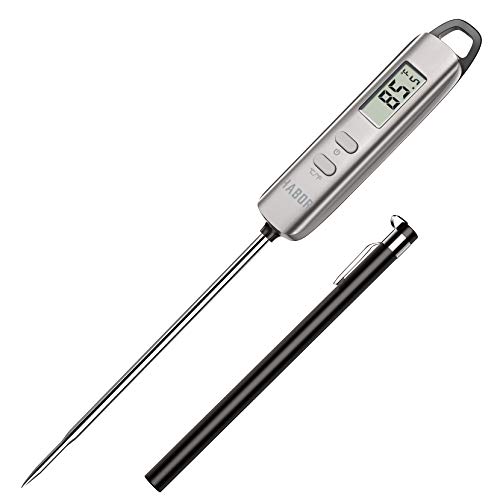
Habor 022 Meat Thermometer, Instant Read Thermometer Digital Cooking Thermometer, Candy Thermometer with Super Long Probe for Kitchen BBQ Grill Smoker Meat Oil Milk Yogurt Temperature
-
Nestle Carnation Hot Chocolate Marshmallow Hot Chocolate Mix, 450g, 15.87oz
-
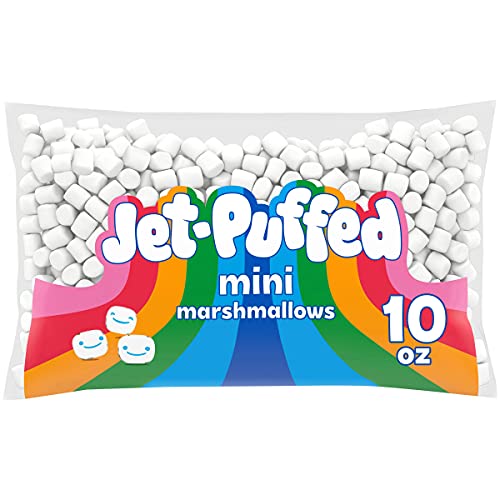
Kraft Jet Puffed Mini Marshmallows, 10 oz (Pack of 3)
-
Lindt Classic Recipe Bar, White Chocolate Bar, 4.4 Ounce (Pack of 12), Packaging May Vary
-
Wilton Red Sparkle Gel
-
Lindt Excellence Bar, 70% Cocoa Smooth Dark Chocolate, Gluten Free, Great for Holiday Gifting, 3.5 Ounce (Pack of 12)
-
Kulmeo Silicone Sphere Molds 2.5 Inch Semi Sphere Silicone Mold For Chocolate Bombs 6 Holes Silicone Molds 2 Pack Red


I hope you enjoyed this hot chocolate bombs recipe and answered some questions you might have had. Here are some final pictures of my hot chocolate bombs after decorating them with white and red chocolate drizzle.


If you liked this post please pin it!
