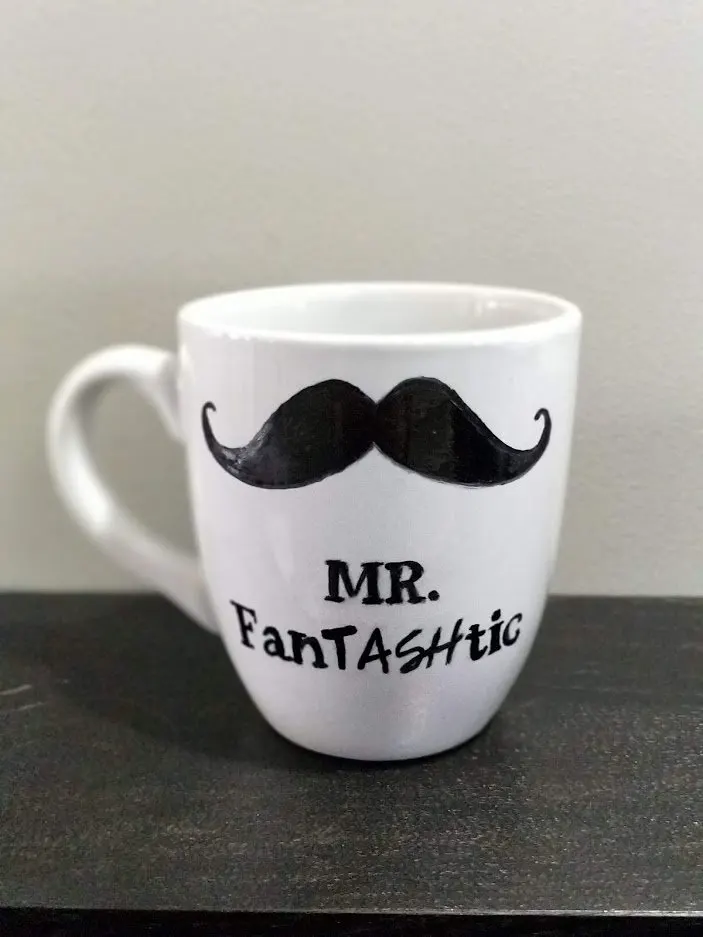
This DIY Sharpie Mug is an easy to make DIY gift for the dudes. Great for father’s day. birthdays, etc..
This Sharpie mug craft, was the fastest and easiest project so far in my journey back into the crafting world!
I was looking for a cute DIY gift idea for my husband and came across some nice looking Sharpie mugs online. On a quick side note, check out this 51 pottery painting ideas for more creative and inspiring mug ideas.
Now back to the story…
It looked like a pretty straightforward project, so I decided to try it out myself.
I used my fave graphic editor, Canva, to create the “mustache” design – which I’ve included as a free template for anyone to use for their own projects.
I’ll show you a little later on how to transfer the design from paper onto the mug, without a stencil!
I love this technique- especially since its cheap, easy and doesn’t require any expensive equipment. I also used this technique on my other DIY gift idea: tissue paper art project Here.
Heads up: My post may contain affiliate links. That means if you click and buy something I recommend, while it won’t cost you a penny more, I might earn a small commission. It helps keeps this site up and running. Thank you for your support!
Materials:
1. Plain white mug
2. Oil based Sharpie markers. Here they are if you shop on line.
3. Printed design of your choice on any printer, or free hand.
4. A pencil
5. An oven.
Steps:
1. Clean your mug with rubbing alcohol (using a cotton ball or soft tissue).
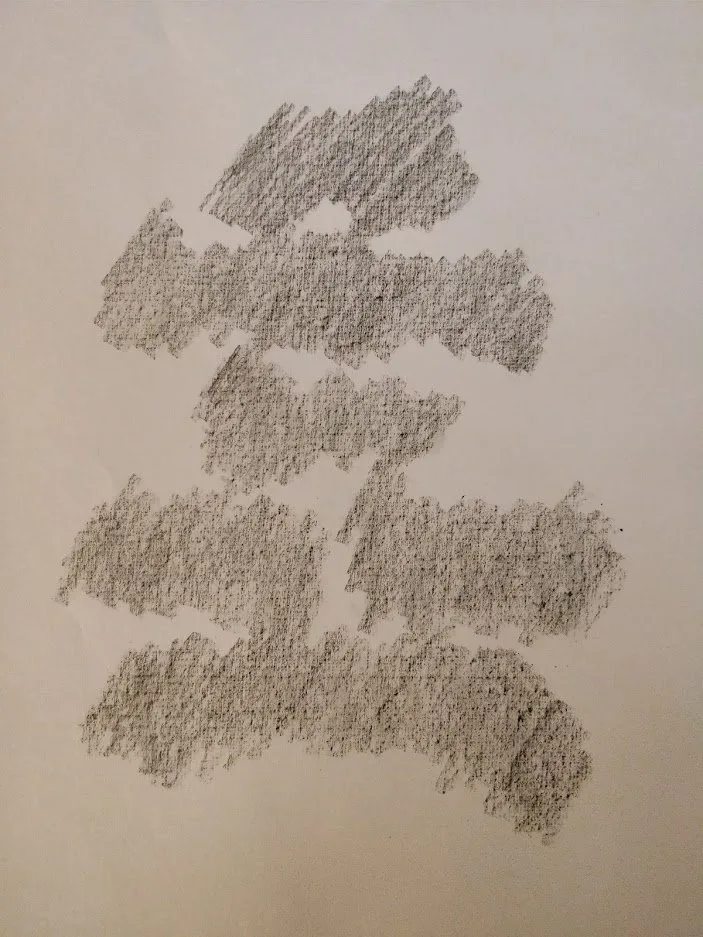
2. Transferring the design onto the cup without a stencil is actually very simple. First print out your design (no need for mirror image) on any printer. On the BACK of your printout go over your design with a pencil (heres an example from another post):
2. Now flip over the paper and position the quote over your cup where you want it to go. Use tape to secure the design to the cup.
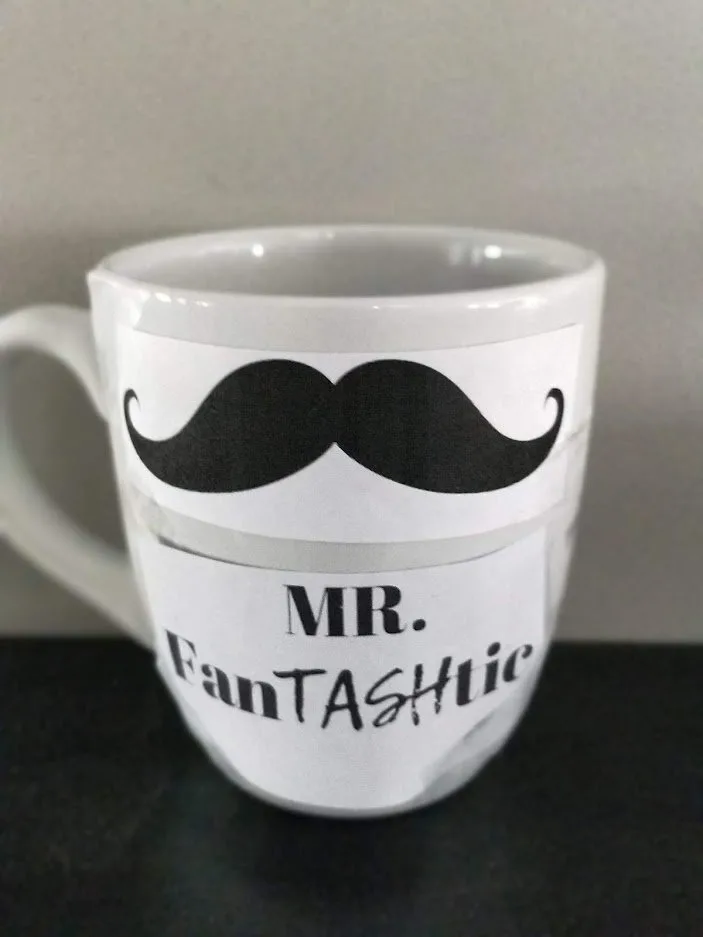
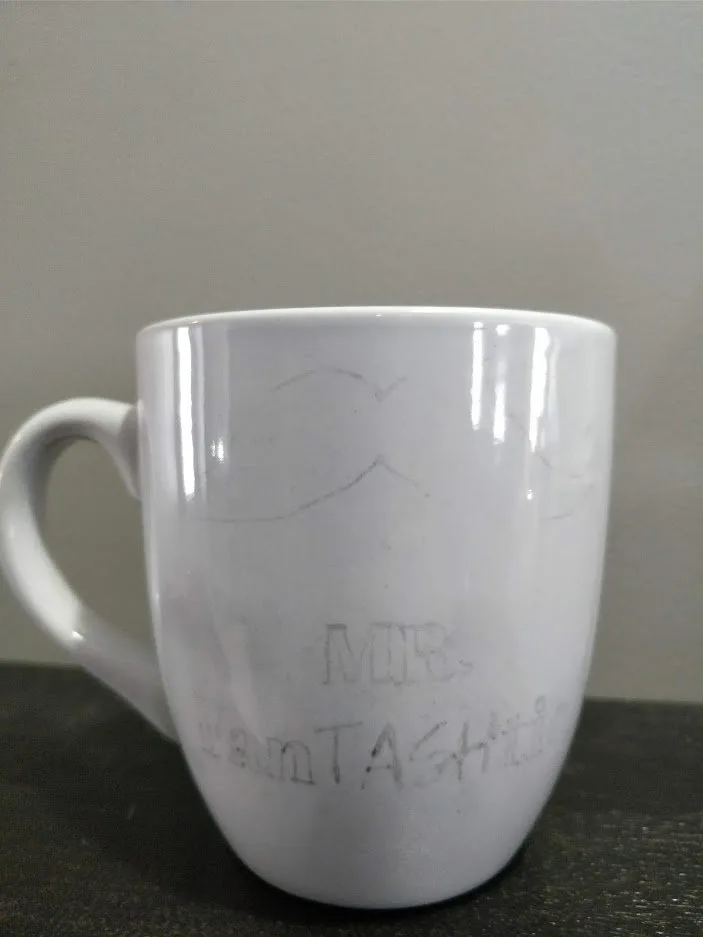
3. Take a sharp pencil and trace over the letters/design on the paper ( just the outline).
4. Once complete,remove the paper and it should look like this:
5. Now take your OIL based Sharpie and fill in the letters and mustache design. If you make a mistake, simply take a q-tip dipped in rubbing alcohol to erase.
6. Let your finished Sharpie mug dry for a minimum of 48 hours.
7. Once the mug has dried for 48 hours, put your mug in a cool oven (before you turn it on).
8. Heat the oven to 250 and set the timer for 2 hours (or if you are just using just black marker, you can set oven to 350 for 30 minutes). The higher the temperature the more color change you will notice in your final mug. Black marker is the only color that can withstand higher temperatures without color distortion.
9. When the timer goes off, let the mug cool down naturally minimum 1 hour before removing.
10. Once your mug is cooled, to make sure you design is extra “wash-proof”, coat it with some Dishwasher Safe Mod Podge.
And voilà, an easy and creative DIY gift idea for any mustache loving Mr. FanTASHtics out there!
Tips
-DO NOT wash in dishwasher, and hand wash only.
Some extra tips I found on-line, which I want to try soon (I’ll update once I try these myself)
-Color over the design TWICE before baking in oven. Ensure that the paint is dried sufficiently BEFORE placing in oven(around 48 hours).
-Bake the mug in the over TWICE to really set in the design.
FREE TEMPLATE
