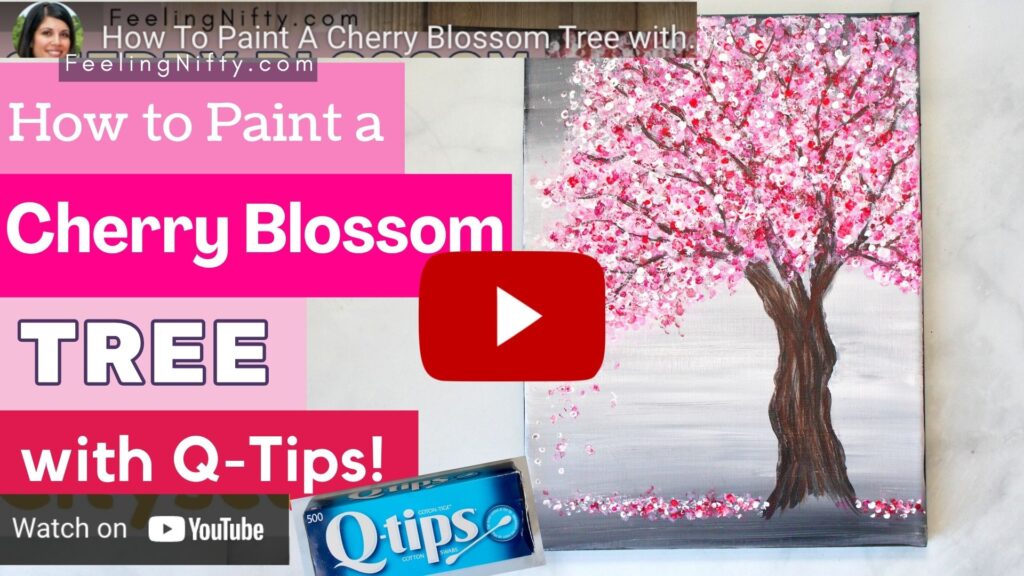
Cherry Blossom Tree Painting with Acrylics and Q-Tips
Cherry Blossom Tree Painting : An Easy Beginner Painting Idea
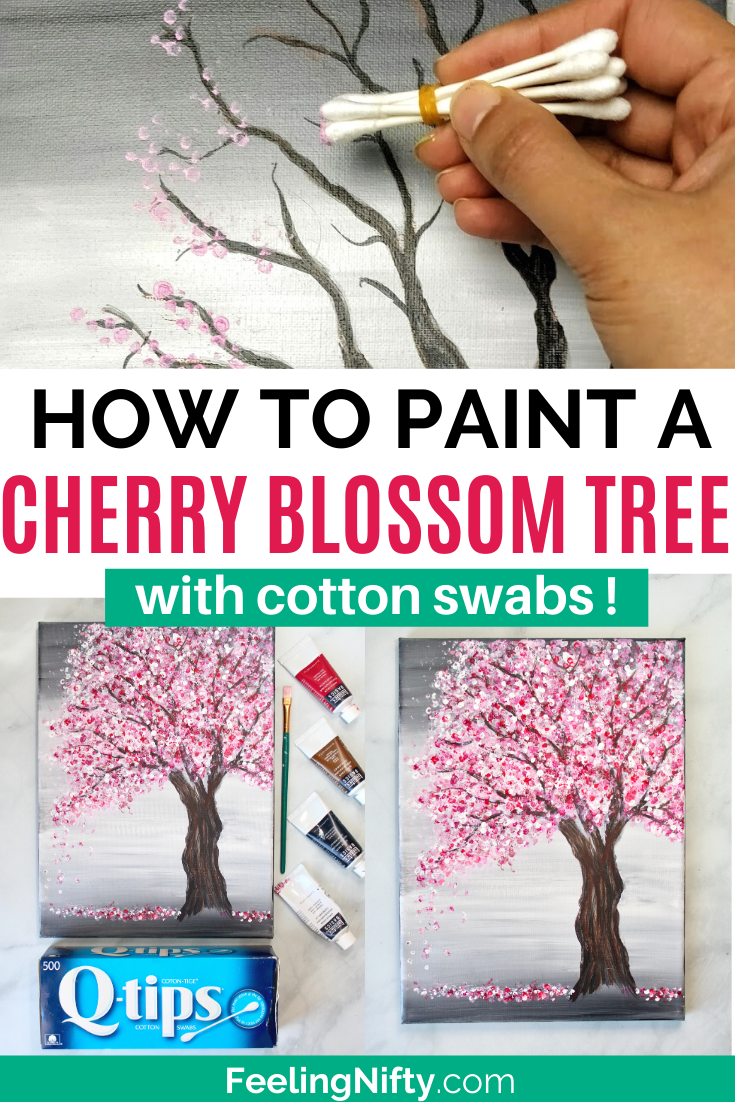
Painting this cherry blossom tree is a fun & easy painting idea (beginner friendly) and perfect starter canvas project that will add to your confidence with acrylics.
In the tutorial below I will guide you, step-by-step, how to paint a simple cherry blossom tree using Q-tips to paint the beautiful pink colored blossoms.
This tutorial has been painted by various ages, from adults to teens to kids. The q-tip method makes this painting very easy for everyone. If you're looking for more painting ideas, check out this 60 acrylic painting ideas and this 83 painting ideas for kids post.
If you're looking for an ad-free, easy-to-read format for this tutorial check out this cherry blossom tree tutorial workbook with bonus steps (how to paint a tree trunk) /tips and extra-detailed steps not found in this tutorial.
Or if you're looking for a fun paint and sip idea, I re-recorded this whole tutorial in a Paint and Sip video package with instruction and a full guided walkthrough (which is not on the YouTube channel). It's a full length 47 minute tutorial that you can sit back relax and paint (in a group or solo setting).
Cherry Blossom Tree Painting with Q-tips
Painting with tools other than paintbrushes can be quite fun and yield some pretty amazing results.
One such tool I have discovered is Q-tips (or cotton swabs)!
Yup, those common little swabs not only work wonders with your hygiene routine, but they also make nifty painting tools!
I first discovered the magic of painting with Q-tips in one of my first painting tutorials on how to paint lavender flowers. It was so much fun, and hearing my readers' feedback that they also enjoyed it, inspired me to create another Q-tip inspired painting tutorial.
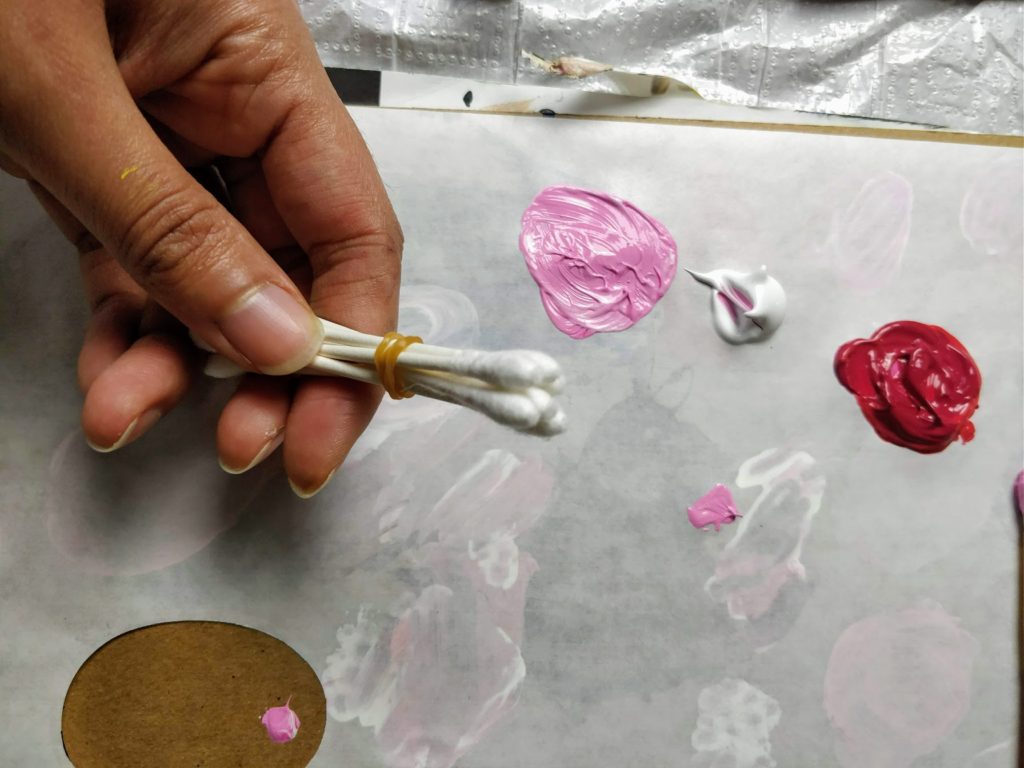
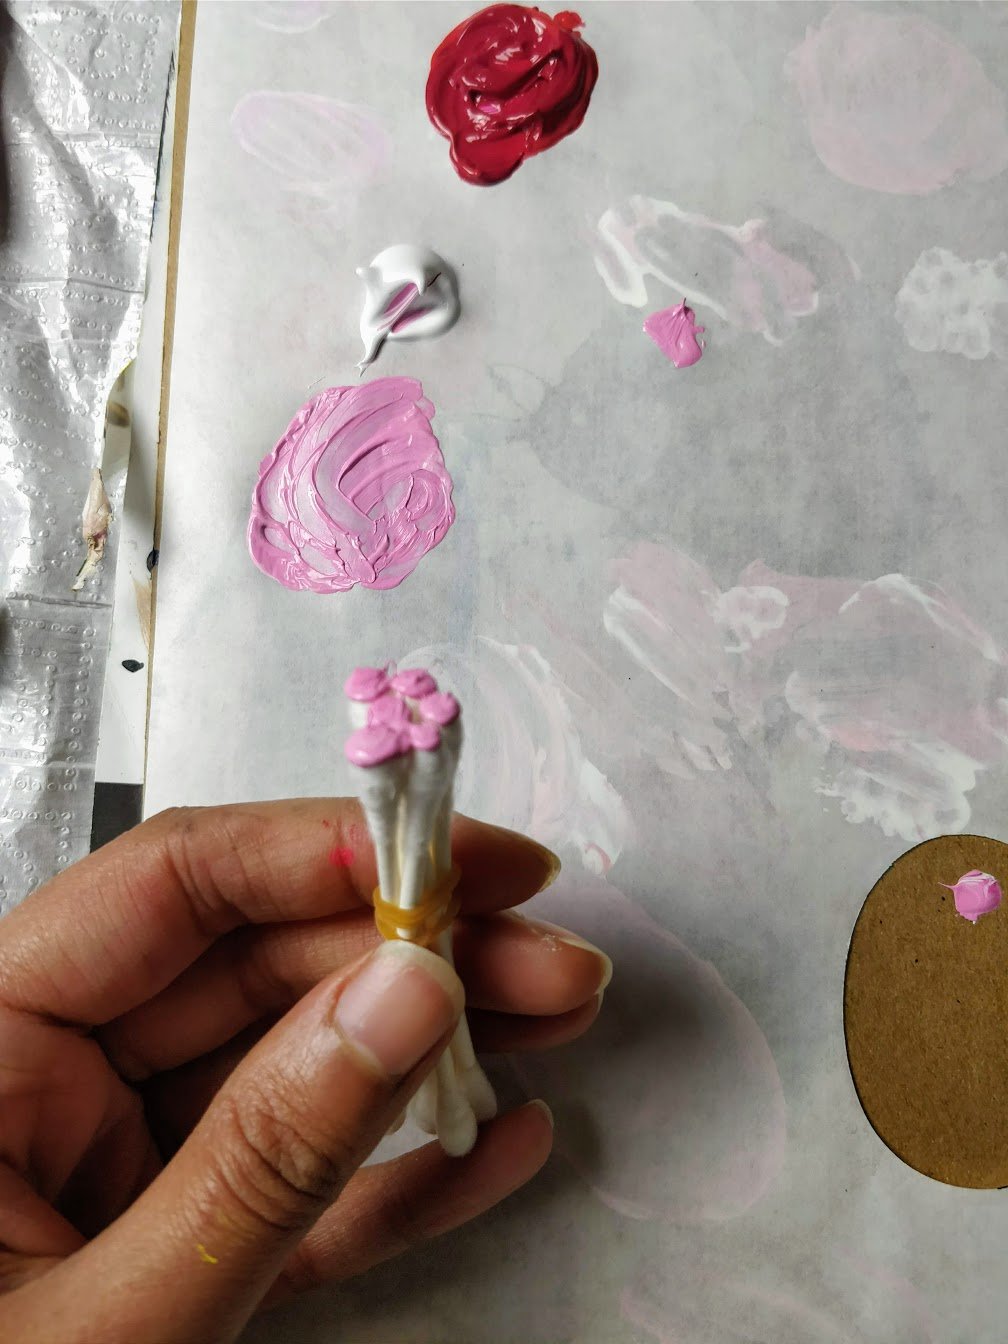
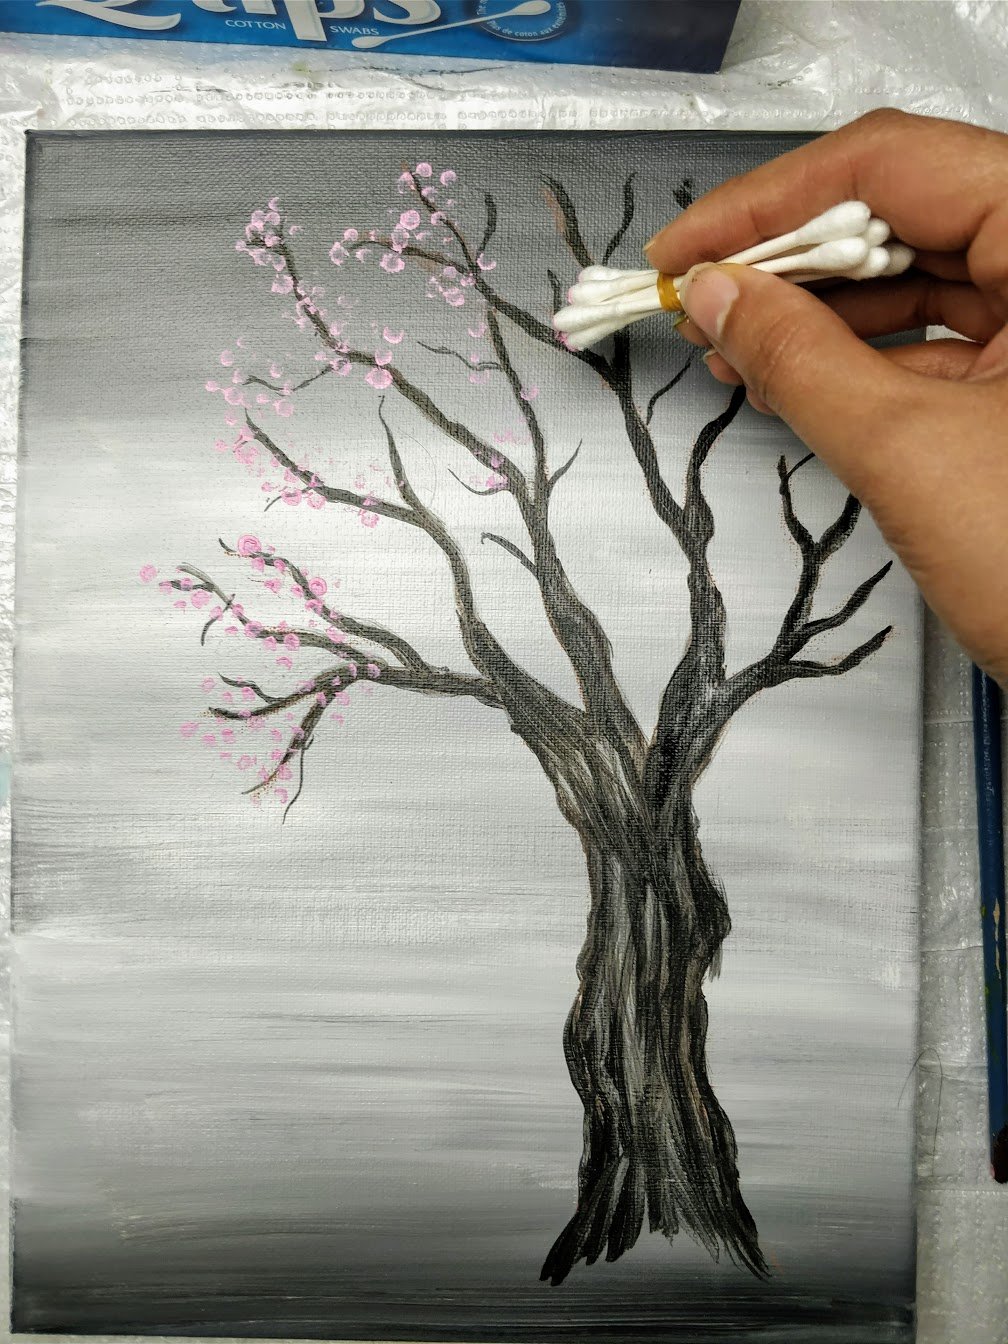
The only difference in this tutorial is that you will bundle up 4-5 Q-tips and wrap them together with an elastic band. You can then dip the group of swabs in paint and dab away at your blossoms.

The method works well because there are many cherry blossoms on the tree- so the group of Q-tips lets you finish the blossoms faster. You can also use a single Q-tip, it will just take longer.
And you can't make a mistake here.
Don't overthink it, and just enjoy dabbing away. This was my most favorite part of the painting- I totally lost track of time and was absorbed into the creative flow of the cherry blossoms.
Enjoyable and meditative.
Cherry Blossom Paint Colors
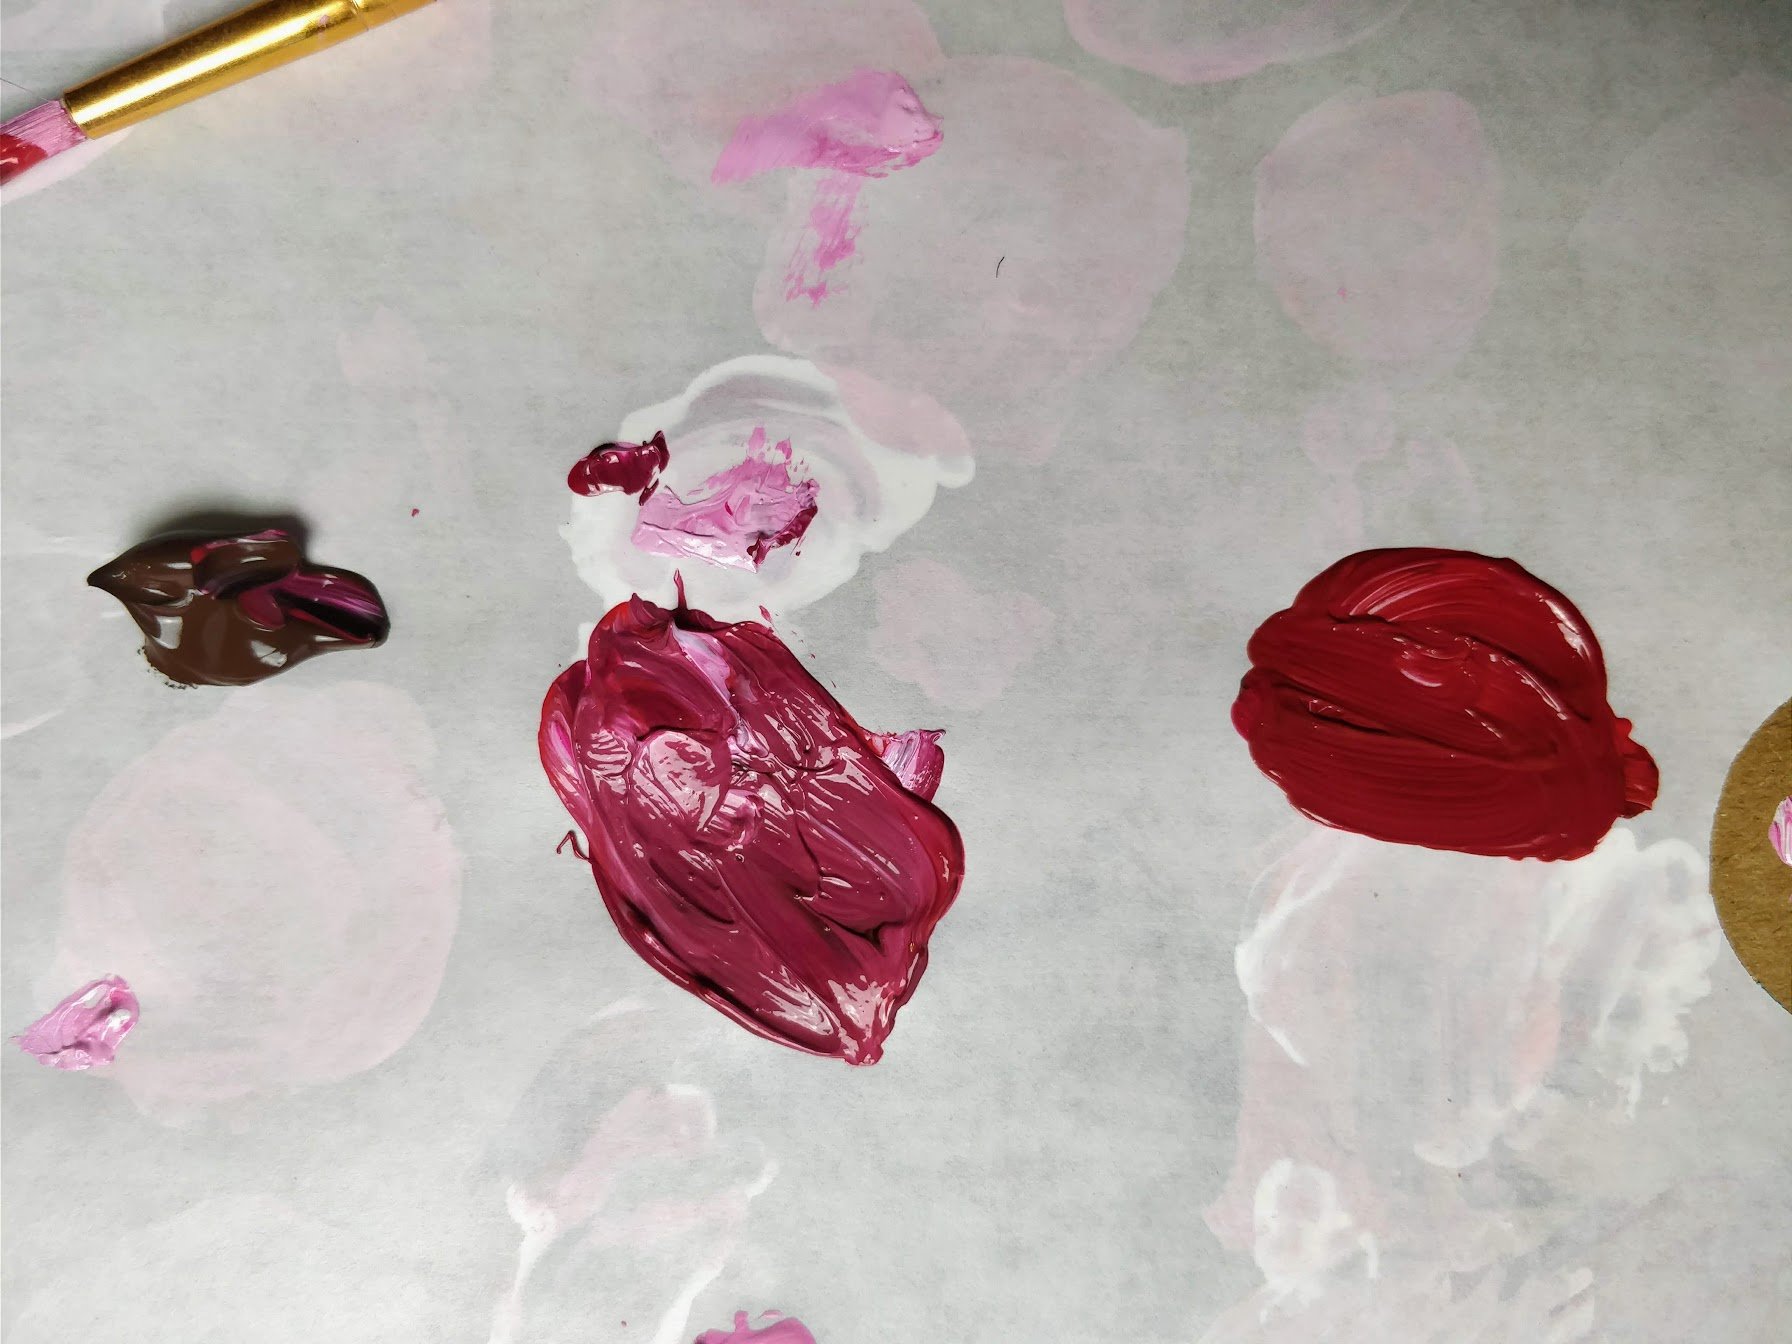
The blossoms on the cherry blossom tree use only 3 colors: red, white and brown.
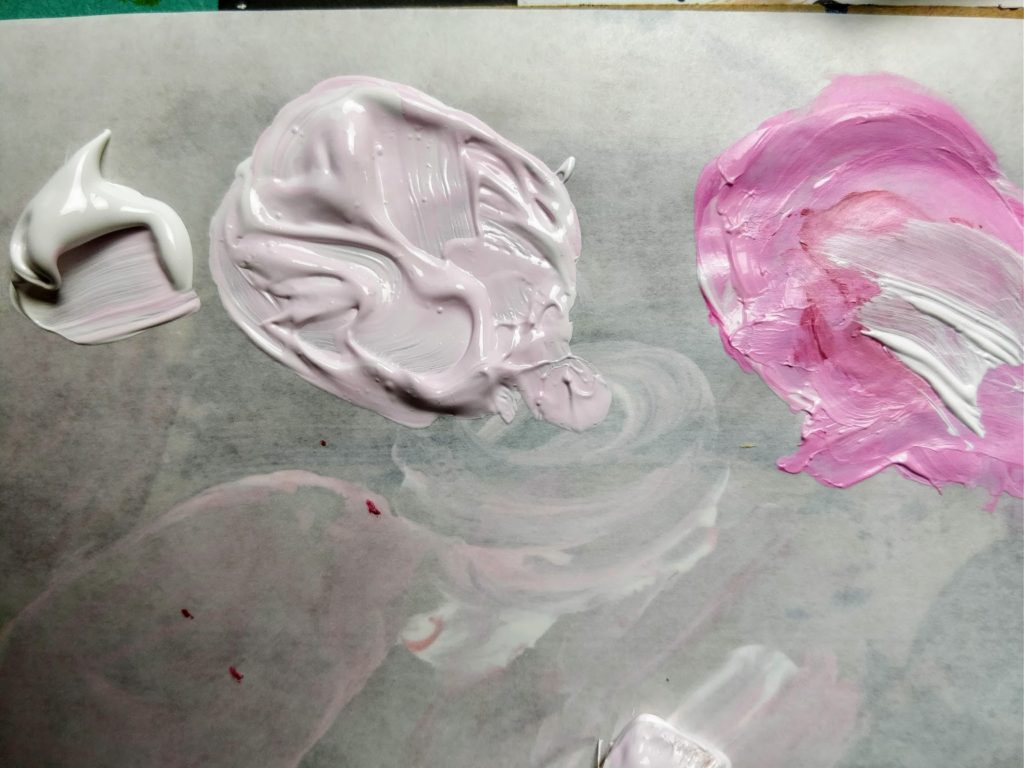
In the tutorial below you will learn how to create various shades and tints of red/pink that will help give your blossoms more dimension.
Getting used to and learning to mix your paints will also help you gain more confidence with your paints.
Many beginners choose to buy the premixed tubes of colors, because they don't think they can paint mix. In reality, it's not difficult to learn, especially when you start with simple color mixes like red+white = pink, etc..
Another tip you'll learn is how to deepen a red color.
Naturally, you'd think to mix a tiny amount of black paint with your red, to make a deeper red hue. Which is technically correct. However, the black will kill the brightness of the red tone and will make your red look more muddy and brown.
Instead, if you mix a tiny amount of brown with your red, you will darken your red (dulling it down) without removing its brightness. This will make your red look richer and not muddy.
Cherry Blossom Tree Tutorial on YouTube
If you're a visual learning and prefer video instructions, you can watch the full Cherry Tree Tutorial on YouTube clicking below. The written step-by-step instructions (with detailed pictures) are at the end of this post, if you prefer those.
More Q-tip Painting Projects
If you enjoyed painting with Q-tips and want another reason to store your stash in your craft drawer and not your bathroom drawer, check out my other 2 Q-tip painting tutorials:
It's amazing what these little cotton swabs can do!
Paint Quality and Brand
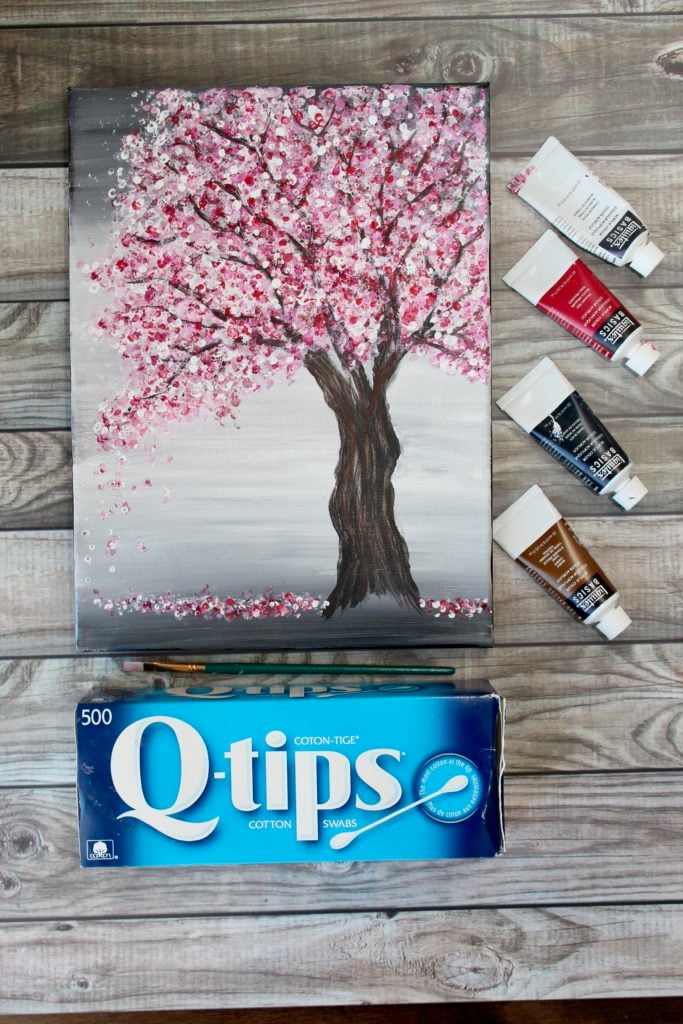
The paints I used for this cherry blossom tree come from this Liquitex starter set paint set. It contains 36 different colored paint samples, which is great if you want to play around with paint color, mixing, etc. I also like the consistency and pigment in Liquitex basics paints.
Even though they are a level 1 (student grade), I find these paints excellent in quality.
Although I use the Liquitex basics paints, it doesn't mean other brands aren't worthwhile. I like to experiment with different brands- I also use Golden paints, Artist Loft, and even cheap Dollar store brands!
It depends on what you are comfortable spending and investing in paints and what you have access to.
One idea/tip is to invest is 1 tube of different quality paint at a time, and slowly add to your collection. That way you won't be breaking the bank, and still able to experiment with different brands/qualities paint.
Your Painting Journey...
And just like those lovely pink blossoms, I hope your painting journey is filled with plenty of beautiful blooming experiences and moments- that you truly enjoy being in.
Enjoy the tutorial, be gentle with yourself and don't be afraid to add your own twist and character to this painting.
If you approach painting like a series of mini-experiments, each building on one another- you'll create something as unique and interesting as YOU!
And you'll enjoy the process that much more.
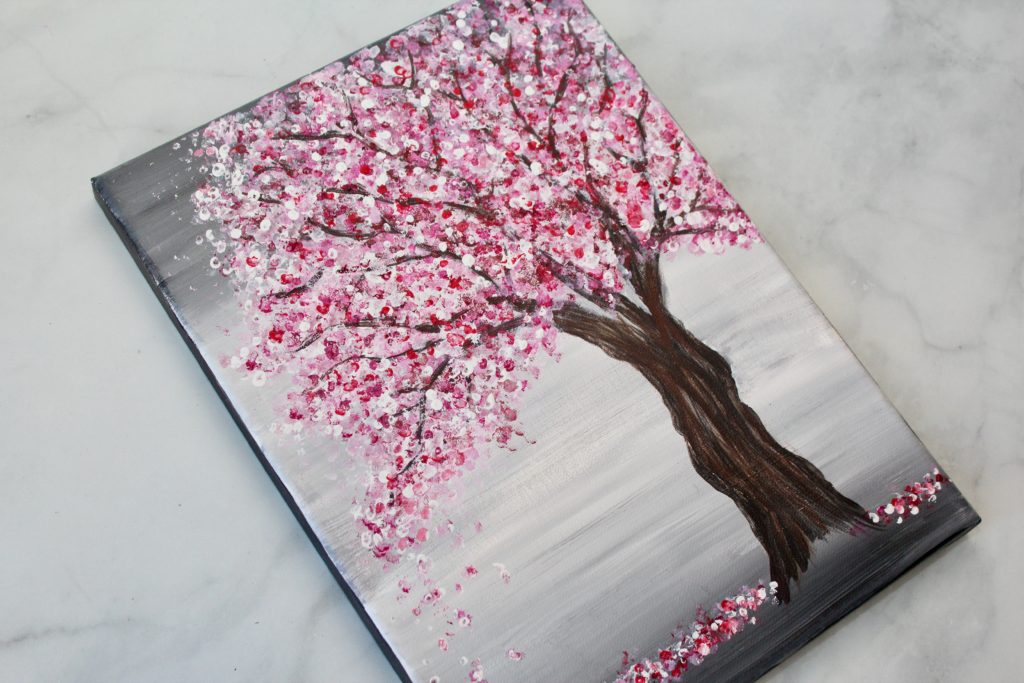
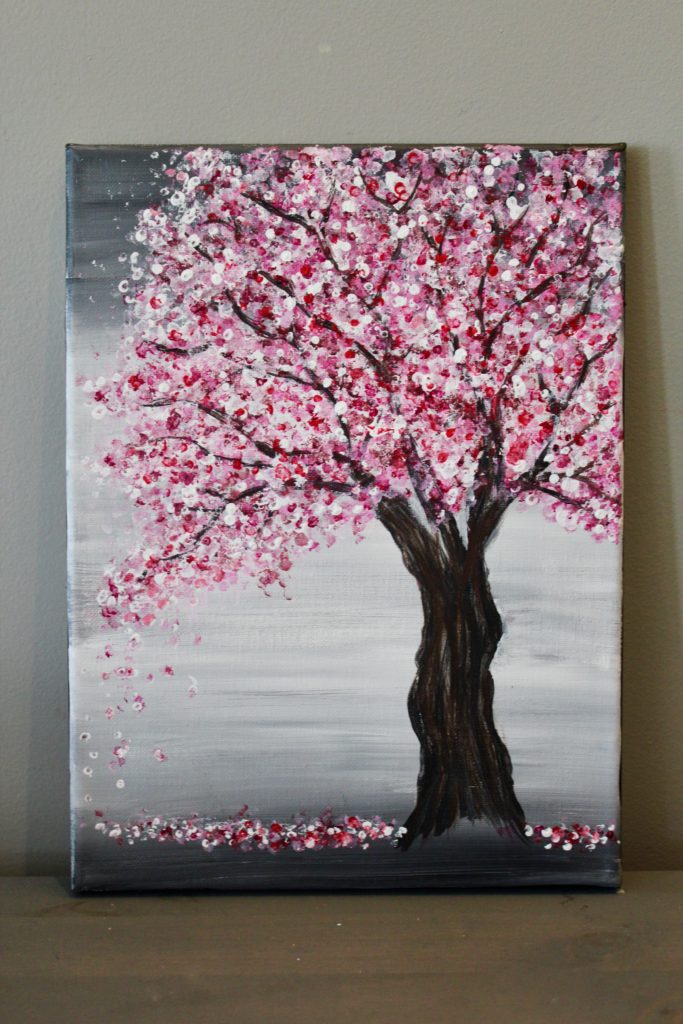
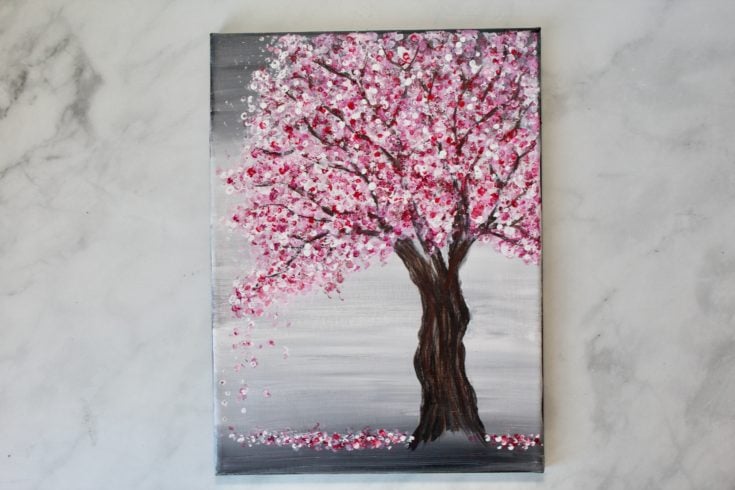
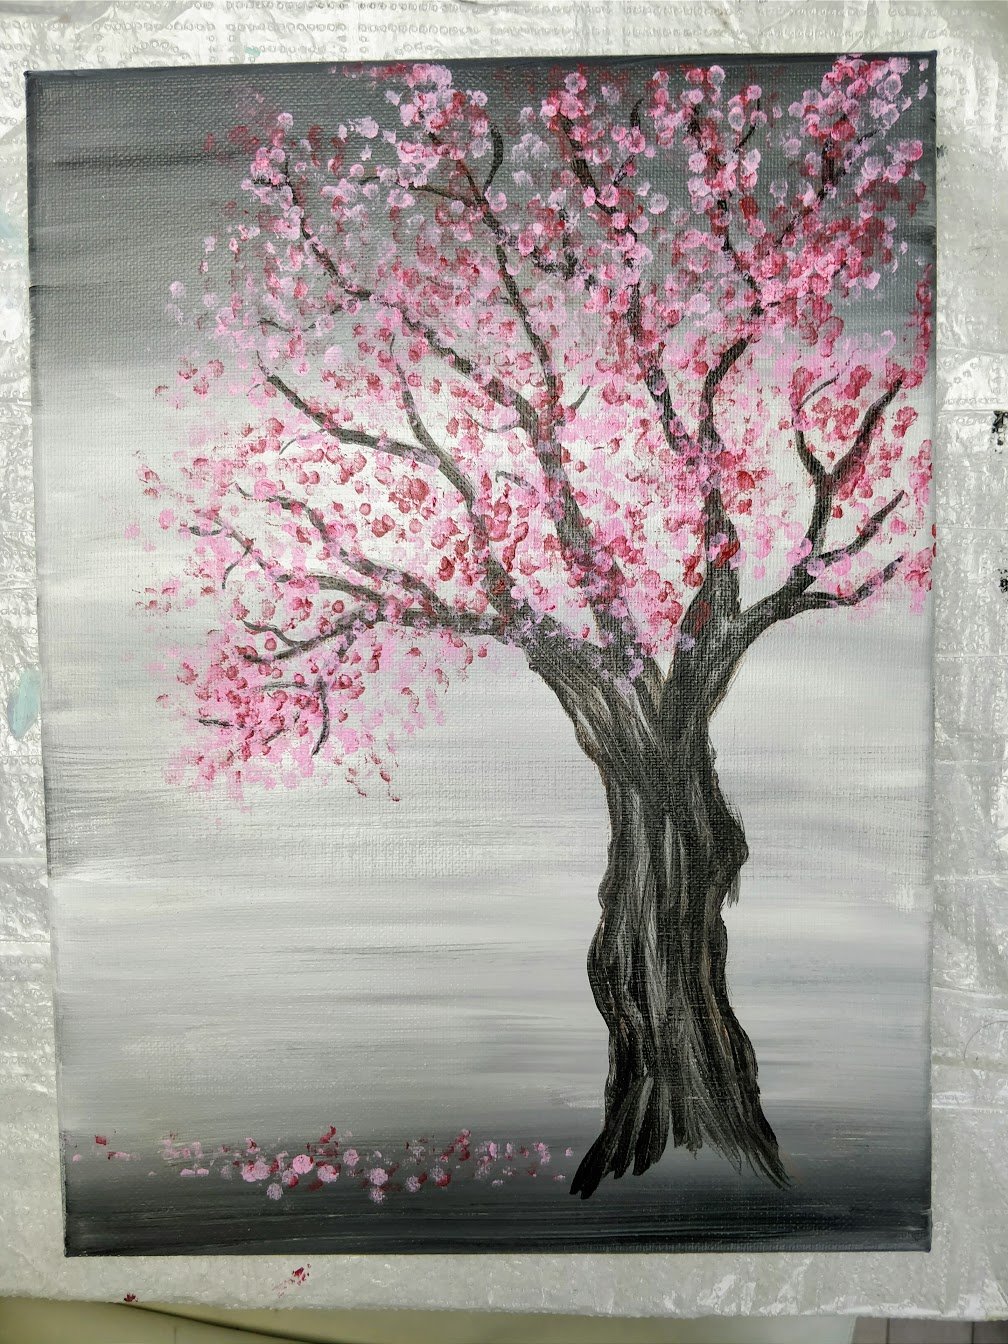
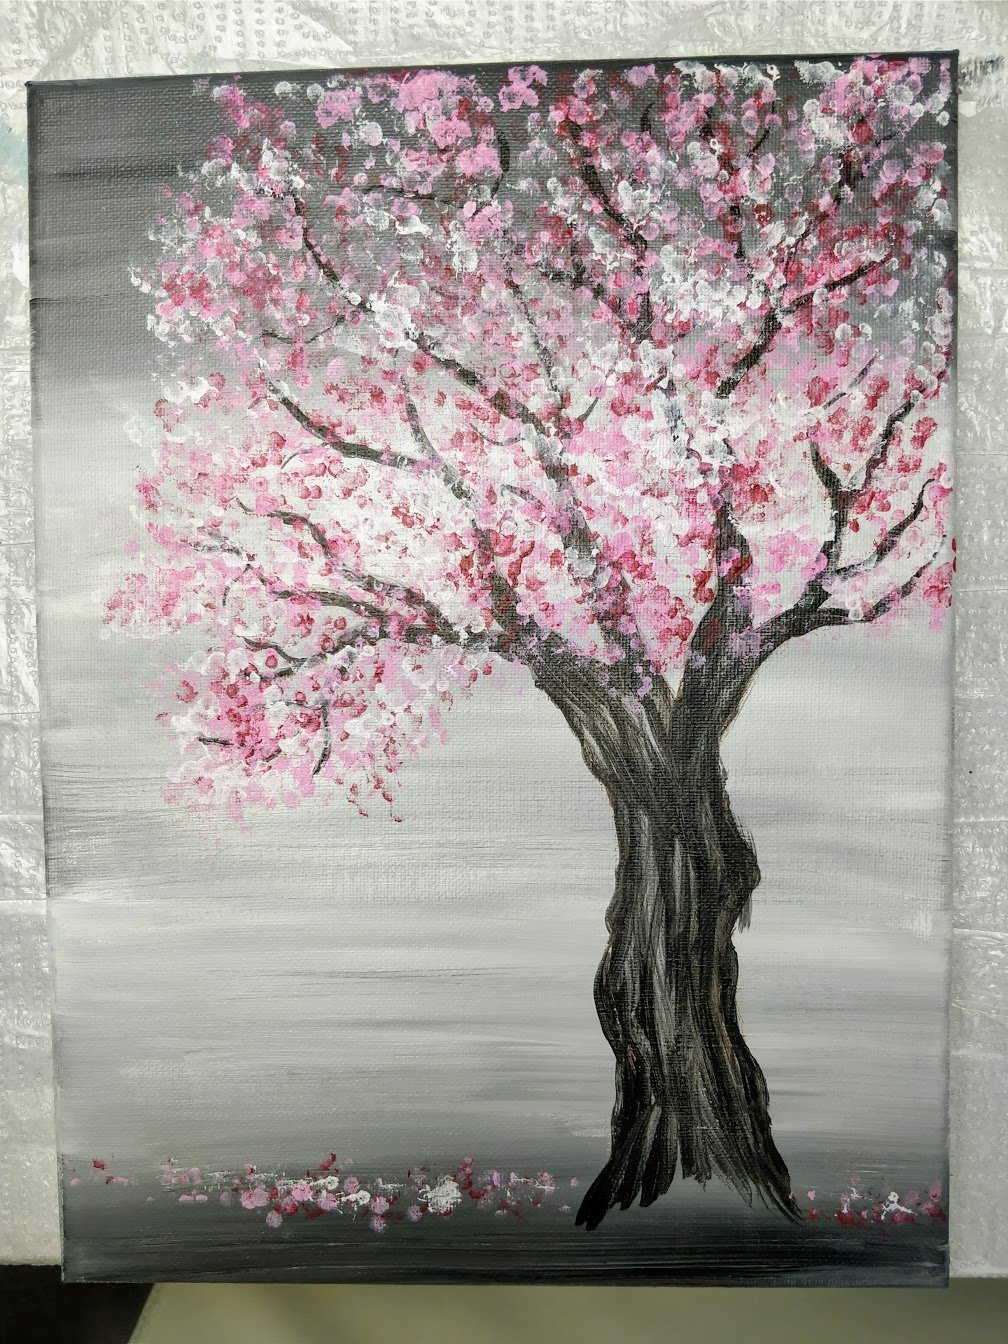
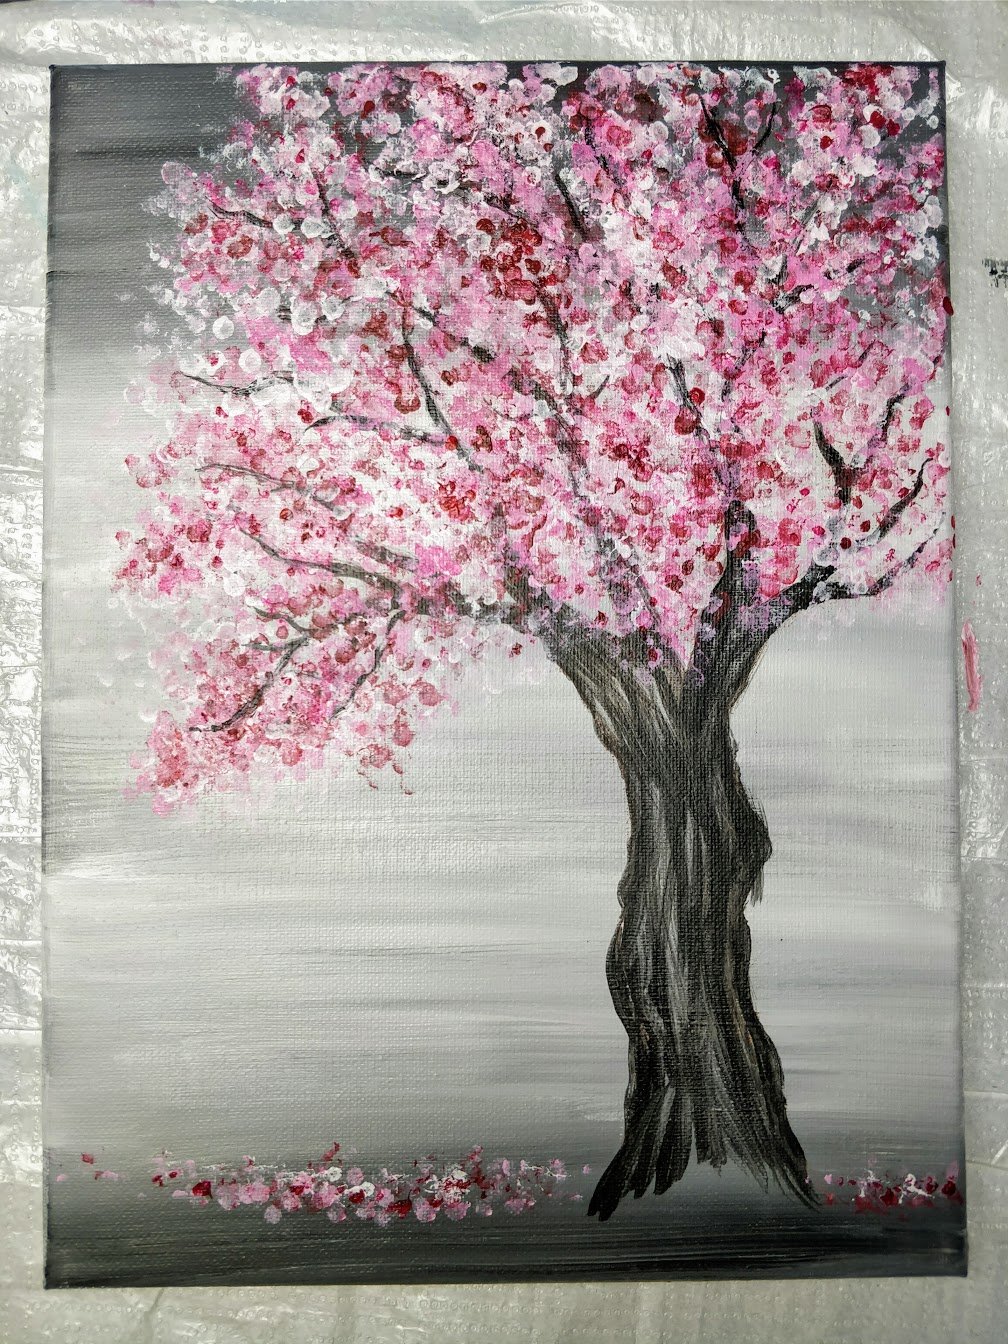
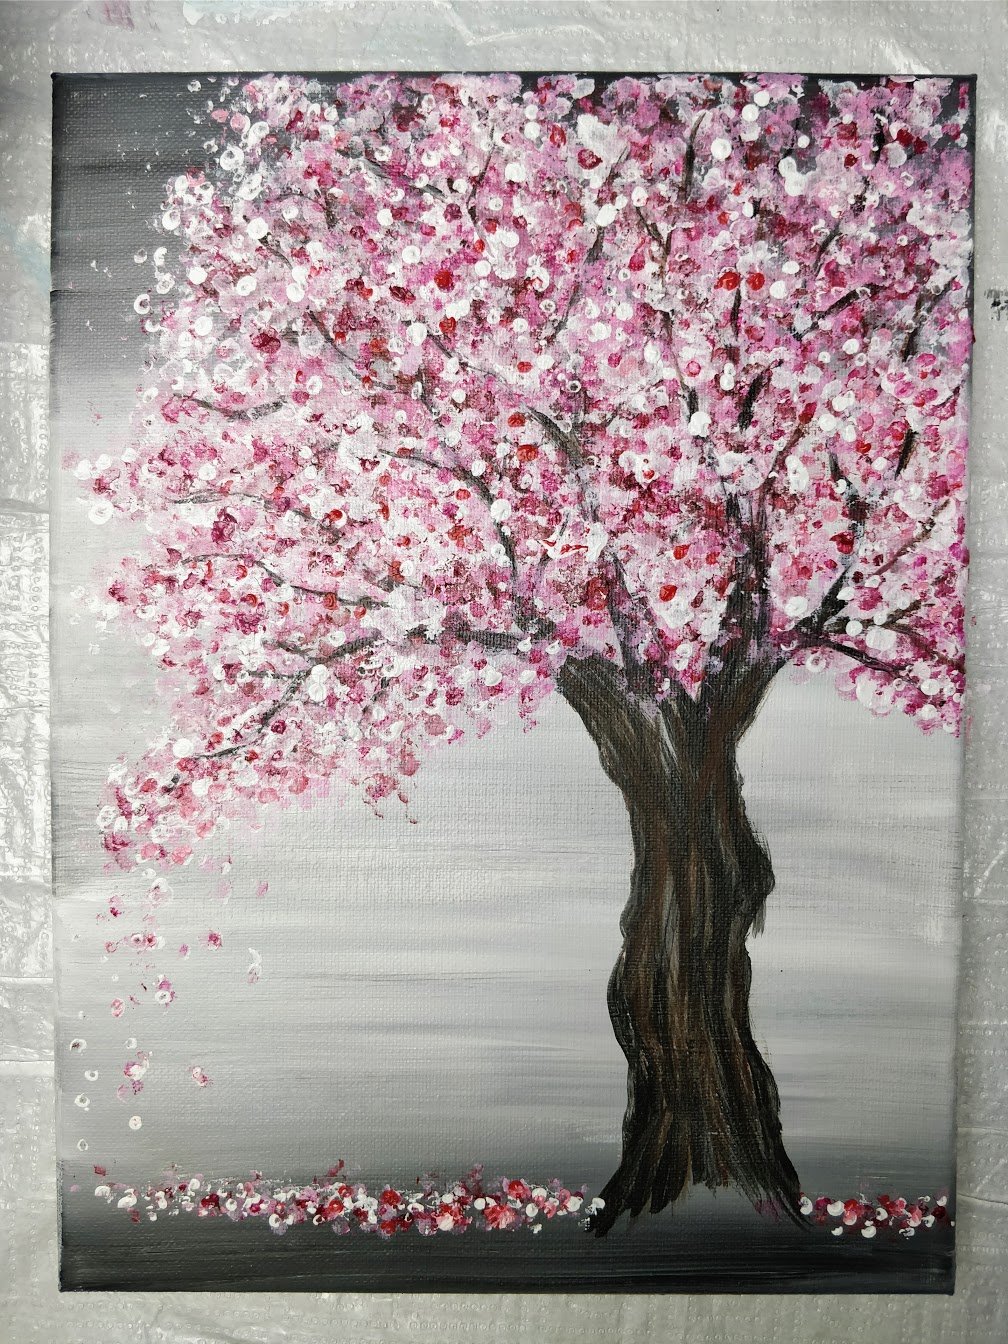
Cherry Blossom Tree Finished Painting
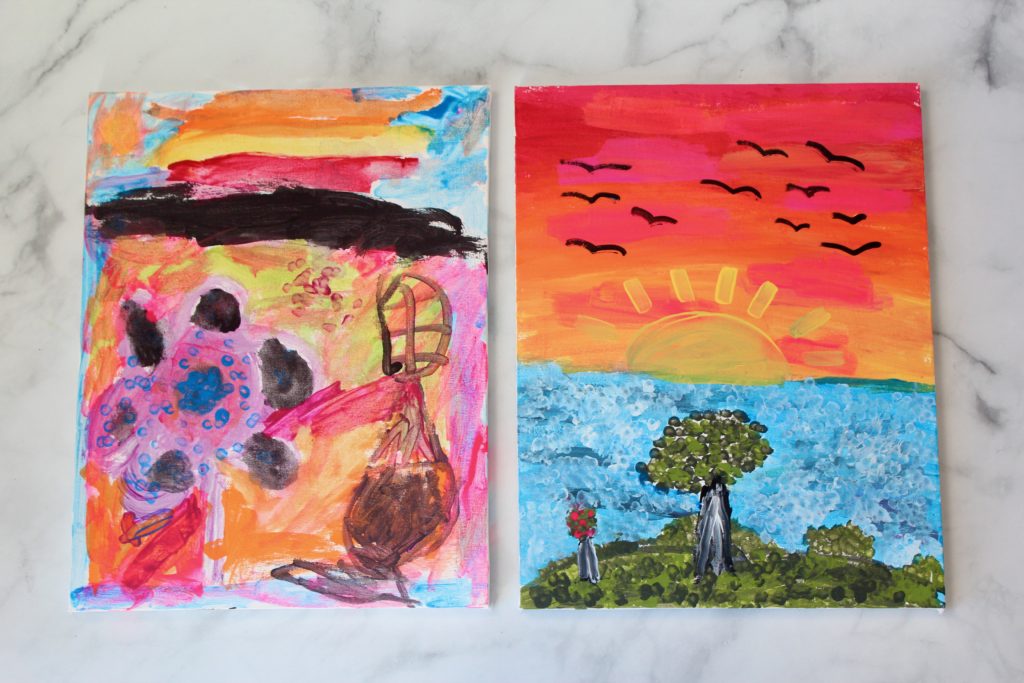
Fun for Kids too!
This was a fun painting to make- and its for all painting levels. From beginners, and beyond - even kids can do this (and they'll LOVE the cotton swab part).
My kids and I painted together and it was both fun and enlightening (kids are natural artists and its amazing to watch what they create). They ended up creating their own version of the cotton swab tree - check out their creations below.
Painting is a Process...
I hope you enjoy painting this simple cherry blossom tree and have fun experimenting with the paint mixing.
And always remember: painting (and learning a new skill) is a process. With each new thing you learn and each new painting you make, you are on your way to becoming a better painter.
Be proud that you are here, painting and learning away- you are doing amazing things- my artist friend 🙂
How to Paint an Easy Cherry Blossom Tree
Learn how to paint a simple Japanese cherry blossom tree with acrylics on canvas
Materials
- Primary Red Acrylic Paint
- White Acrylic Paint
- Black Acrylic Paint
- Burnt Umber Acrylic Paint (or brown)
- Optional: quinacridone magenta acrylic paint
- Q-tips (cotton swabs)
- rubber bands
Tools
- medium size paint brush (flat)
- water container
- paint palette
Instructions
- To watch the full length step by step video tutorial, you can watch on YouTube here.
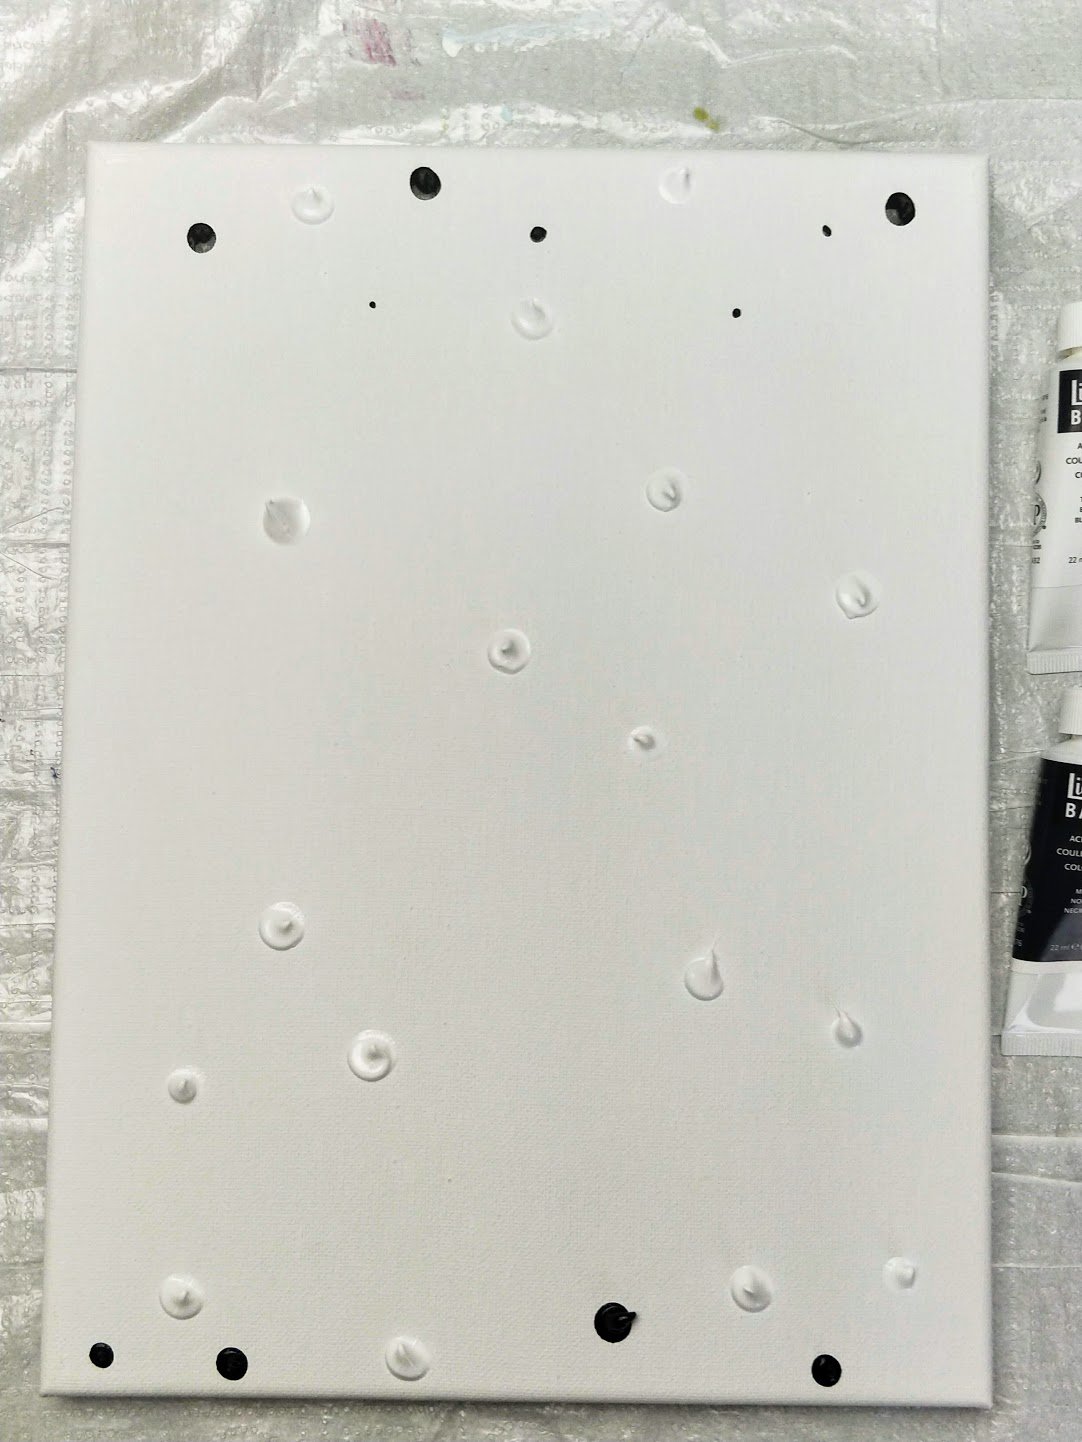
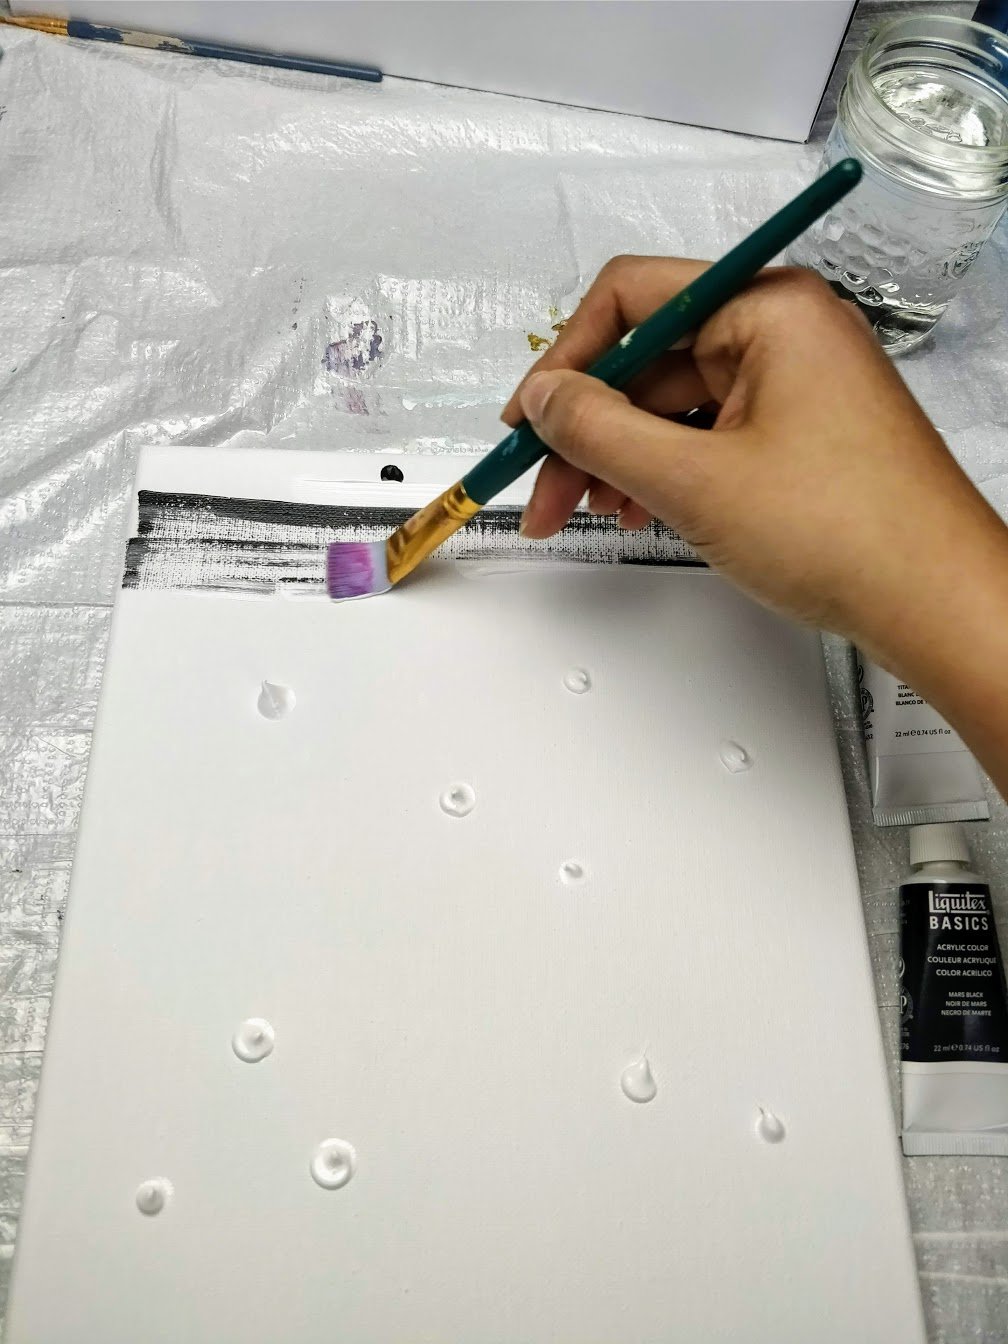
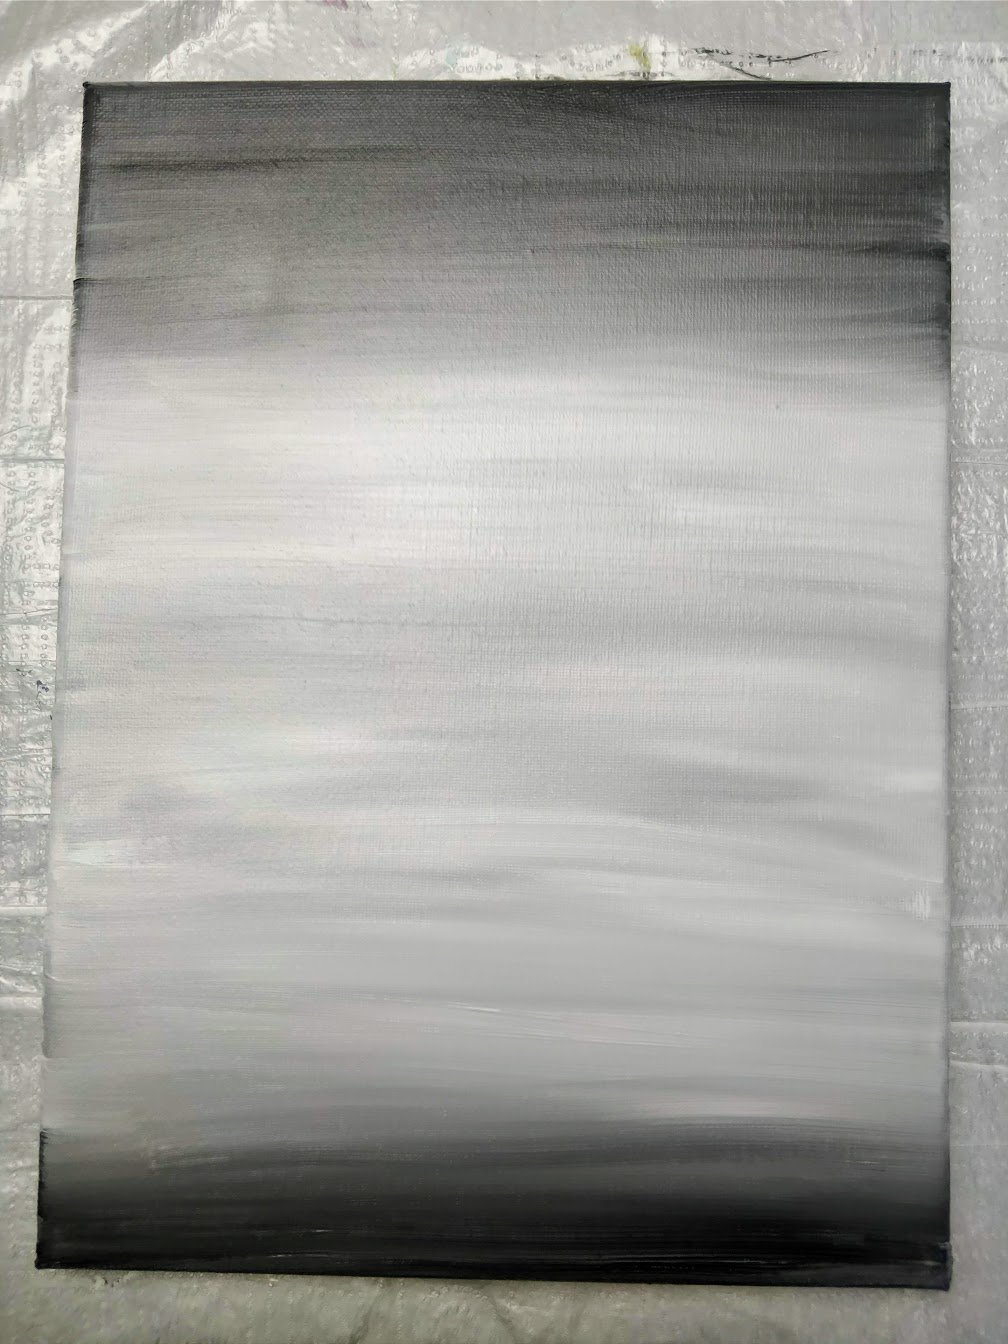
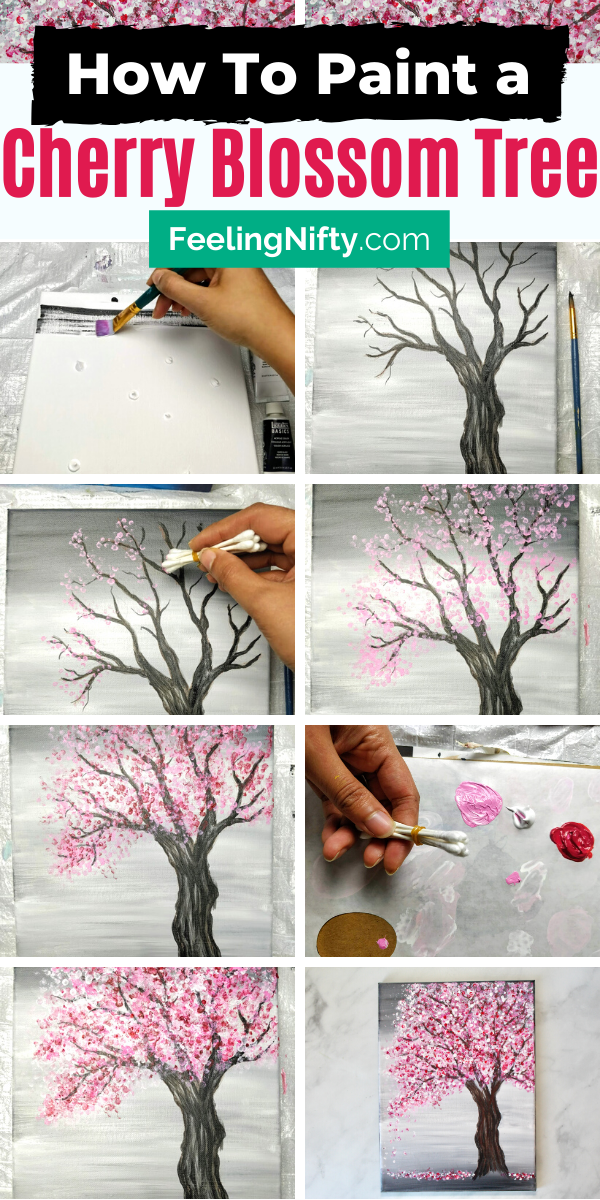
- Paint your background using your black and white paints. Use straight horizontal brush strokes to move the paint across the canvas. Notice the bottom and top edges of the canvas are darker. Add more black if you need to get the edges darker.


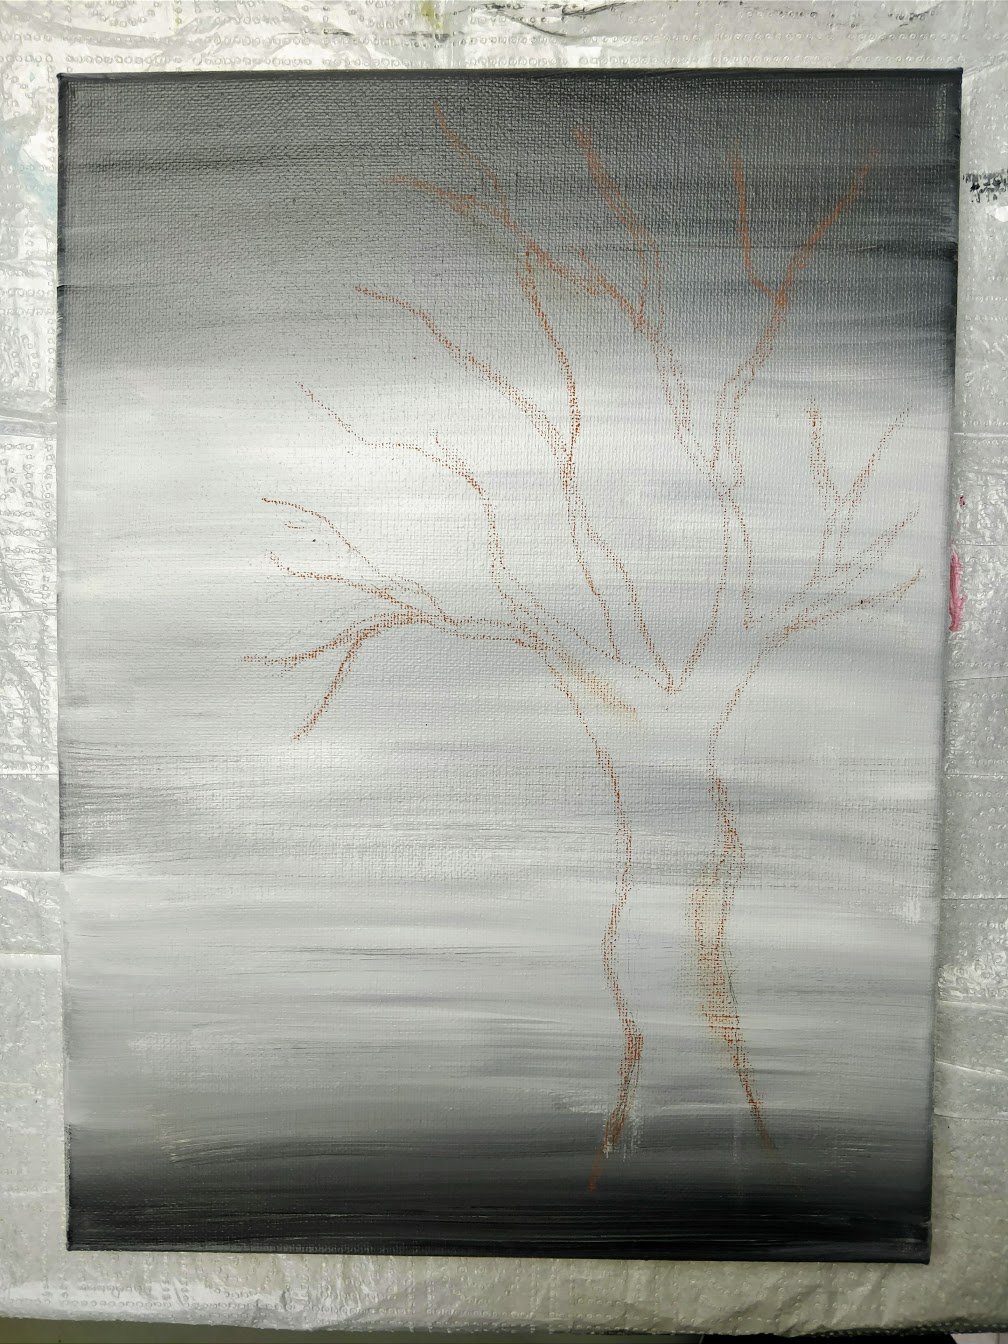
- Once your background is dried, take a pencil, chalk or charcoal to trace your tree on the canvas
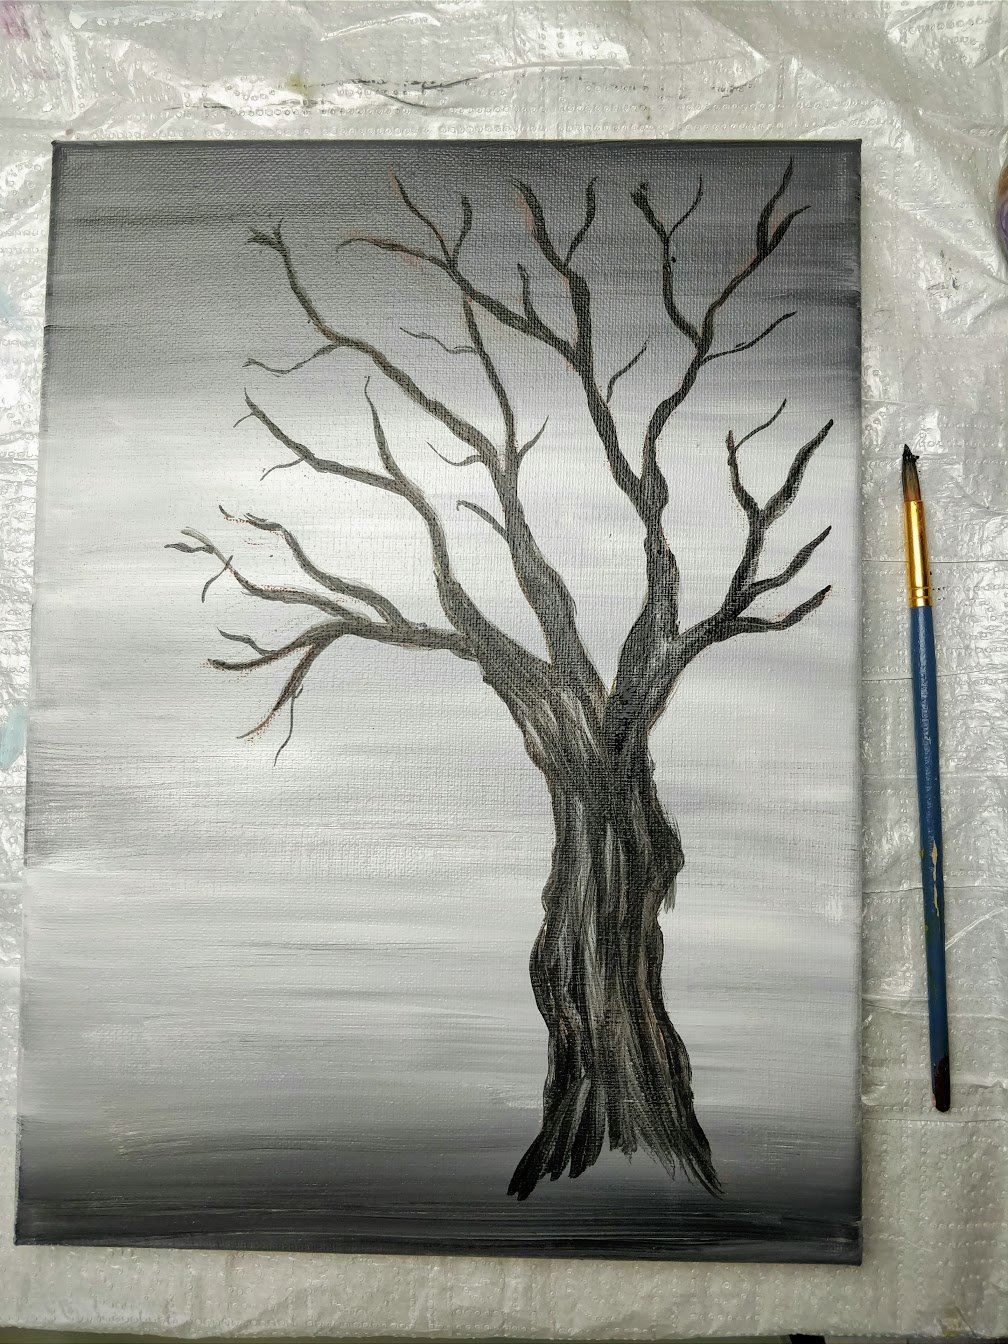
- Take some black paint and water it down a bit, so its very fluid and flows easily off your paint brush. I find a small round brush works best here. Fill in your tree with the thinned black paint.
- Once your tree is dried to the touch- time for the cherry blossoms! Take 4-5 Q-tips, bundle them together using an elastic band. To mix your first tint of pink: use half white, half primary red (if you want a brighter pink, add a touch of quinacradone magenta to the mix, if you have it). Once mixed, use your bundles q-tips and dab the pink onto the branches of your tree.

- Now we are going to mix a dark shade of red. Take your primary red, and add in some burnt umber (or brown) (3 parts red to 1 part burnt umber). Using the same technique as above, dab this color onto the branches using your Q-tip bundle.
- Now for a highlight color: mix a very tiny amount of red with some white. This will look like a very pale pink. Use the q-tip bundle to dab this pale pink on your tree.
- Repeat steps 4,5 and 6 until your tree fills out to your liking. For fun, try to create different tones, shades of pink by adding more or less white/brown to your red. The more variations of pink/red the better! Enjoy, have fun and experiment away- you can't go wrong here - the beauty of abstract art!
- To finish things off, add some pure white highlights. Take a single Q-tip (not the bundle), add single dabs of white paint all over your tree. Do this sparingly at first, and see how you like it. Add more highlights as needed.


Recommended Products
As an Amazon Associate and member of other affiliate programs, I earn from qualifying purchases.
-
 Acrux7 Round Point Paint Brushes Set, 12pcs Paintbrushes Tip Range from Detail Liner, Medium to Large Size for Watercolor, Oil, Acrylic Painting and Craft, Nail, Face Paint (White Pen)
 -
Q-tips Cotton Swabs, 750 ct
-
PHOENIX Pre Stretched Canvas for Painting - 9x12 Inch / 8 Pack - ⅝ Inch Profile of Super Value Pack for Oil & Acrylic Paint
-
Liquitex BASICS Acrylic Paint, 4-oz tube, Mars Black
-
Liquitex BASICS Acrylic Paint, 8.45-oz tube, Titanium White
-
M. Graham ½-Ounce Tube Watercolor Paint, Quinacridone Rose (33-156)
-
Liquitex BASICS Acrylic Paint, 4-oz tube, Burnt Umber
-
Liquitex BASICS Acrylic Paint, 4-oz tube, Primary Red


If you liked this post, pin it!


I never had ä priviledge of having art as ä subject at school, but as ä person I always appreciate it!
I really enjoyed your tutorial on Cherry Blossom Tree!
So glad to hear that Thandi, thank you!
Thanks for the easy step by step instructions. My painting was done in flat 2 hours and came out really pretty.
So glad to hear you liked the Cherry Blossom Tree tutorial Vidushi! Thanks for sharing 🙂
I love the idea of using Qtips. I never would have thought of it and can’t wait to start my painting. I know there are so many tips and tricks with painting but it is hard to remember all of them. Is there an easy way to do that?
So glad to hear you're excited to make the Cherry blossom tree painting, it's a fun piece to make with the q-tips! In terms of tips and tricks, you're right, there is a lot of them. My suggestion would be to start with 1 goal at a time so you don't overwhelm yourself. For starters I would suggest focusing on the topic of color mixing(you can create so many inspiring new colors with the paints you have on hand). Getting more comfortable with color mixing/creation really helps you gain confidence with paints and let's you practice at the same time. I would suggest mixing your paint with a palette knife to get the best results. Once you're more comfortable with that, you can start looking at brush techniques or other paint topics etc (again one at a time). Gluck and most importantly, enjoy the journey!!
cheers,
Jasmine
Thank you for such a quick reply and have a happy day :-)))
Most welcome and back at you!! 🙂
I really enjoyed this painting!! I’m not a very good painter but your direction was easy to follow and I love my final piece! Thank you!
So glad to hear your enjoyed making the cherry blossom tree painting! Thank you for letting me know ❤🙏
I loved the tutorial, it was so clearly explained! Also, I can not explain how grateful I am for your encouraging words at the end of the tutorial. Thank you for making me feel confident enough to learn paining once again! Means a lot.
Thanks for sharing that Aimi, makes me so happy to hear!! 😀 Hope you enjoy your journey back into painting ❤
Hello Jasmine like your name your hands work 😊. I love the tutorial of cherry blossom tree. It's easy, encouraging and fun to learn from you.
Regards Pankaj
Thank you or your kind words Pankaj! So glad you enjoyed the cherry blossom tree tutorial, and that your found it easy to follow. That makes me happy to hear!!
Cheers,
Jasmine
I loved doing this project, my backgrounds abit gloomy but I like this so much it's going on my wall.
Thankyou for sharing x
So glad to hear your liked painting the cherry blossom tree Amanda! Thank you for sharing!
Cheers,
Jasmine
Hi Jasmine,
Neat picture! What size canvas did you use?
Thank you,
Gem
Thank you Gem! 🙂 The canvas size was 9"x 12".
Cheers,
Jasmine
Hi Jasmine,
Such a brilliant tutorial. You covered each step so nicely. My painting also came out to be very good. I used some brush strokes as well to give it a little bit of my style 🙂 Love it. I have one question - if i want to sell the painting that i made following your tutorial, is it okay? Please, let me know.
Thank you & happy painting!!!
Thank you Anjali!! So glad you enjoyed the tutorial! Thank you for letting me know. Yes you can go ahead and sell your painting, thank you for asking and goodluck!
Cheers,
Jasmine
Thank you for all the tips.The best idea is not thinking of flashy and expensive tools to create those beautiful paintings. Would you have something about how to paint pink tulips? More power!
Thanks so much Lolita!! And I 100% agree with you -you don't need fancy tools to paint, and sometimes less is more! I don't currently have a tulip tutorial but I am going to add that to my list to create. Thank you for the suggestion!
Cheers,
Jasmine
I am looking forward to trying this tutorial. What paint colors would you recommend if I wanted to use craft paint instead of student body acrylics? Would magenta craft paint have the same/similar effect to quinacridone magenta?
Hi Christina,
If you're using craft paint you can use any white, black, red, dark brown. For the quinacridone magenta in particular - yes the magenta would work well. Have fun 😊
Cheers,
Jasmine
This was so much fun! I'm pretty much a novice when it comes to painting, but the tutorials were super easy to follow. I was going to give this to a friend, but I liked it so much I decided to keep it. What the heck, guess I'll just have to paint another one! 😉
That is amazing to hear Karen, thank you for sharing that! So glad you enjoyed this Cherry Blossom Tree painting 🙂 And it never hurts to make multiple of them 🙂
Cheers,
Jasmine
Although I did a slightly color gradient for the background, this tutorial was wonderful, with helpful pictures and instructions. It was so much fun to do, and my friend is going to love it (it's a birthday gift). I love how I didn't need to make it look exactly like yours in order to be beautiful. Thank you! 🙂
That sounds lovely Lydia! So glad you enjoyed the tutorial and that you made your version of the painting unique- thats always a good thing to do. I'm sure your friend will love it- that's a very special gift to receive! Thank you for taking the time to let me know, I appreciate it 🙂
Cheers,
Jasmine
Came out really cute.Just love how it is very easy and simple.
Thank you so much, so glad you enjoyed!!
Cheers,
Jasmine