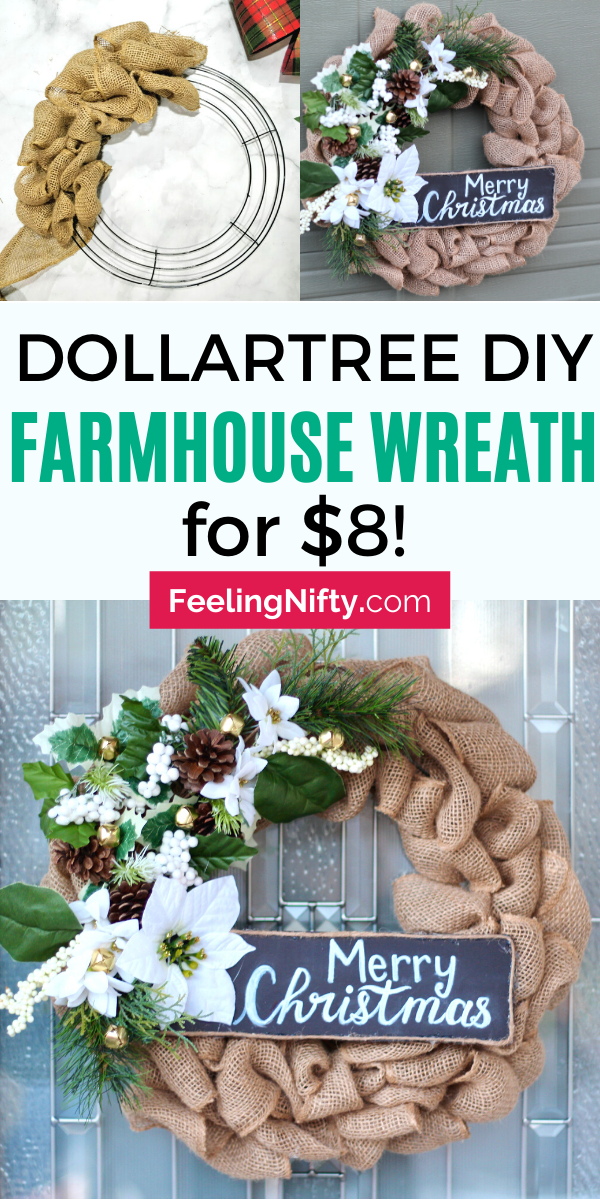
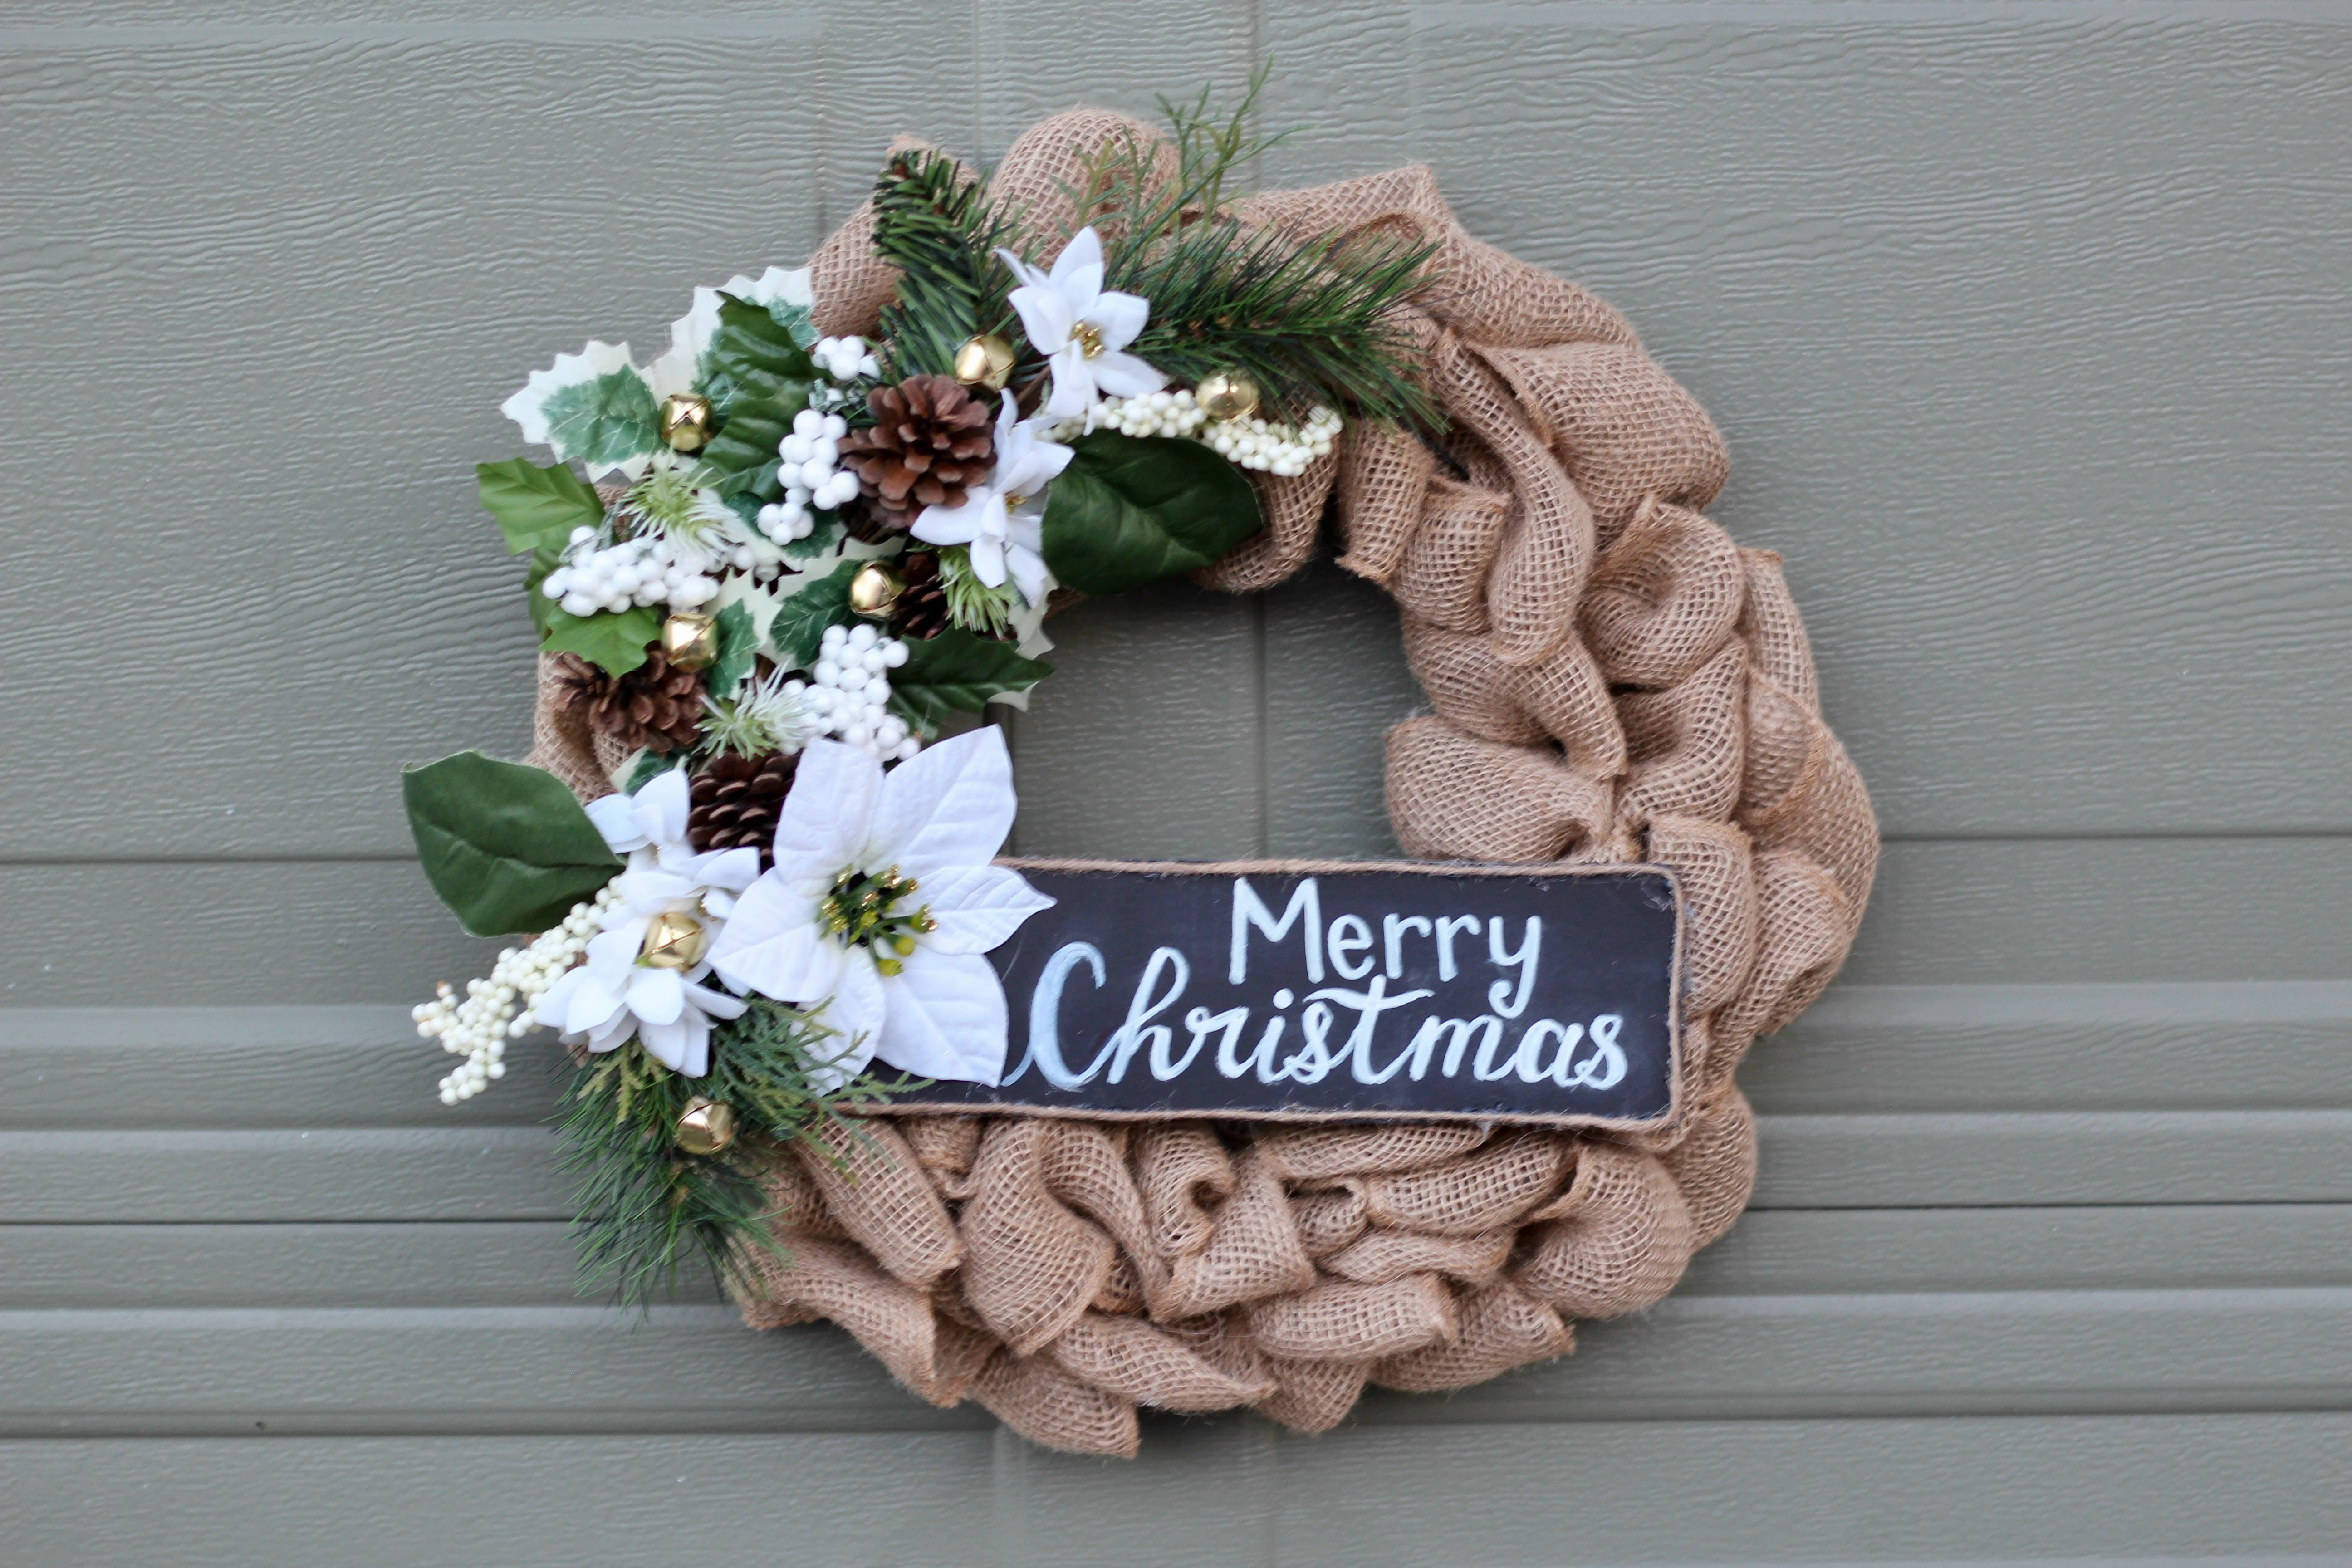
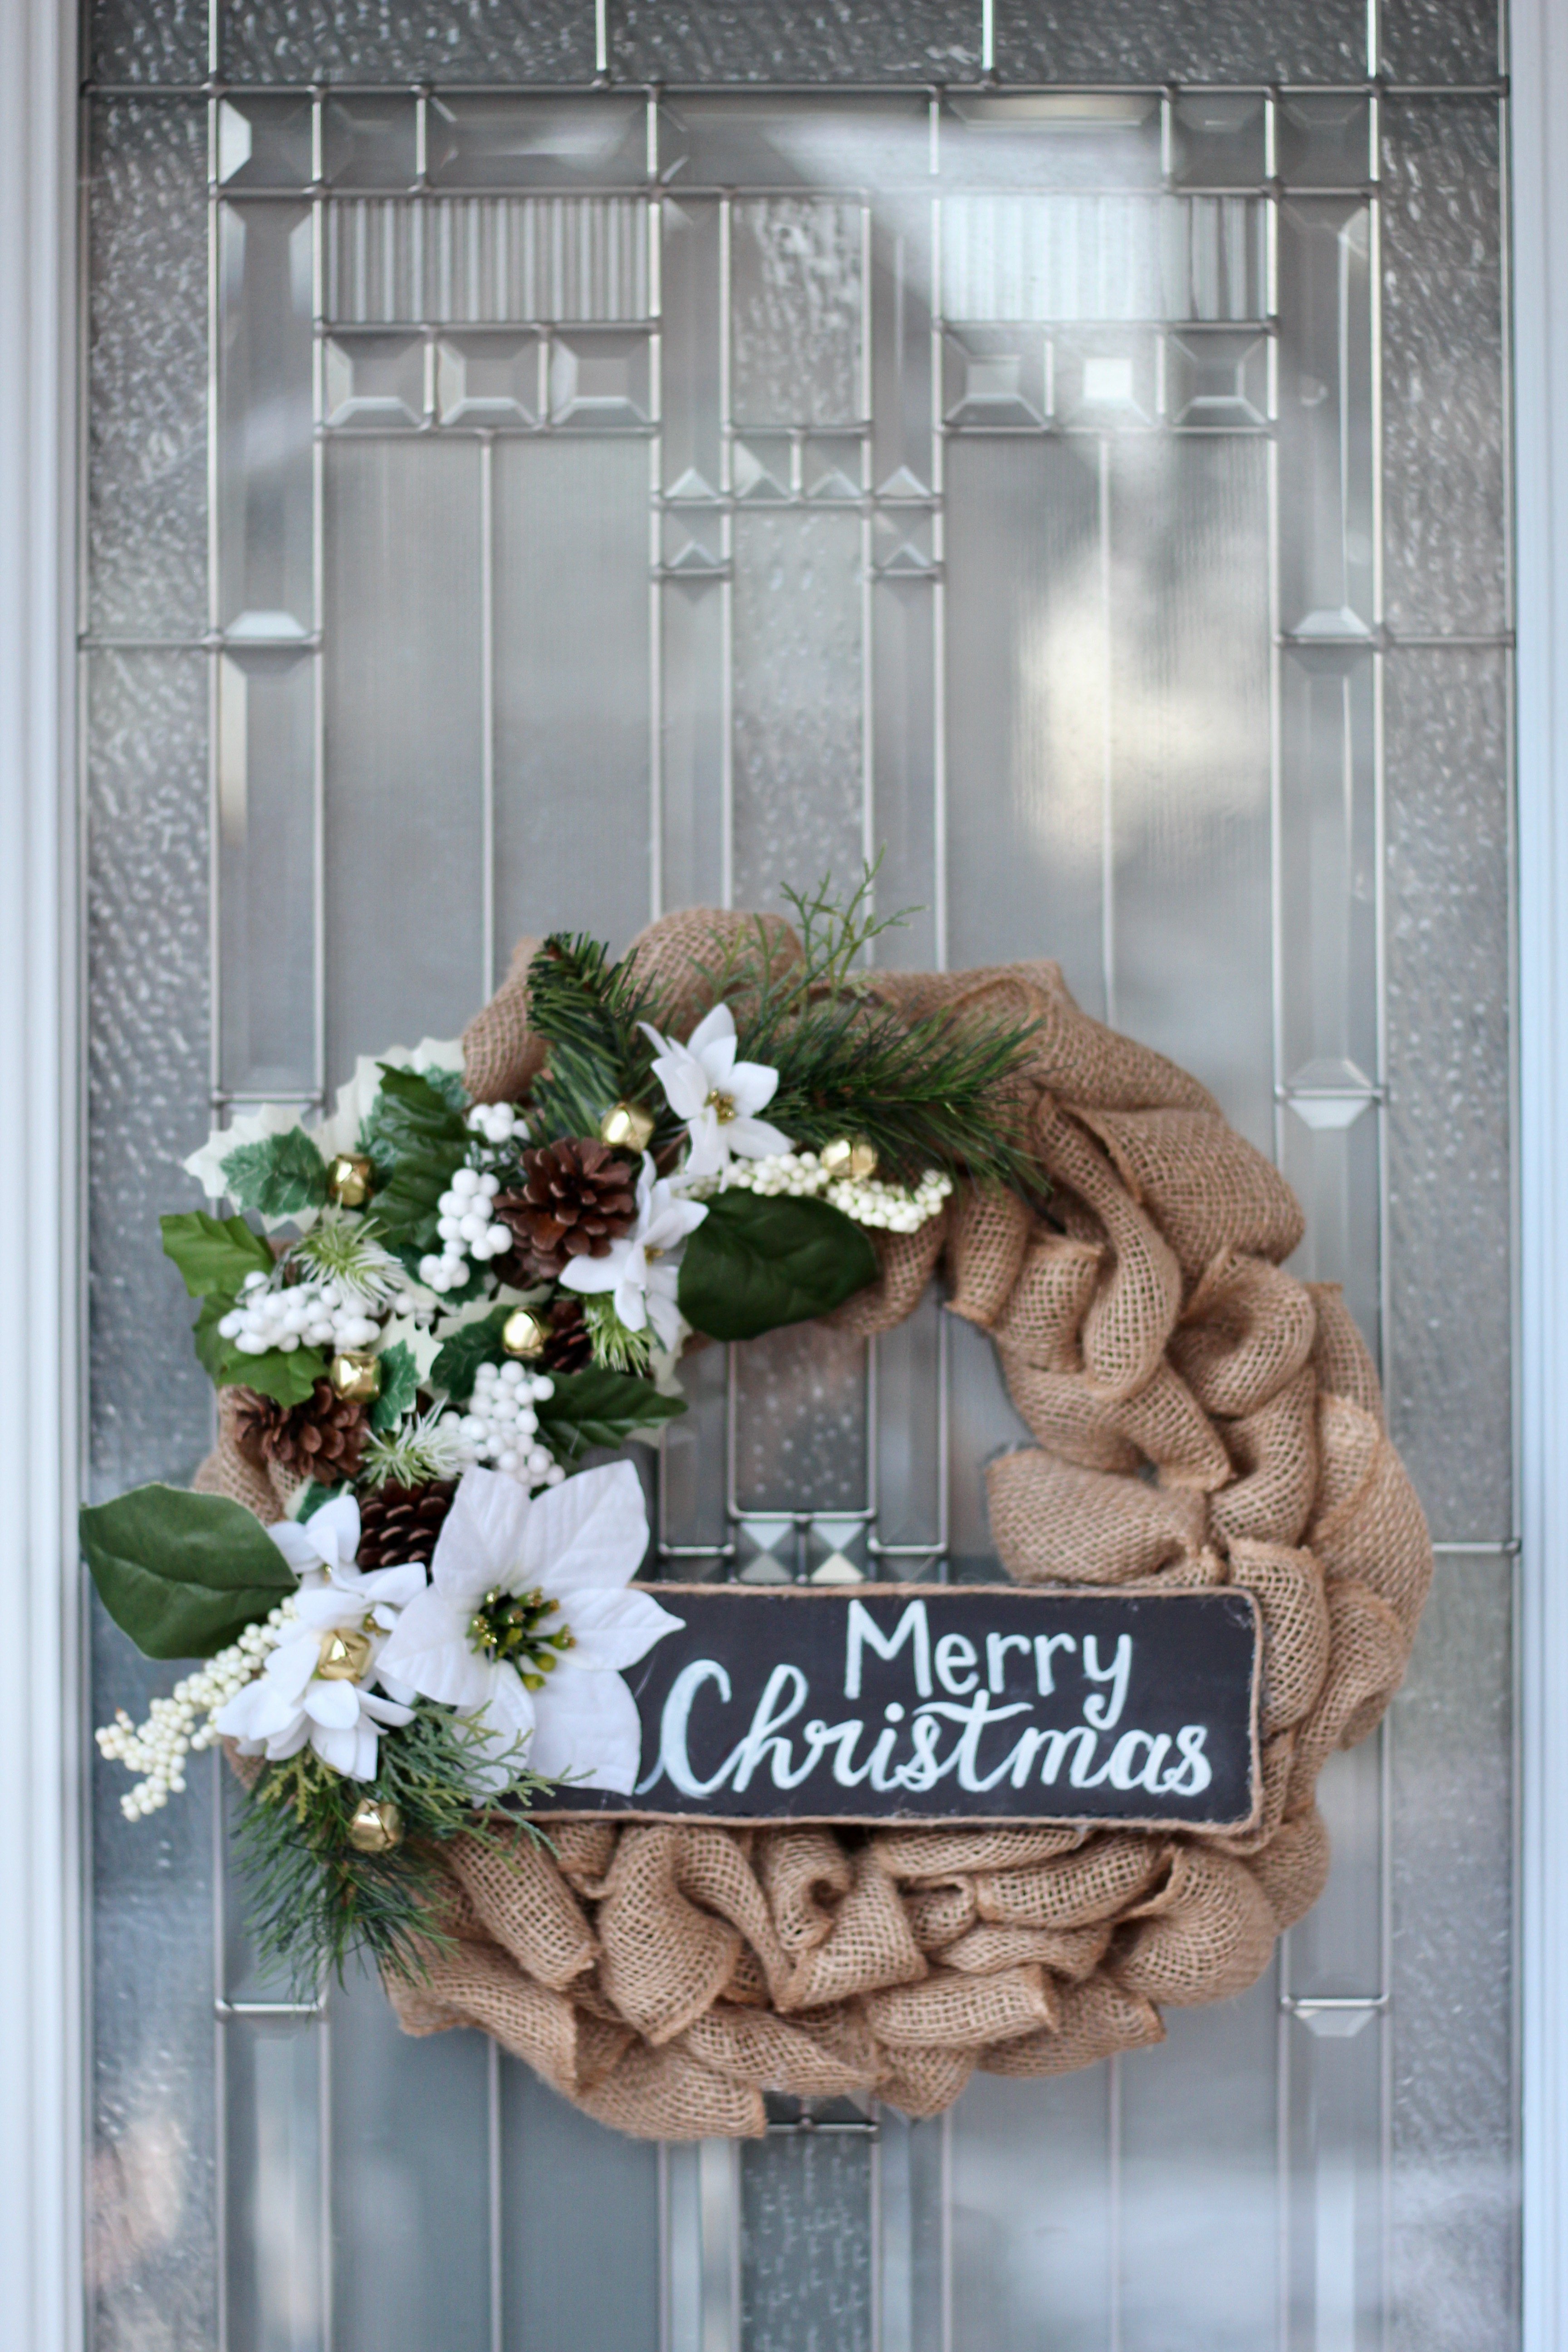
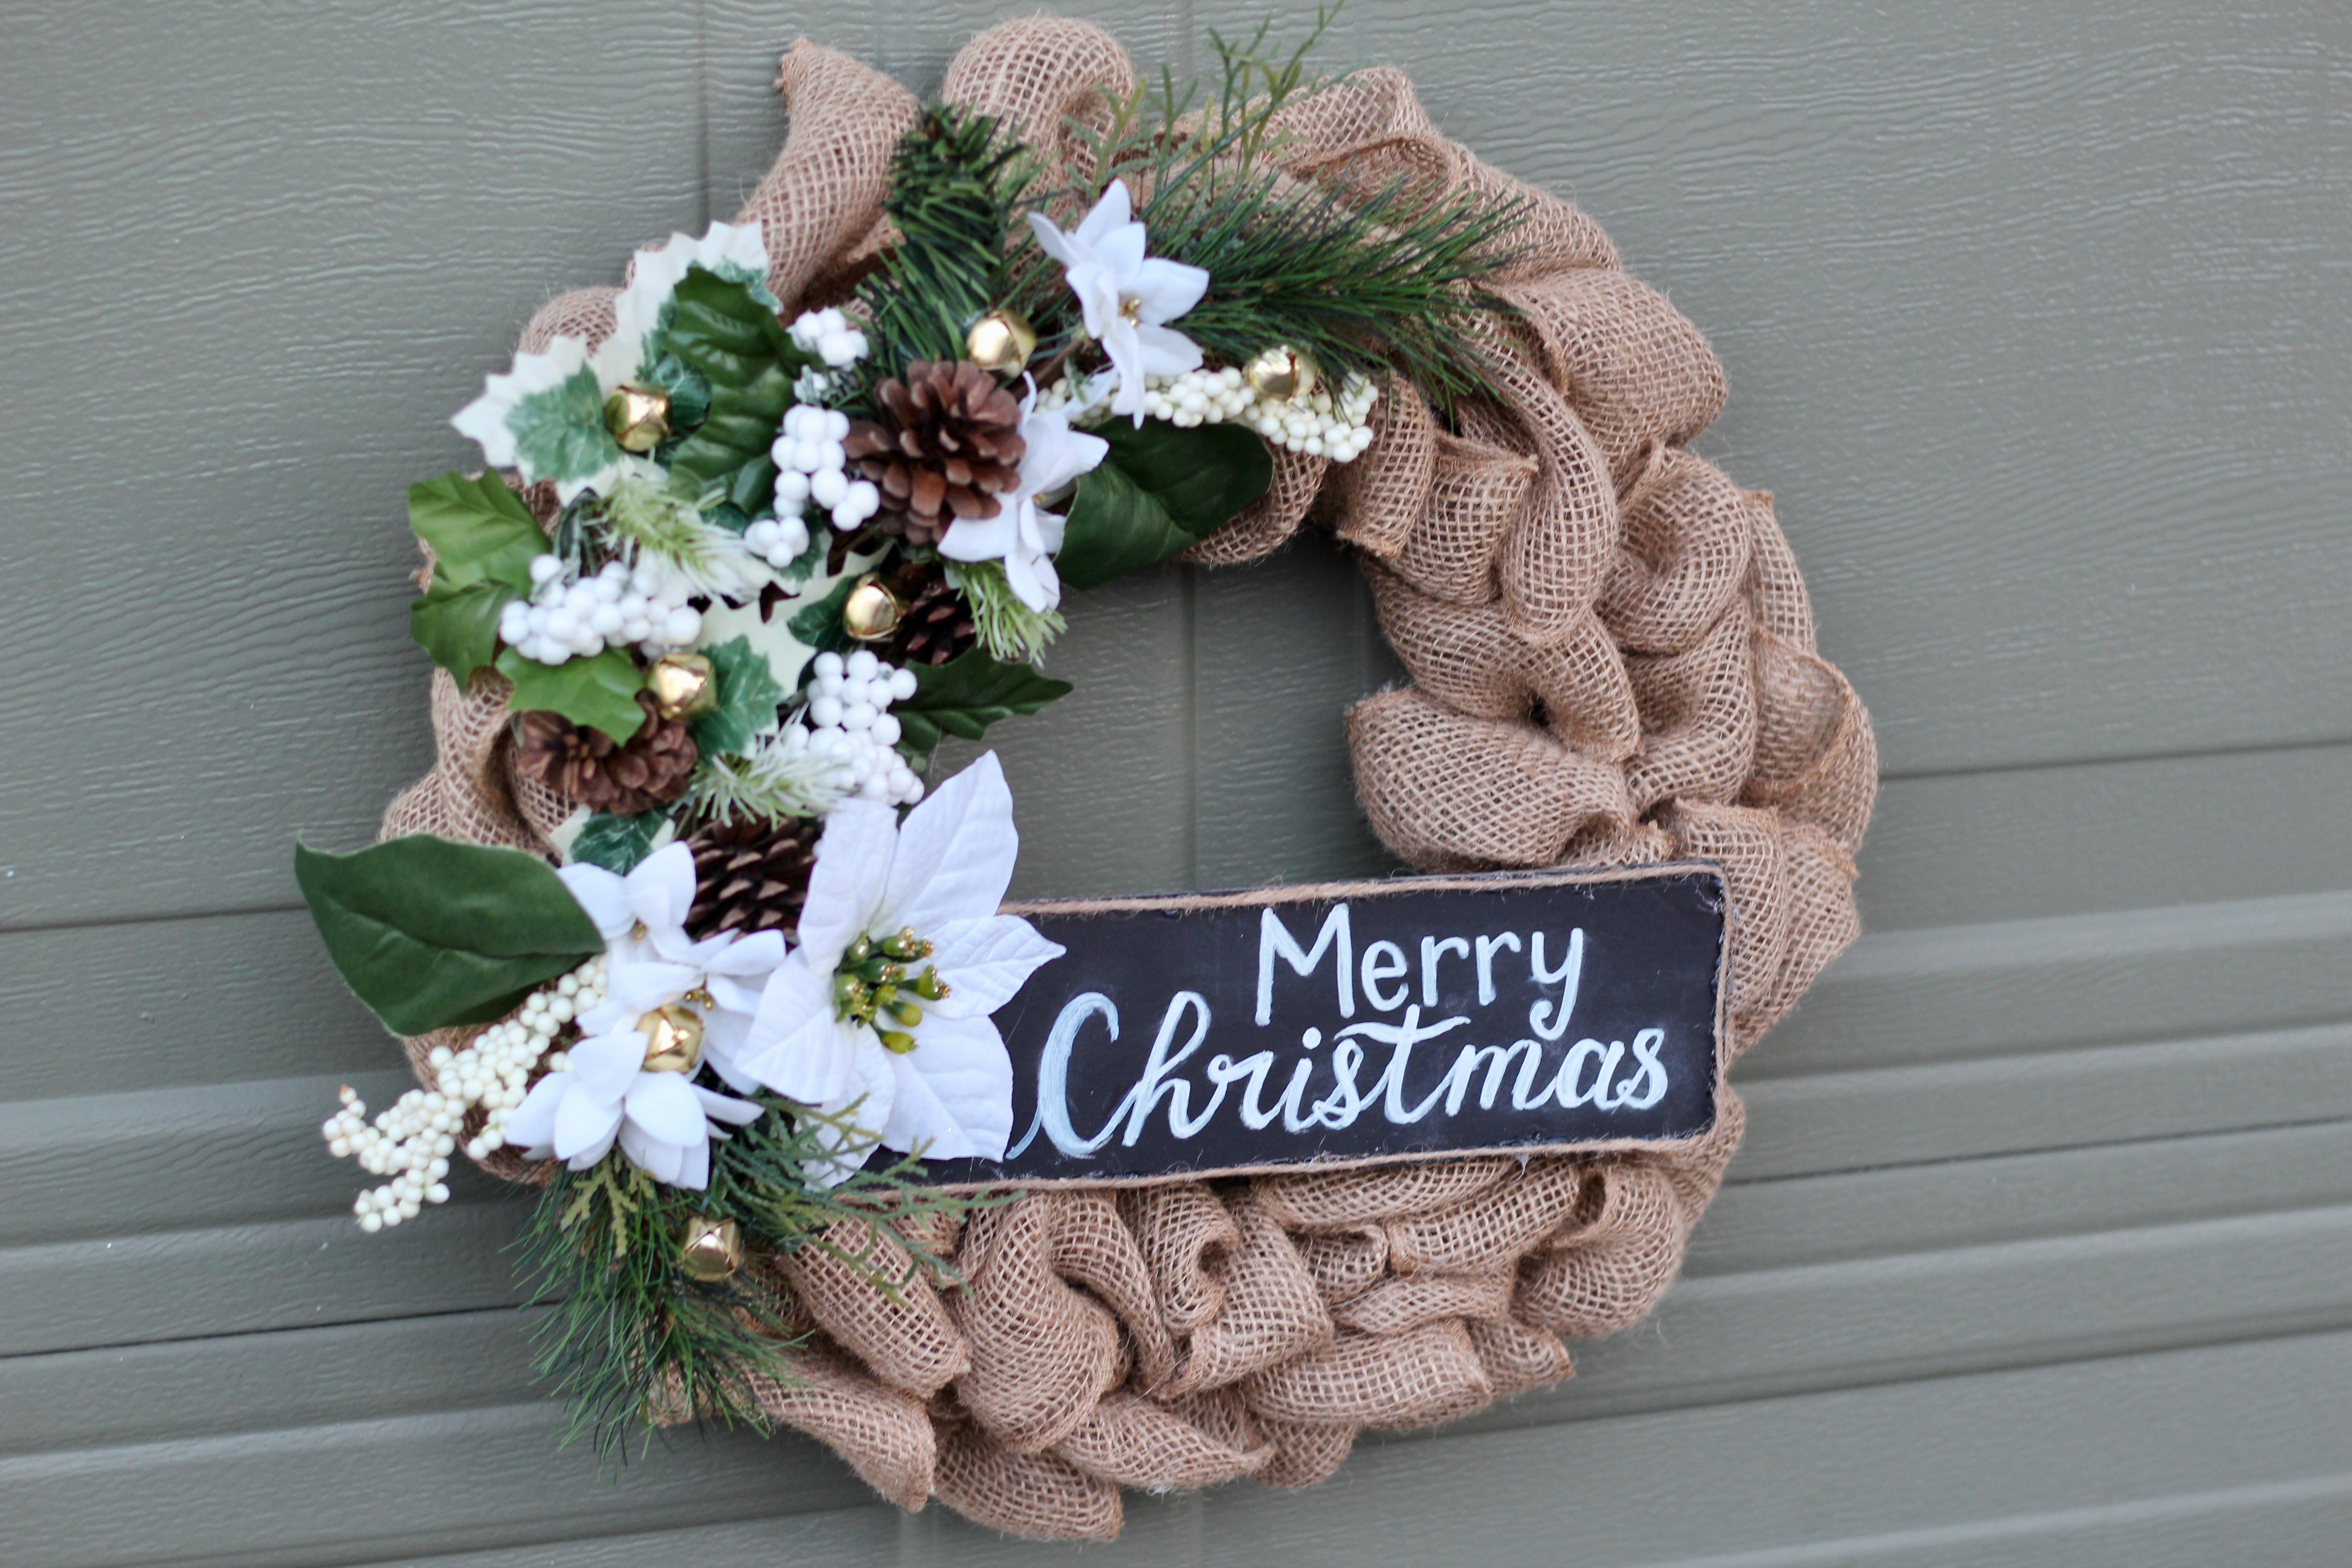
Make your own on-trend DIY Burlap Christmas wreath with Dollarstore/Dollartree finds for only $8.
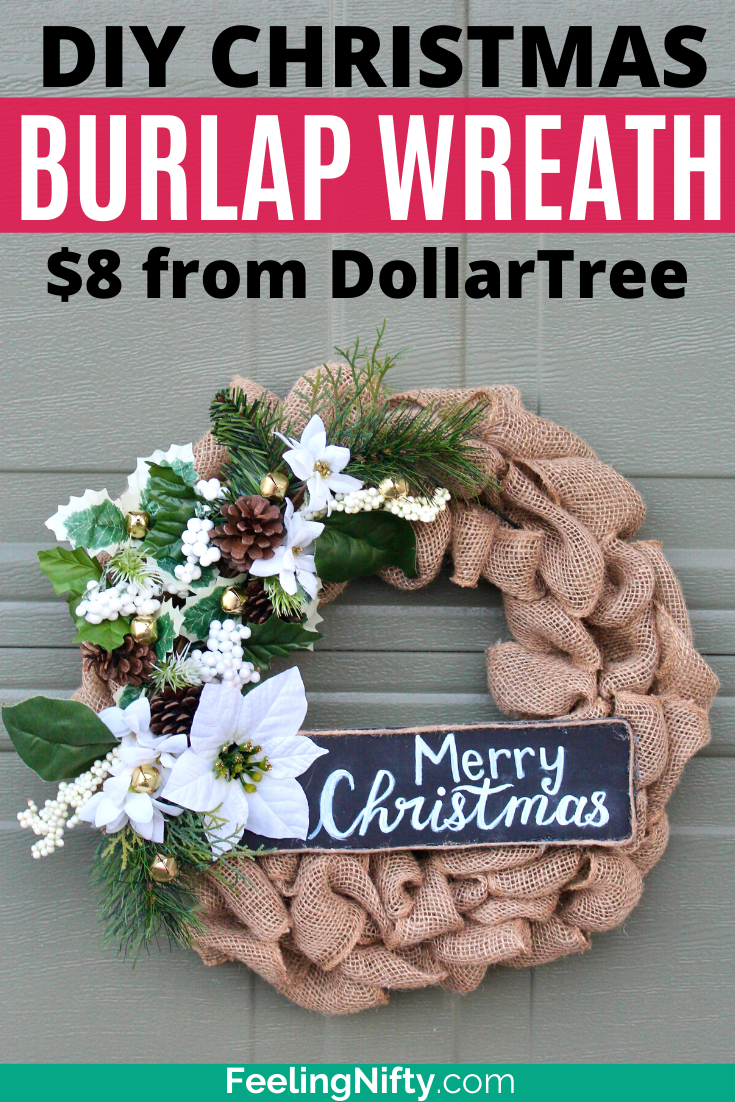
I’ve been eyeing some gorgeous rustic/farmhouse inspired DIY Christmas burlap wreaths on Etsy, but the $100 price tag pained me.
They’re super gorgeous, don’t get me wrong. I’m just cheap…errr frugal.
Frugal enough that I challenged myself to make a DIY Burlap Wreath for the cheapest amount possible. While having some creative freedom with the decorations.
And my local Dollar Tree came to the rescue most of my wreath supplies!
This year I got inspired by some clear plastic ornaments at the Dollar Tree and and made these super cool Dollar Tree DIY paint swirl ornaments for cheap (makes a great Christmas kid activity too), or how to paint on rustic wood slice ornaments.
Gotta love money saving DIY’s!
For this DIY, I ended up finding most my items from Dollartree and was able to complete this DIY wreath for $8 (Canadian).
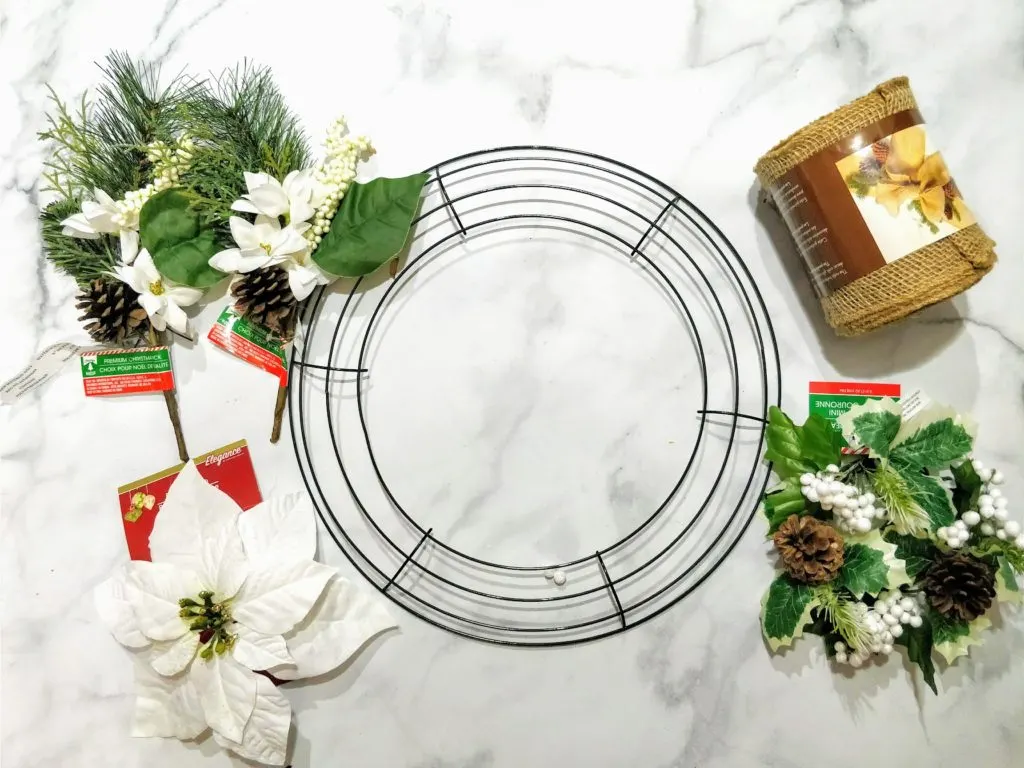
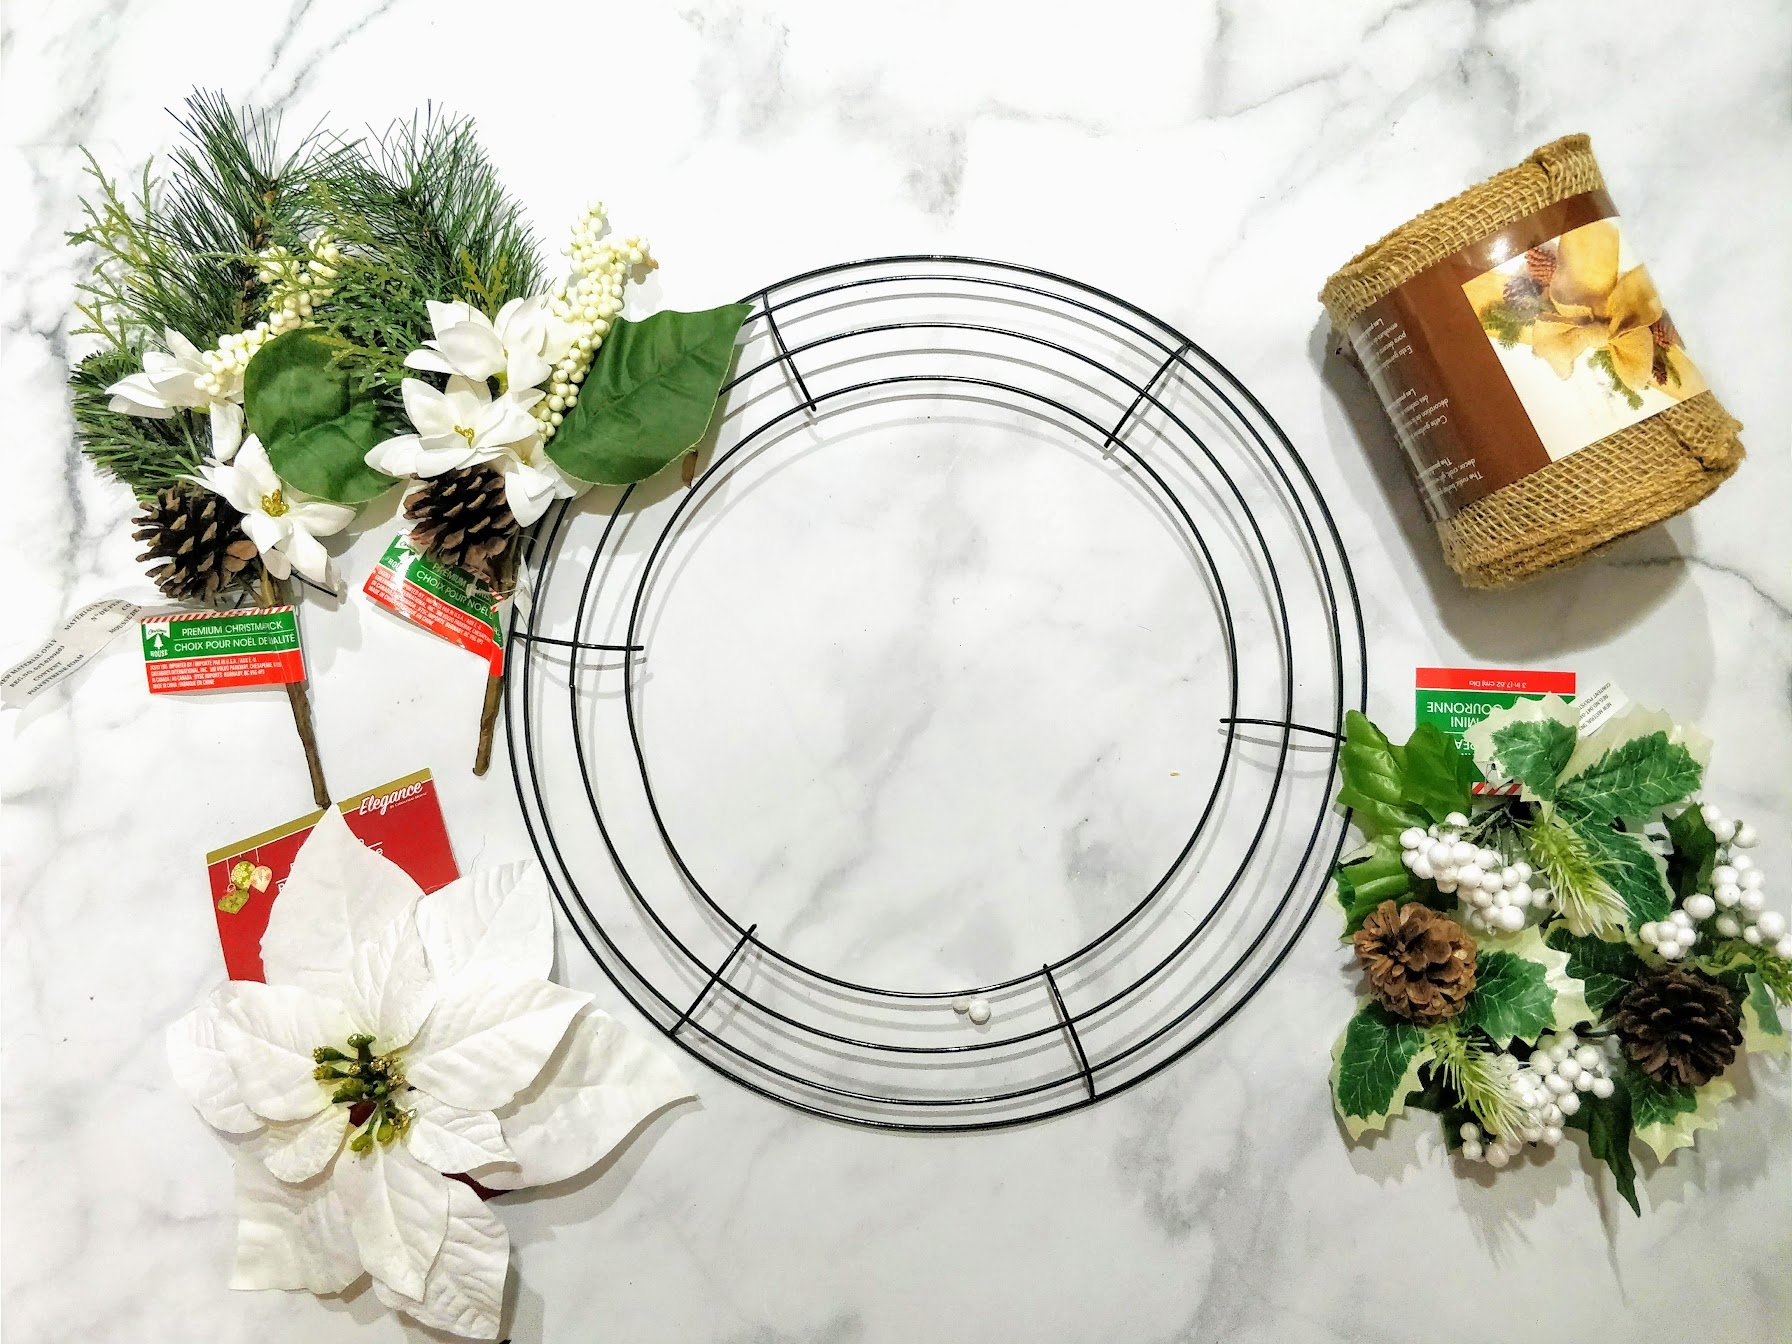
DIY Wreath Dollarstore Materials
Dollartree sells the wreath form (basically a wreath frame made out of wire) for $1.25 which is super cheap . Amazon also sells a similar one for $5- Amazon’s wreath form -if you’re in a rut.
The wreath form/frame is around 14″ in diameter, which makes a standard size wreath.
I am definitely going to buy more wreath forms from Dollartree in the future, since they’re so cheap.
Thinking a nice spring/ easter themed wreath next….
….I digress.
I just get super excited with ideas when I find something for cheap 🙂
Back to THIS project, shall we?
“Faux” Chalkboard
The mini chalkboard on the wreath, is actually not a chalkboard at all!
It’s what I like to call a “faux”chalkboard.
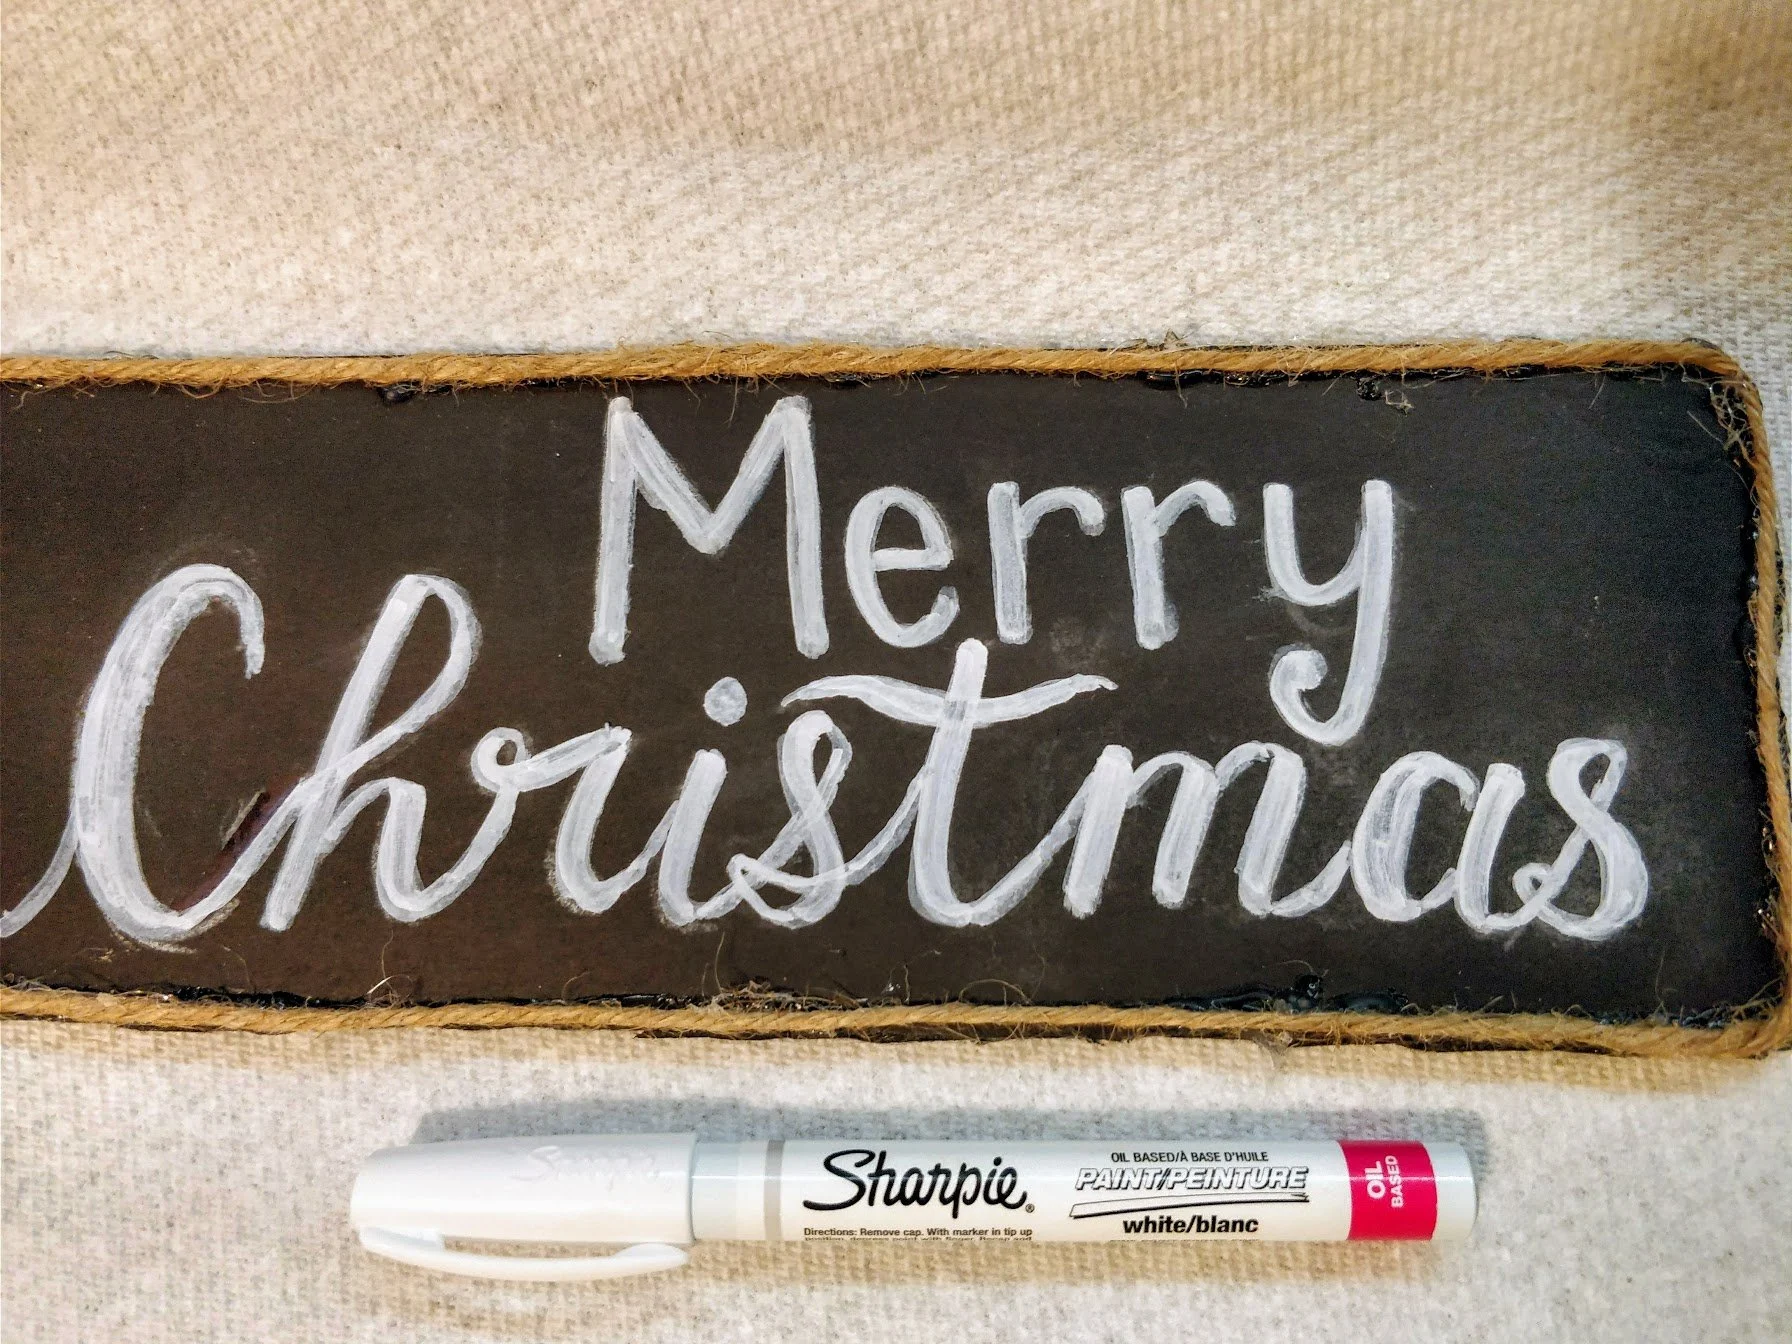
What’s it made out of? Simple: black foam board (DollarTree) that’s been cut to size and drawn on with a white Sharpie marker (which I had in my craft stash).
If you don’t want to buy a white Sharpie- just use regular white chalk. It might not be as bold white- but it will still look good.
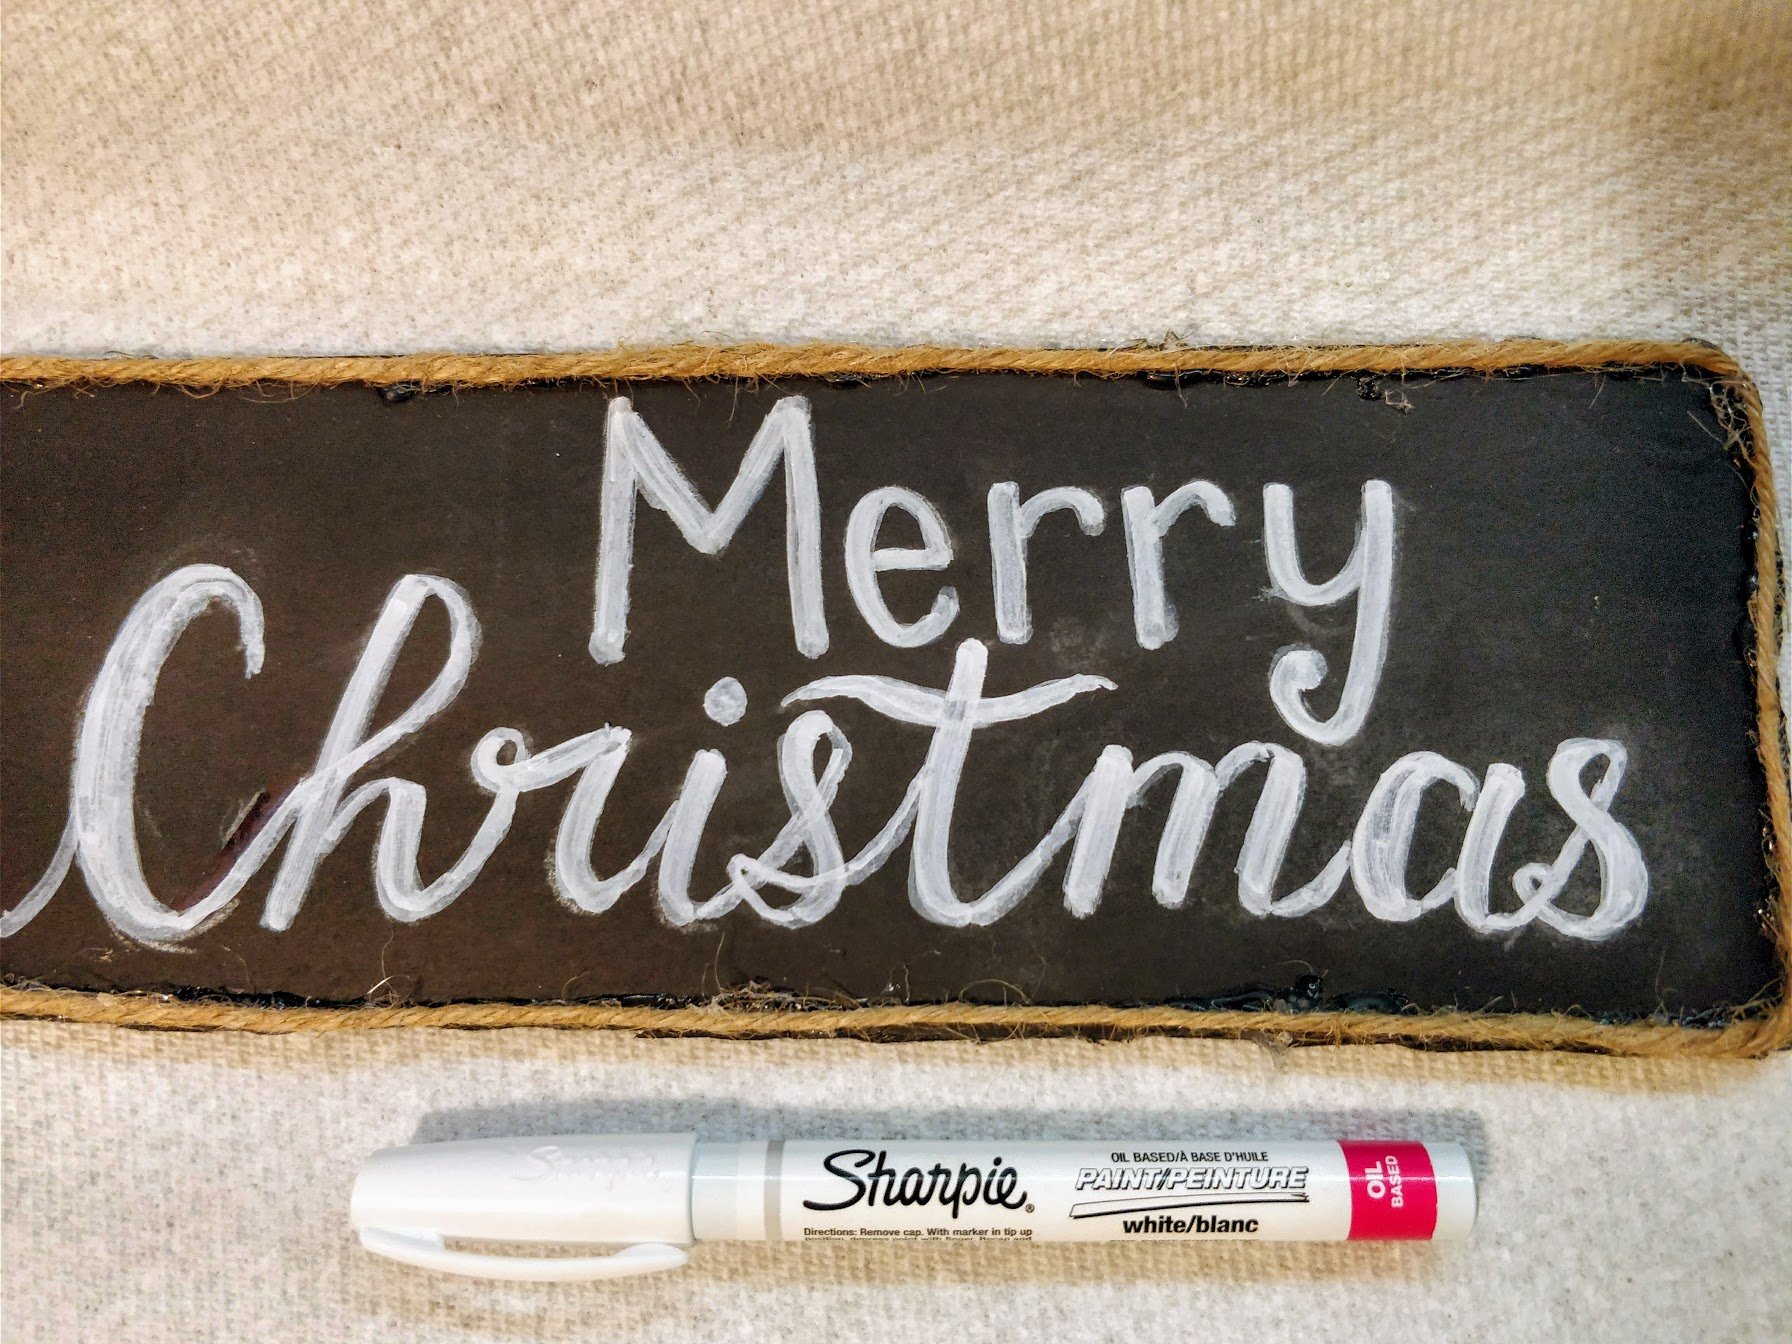
The reason I used foam board is 2-fold. First, it’s dirt cheap ($1.25 for entire sheet, and I only used 1/20 of it). And the biggest reason: it doesn’t weigh the burlap of the wreath down when hot glued on.
If you want to make the foam board weatherproof, just coat it with a layer of Mod Podge, and it’s good to go. I didn’t – because mine will be under a covered porch.
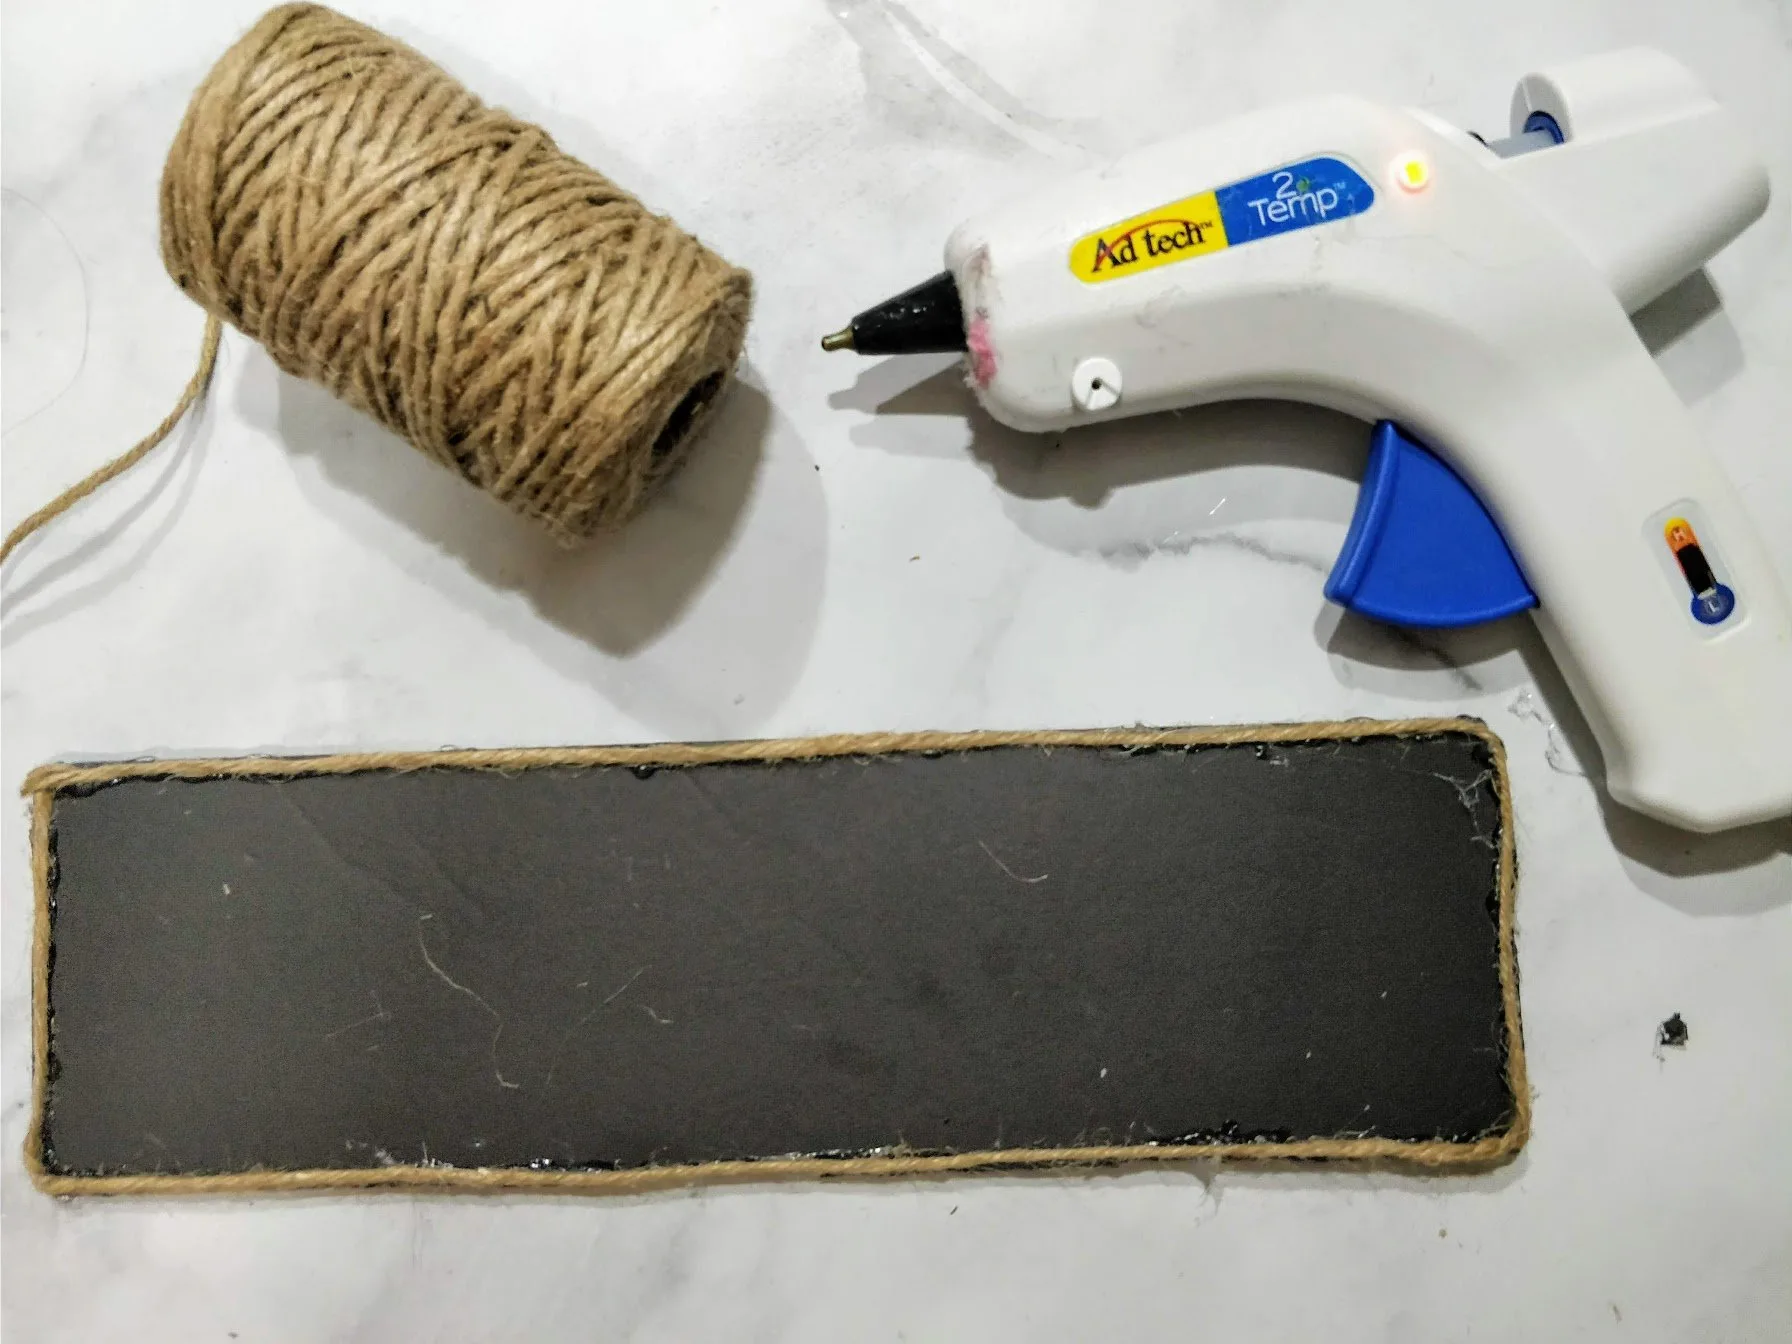
Oh yes, and I ended up glueing some bakers twine string to cover the cut edges of the foam – this part is optional, but I think it looks cute and really goes well with the burlap.
Burlap Ribbon
I couldn’t find any Burlap ribbon at Dollartree, but did end up scoring some from Dollarama for $2! I used 1 roll, but if you want more bunches (fuller wreath), you can buy 2.
If you can’t find any ribbon, this ribbon is very similar to the one I used (size and length)- it’s roughly 5″ wide and 10 yards in length.
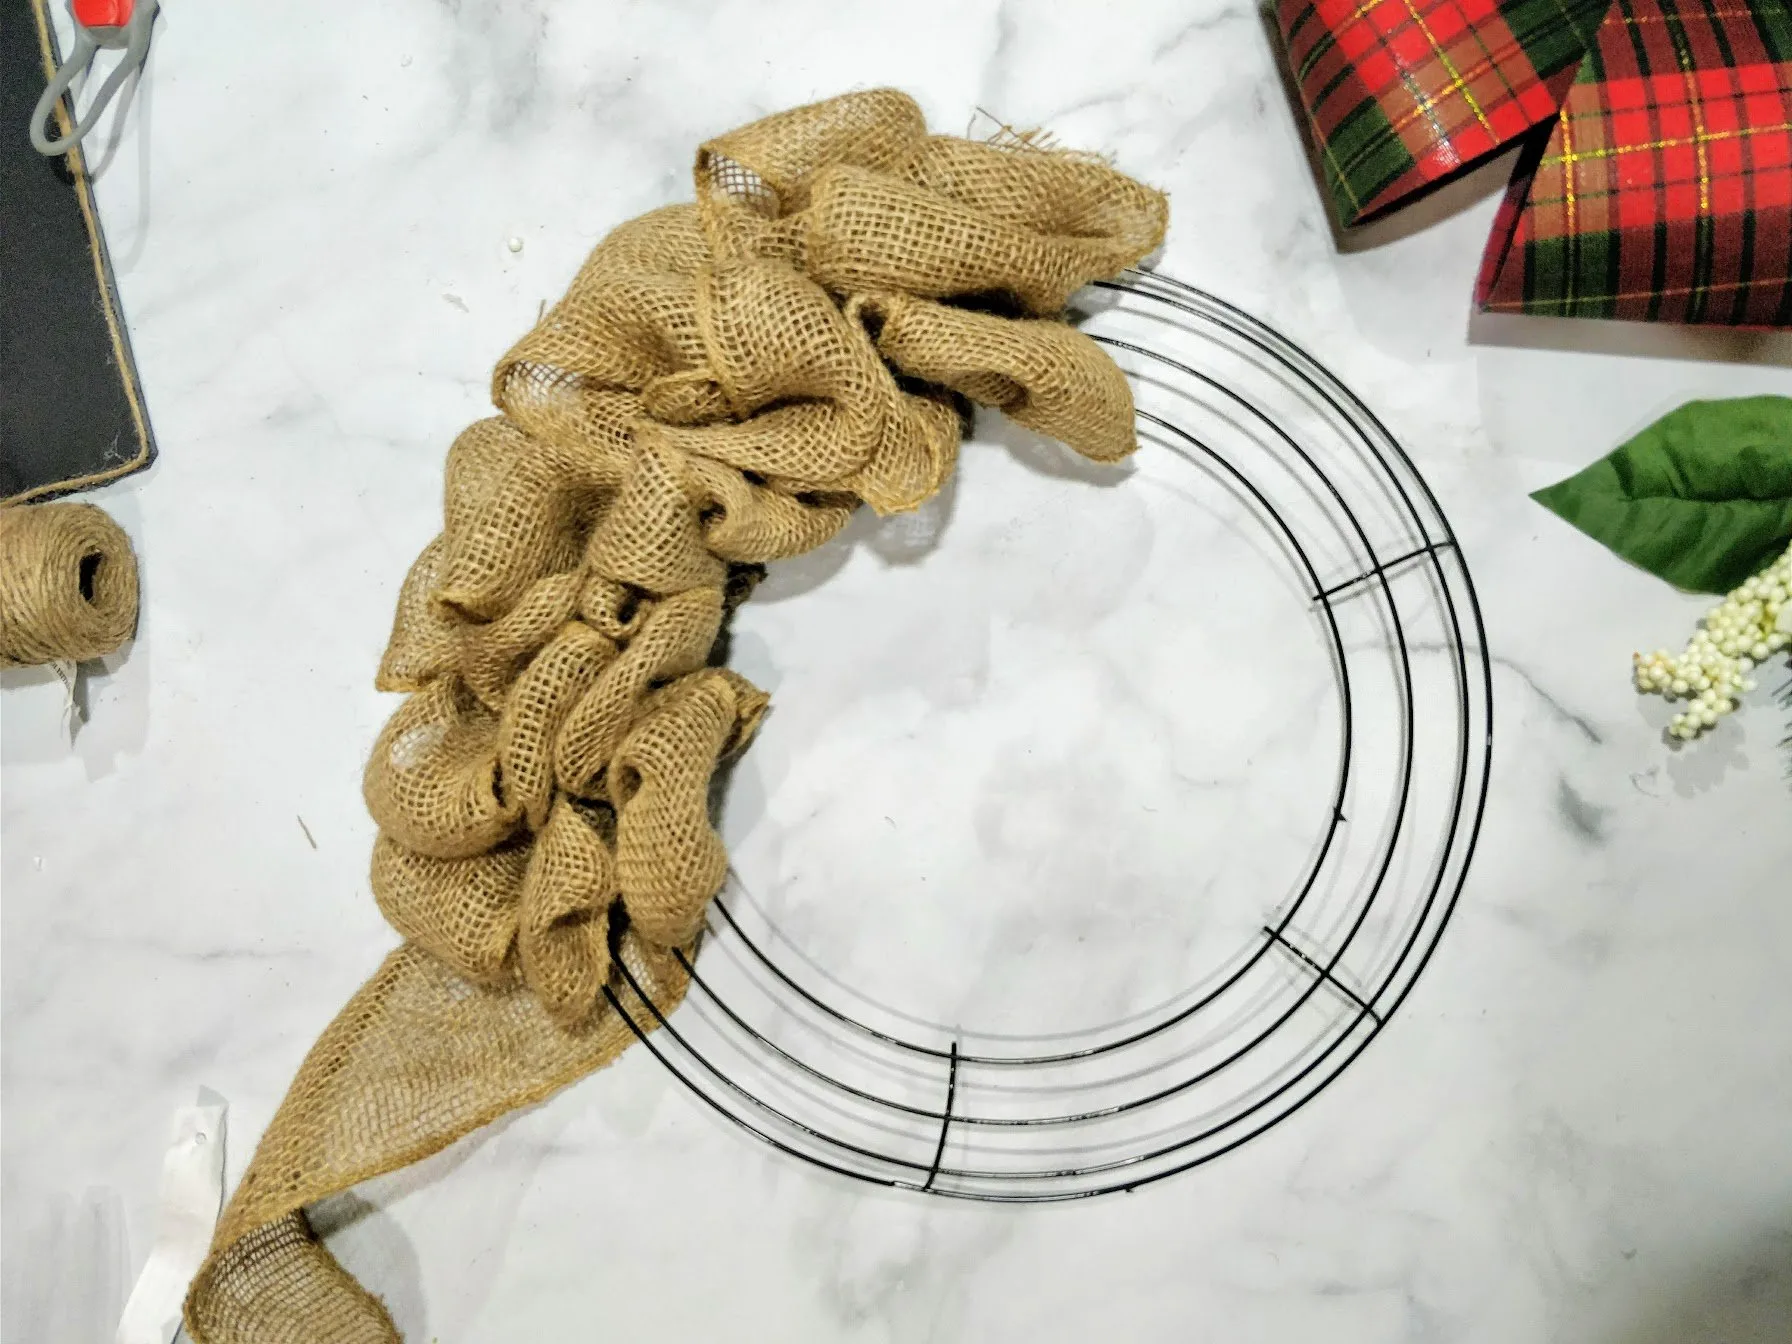
To make the “bubble” design with the burlap, through the sections of the wreath form, I followed this video tutorial. It explains it really well, and it’s only 2 minutes long.
The only different, I didn’t use a sewing needle and thread at the beginning. instead I just tied the burlap to the wire frame with a pipe cleaner.
Unseemingly Easy DIY
This DIY wreath may look intimidating and complicated, but in reality it’s SUPER simple, and fast!
It took me less than 10 minutes to do the burlap portion – and this was my first making a burlap wreath.
The other steps are hot gluing decorations on- which is easy, and fun!
I think this DIY project is TOTALLY doable for everyone.
And it’ll save you a ton of money.
It saved me a whopping $90, and I got to get creative as a bonus!
What’s not to love?
Burlap Christmas Wreath
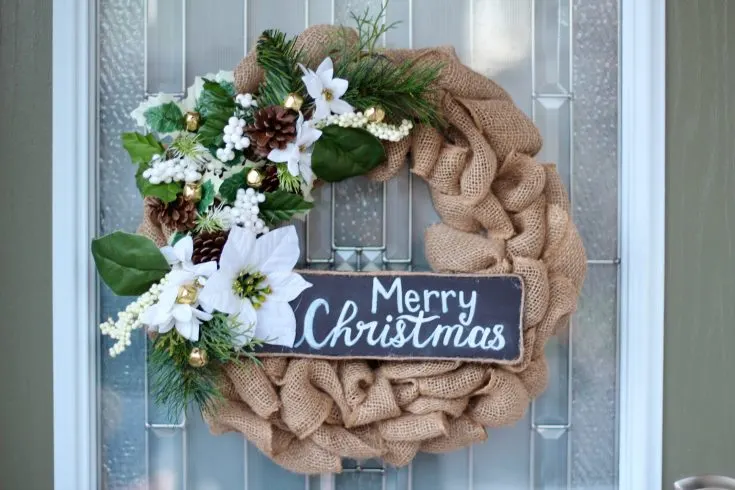
DIY burlap "bubble" design Christmas wreath- Farmhouse/Rustic style.
Materials
- -Wreath Form /Frame
- -Burlap Ribbon ( "5 wide, 10 yards long)
- -Tree Branch decorations
- -Black Foam Board
- -White Sharpie marker or white chalk
- Optional: Baker's Twine
Tools
- Hot Glue Gun
Instructions
- To create the burlap "bubble" design around your metal wreath frame, follow this video tutorial
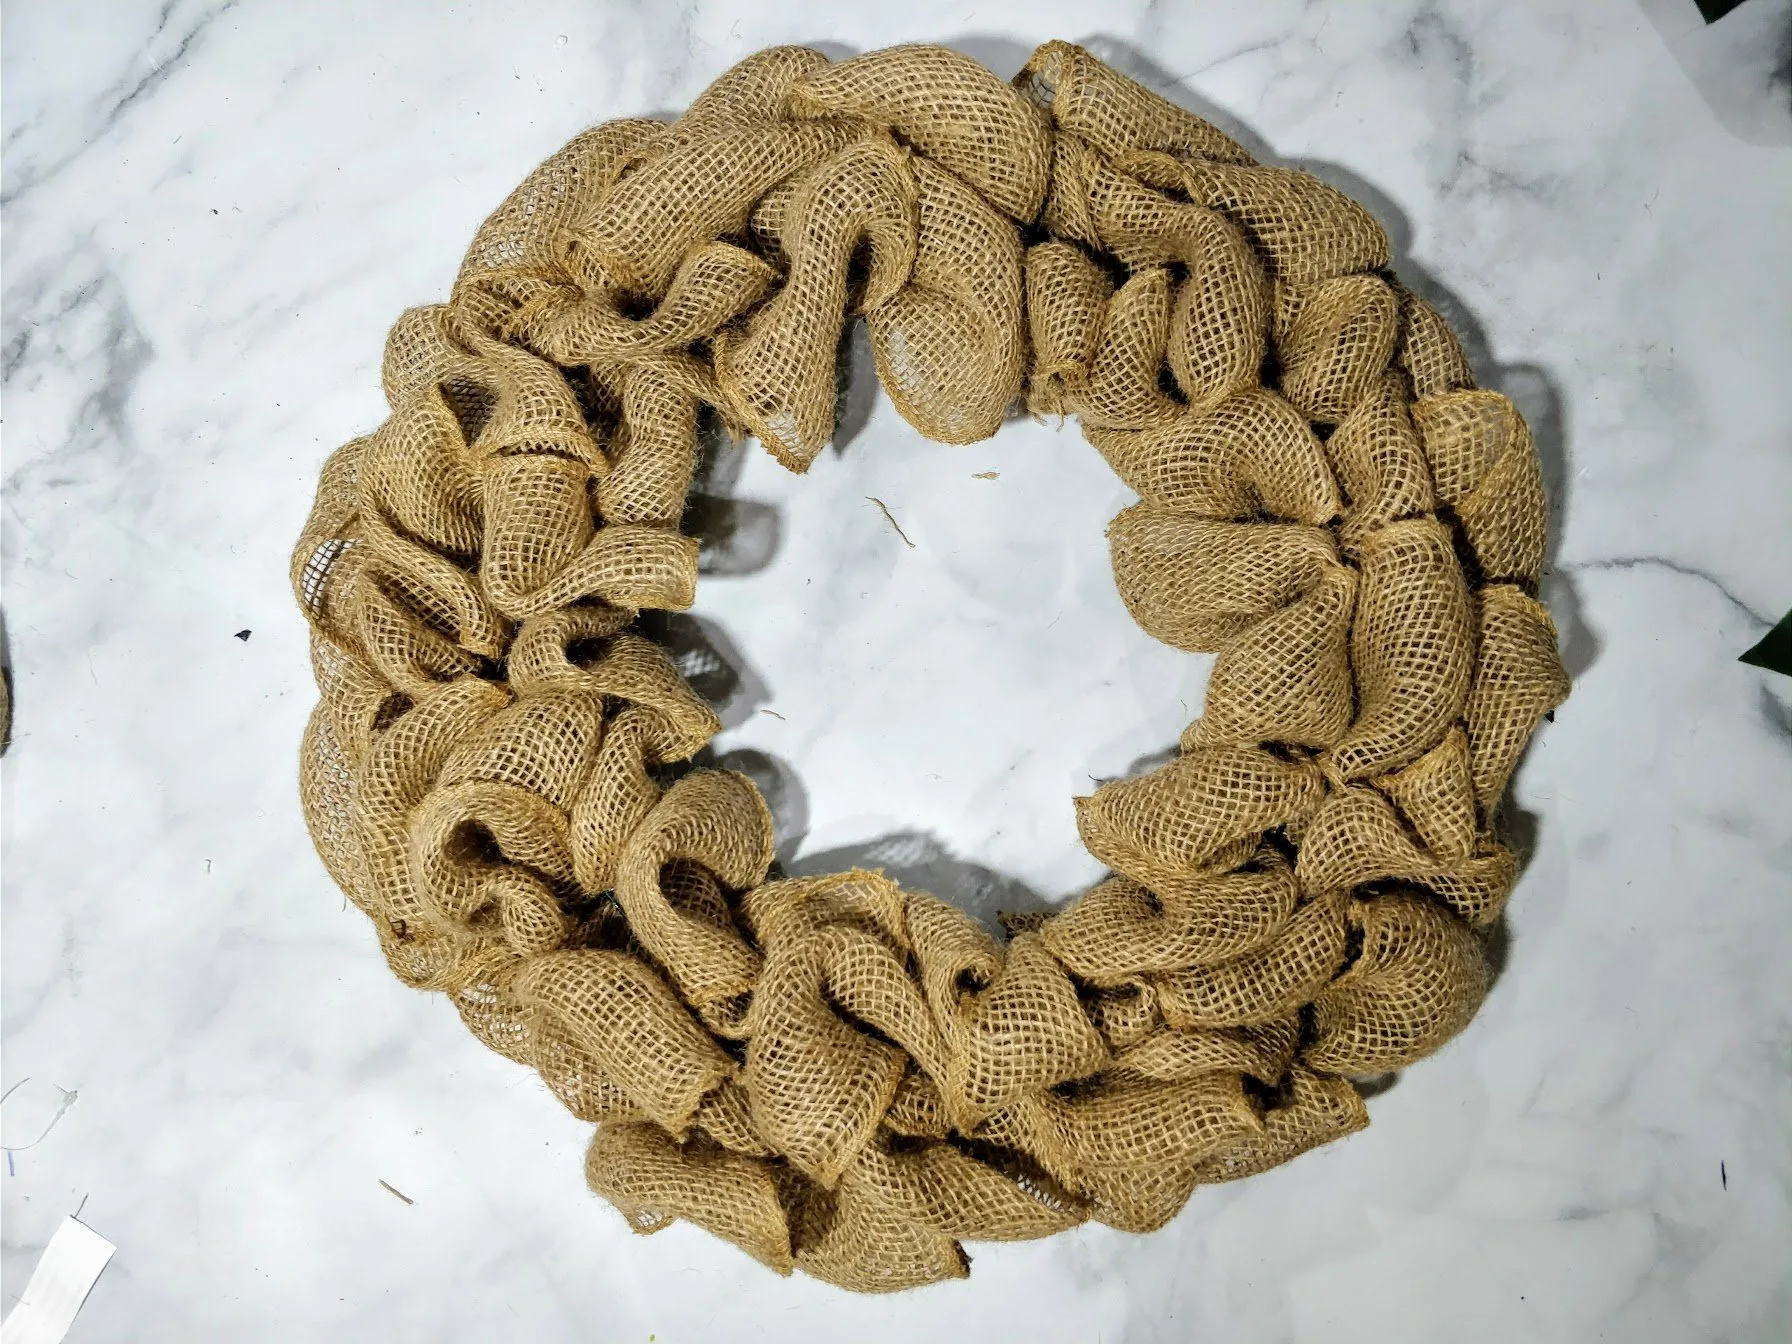
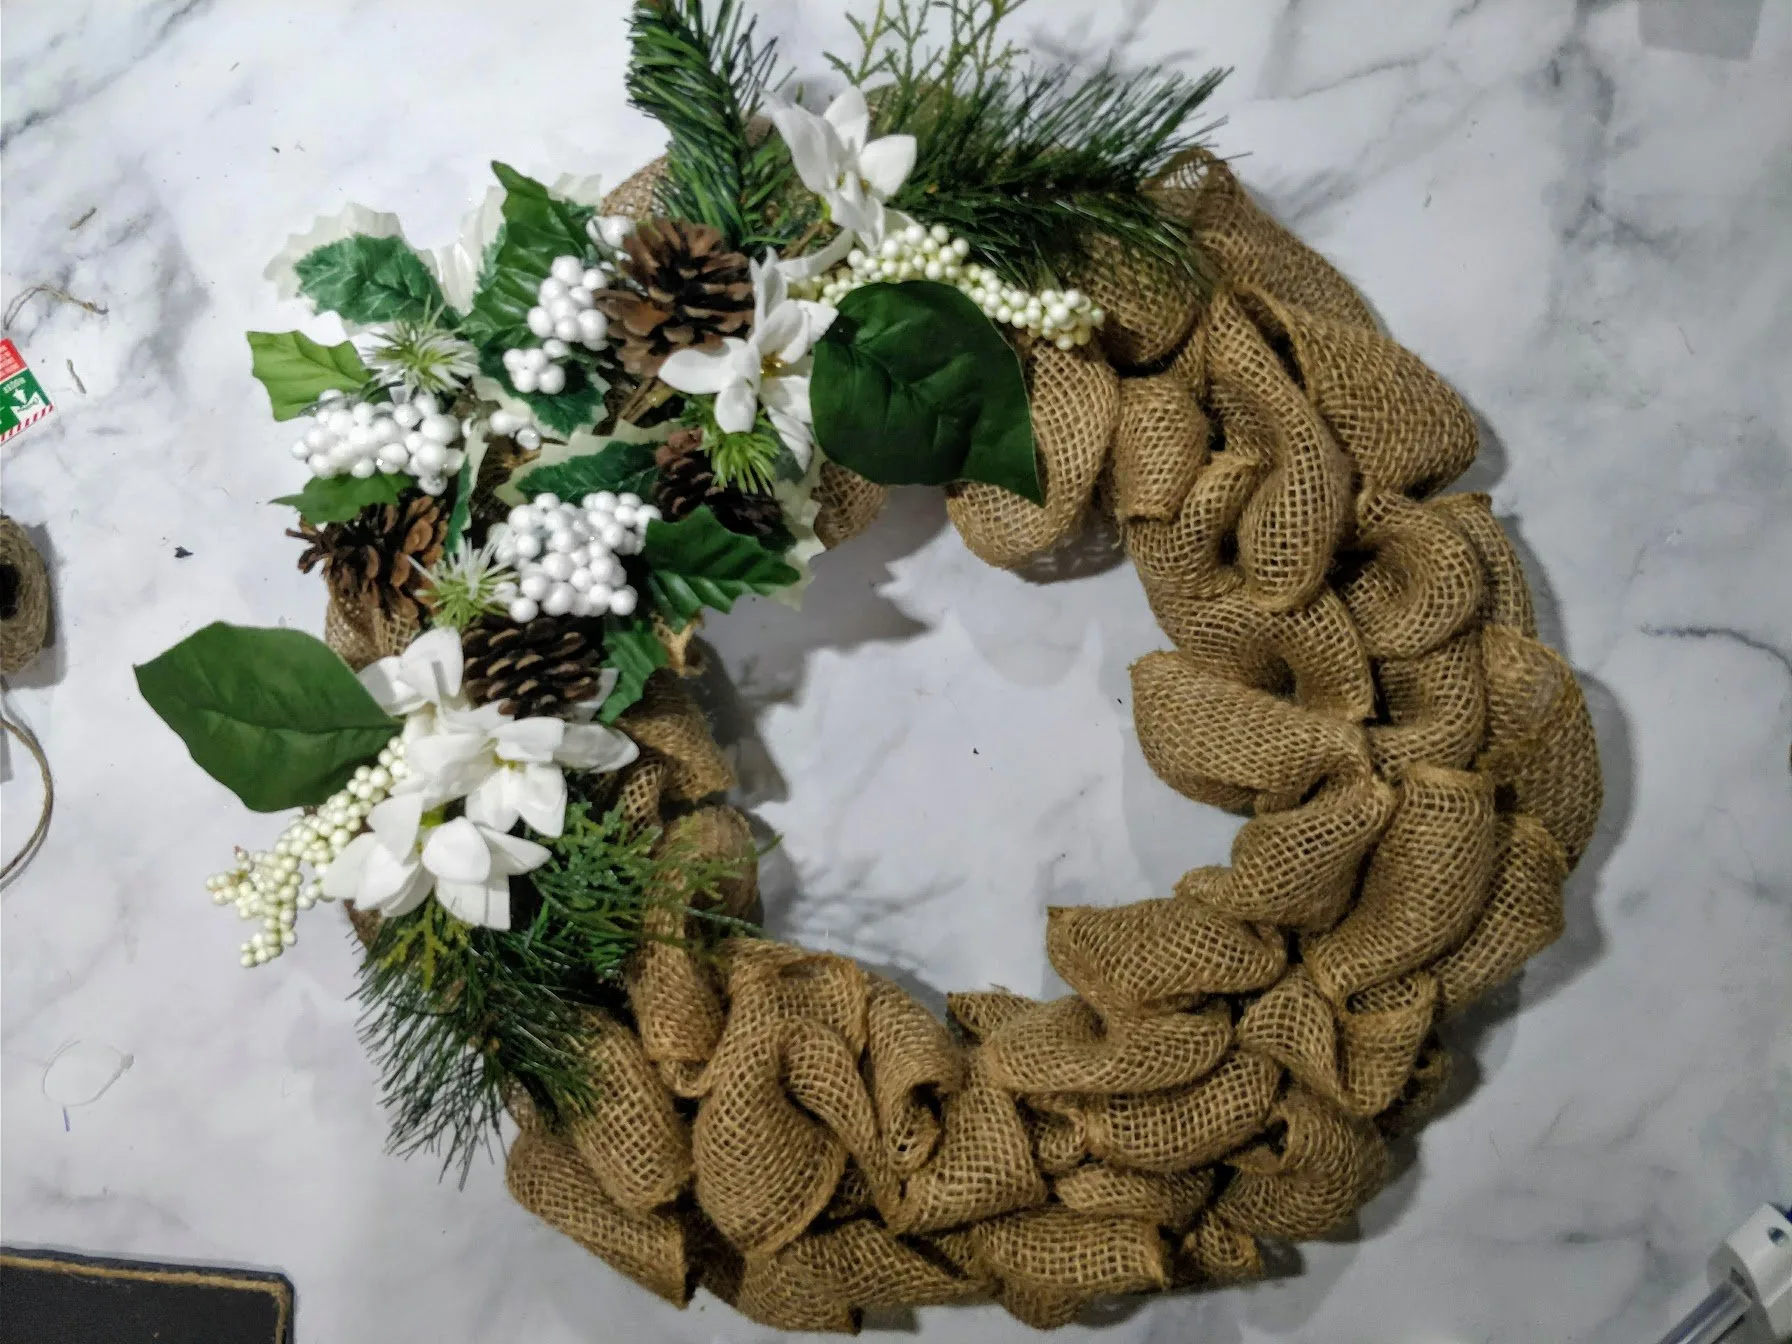
- Hot Glue your decorative branches onto the burlap
- To make the "faux" blackboard, cut a small rectangular piece from the foam board. Optionally, hot glue some bakers twine on the border of the board to hide the cut edges
- Use white sharpie marker, or white chalk to write your messages on the foam board.
- Glue (hot glue) the finished board onto the burlap, and it's ready to hang!
Recommended Products
As an Amazon Associate and member of other affiliate programs, I earn from qualifying purchases.
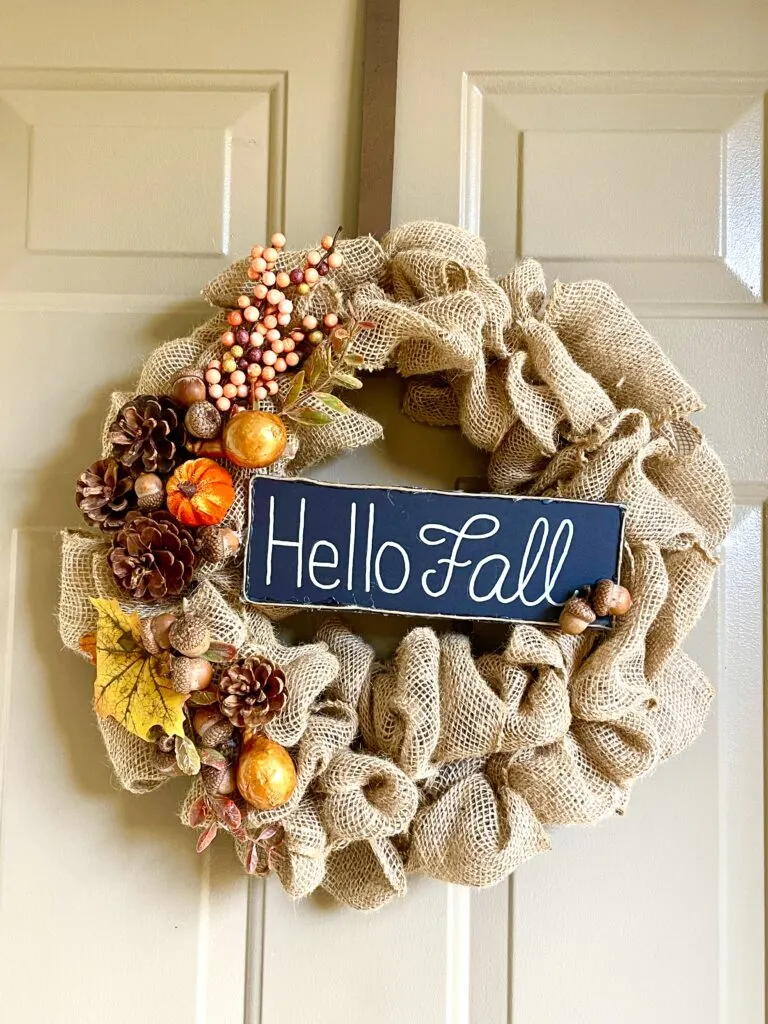
Hello Fall Wreathe
The beauty of this simple burlap wreathe is that you can customize it to be used for different holidays and seasons.
Here’s an example of a Fall/ Autumn burlap wreathe using items from the Dollar store and acorns and pinecones that I collected from a walk around the neighbourhood.
I hope you enjoyed this wreath DIY and are inspired on making your own for $8!
If you do, send me your pics, would love to see them.
Have a wonderful holidays, my friends!
xoxo,
Jasmine
If you liked this post, please pin it!
