How To Paint a Sunset Cityscape with Acrylics - Easy and Fun!
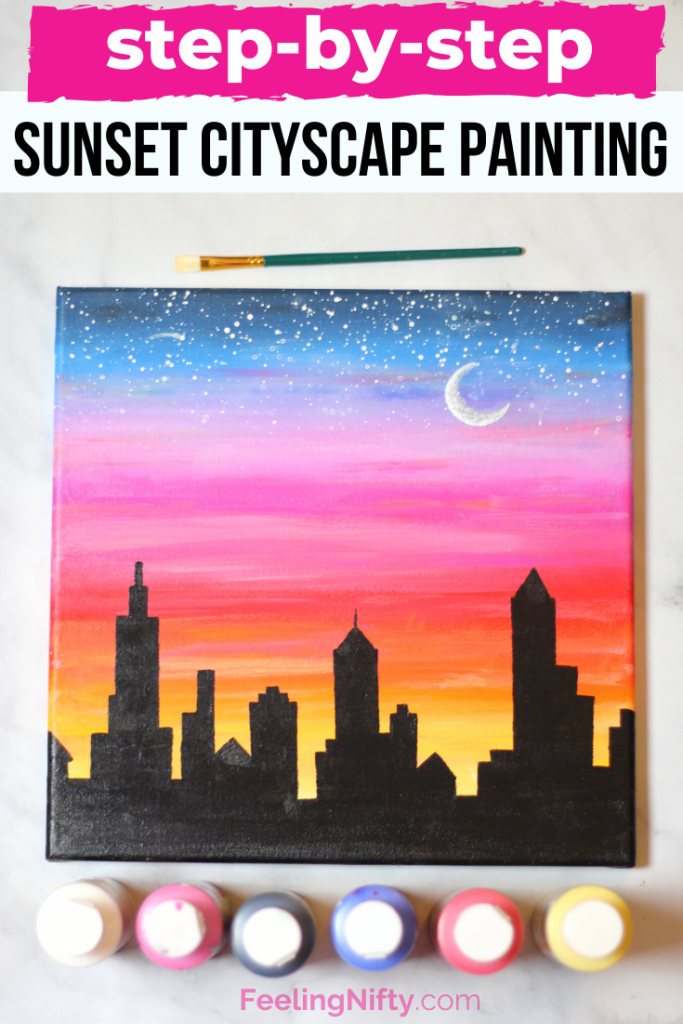
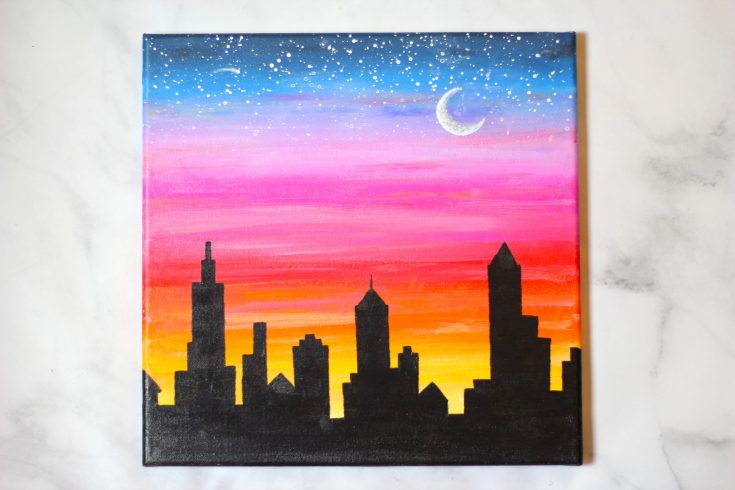
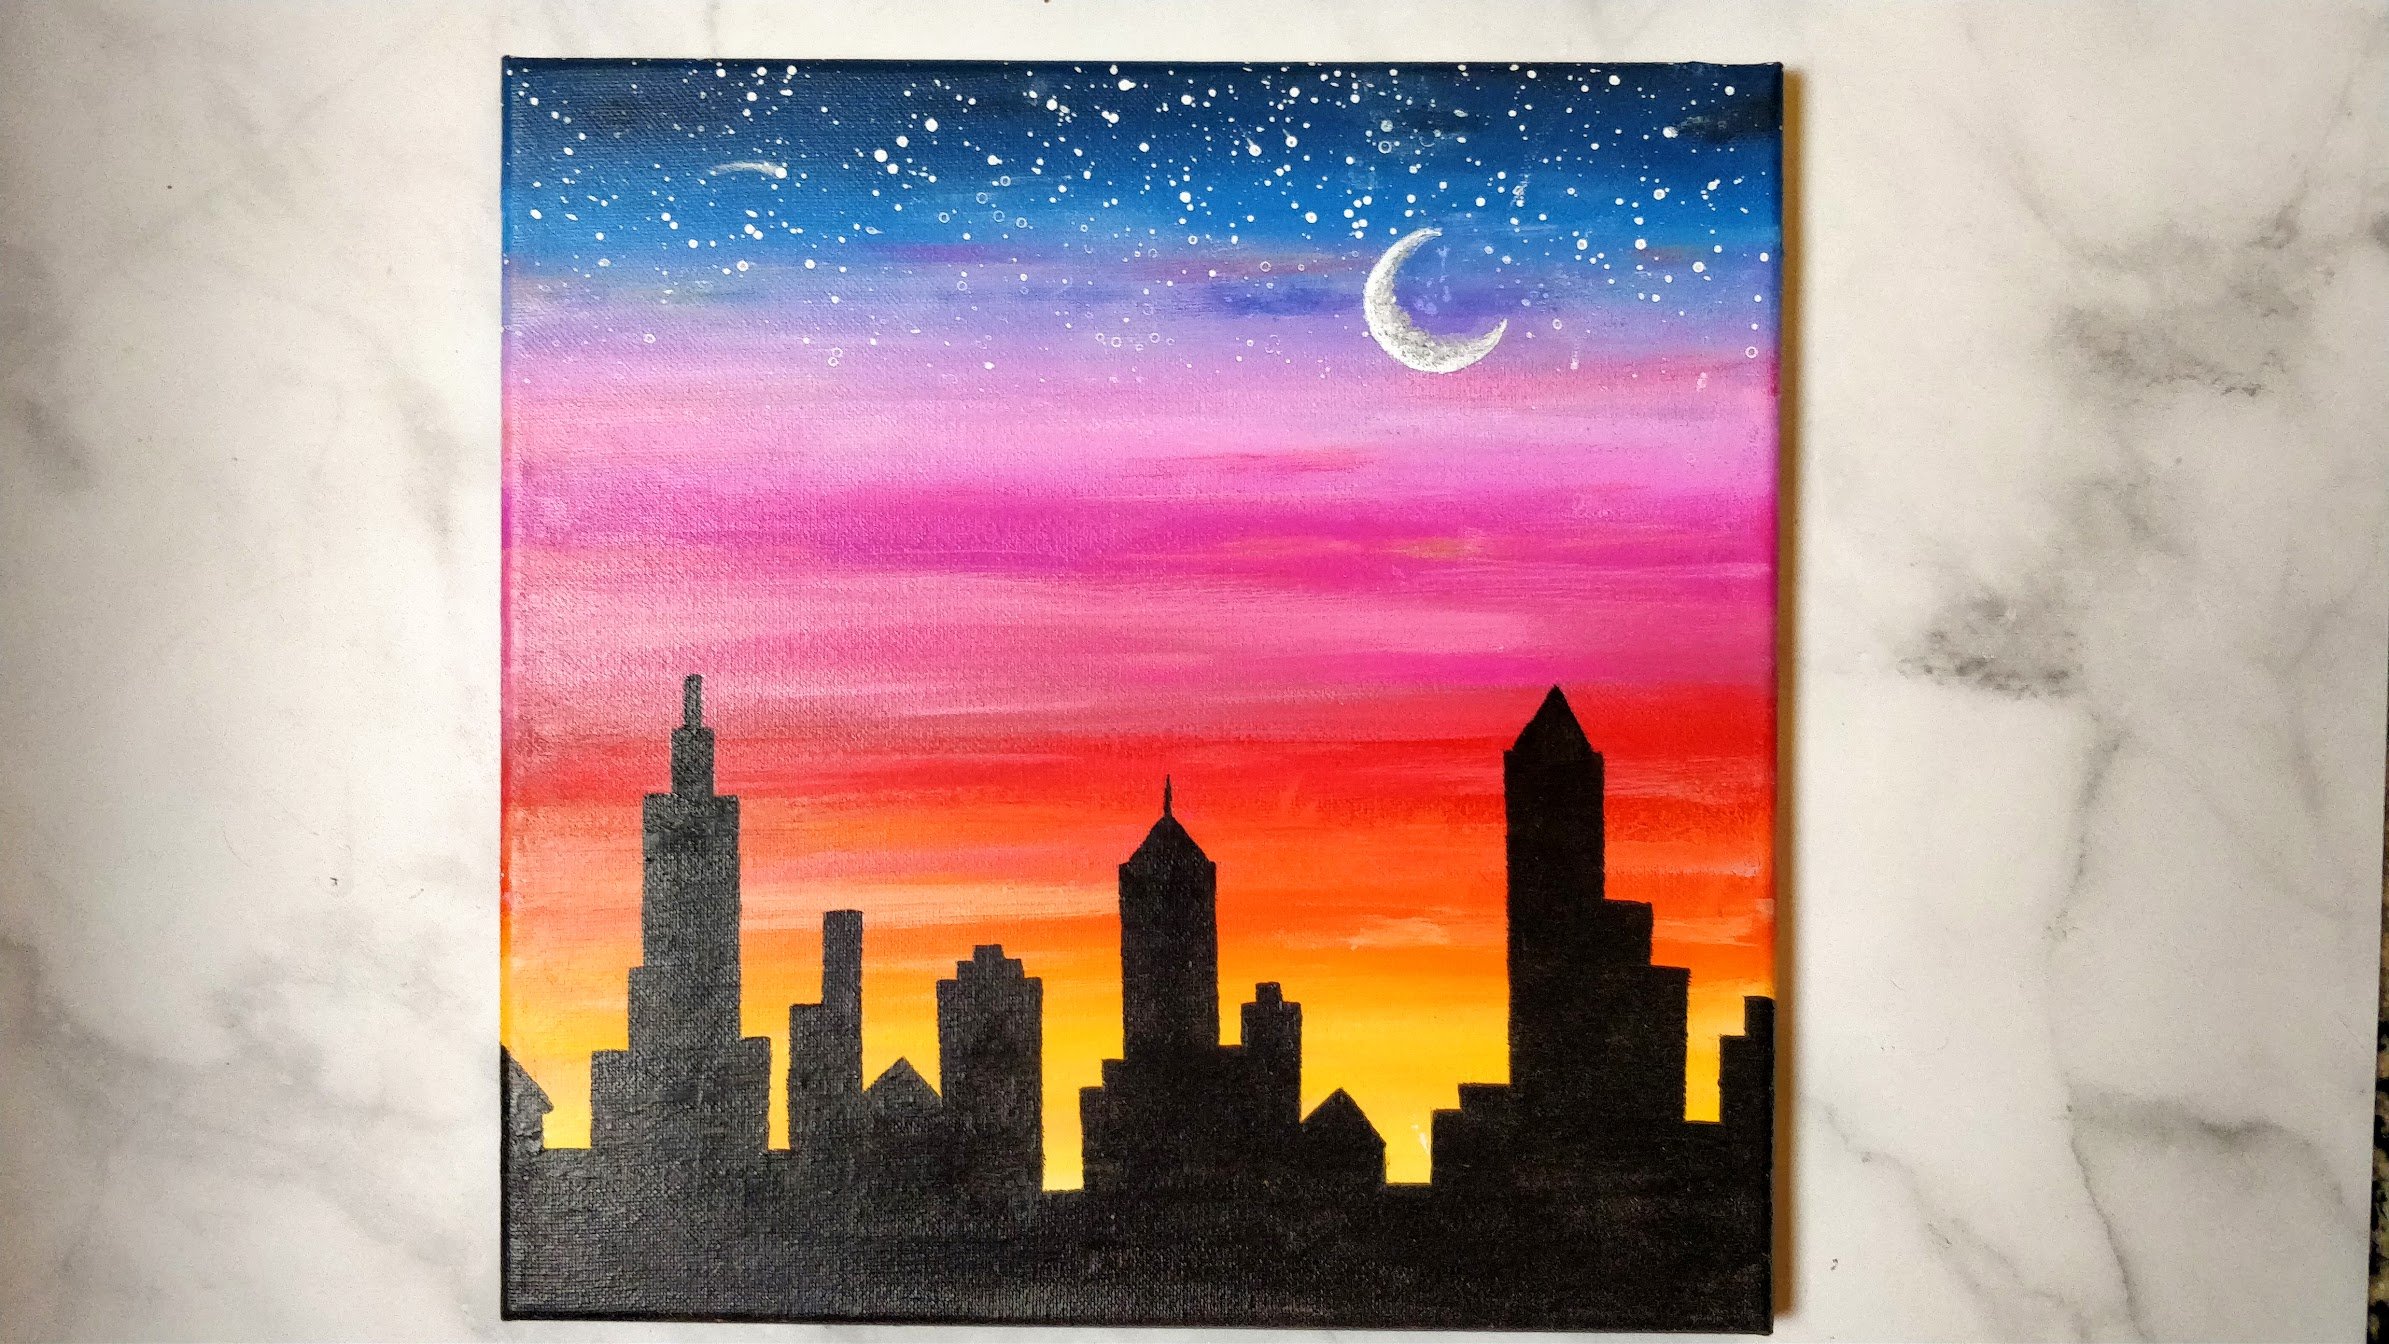
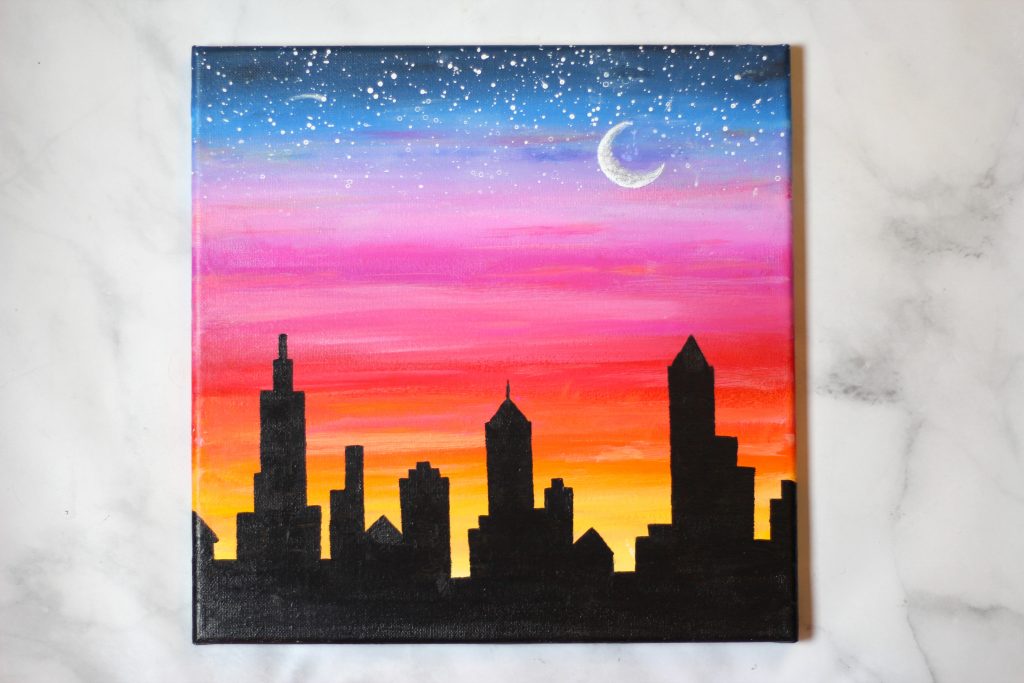
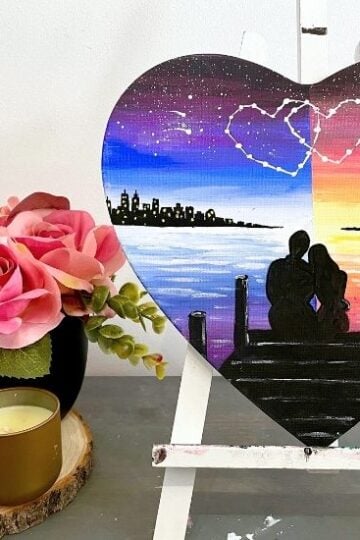
Sunset Painting with Cityscape
In this sunset painting tutorial you'll learn how to paint a sunset with a cityscape silhouette.
Even if you've never painted before, this painting is an easy painting idea suitable for the complete beginner.
In this tutorial you'll learn which colours to use in your sunset sky and how to blend your paint to make gorgeous /even brush strokes and gradients. And you'll also learn how to paint in an easy cityscape using a ruler, pencil and some black paint.
Top this painting off with a moon and some stars and you've got yourself a sunset masterpiece!
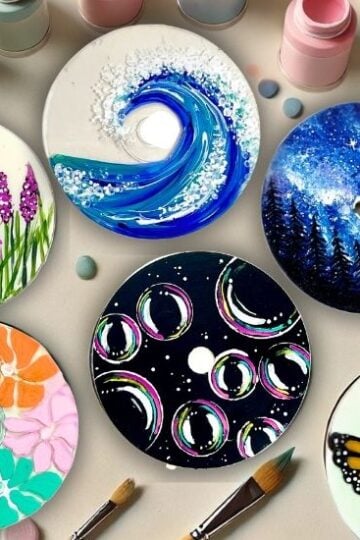
If you're looking for more sunset painting ideas check out this mountain sunset landscape painting, and this tropical beach sunset painting.

Sunset Paint Colors
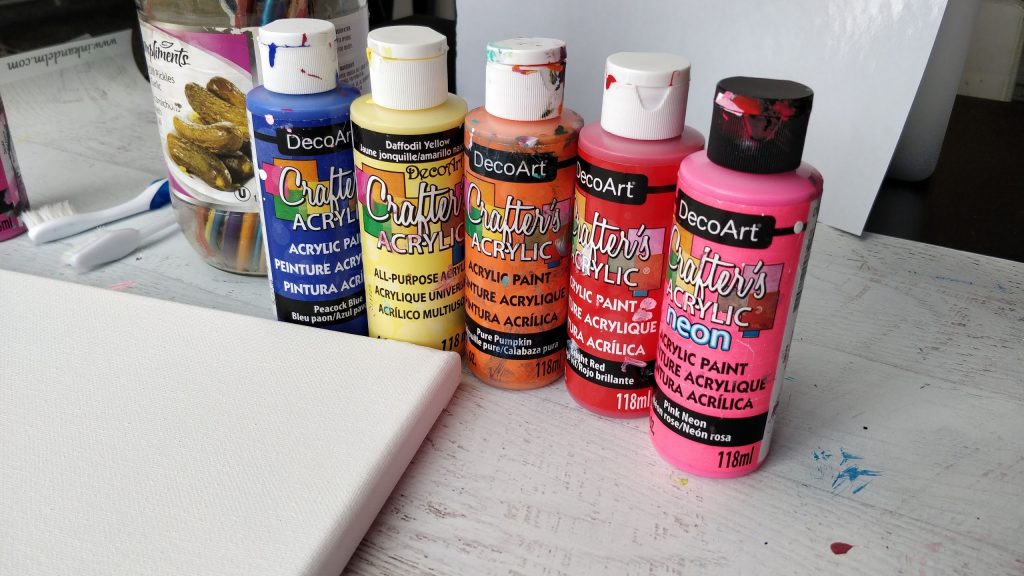
This sunset painting uses 6 basic paint colors (any brand):
- black
- white
- blue
- pink (magenta)
- red
- yellow
Many beginners often feel they have to use the exact brands and colors listed in the tutorial, which can quickly end up costing you more money and also having paints in your collection you only use once or twice.
To help you avoid that, I'm encouraging you to look at home first, before going out to buy anything new. Any brand will do and also both thicker tubed acrylicpaint or bottled craft paint will work just fine.
Also, this painting can be done on ANY size canvas or canvas board- doesn't have to be square like mine.
If you don't have a canvas, you can paint it on other things like:
- cardboard (cereal, pizza, delivery box, etc..)
- white printer paper
- scrap paper
- cardstock
- watercolor paper
- wood scraps (plywood)
- rocks
The type of brush that works well for this painting -both for blending the sunset and for blocking in the color to your cityscape- is a small/medium size flat brush, like these.
If you don't have a flat brush, not to worry: any brush will do, just make do with what you have and have fun with it!
Sunset Sky Paint Techniques
In this painting, you are going to be learning a a few techniques like double loading and triple loading and paint blending techniques.
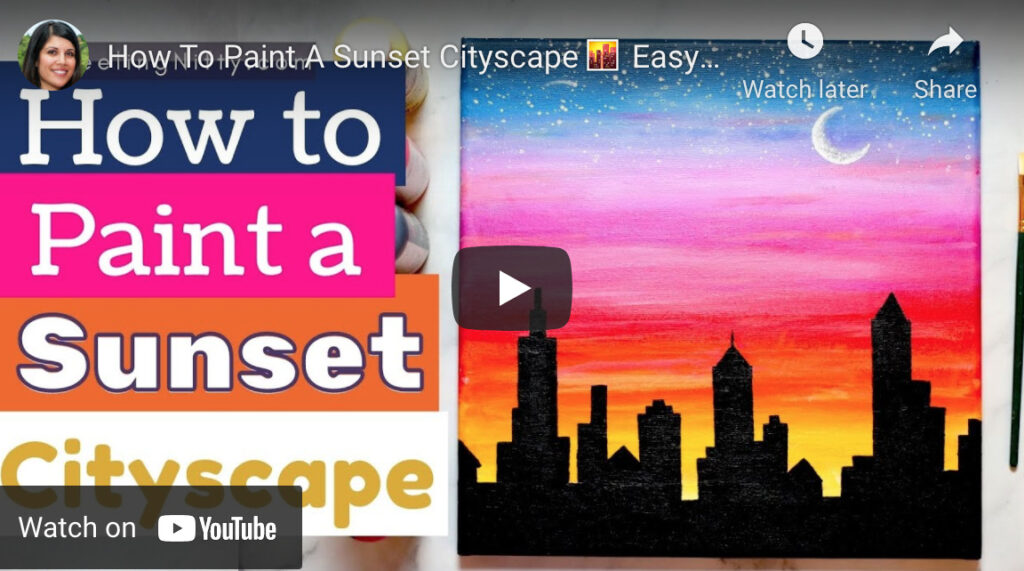
In the YouTube tutorial below, I'll show you double loading, other tips and blending techniques I talk about in this post. Sometimes its easier to watch with a demonstation. Watch the video below for more info.
Double Loading Technique
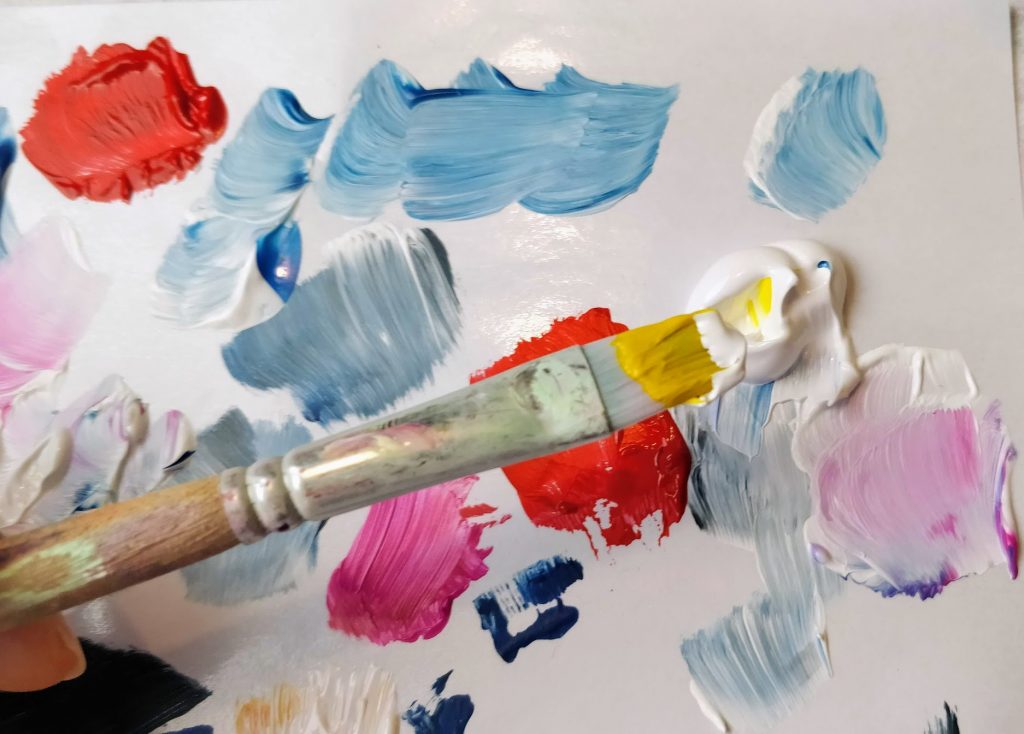
Double loading means you'll have 2 paint colors on your brush at one time. This means you will NOT clean off your brush before picking up the next color. This double loading technique is going to help you blend the colors in your sunset.
And triple loading is the same as double loading except you have 3 paint colors on your brush at one time.
Trust me, its super fun! Don't be intimidated by the technical terms.
I can't wait to show you- I'm so excited 🙂
The full sunset step by step tutorial is at the end of this post- and includes a link to the YouTube full length video!

I hope you truly enjoy this sunset cityscape painting tutorial below and find some joy in your creative hobbies.
Stay creative, kind and nifty my friends!
Jasmine
How to Paint an Easy Sunset Cityscape in Acrylics
Learn how to paint an easy sunset painting with a cityscape for a simple beginner acrylic painting tutorial suitable for all ages and skill levels.
Materials
- Canvas
- Paints (Black, Blue, Pink/Magenta, Red, Yellow & White)
- Medium/Small Flat paintbrush (or any)
- A container of clean water
- Pallete paper (or paper plate)
- Pencil and Ruler
- Masking Tape
Instructions
- Click here to follow the full length YouTube video tutorial
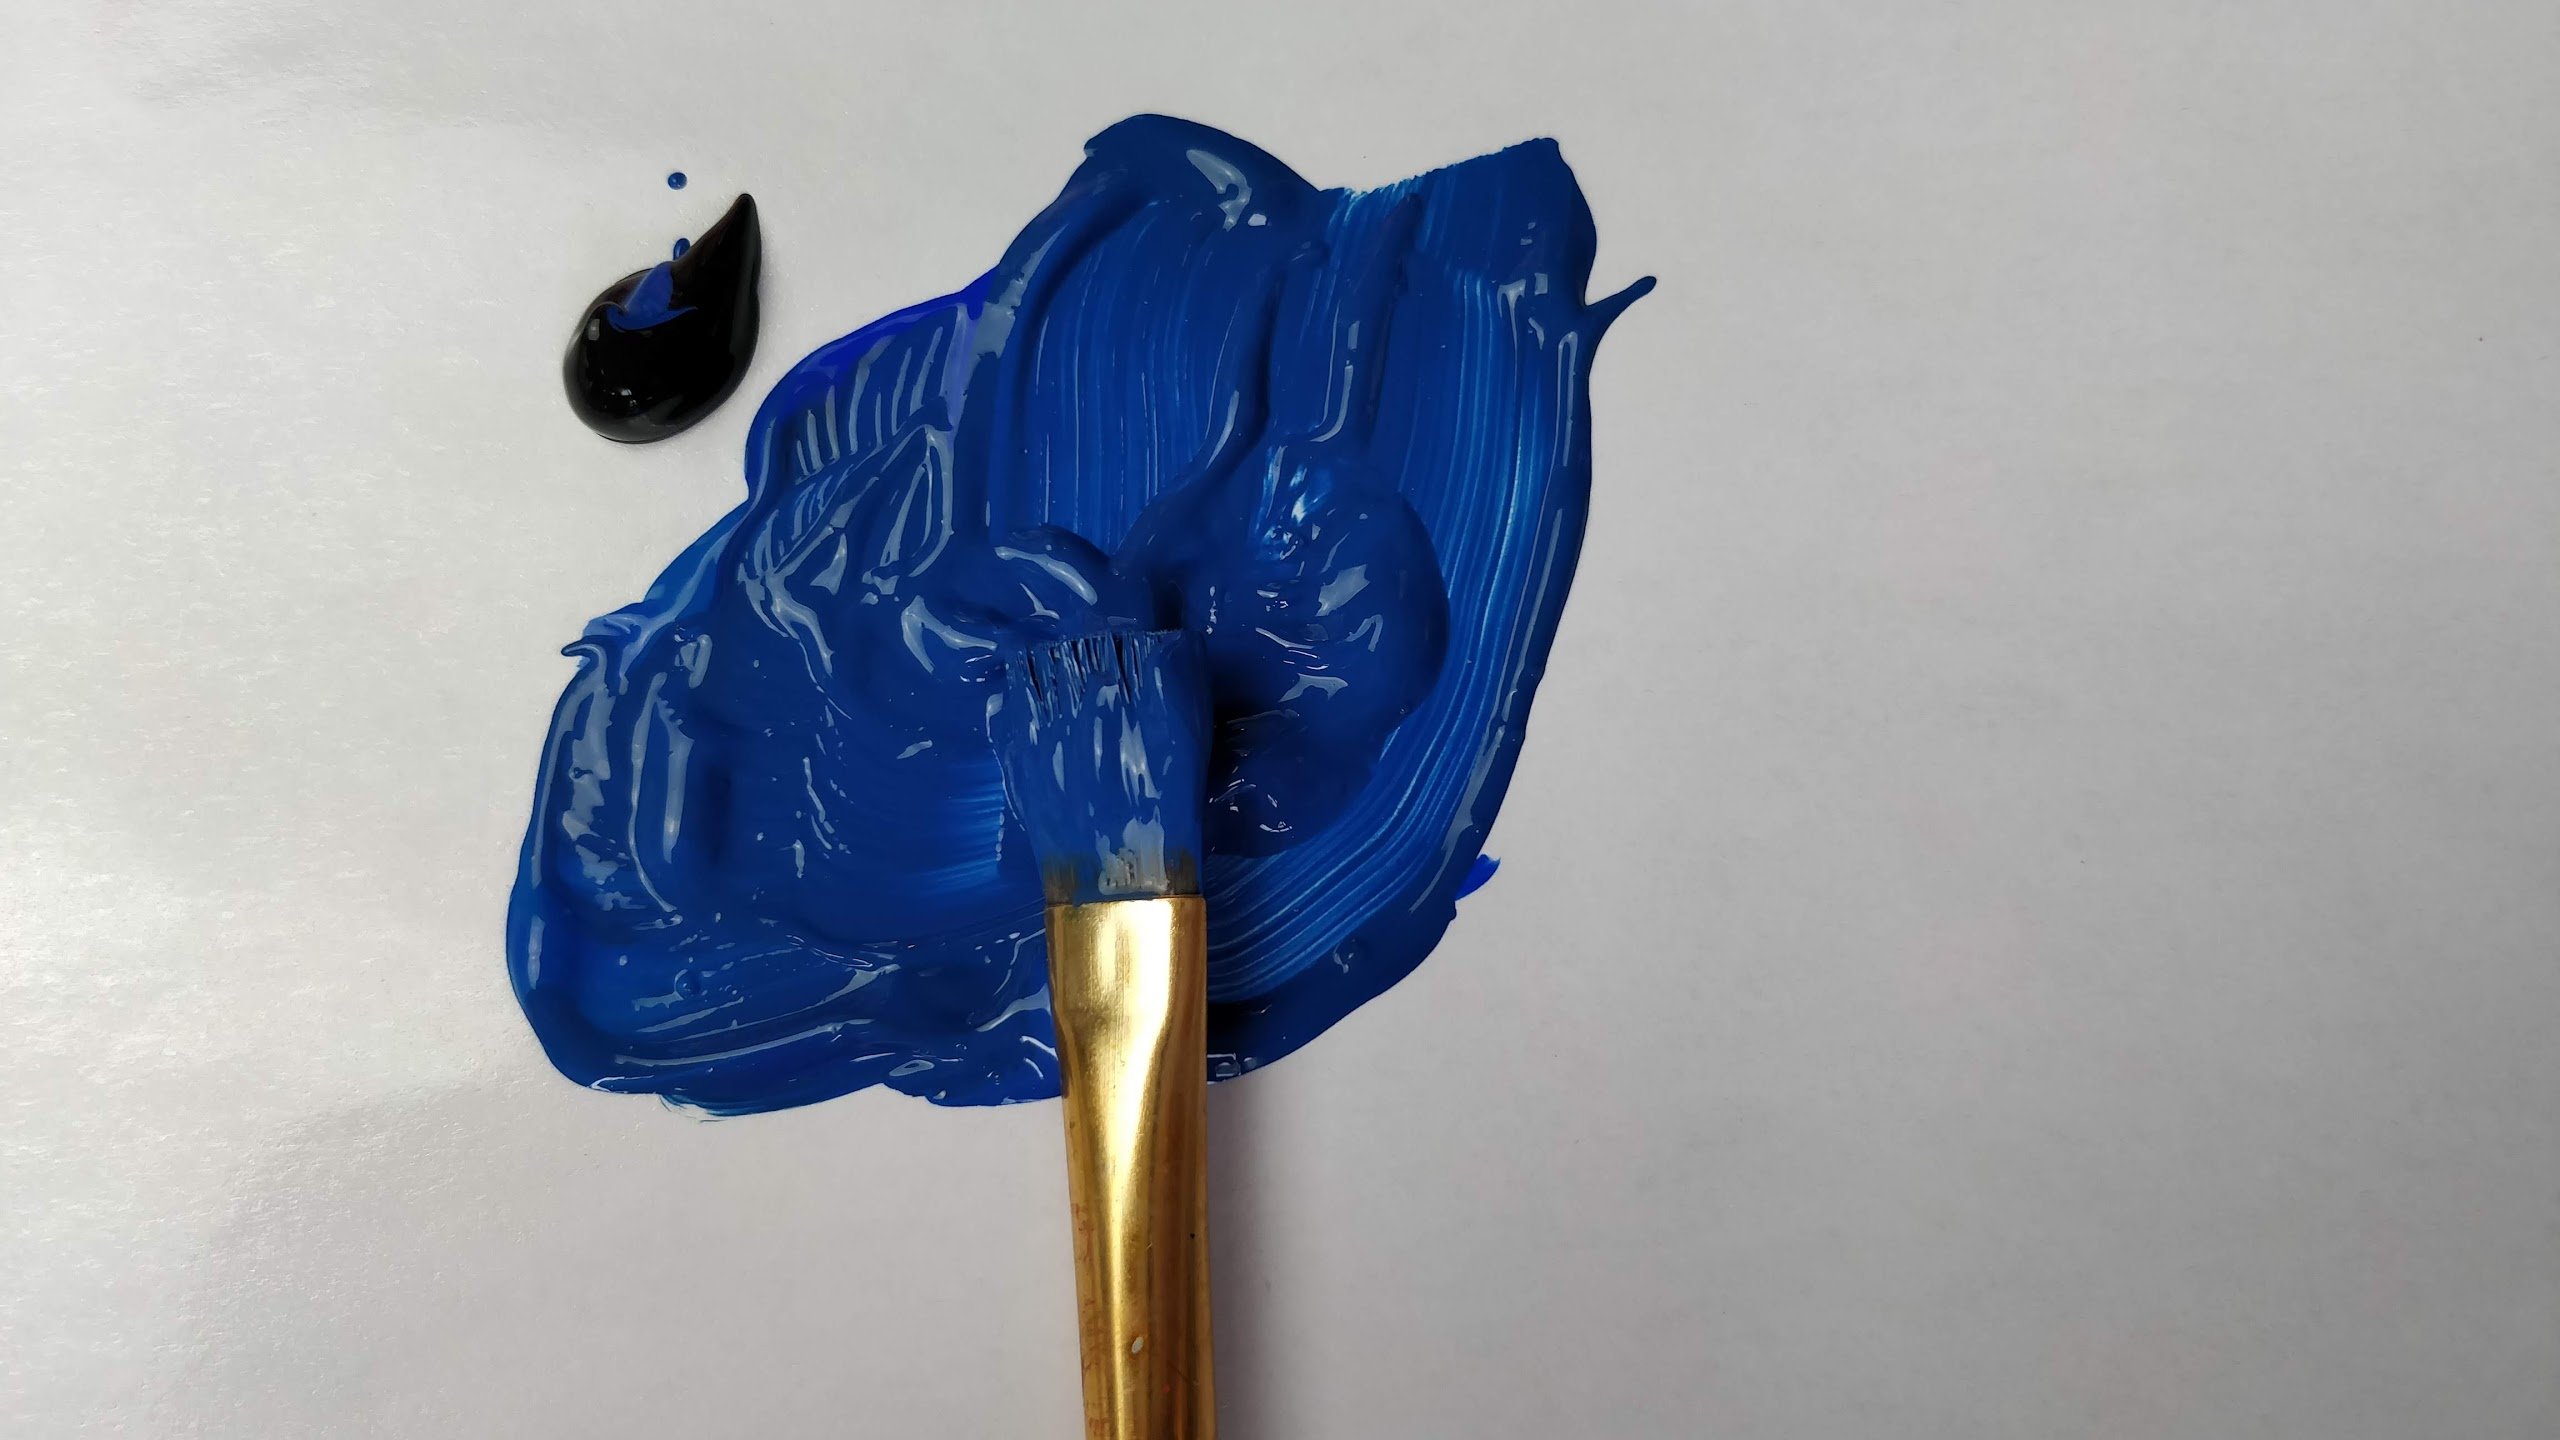
- On your palette, mix your blue with the tiniest amount of black, to form a darkish blue.

- Load your brush up with the darkish blue and paint and paint the top portion of your canvas, using long LEFT to RIGHT, RIGHT to LEFT strokes. If you want you can add a tiny amount of black to the top edge to make it look like the sky is the darkest at the top

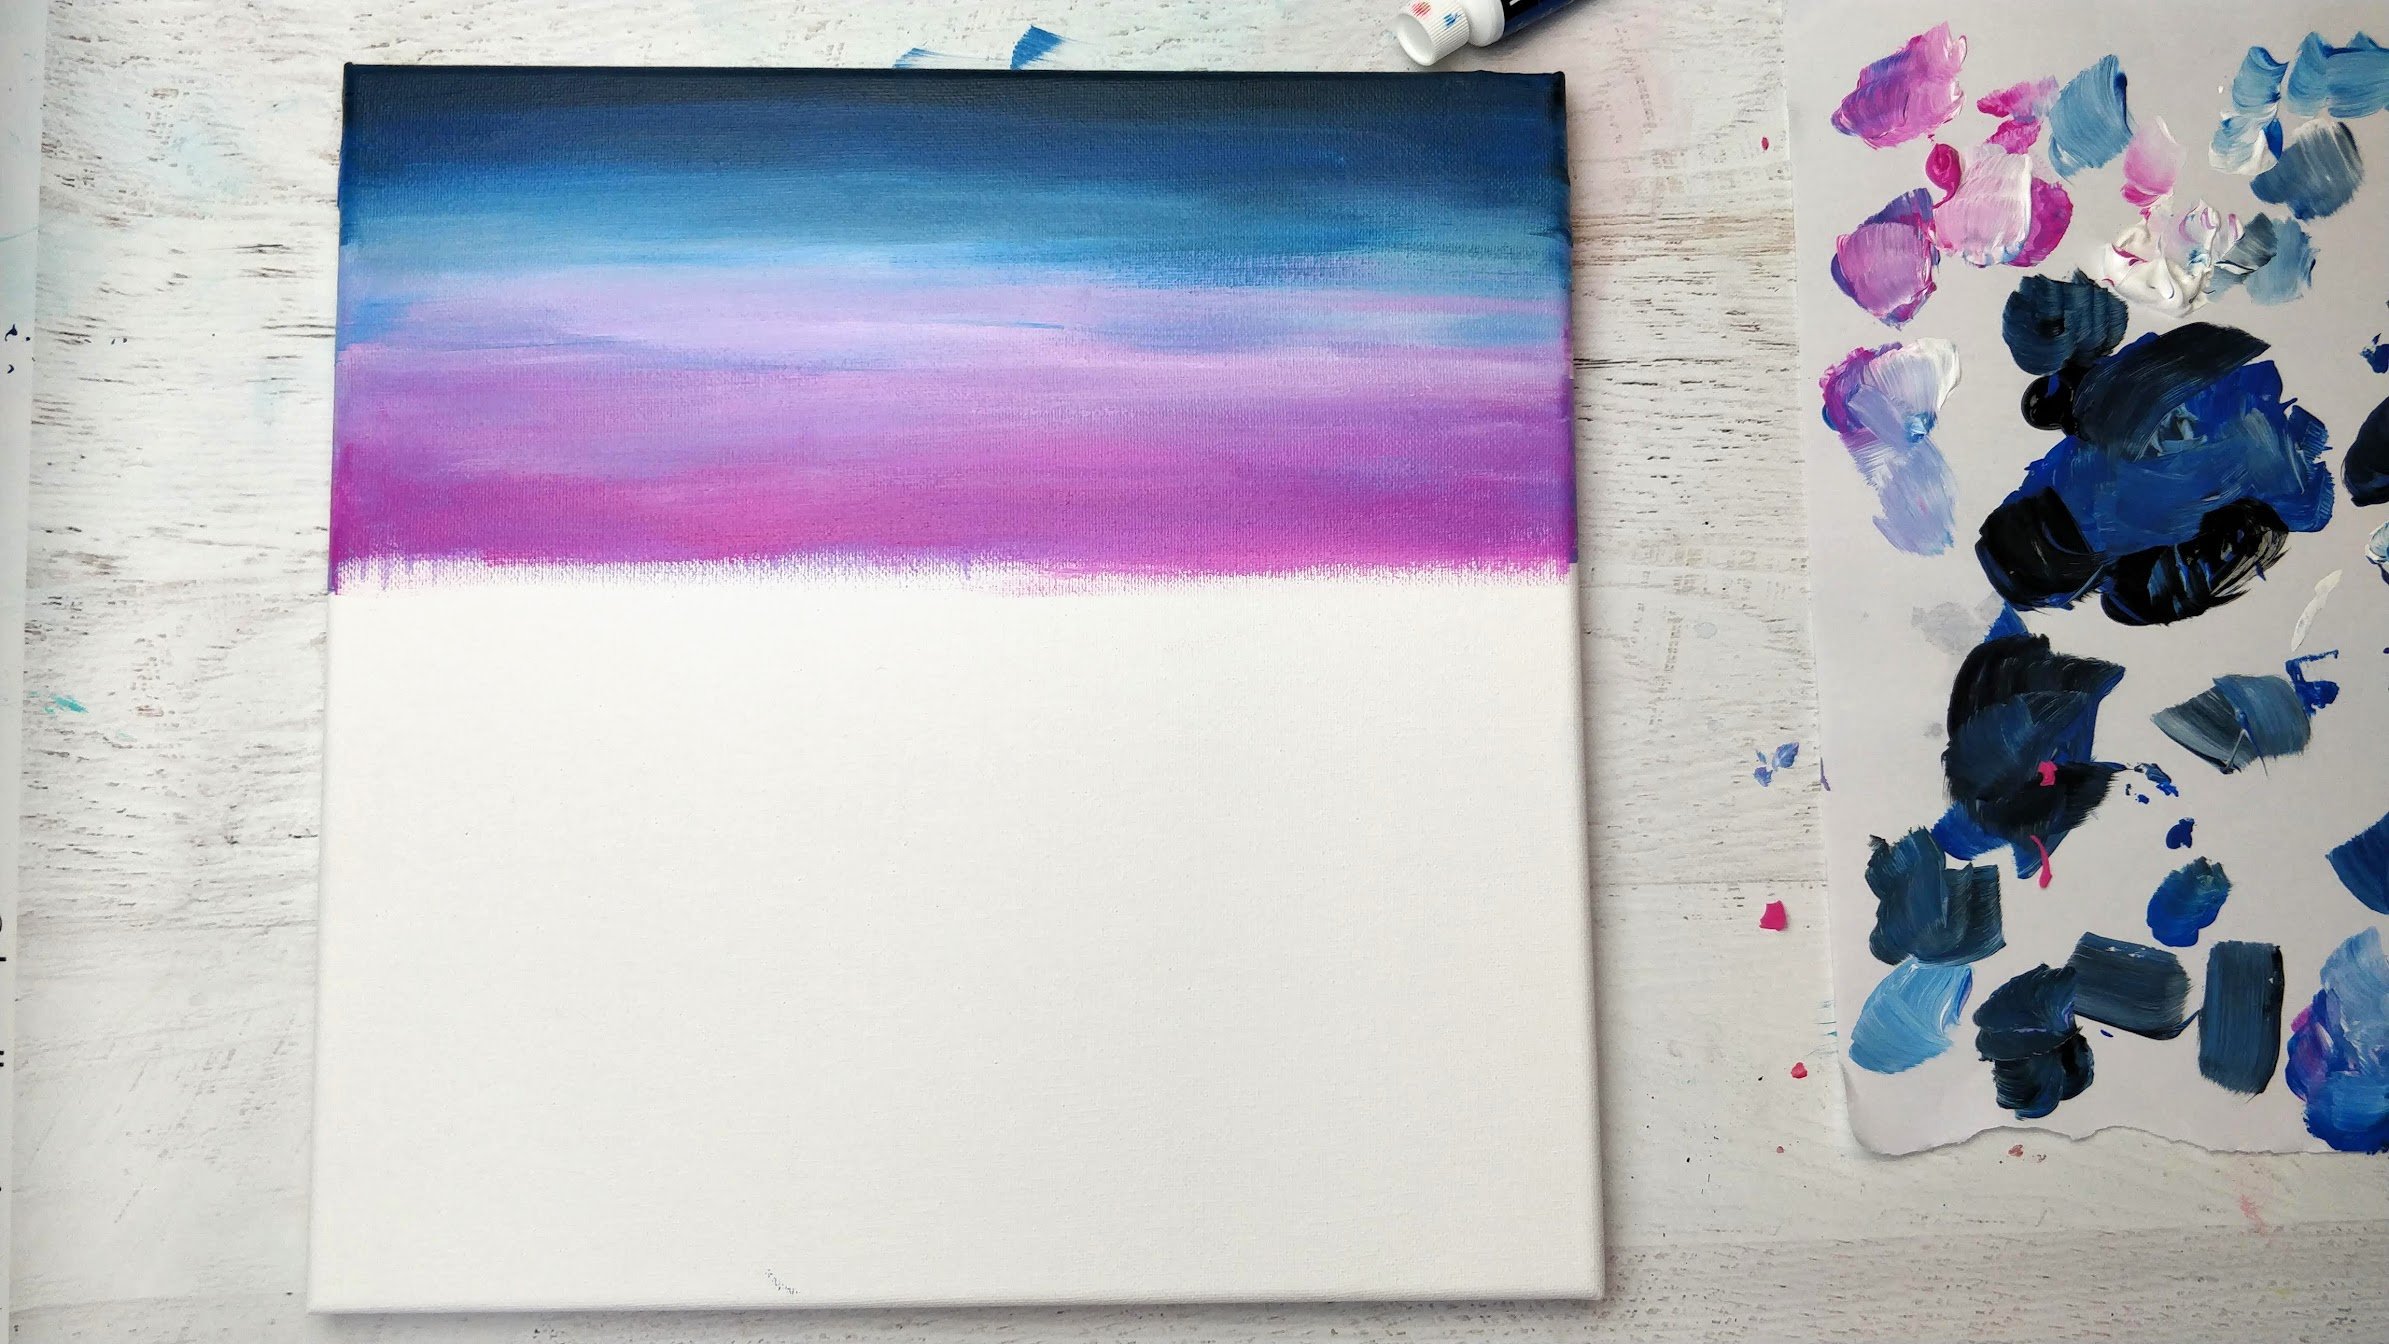
- Without cleaning off your brush, add in some white onto our brush. This is called `double loading`. Essentially you will have the blue and white both on your brush and this will make it easier to blend/transition into a light blue color of your sky.
- Take the `double-loaded` brush and using the same LEFT to RIGHT and RIGHT to LEFT long brush strokes, blend this lighter color from where you left off with the blue.

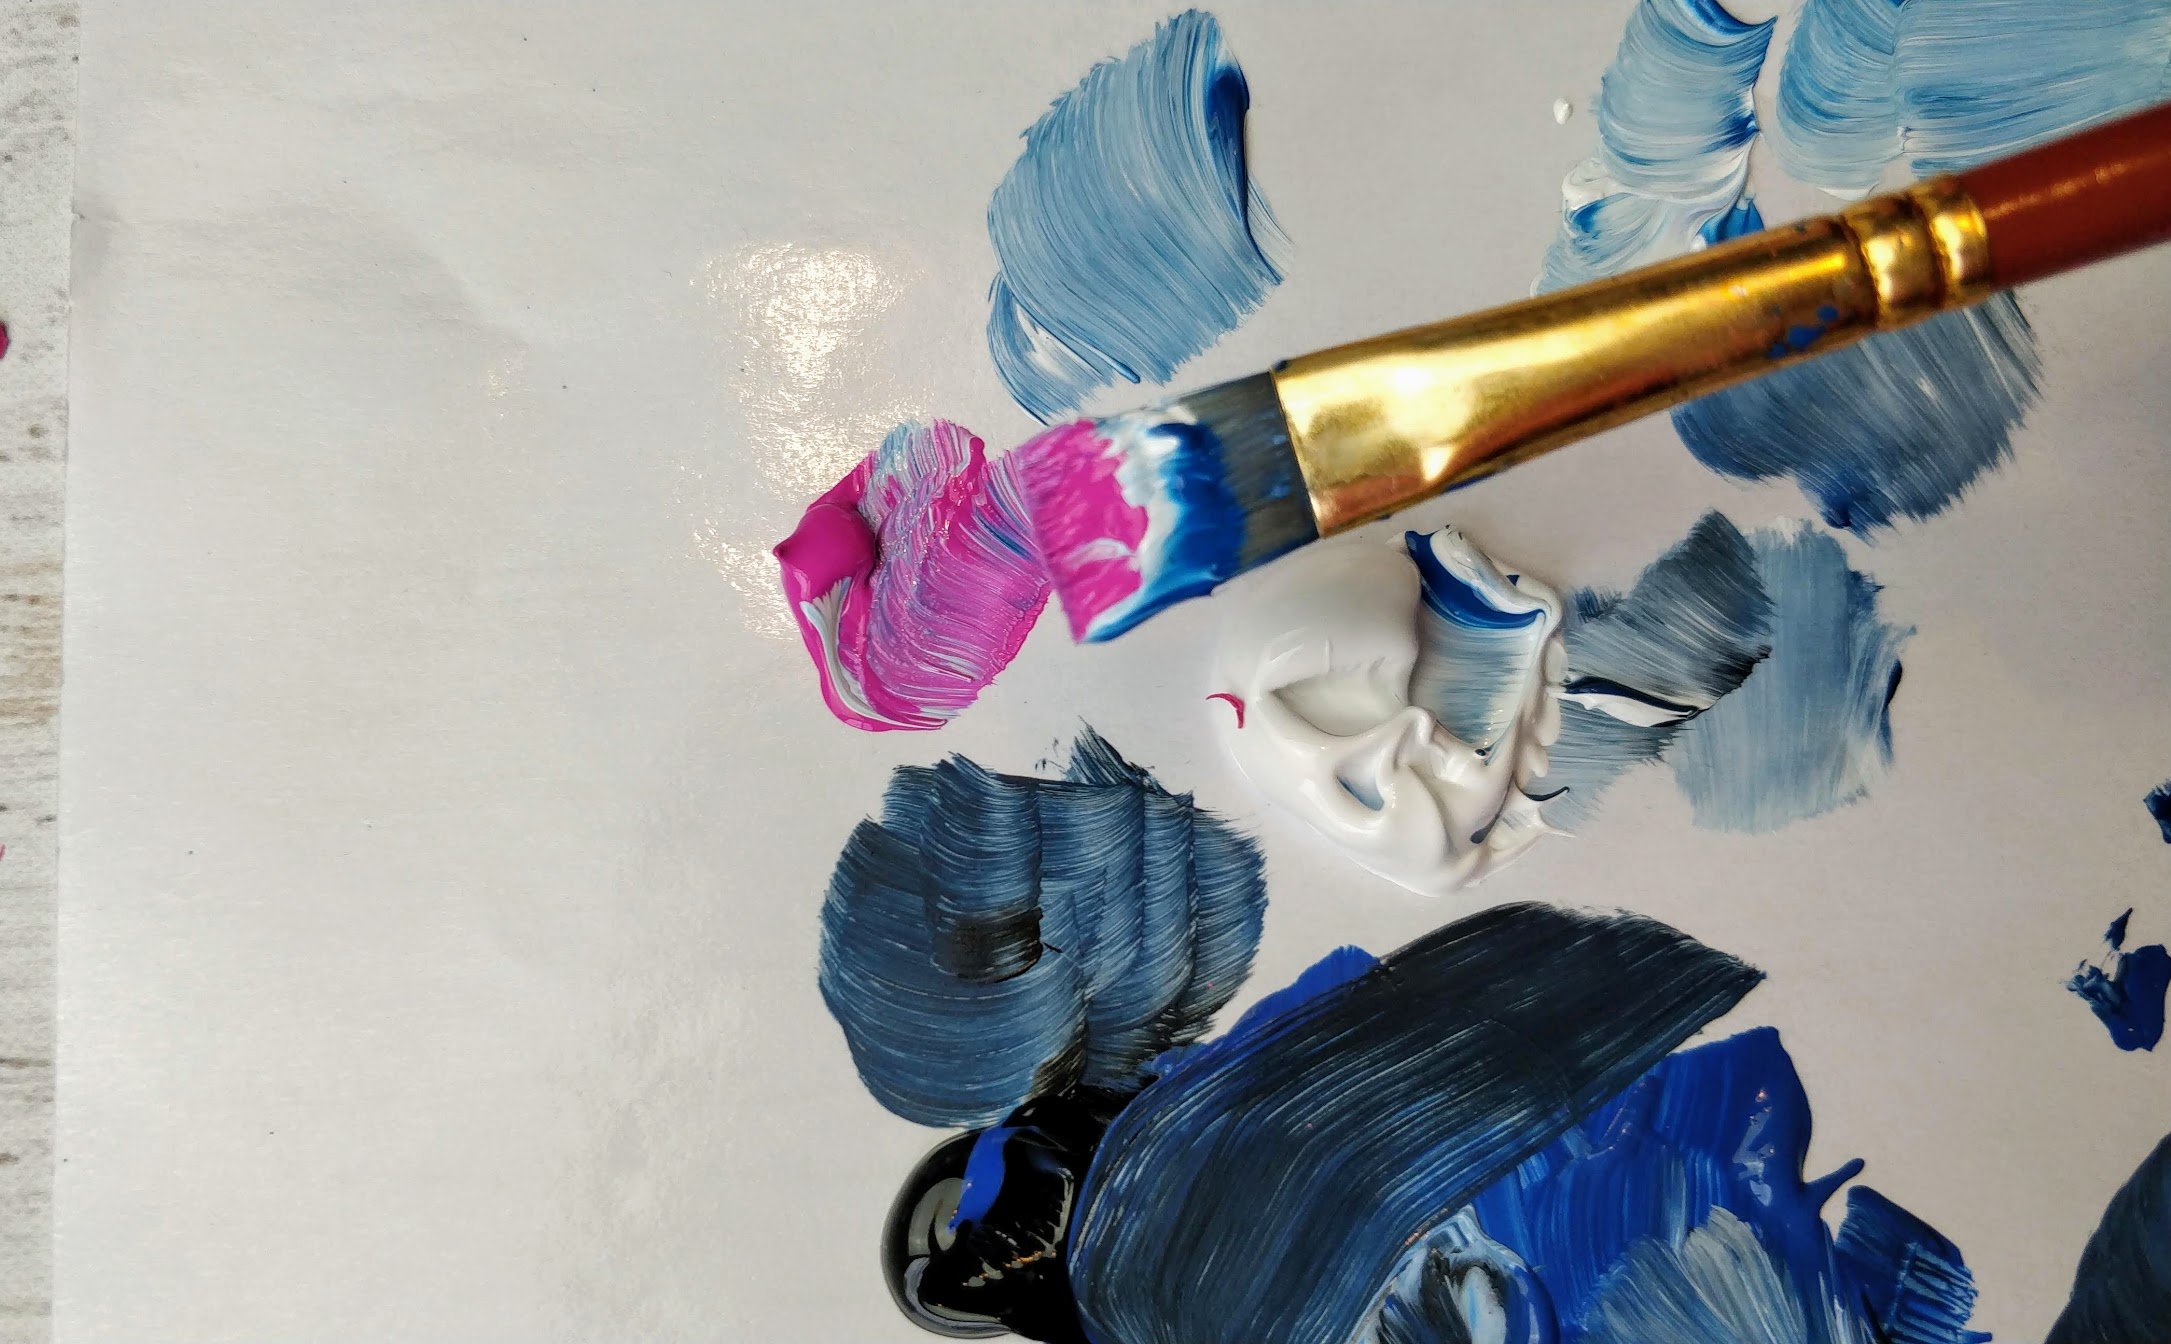
- Without cleaning your brush off, load on some of your pink/magenta paint. This is called `triple loading` since you have blue, white and pink on your brush at the same time.
- Take your `triple loaded` brush and using the same LEFT to RIGHT and RIGHT to LEFT long brush strokes, blend the pink into where you left off with the light blue. You will also notice that your pink might look more purple since there was some blue on the brush, this is the color we want! If you want you can add some pure pink onto your brush after you've blended, and add more pink back into the sky if you like that better.
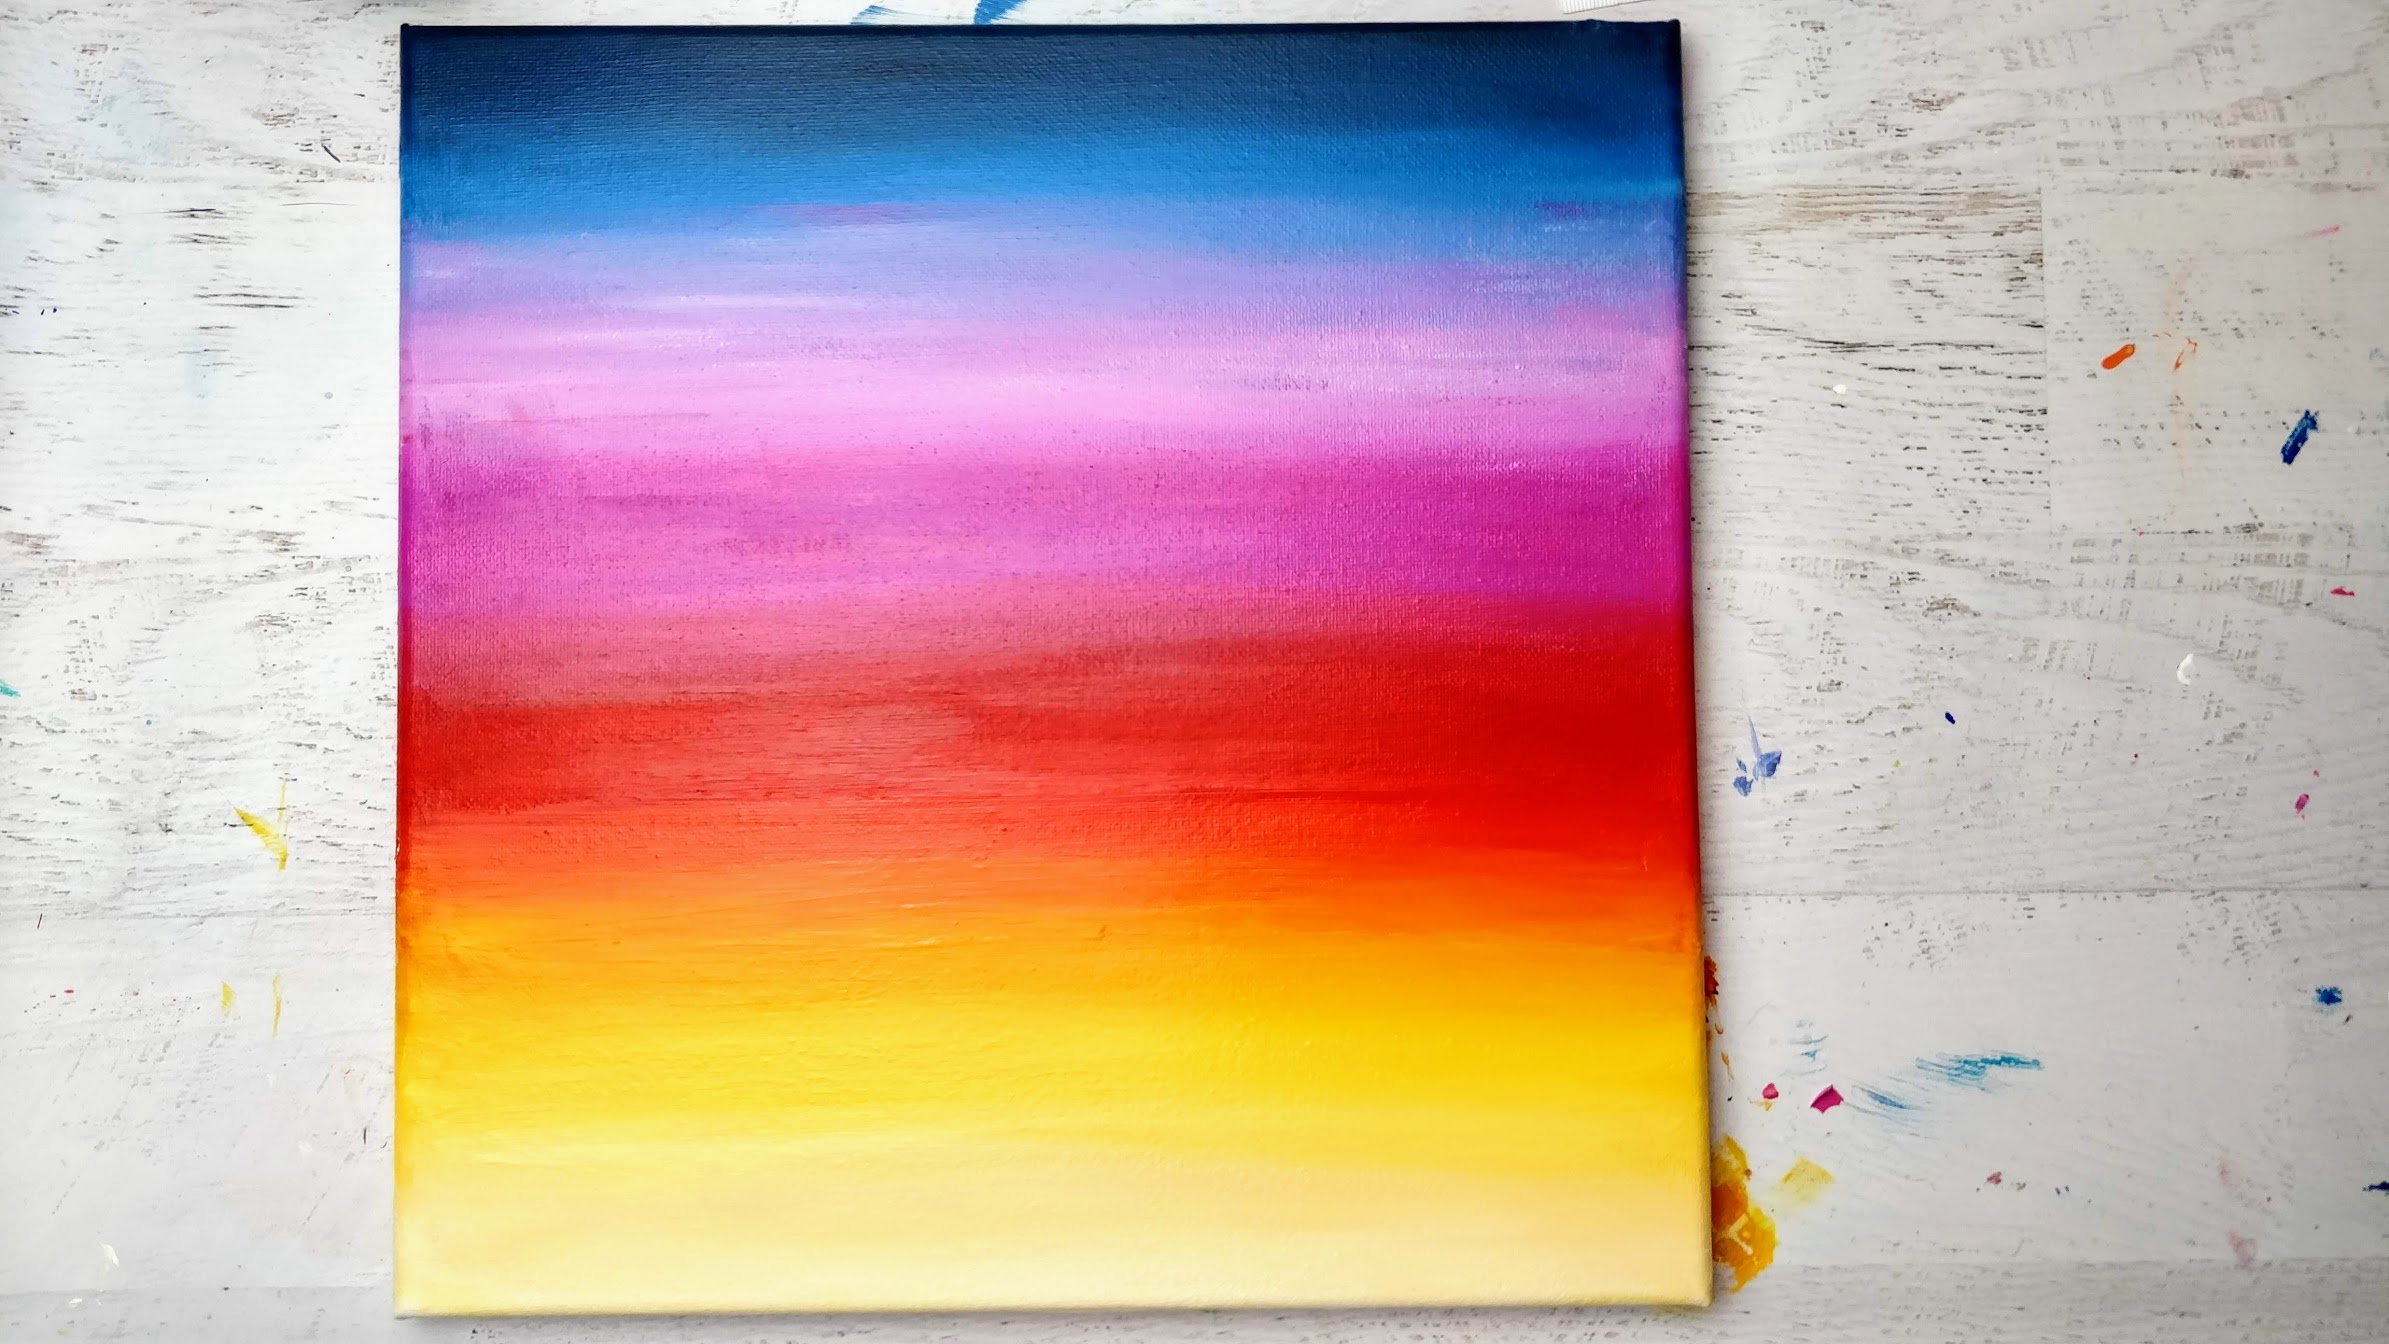
- Now clean off your brush in some water. We don't want to mix too many colors on the brush, as it might start giving "muddy"/brownish colors-which we don't want. Once your brush is clean, add some pure red onto your brush and blend the red into the bottom of the pink on your canvas. If you want a good blend, add a little bit of the pink ono your brush first then add red, to ` double load` and then blend down. Either will work, since pink and red are already pretty close in tonality.
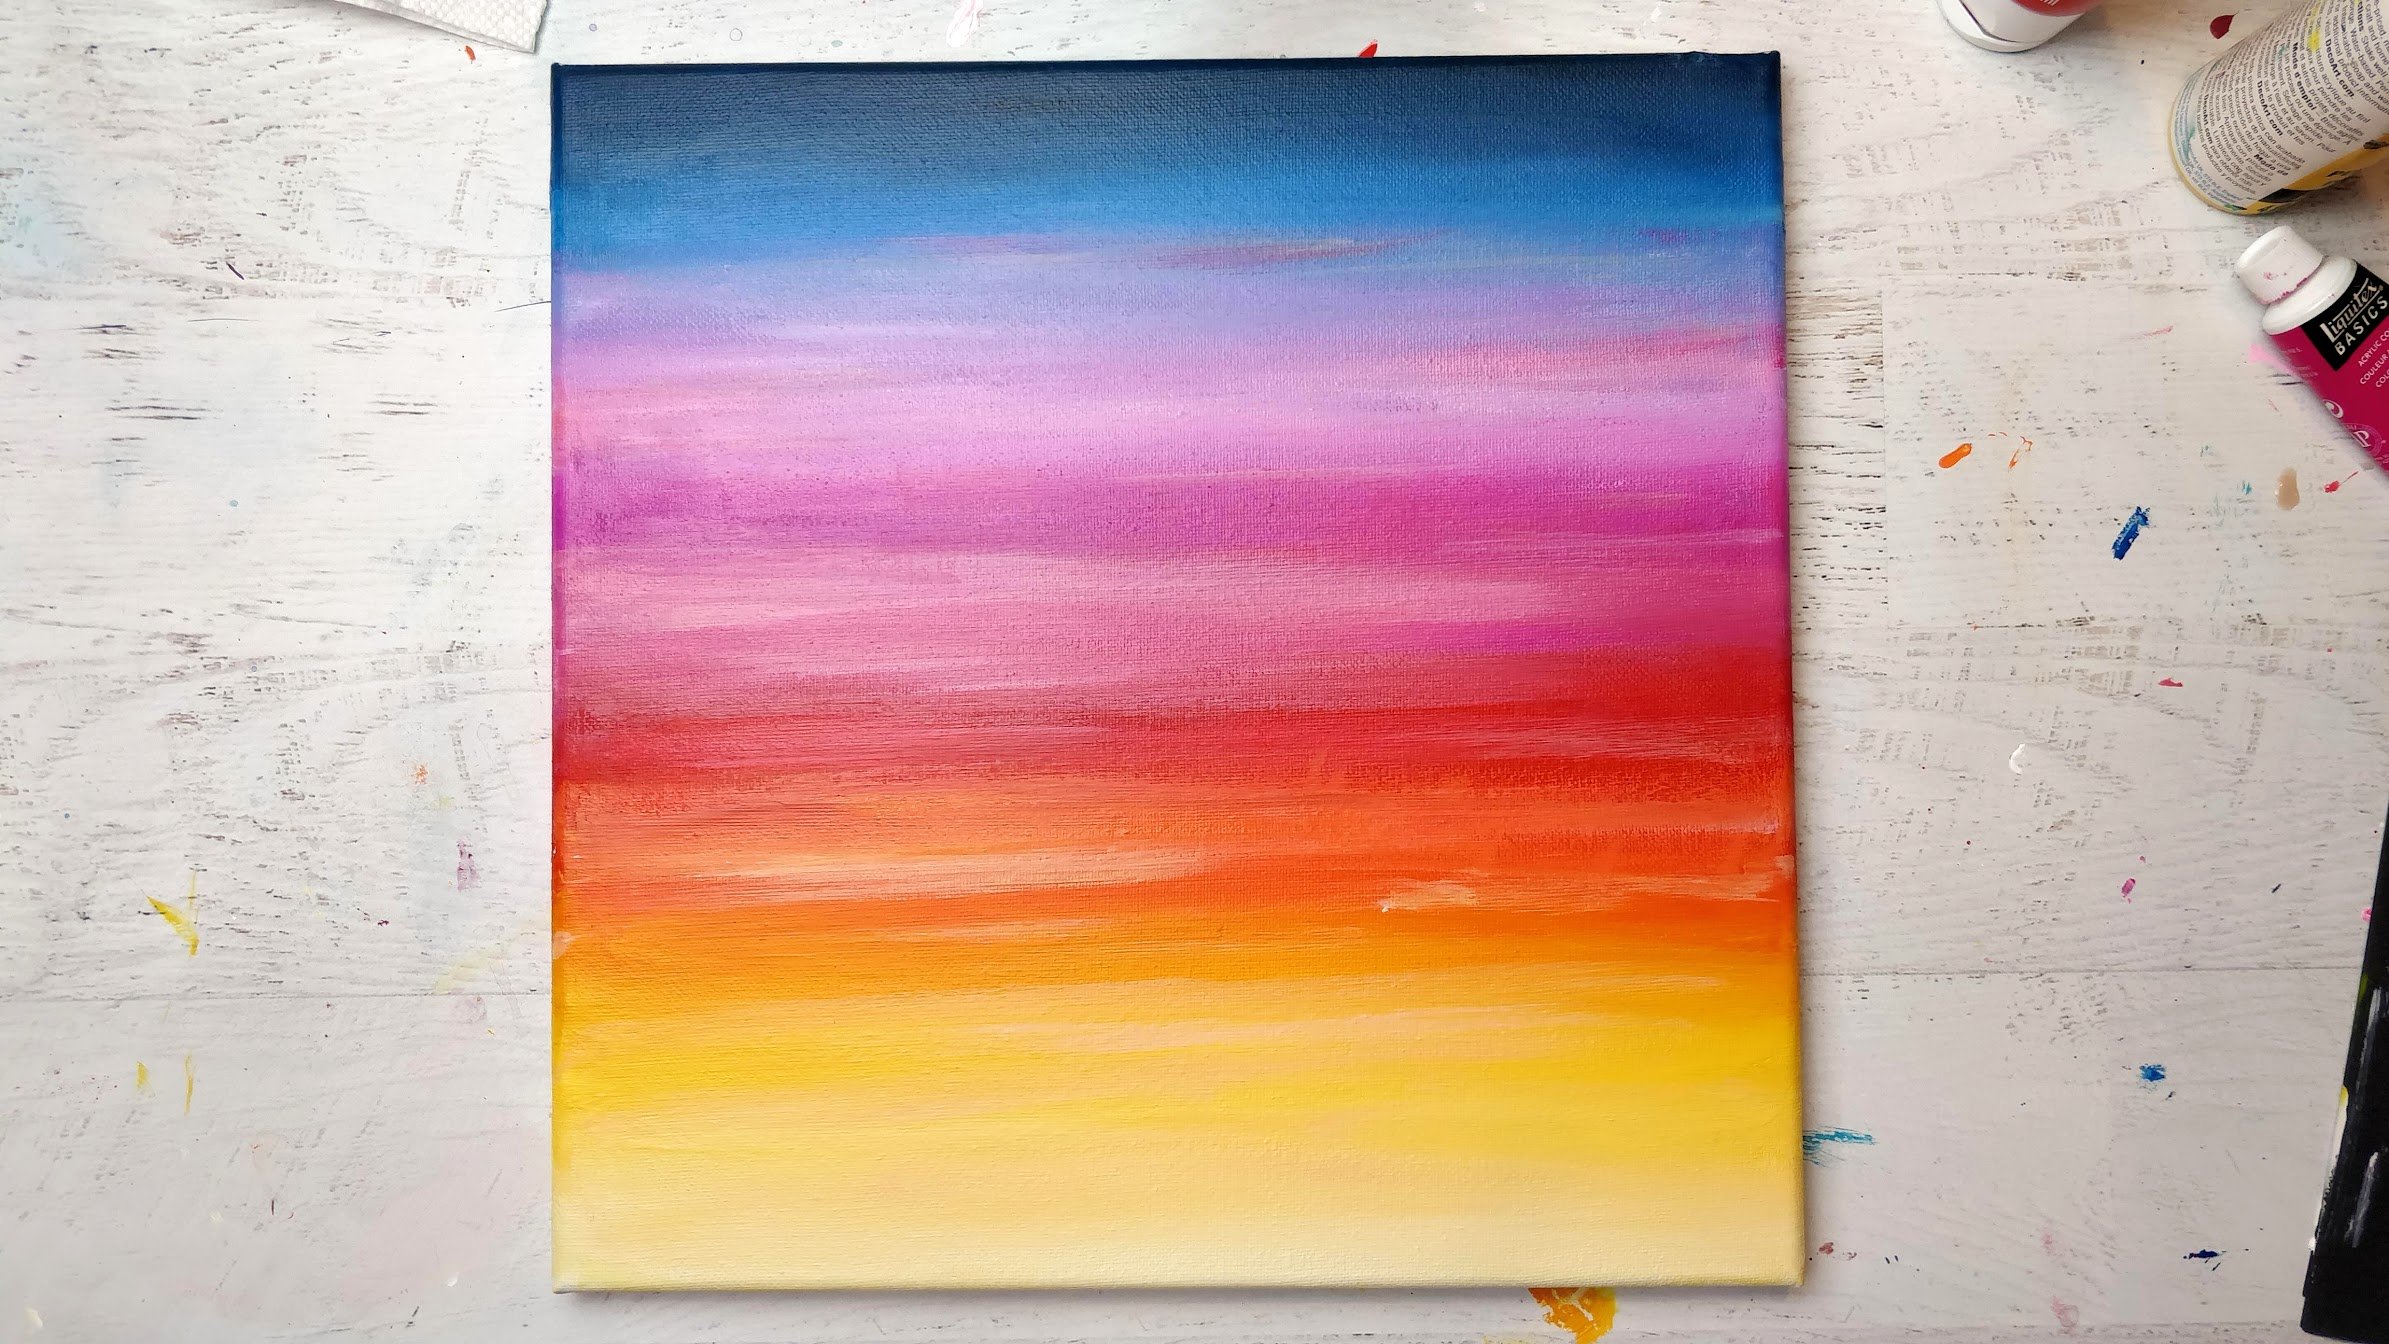
- Without cleaning off your brush, load some Yellow onto your brush for more `double loading`.Using the same LEFT to RIGHT and RIGHT to LEFT long brush strokes, blend the Yellow/Red into where you left off with the red. This color will look orange then yellow since yellow and red make orange. Every time you add more yellow to your brush, the color will become less orange and more yellow, like in the picture.

- Without cleaning off your brush add some pure white onto your brush to `triple load` it. Using the same LEFT to RIGHT and RIGHT to LEFT long brush strokes, blend the White/Yellow into where you left off with the Yellow. This will end up looking like the brightest sunlit area, painted where the sun is closest to - the horizon.

- Optional: once you're done the sunset, feel free to take your brush with white paint mixed with a tiny amount of pink to paint some very subtle, light pink, clouds. Make sure you have very little paint on the brush (close to dry brushing), so your clouds are very subtle and don't cover up your beautiful sunset.
- Wait for your sunset to completely dry (a few minutes). You can take a heat gun or hairdryer to it if you want it to dry faster.
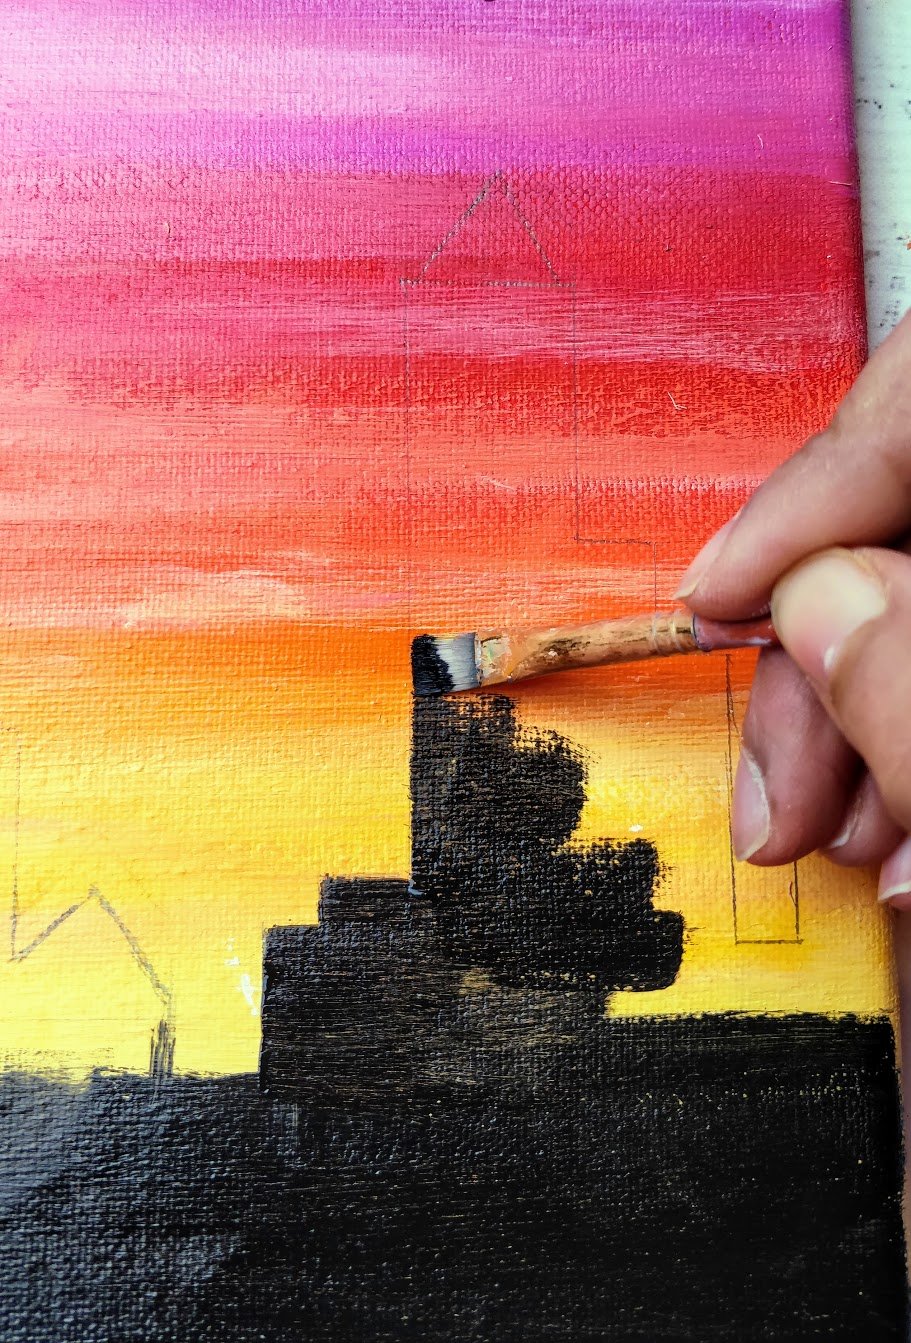
- Once dry, take your pencil and ruler and start to design and draw your Cityscape. You can Google images of your own city's skyline and use that as an inspiration, from your own imagination or feel free to use the one I made.
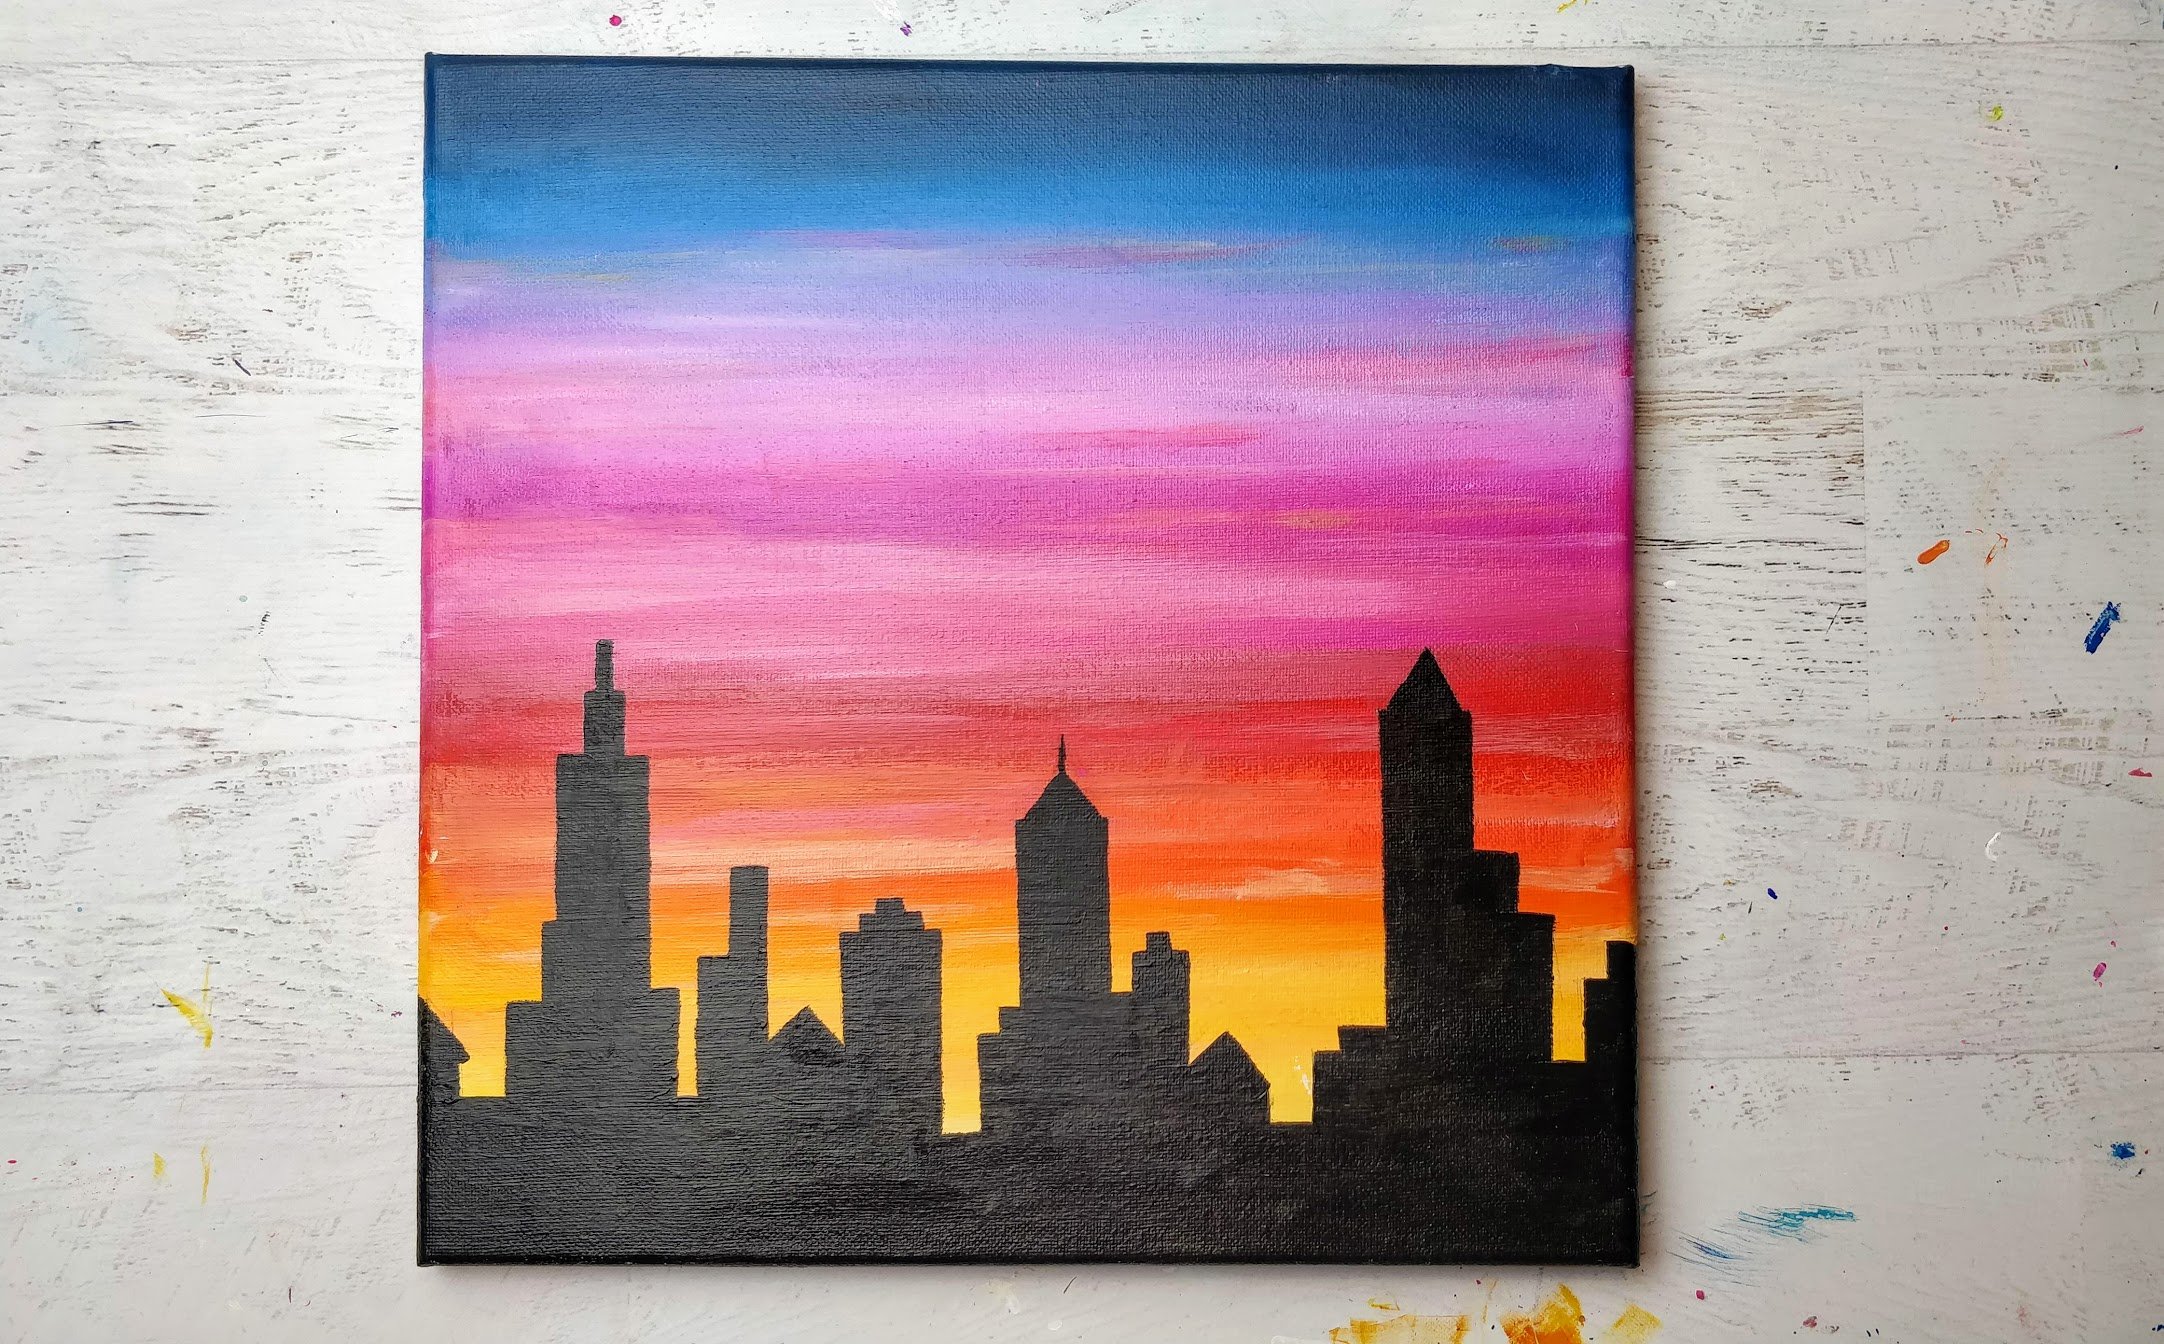
- Once you're happy with the cityscape, use your small/medium flat brush to fill out the shadows with pure black paint. Use the flat edge of your brush and paint in a LEFT to RIGHT (or RIGHT to LEFT, depending on the edge) stroke to get clean and crisp edges. This was my favorite part of the painting because I really got into it and it forced me to focus, and I totally lost track of time in the process!


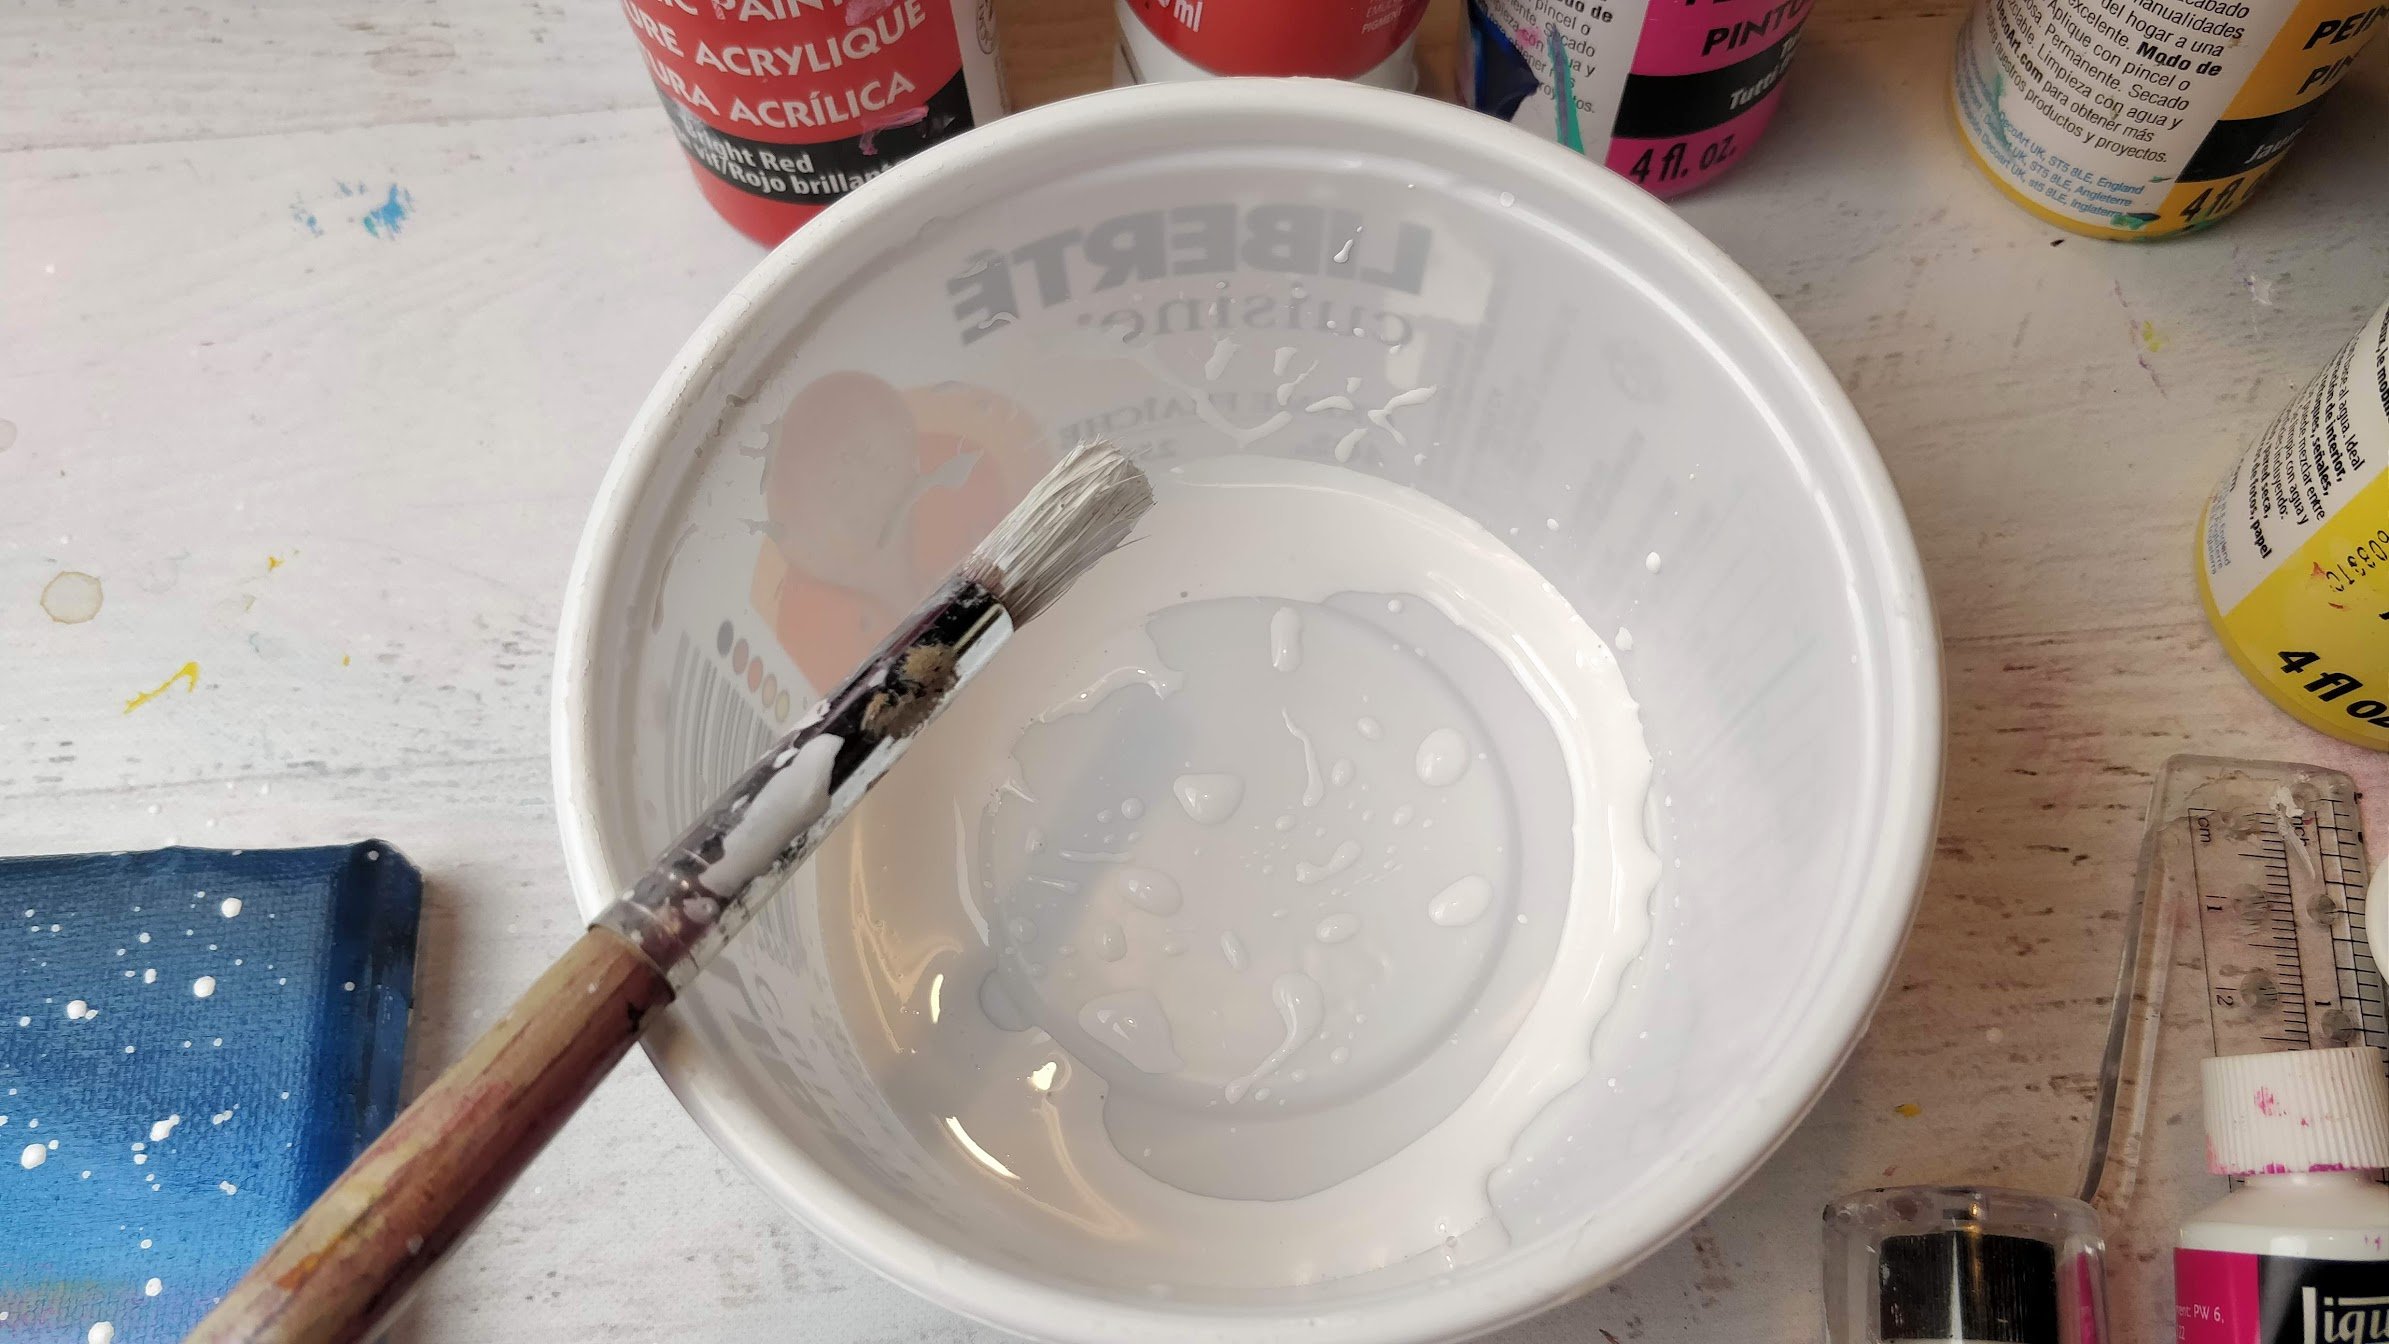
- What twilight sky would be complete without some magical stars? Since the top part of our painting fades into the night sky, we want our stars to lie there. To protect the rest of the sky from splashes of paint, use masking tape and a sheet of paper to cover it. Take a container, and add a small amount of white paint mixed with some water. It should be opaque but liquidy- like in the picture. Load up a brush with this watery white paint and tap your brush on your opposite wrist to get perfect splashes of stars. Finish up with a crescent moon and your painting is complete! If you want a really cool tutorial on how to create splatter stars check out Art Sherpa-love her video tutorial-brilliant!


Recommended Products
As an Amazon Associate and member of other affiliate programs, I earn from qualifying purchases.
-
 T-SIGN 66 Inches Reinforced Artist Easel Stand, Extra Thick Aluminum Metal Tripod Display Easel 21 to 66 Inches Adjustable Height with Portable Bag for Floor/Table-Top Drawing and Displaying
 -
Art Altrn Studio Stretched Canvas 14X14
-
Strathmore 365-9 300 Series Palette Pad, 9"x12" Tape Bound, 40 Sheets
-
One Stroke Brush Set, 1059 (10-Pack)
-
Liquitex BASICS 48 Tube Acrylic Paint Set, 22ml


If you liked this tutorial, please share it!


Hi Jasmine,
I just opened this website and i have to say i am inspired!
I Just wanted to thank you for these fun activities.
XOXOXO,
Uswa
🙂
Thanks so much Uswa, so glad you like them!! 🙂
Hello Jasmine. I'm like arts too. I love paint canvas. Your creativity is very good. Thanks for your dedication. Congratulations.
Thank you for your comment Paulo!! I enjoy painting and love sharing it with others, so glad to hear when people are enjoying it!
Cheers,
Jasmine
Yes, you are an artist!❤️ Simple, practical and very easy to follow. Thanks so much, for teaching double and triple loading! Keep up the good work.👍🏻
So glad you enjoyed the double and triple loading techniques Anu, I really enjoy them too! And thank you for your kind words❤
Cheers,
Jasmine
Hi jasmine I made it and my parents actually like it.thank you so much
Most welcome Amit! Glad you and your parents enjoy it!
Hi thanks for this tutorial! My daughter followed it and had a great time! Very clearly explained. Thank you
So glad to hear you both had a good time, and thank you for taking the time to let me know!❤️
Cheers,
Jasmine
thank you so much for this tutorial.
You are most welcome Chase!
Lovely! I just did this with my after school club kids and they really enjoyed it and are looking forward to next week when we paint in the buildings! Thank you!
That's so wonderful to hear Miss Robertson!! It's nice to know this tutorial is easy enough for kiddoes. Thanks so much for taking the time to letting me know and enjoy painting in the buildings next week 🙂
Cheers,
Jasmine