How To Descale a Keurig
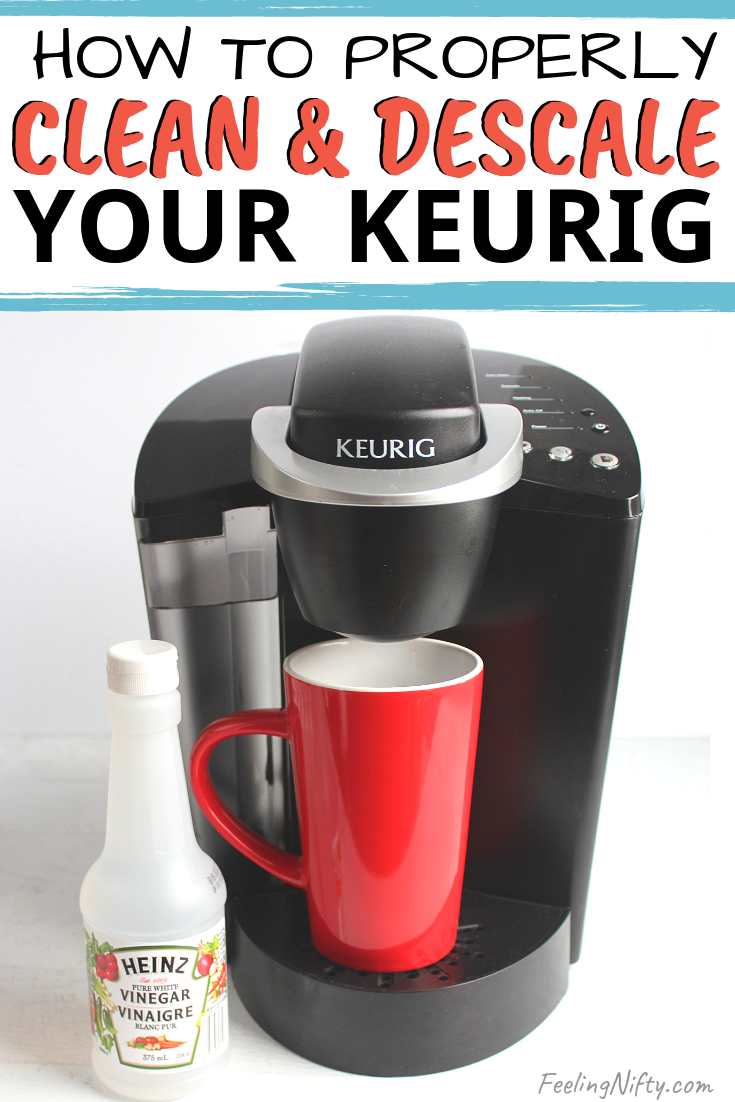
In this post you’ll learn how to descale a Keurig with vinegar and without vinegar. Also, find out how to give your Keurig a top to bottom clean so you can enjoy the very best cup of coffee each day.
Get your creative juices flowing after an aromatic, energizing and CLEAN cup of coffee. If you’re the proud owner of a Keurig machine (chances you are if your reading this) you probably love the convenience of single cup servings of coffee.
But did you know that you should be descaling your brewer every 3-6 months?
This process removes the build-up that can affect the performance of your Keurig, bacteria buildup and can even make your coffee taste better(or as it should). In this post you’ll learn 2 ways how to descale a Keurig.
Descaling your brewer holds especially true if your brewer is bought second hand of if it hasn’t been used in a while. Bacteria can build up in your Keurig.
Since we’re on the topic on Keurig maintenance, I’ve also included a top-to-bottom Keurig cleaning checklist. This includes often missed areas. There’s a FREE Printable checklist for you too. The free printable is at the bottom of this post.
Alrighty, grab a cup of your favorite coffee and let’s get cleaning!
Descale method #1: How to Clean a Keurig Without Vinegar
This post may contain affiliate links. For more information, see my disclaimer
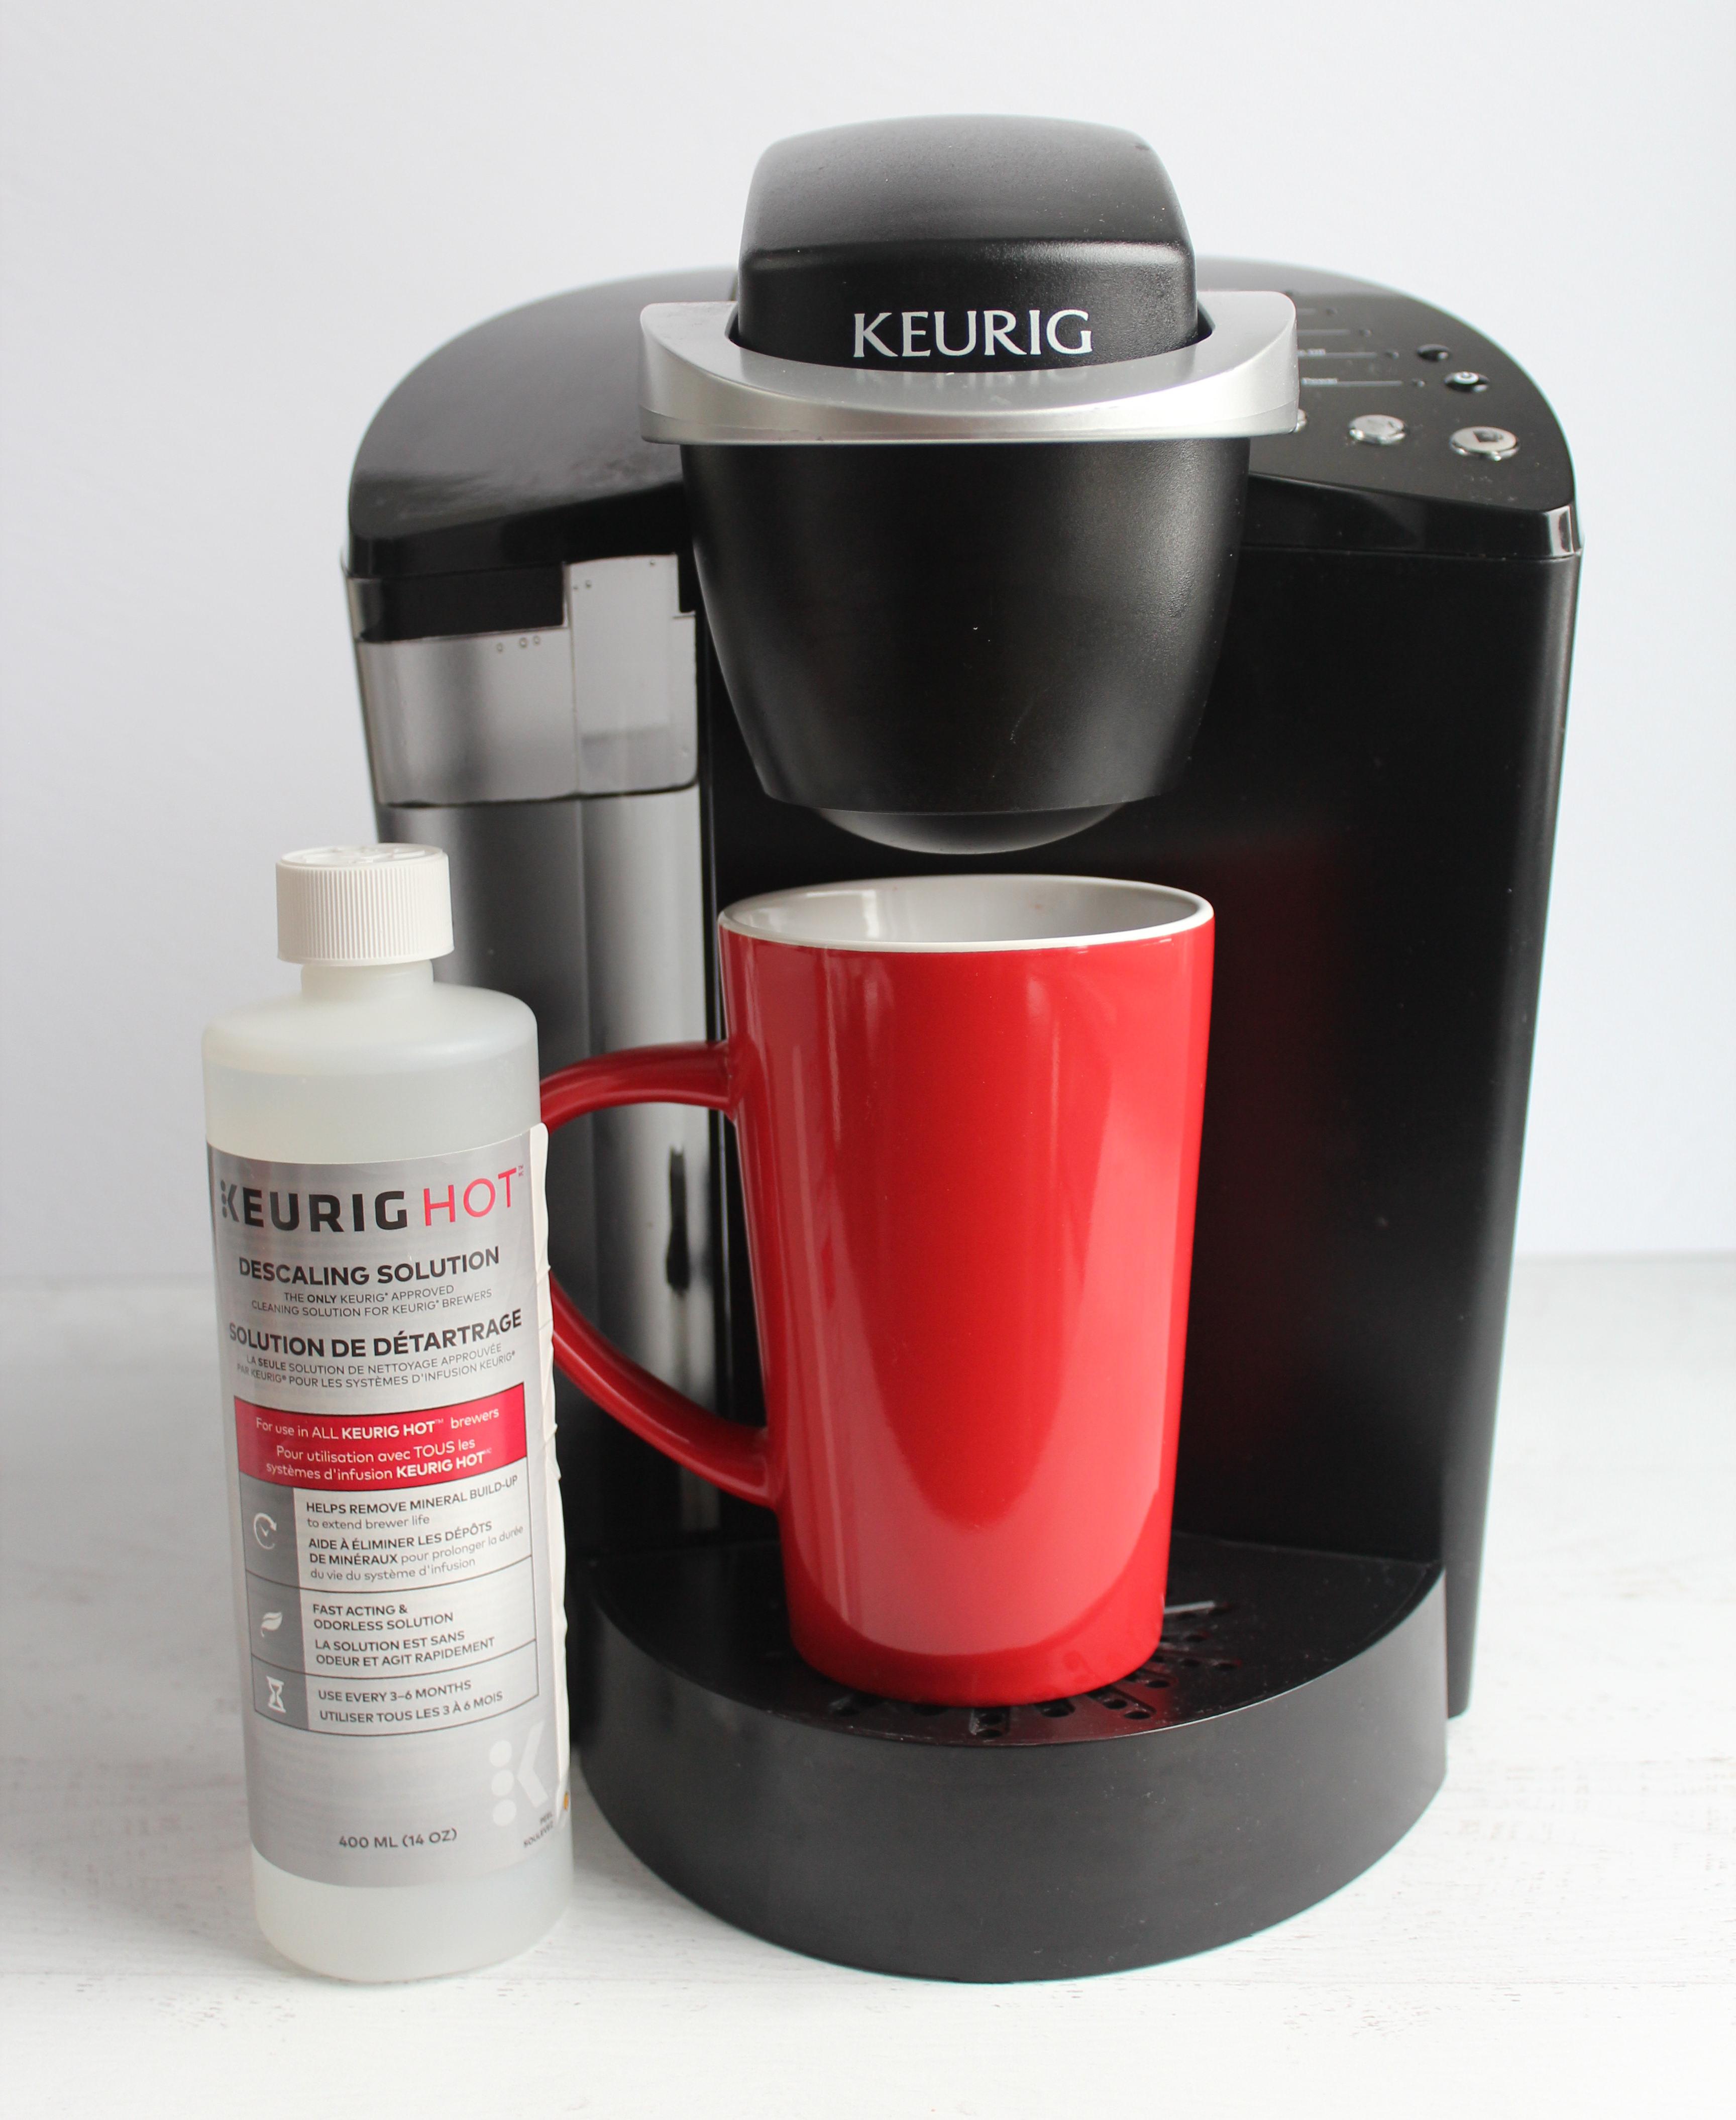
Are you looking for a quick way to descale or want to learn how to clean your Keurig without vinegar? Then the Keurig descale solution is your best bet. This is the method I used and it worked perfectly. And there wasn’t a weird aftertaste in the coffee – a complaint many people have.
It’s also much faster than the vinegar method. It can be done in 45 minutes opposed to 4 hours with the vinegar method (method #2 see below). Here’s the steps we used to descale the Keurig without vinegar.
Time: 45 minutes
How Often: every 3-6 months
Keurig Cleaning Instructions For Newer Models : These instructions work with Keurig 2.0 and older. For newer models please go to the Keurig product support page, select your brewer model, then navigate to the how-to videos section.
Materials:
- Keurig descale solution
- a Mug
- Access to a sink
Step-by-Step Instructions: How to Clean a Keurig Without Vinegar
1. Unplug the Keurig and then remove the water reservoir. Remove the water filter from the reservoir (if you have one)
2. Remove all water from the reservoir
3. Place the empty reservoir back into the Keurig
4. Empty the entire bottle of the Keurig descale solution into the reservoir
5. Fill the empty bottle with cool fresh water and add that into the reservoir. So the final solution in the reservoir is 1 part Keurig solution and 1 part water.
6. Open the Keurig where you add in your coffee pods. Remove the coffee pod holder from the Keurig. Close it.
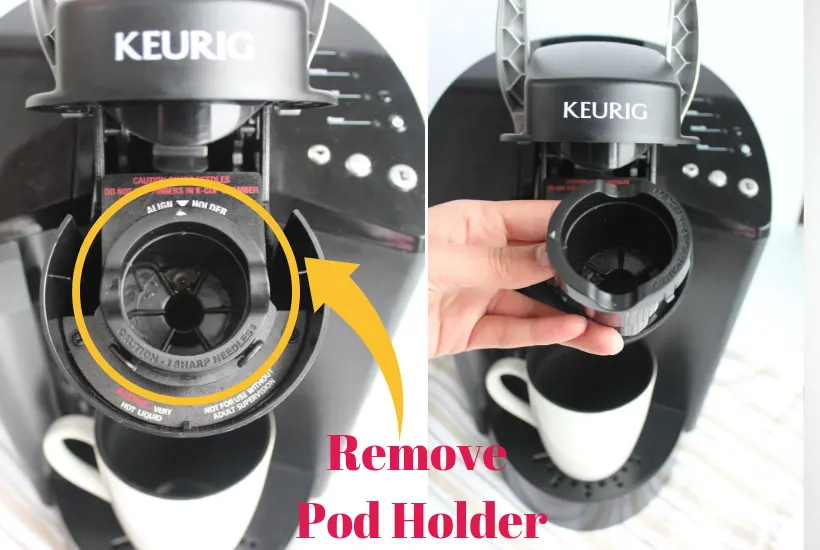
7. Turn the Keurig machine ON
8. Run a coffee cycle on your brewer using the largest cup size button (if you have one)
9. Once the cycle is done, dump the hot solution from the mug into the sink
10. Repeat steps 8 and 9 until the “add water” indicator turns on.
11. Let your brewer stand for 30 minutes with the power ON
12. After 30 minutes, remove the water reservoir, empty any remaining solution, and thoroughly rinse with water.
13. Fill the reservoir with fresh water up to the max fill line. Place it back onto your Keurig
14. This step is very important so that your coffee doesn’t have a weird taste to it and properly flush out any solution from the inner tubes.
Run additional coffee cycles with the fresh water. The official Keurig instructions say run about 12 coffee cycles(largest cup size button), but we found that 8 cycles completely removed any of the remaining solution.
15. Congrats, you did it! Now you can enjoy your favorite Keurig Coffee with your newly cleaned Keurig Coffee Brewer.
For whatever reason , if your coffee still tastes a bit “off”,repeat step 13-14 one more time or until the taste is gone.
Descale method #2: How to Clean Keurig with Vinegar
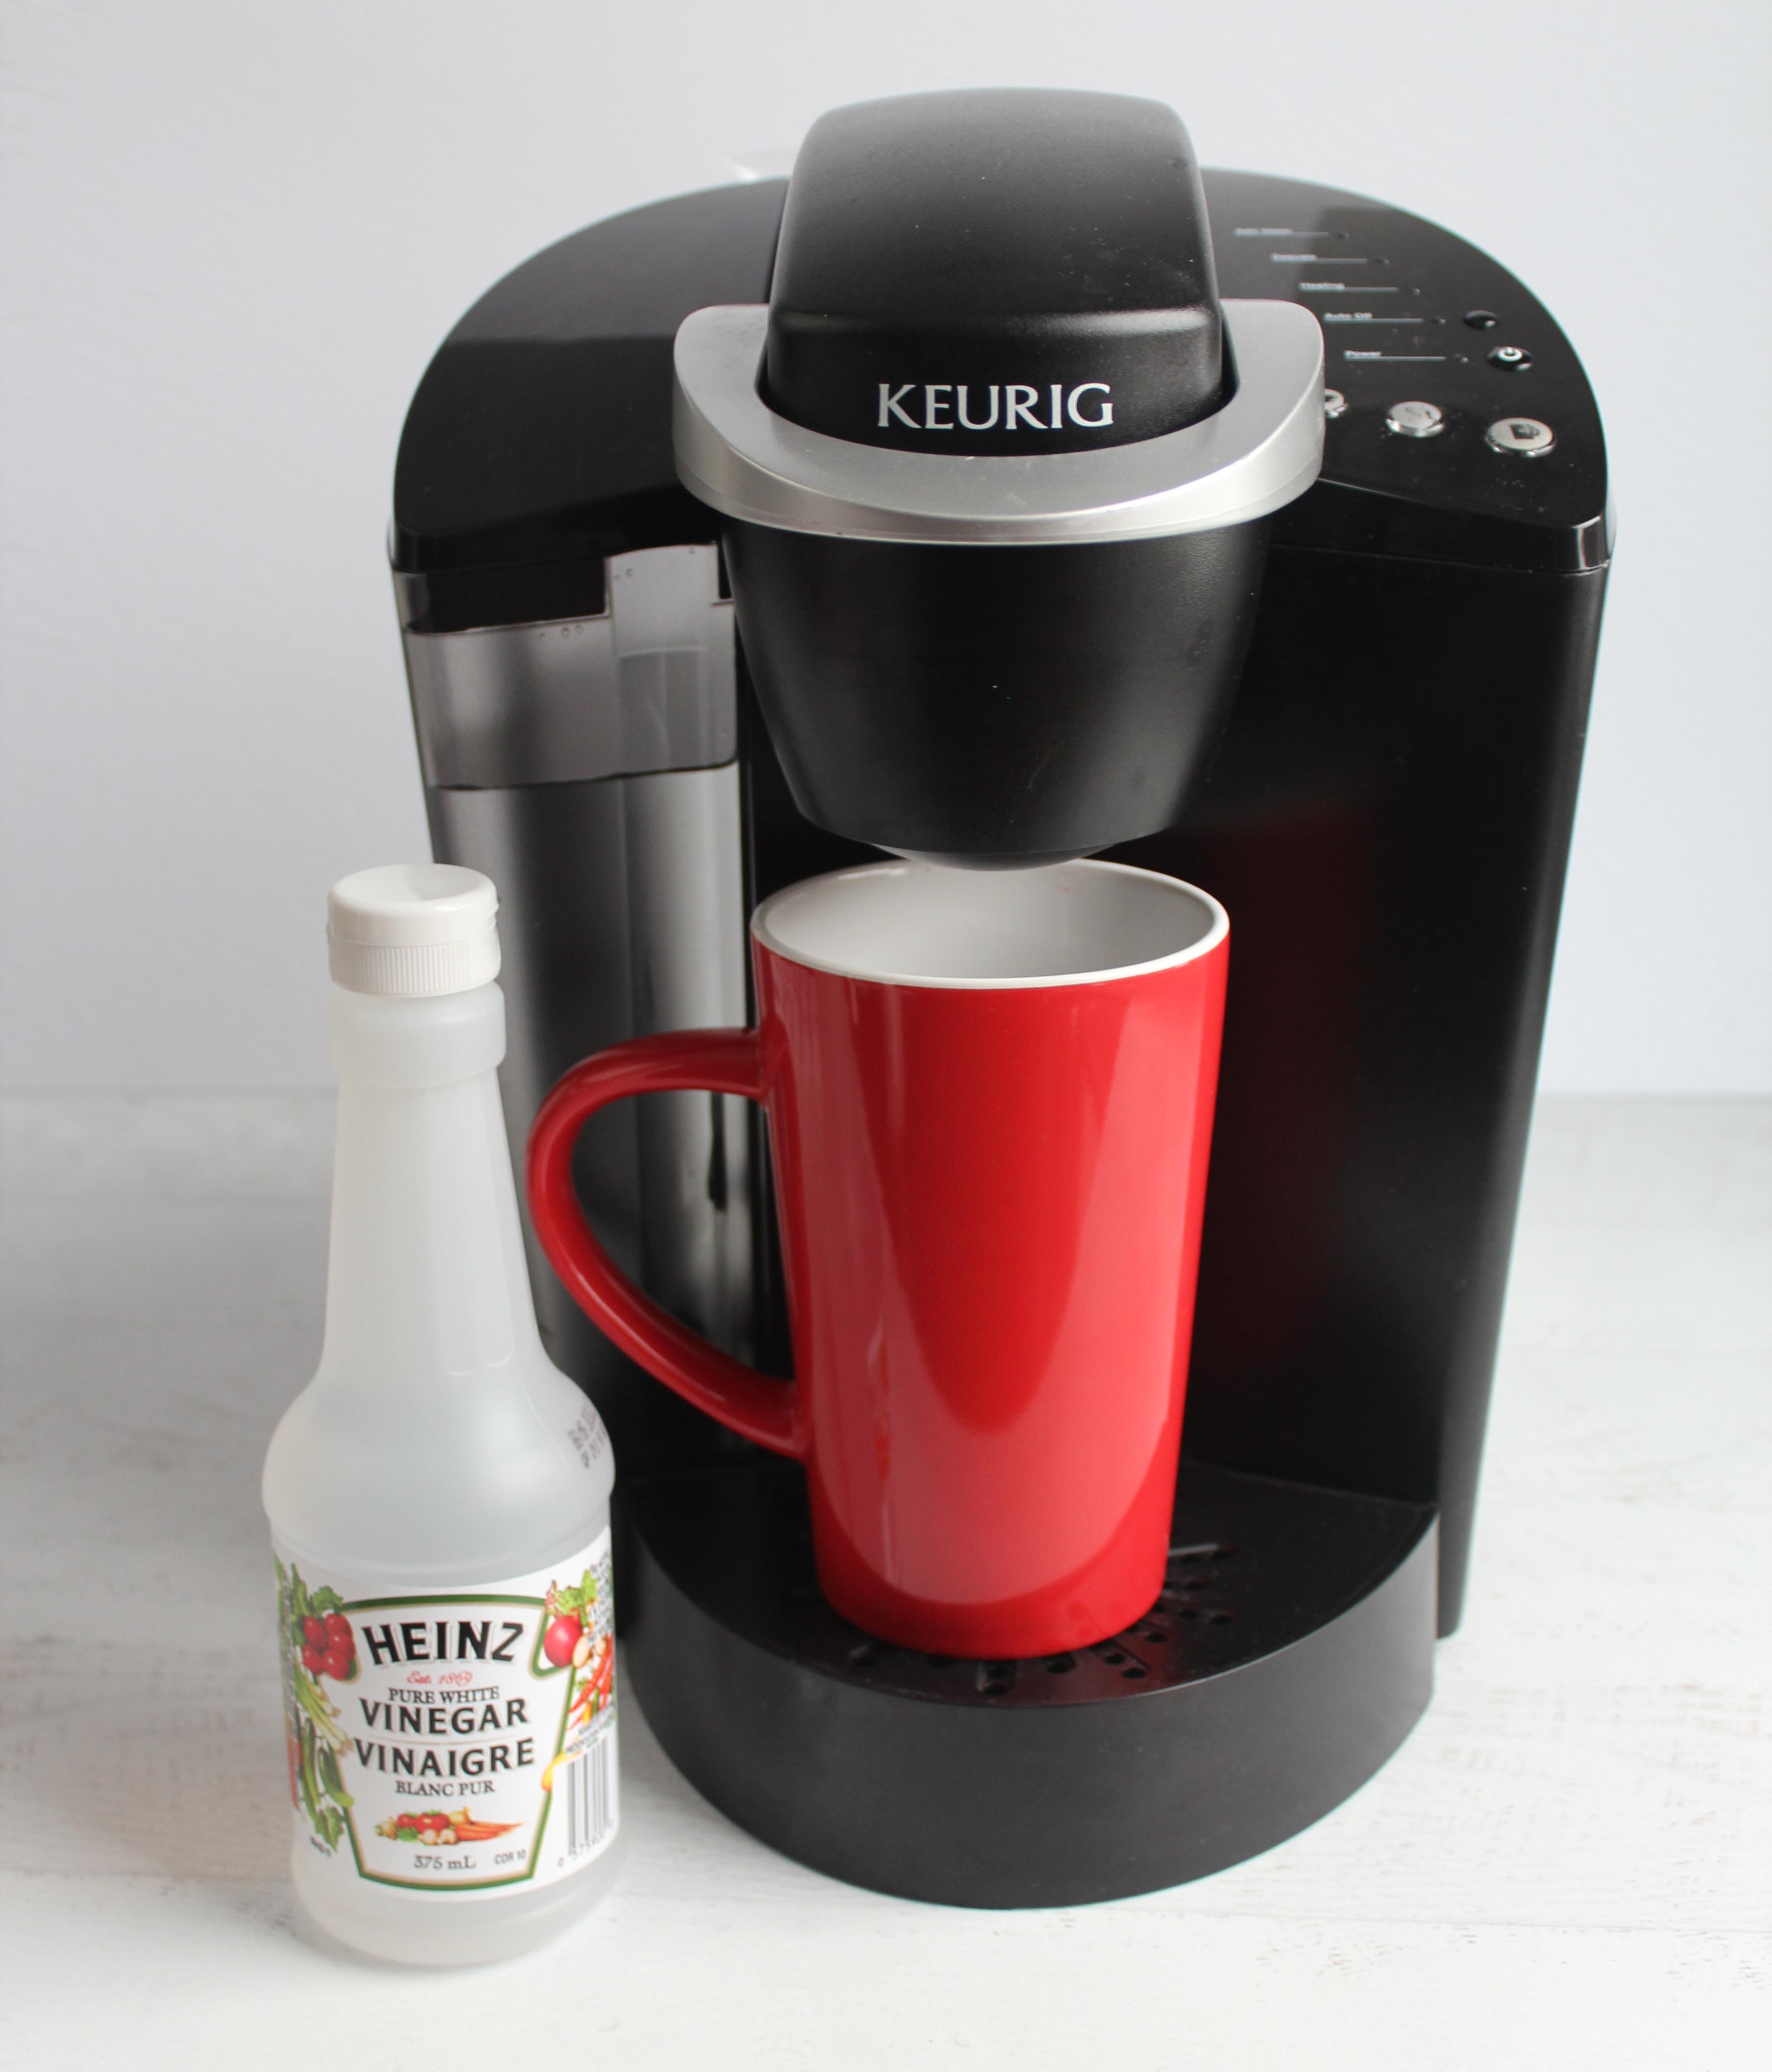
If you’re wondering, how do I clean my Keurig with white vinegar?, then the following instructions are for you. Using white vinegar is another great way to descale and clean your Keurig. It’s also another official Keurig cleaning method.
Also remember to only use pure white vinegar (Keurig’s recommendations). No apple cider vinegar or rice vinegar as people often ask.
Time: 4 hours
How Often: every 3-6 months
Keurig Cleaning Instructions For Newer Models : These instructions work with Keurig 2.0 and older. For newer models please go to the Keurig product support page, select your brewer model, then navigate to the how-to videos section.
Materials:
- Pure white vinegar
- a Mug
- Access to a sink
Step-by-Step Instructions: on How to Descale Keurig with Vinegar
1. Unplug the Keurig and then Remove the Water reservoir. Remove the water filter from the reservoir (if you have one)
2. Dump out all the water from the reservoir
3. Place the empty reservoir back into the Keurig
4. Fill the reservoir with pure white vinegar up to the Max Fill Line.DO NOT dilute the vinegar with water.
5. Remove the coffee pod holder from the Keurig. Close the compartment.

6. Turn the Keurig ON.
7. With a mug in place, run a coffee cycle using the largest cup size button (if you have one)
8: When the cycle is done, dump the hot water/solution down the sink
9. Repeat steps 7 and 8 until the “add water” indicator light goes on.
10. Let your brewer stand for 4 hours with the power left ON.
11. After 4 hours, dump out any remaining water/solution from the reservoir, and thoroughly rinse it with water.
12. Fill up the reservoir with fresh water (up to the max fill line )and put it back in the Keurig
13. Important: make sure you complete this step properly so you don’t end up with a vinegar aftertaste in your coffee. Vinegar and coffee are not he best combo!
Run additional coffee cycles with fresh water. The Keurig recomendation says run about 12 cycles (with largest cup size button). This step gets rid of any residual vinegar from the Brewer.
14. Congrats, you did it! Now pop in your favorite k-cup and enjoy a cup of hot (clean) coffee goodness.
TIP: If your coffee still has a vinegar aftertaste, repeat step 12-13 another time.
And there you go you now learned how to descale Keurig with vinegar and without vinegar. They are both valid ways to descale a Keurig, its personal preference on the method you choose.
Besides descaling, there are other parts of your Keurig that need cleaning too. I’ve put together a top to bottom maintenance guide (including pictures) It will take you through what else on your Keurig needs some TLC…
How to Clean Your Keurig: Top to Bottom Maintenance
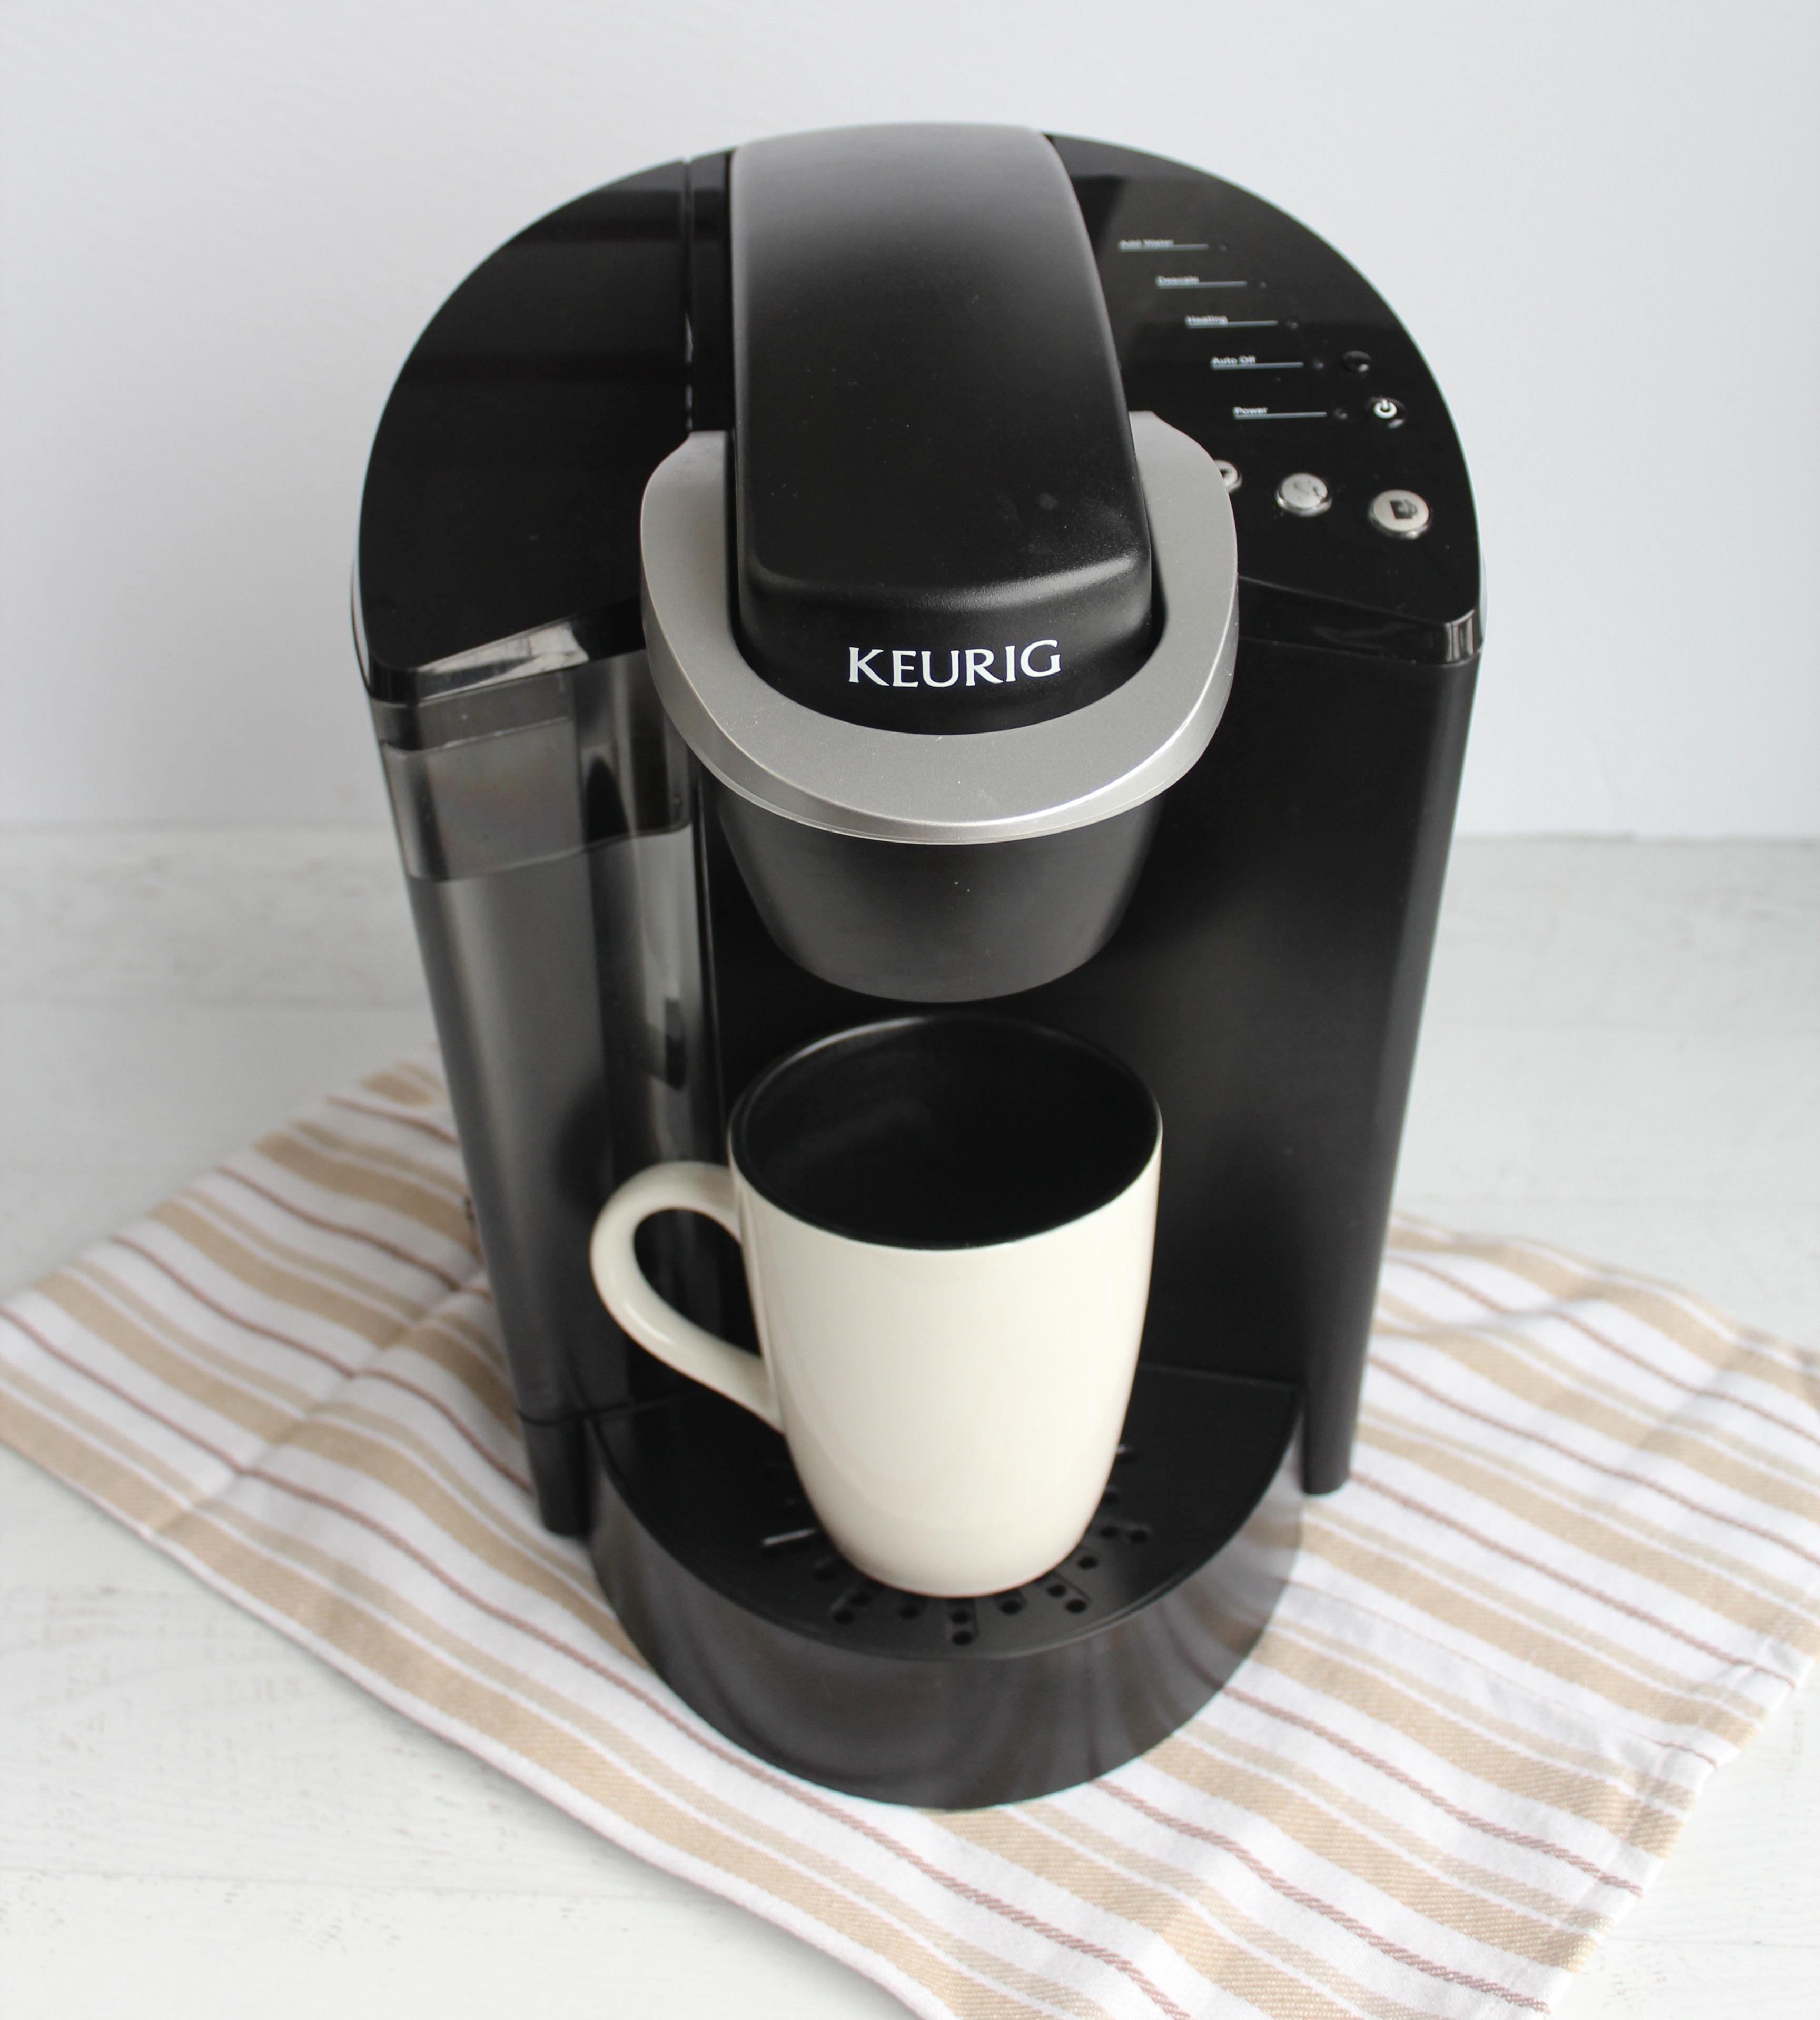
Enjoy the best tasting coffee by cleaning the different parts of your Keurig. Here you’ll learn how to clean your Keurig- from top to bottom. It includes often forgot about parts that need a cleaning.
Also, if your Keurig isn’t working properly you could follow the steps below. This will make sure it isn’t something as simple as cleaning it out.
STEP 1: Keurig Pod holder cleaning

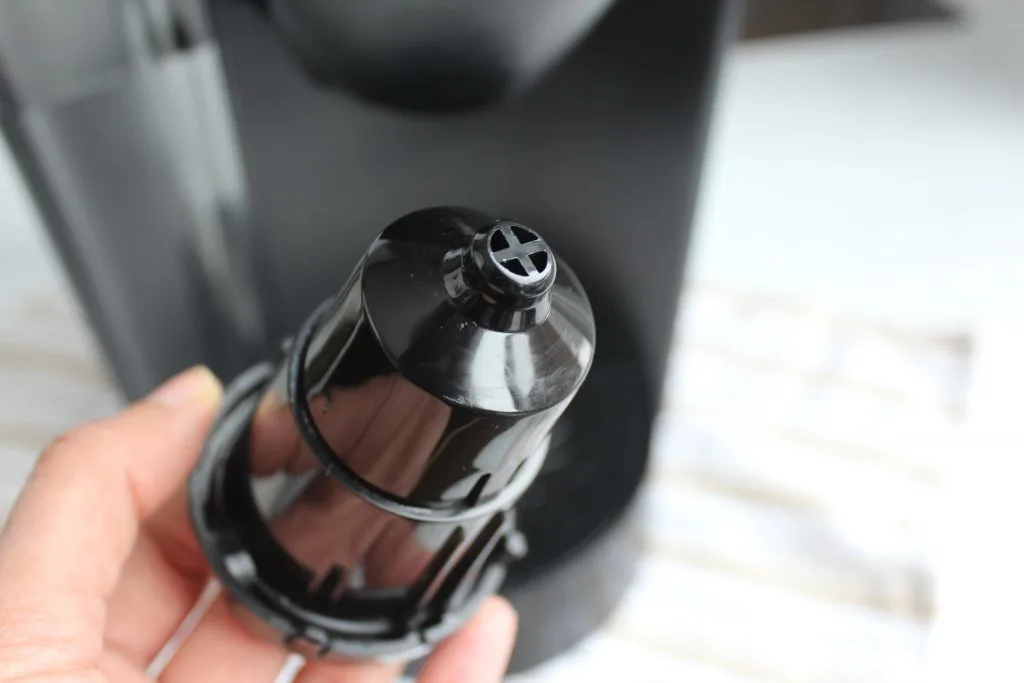
Take your pod holder out. It’s dishwasher safe so you can either pop it in the dishwasher or hand wash with soap and warm water. Make sure the 4 holes at the bottom are clean and clear of any obstruction.
If your looking for a faster / efficient way you can buy the Keurig pod cleaners.
The Keurig pod cleaner can also be used to clean the Keurig after hot chocolate or flavored coffee’s. It cleans the pod so there’s no flavor transfer into following brews.
STEP 2: How to Clean a Keurig Needle
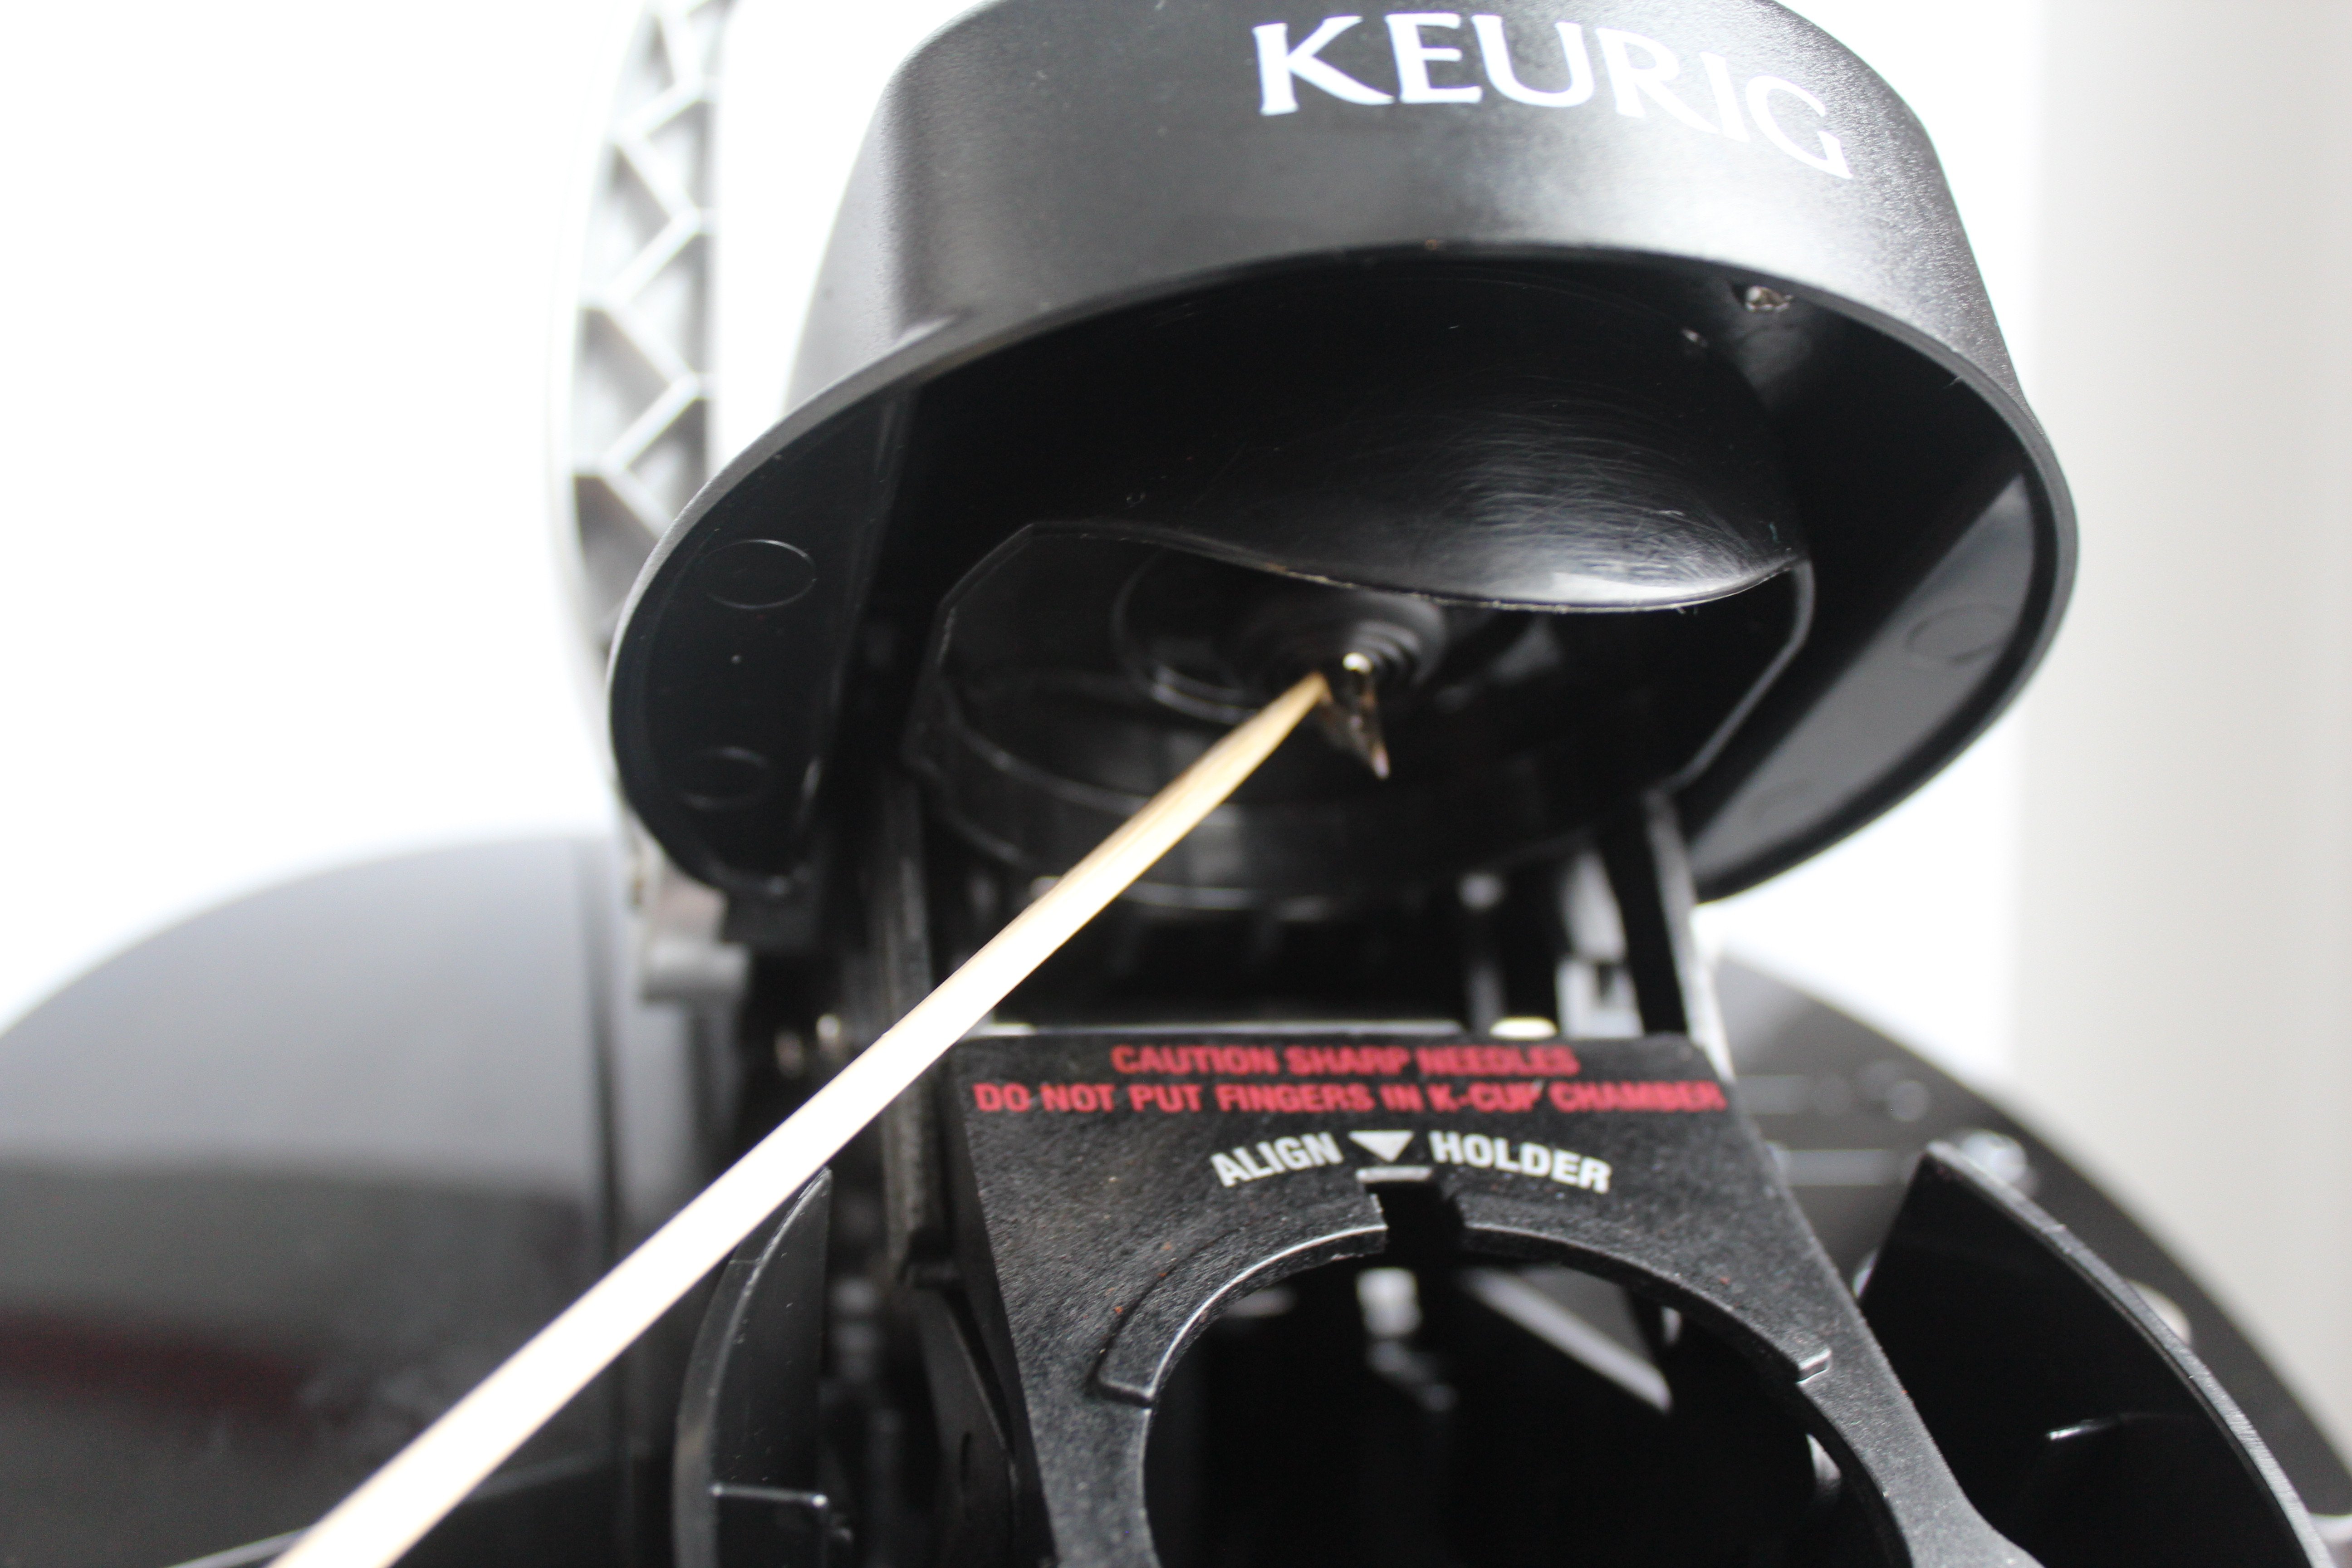
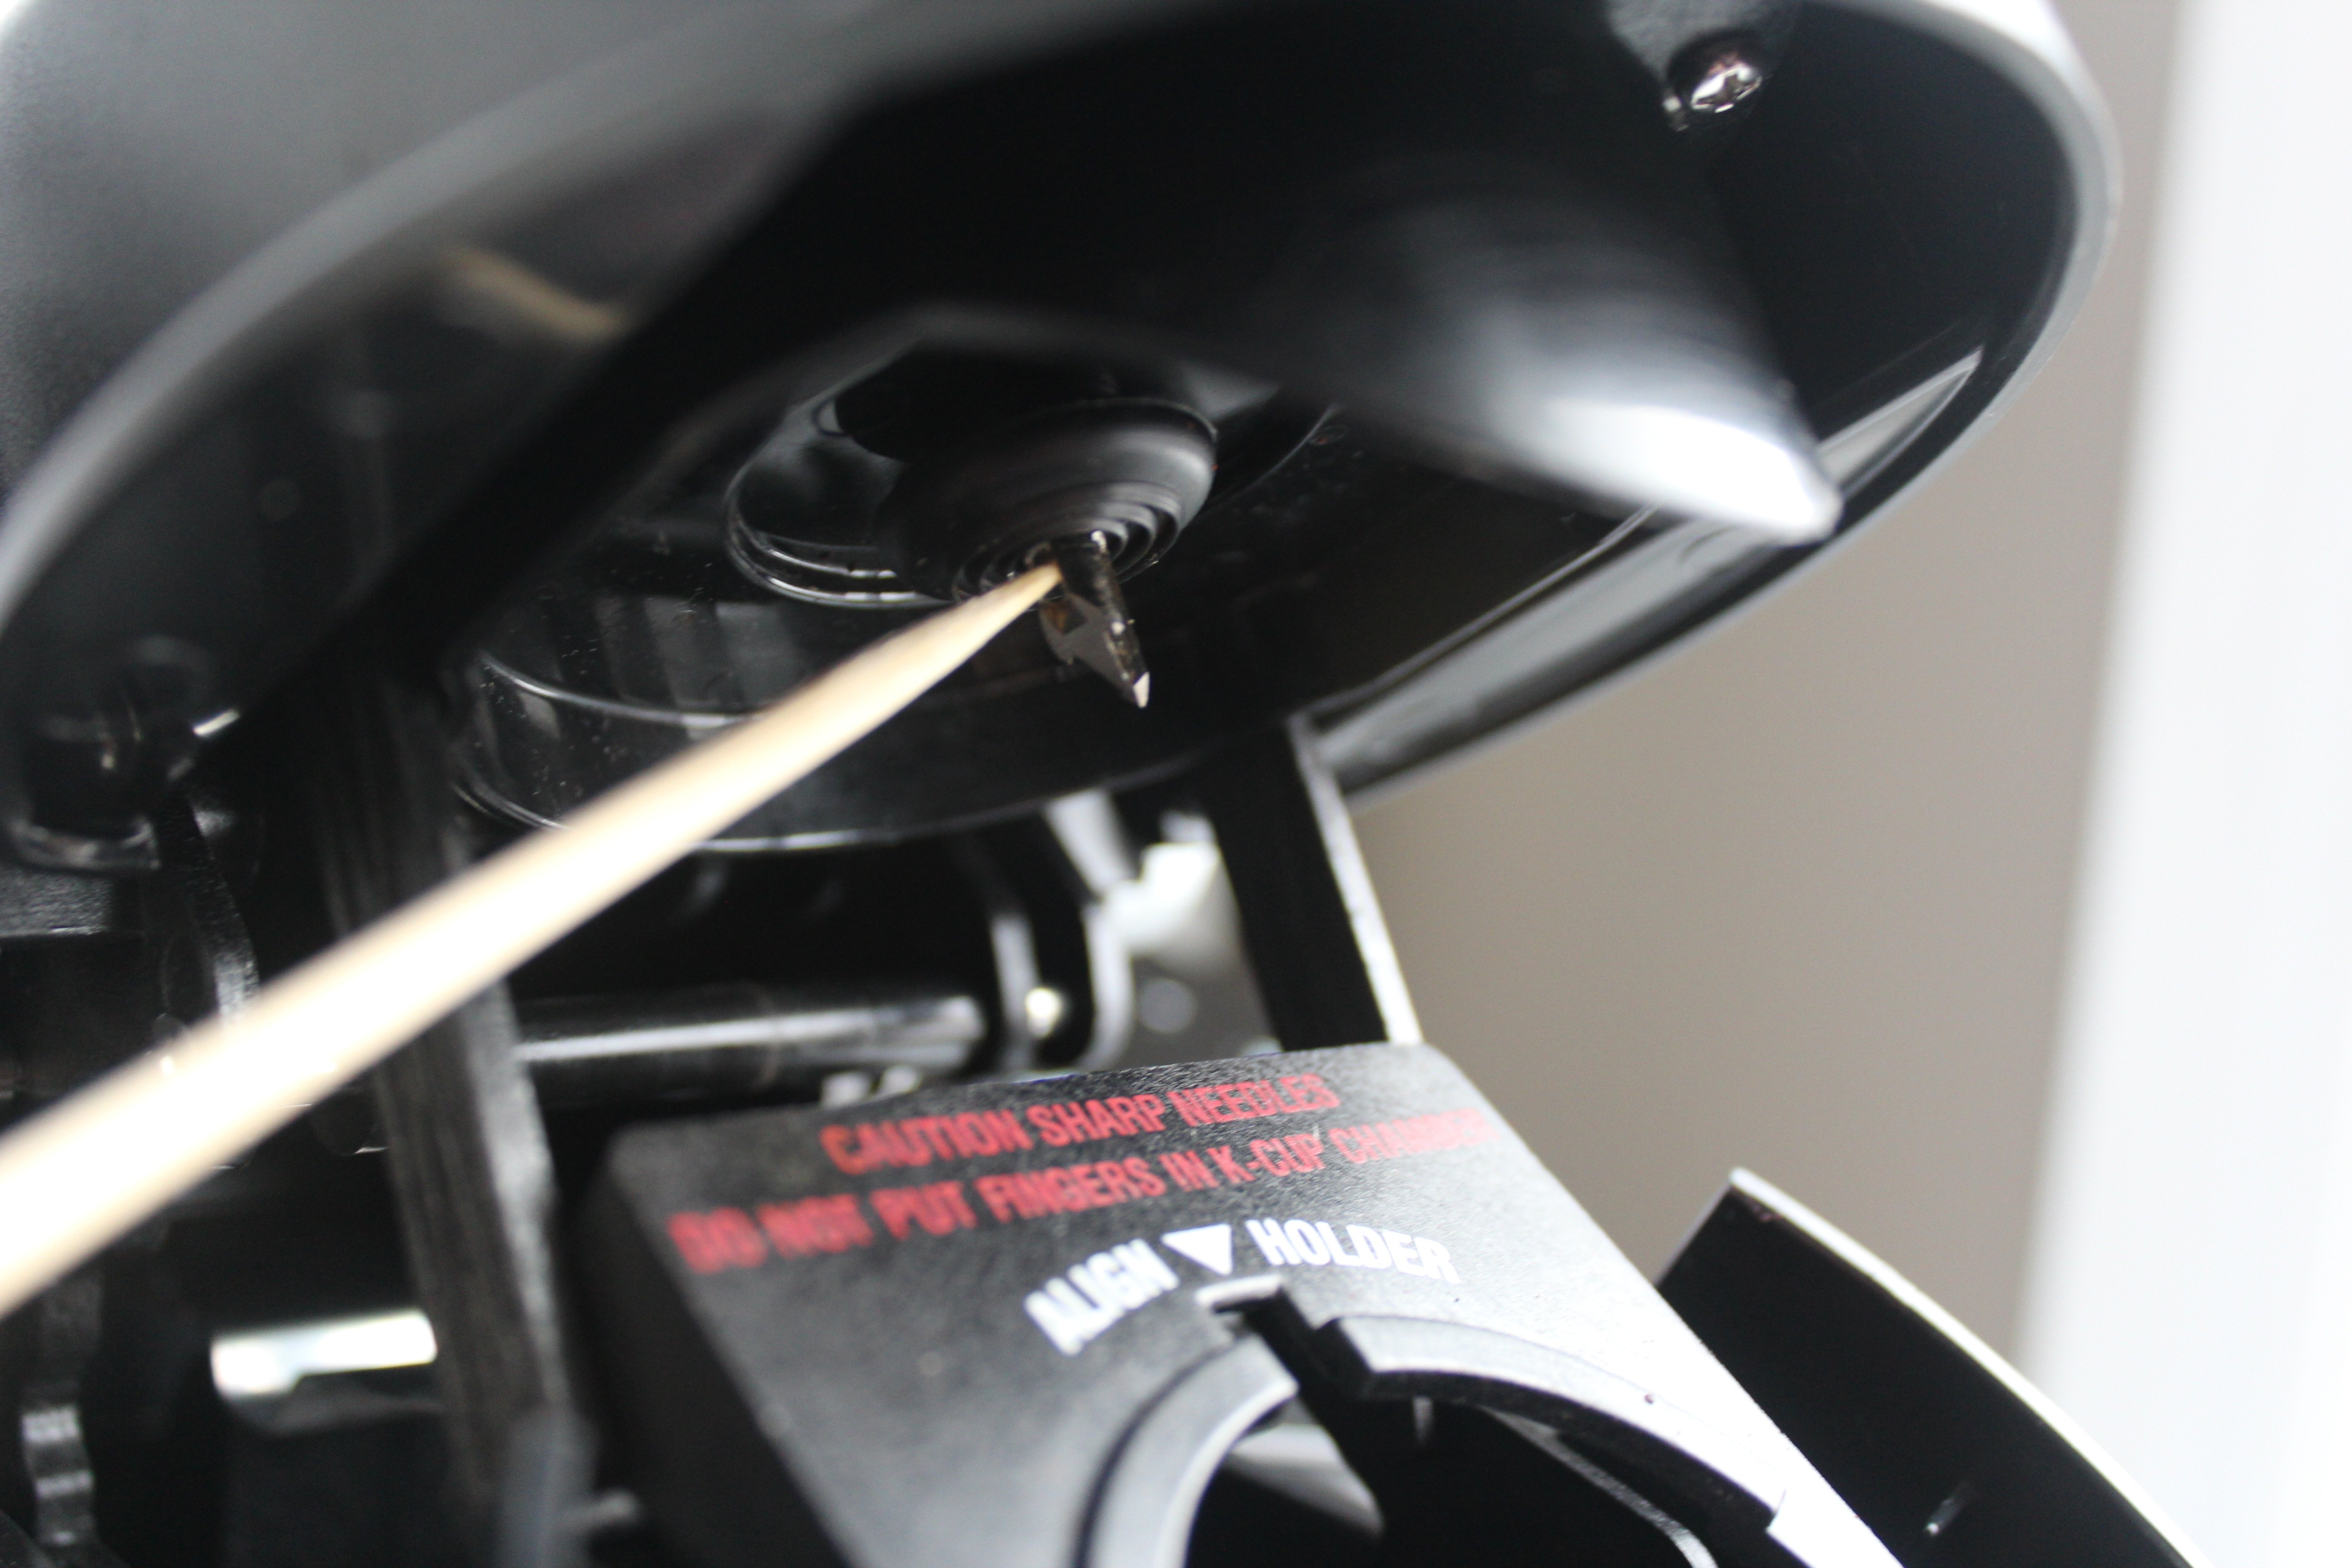
One part of the Keurig that often gets forgotten about is the Keurig needle. This is the sharp parts that pierces the k-cups when you close the pod holder. Over time, a buildup of coffee grounds can accumulate in the crevices of the Keurig needles. This accumulation should be cleaned out.
To get a thorough or deep clean of your pod and needles you can buy the Keurig needle cleaning tool.
Different Keurig models have a different number of needles, so be sure to check your Keurig manual to see where your needles are located. Often, you will have at a minimum 2 needles. The first to puncture a hole in the top the k-cup (top needle) and the second should be to puncture the bottom (often called the “exit needle”).
Needle Cleaning Hack: Here’s a hack to clean Keurig needle without tool. The pictures show cleaning the top needle, but this hack can also be done for the exit needle.
CAUTION: These needles can be sharp, so be cautious when cleaning them
Take a paperclip, wooden skewer or toothpick and dislodge any coffee grounds around the needle and in the holes of the needle. Using your chosen tool, gently clean in between the rubber rings around the needle. There might be water that’s stuck between the rings, which should be wiped dry.
STEP 3: How to Clean Keurig Reservoir
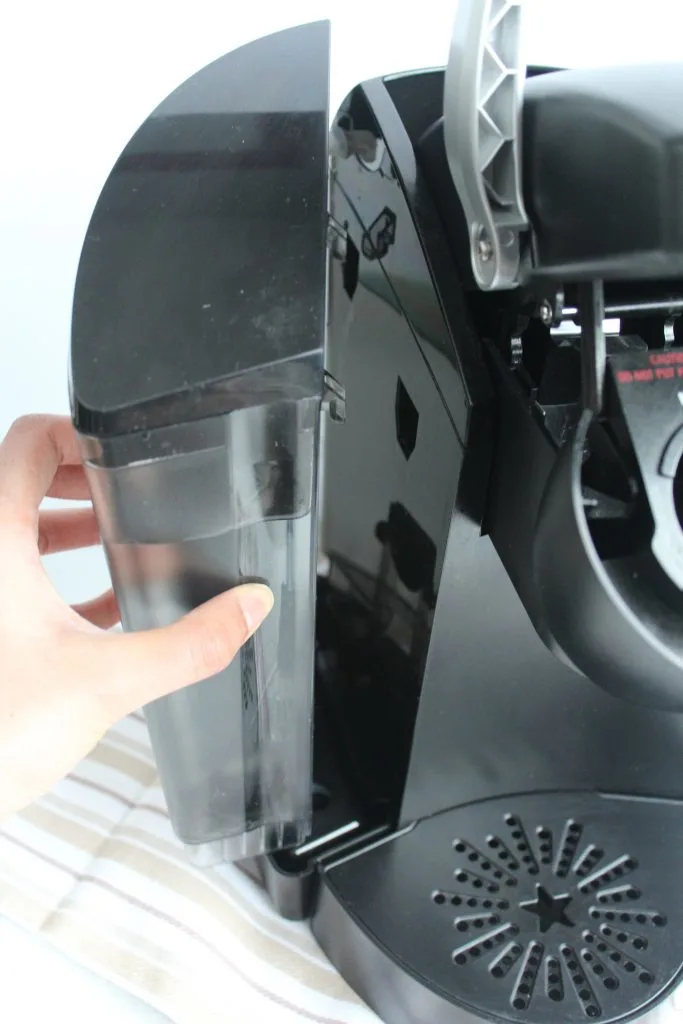
Remove your detachable reservoir from the Keurig Base and dump out all the water. Using warm water and a mild detergent soap clean both the reservoir and the lid. Focus on the area of the reservoir at the bottom where the water drains into the brewer, as more buildup can form there.
Wipe the reservoir and let air dry naturally (upside down). If you don’t have time to let it air dry, then use a microfiber towel or similar to dry it out. Avoid using paper towel as small fibers from the paper can get left behind and end up clogging the internal tubes.
If you have a Keurig 2.0 then you might also have water filters in the reservoir. If you do use water filters in your reservoir, they should be changed/cleaned according to their usage limit.
STEP 4: Keurig Drip Tray Cleaning
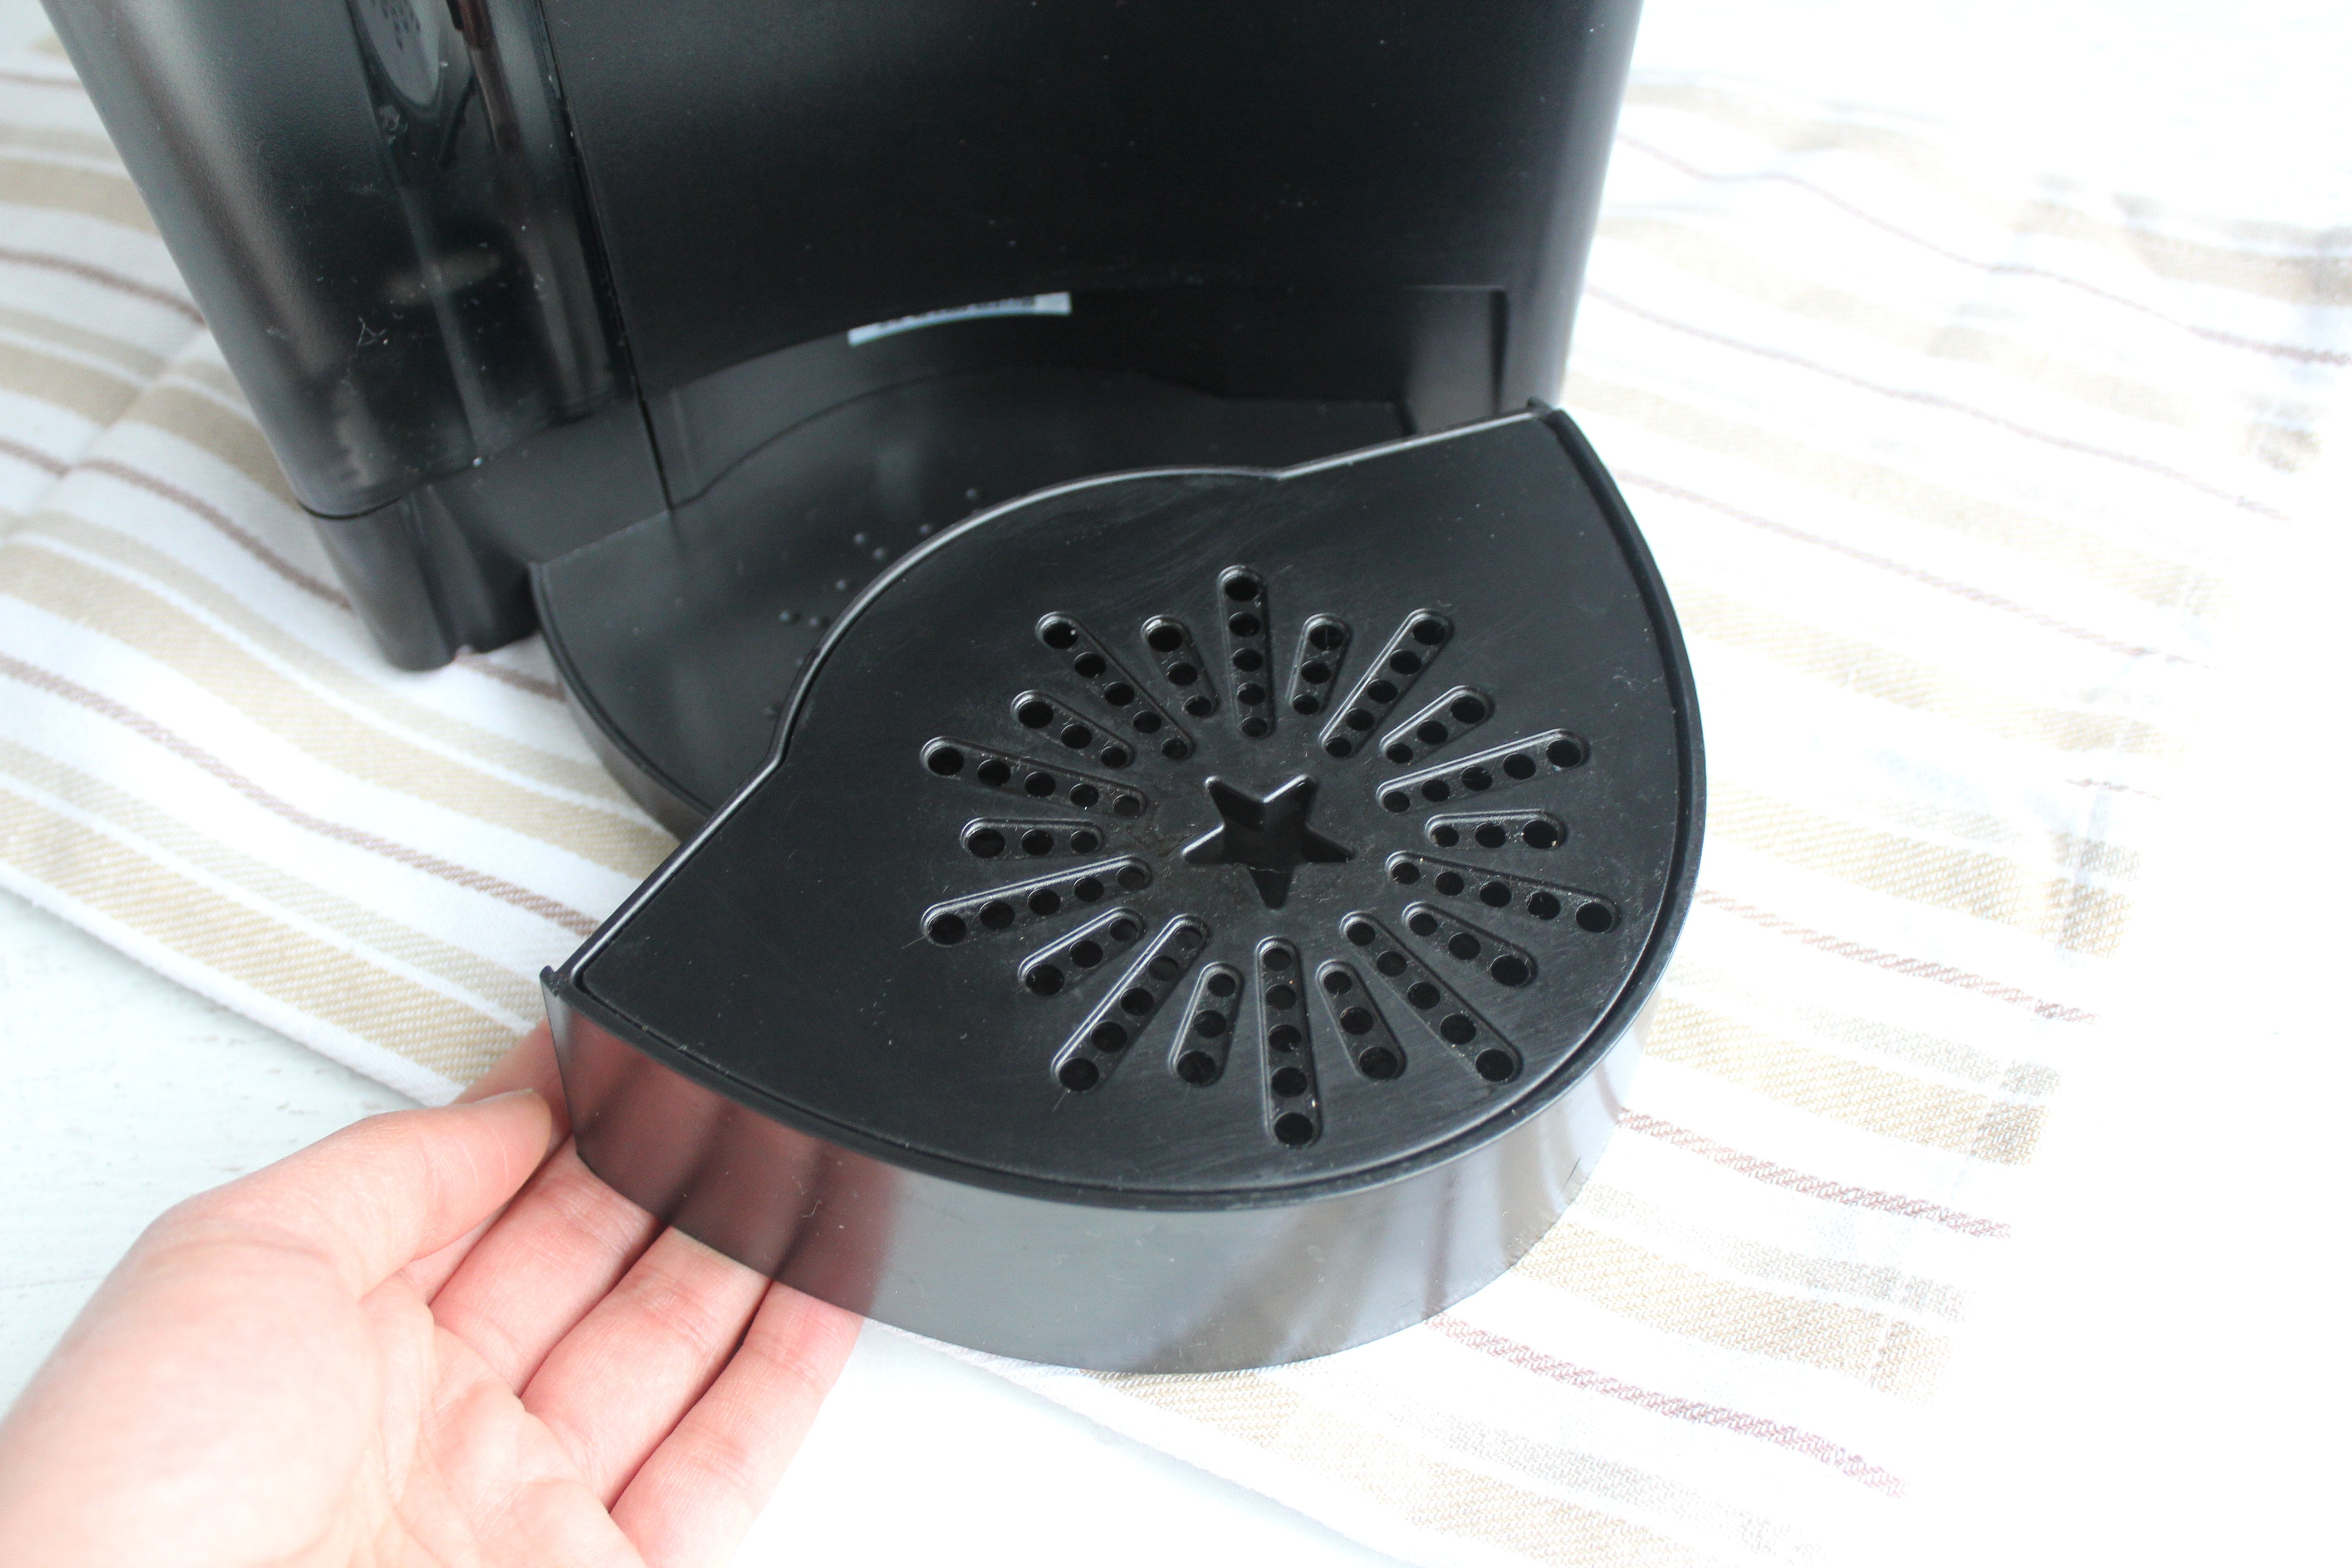
Remove the drip tray from the brewer and dump out any liquid. wipe exterior clean with a damn cloth.
You might not see it at first glance, but you can remove the top “grate” so you can clean out any coffee or dried up coffee that’s inside the drip tray. Simply turn the whole drip tray upside down, and the top grate will come out. You can clean the interior with soap and water.
If you have regular spillage of coffee then this drip tray will need to be cleaned and drained more often. This is in order to prevent overflow and from liquid to be sitting in there too long
Step 5: Descale the Keurig Coffee Maker
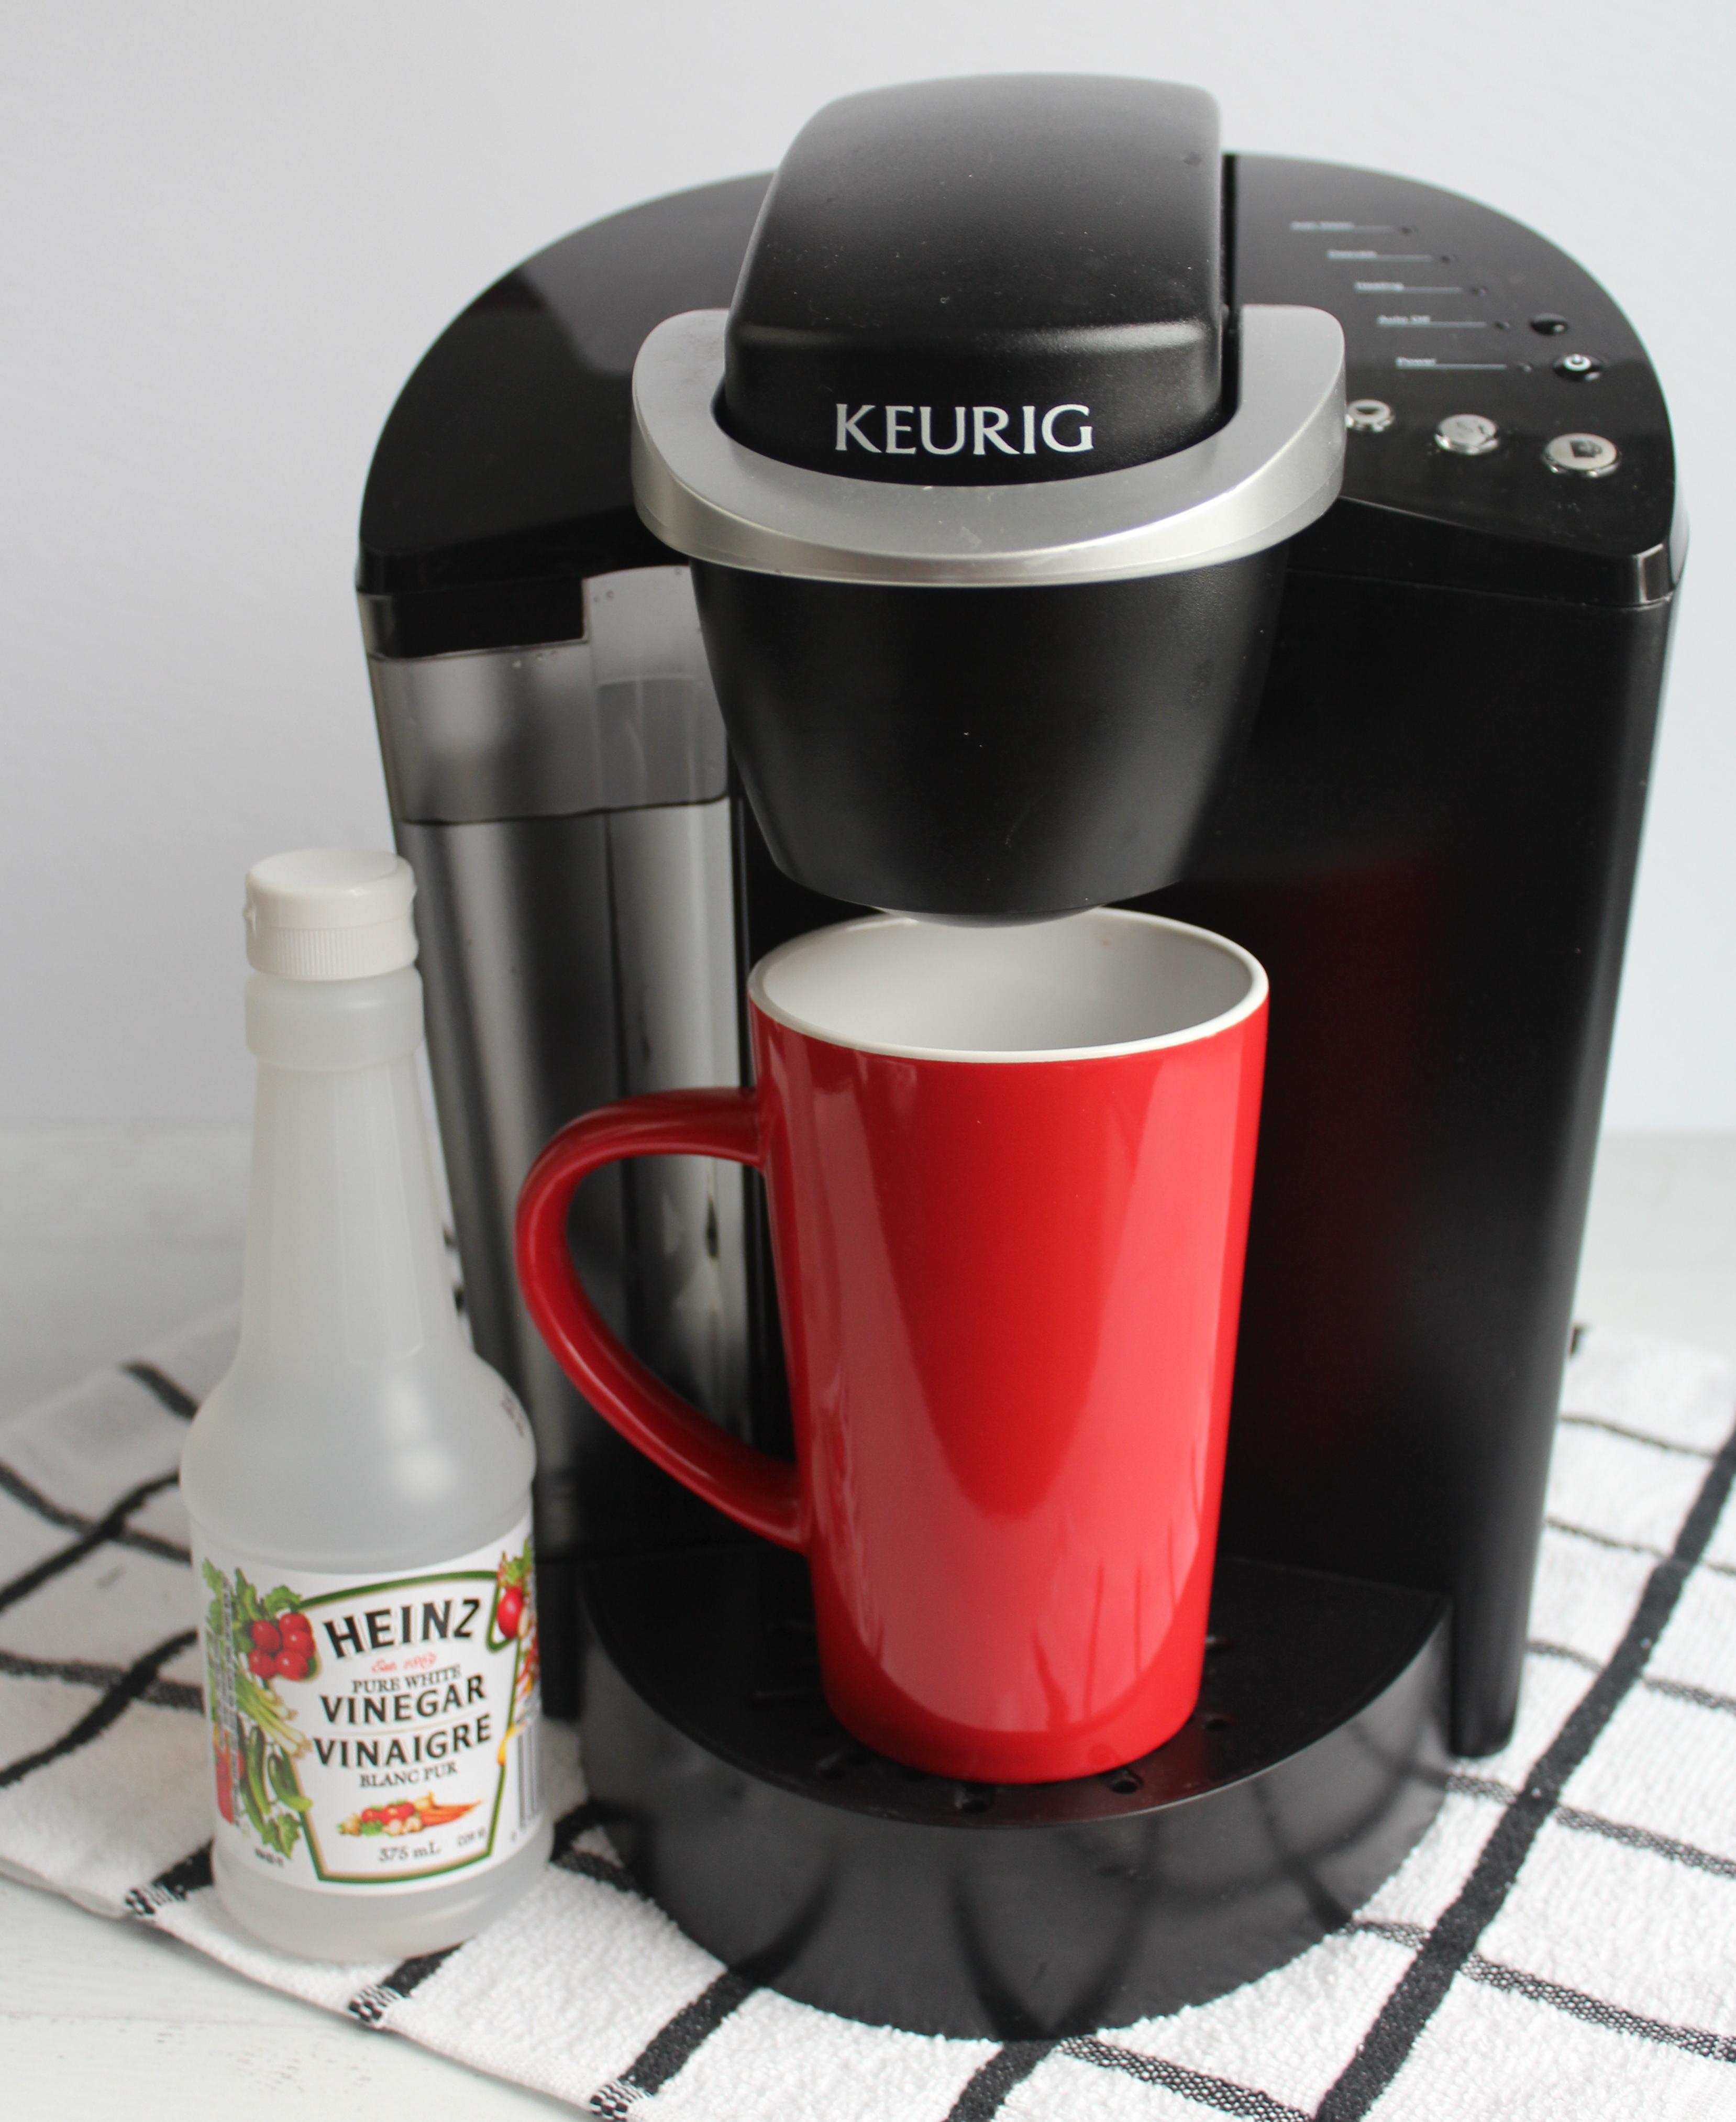
Descaling your Keurig is an important step in maintaining your Keurig. It should be done every 3-6 months using either of the methods mentioned earlier in this post. You can descale using the official Keurig descaling solution of descale using vinegar
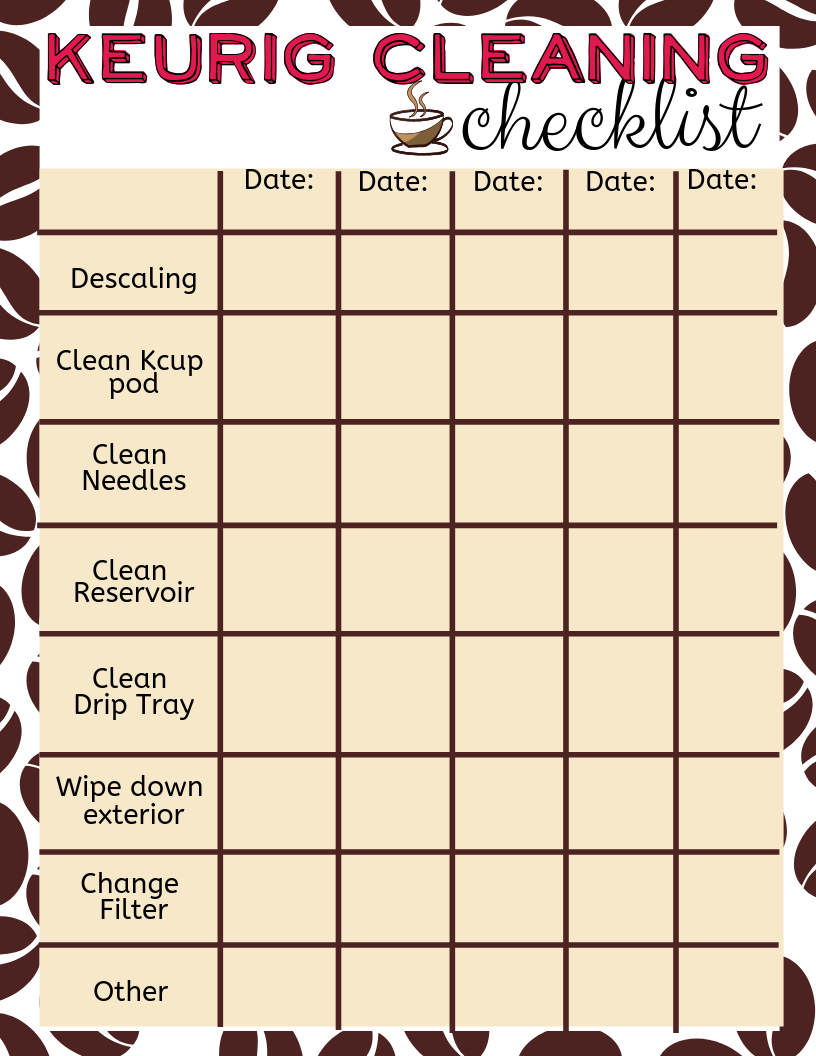
FREE Keurig Cleaning Checklist with Dates
To make it easier to keep track of what needs cleaning and the date you did it on, I’ve included a free printable for you. That way you never have to question the last time you descaled, changed your filter, etc..
There’s a column to add in the date you last performed each cleaning task, as well as a listing of all the pieces of the Keurig that need maintenance/cleaning.
Also, I love designing these organizational printable for you – it satisfies both my creative and organizational tendencies! If you have any other ideas or request for any printables you might need shoot me a comment,email or message.
Instructions: Click on the file, and save as “.jpg” or “.png”. Print on standard printing paper.
And that’s it folks! I hope you’ve enjoyed this ultimate guide on how to descale Keurig with vinegar and without, and how to clean your Keurig from top to bottom.
I wish you happy cleaning and here’s to a cup of clean and yummy coffee!
Oh, before you leave, since you’re a proud Keurig owner you might want to checkout my post on how to create an organized Keurig Coffee Station on your Kitchen Countertop. Its a nifty organized space that’ll enjoy making your coffee in.
Cheers!
If you liked this post please pin it!

Jamie
Tuesday 11th of April 2023
Several new models have been introduced since this instructional was pulled together. Best option is to search Keurig to find your model’s descale process. The Keurig Slim requires the model to be in the off mode - with 8oz and 12 oz pressed simultaneously to start the descaling process. Since this model does not have LED lights, this was very easily missed, coupled with the fact that the slim has an “automatic - shut down feature- we were at a loss. Once completed, our unit did finally reset, however not before realizing our models did not align we did run several sessions, based on the instructions provided on “fellingnifty,” wasting a ton of cleaning product over several days of frustration.
Again, each model is different, so finding your model, on keurig.com is your best path.
https://support.keurig.com/?kmContentId=1014858&page=shell&shell=knowledge-article
Jasmine Dhillon
Wednesday 26th of April 2023
Hi Jamie,
Thank you for your comment and I'm sorry to hear about your experience. I just updated the post to link to Keurig's product service pages for instructions for the newer models. I value and respect everyones time and want this guide to help guide Keurig owners with the best and most up to date information. Your comment helped, thanks again!
Cheers, Jasmine
Gail
Wednesday 15th of February 2023
Thank you for your help! The instructions were easy to follow. You are a great organizers!
Jasmine Dhillon
Wednesday 15th of February 2023
That’s great to hear Gail!! Glad the instructions helped and thank you for letting me know ☺️
Cheers, Jasmine
Debbie Lockwood
Friday 11th of March 2022
After I ran the vinegar through for descaling the power went off and I can't get it to stay on. Now what?
Jasmine Khinda
Monday 21st of March 2022
Hi Debbie, I would try to unplug the machine and then plug it back in to see if that keeps it on. If that doesn't work, I would contact Keurig to make sure there is nothing wrong with the machine. Hope that helps and goodluck!
Cheers, Jasmine
Jerry L.
Saturday 6th of November 2021
Like others, I descaled and the descale light will not go off. It just keeps blinking. Tried unplugging, power off button but light just keeps going like the energizer bunny.
Diane Ridpath
Saturday 26th of June 2021
Hi. The information you provided here is very helpful. I have to say a big detraction from it though is the floating Facebook, Pinterest, Twitter box on the left. It stays in place so I had to constantly dodge it so I could read the information. It's like someone putting a hand in front of your face while you're trying to read. But thank you for the very concise and well-written instructions.
Jasmine K
Saturday 17th of July 2021
Hi Diane,
I had no idea. Thank you so much for letting me know- I'll remove that.
Cheers, Jasmine