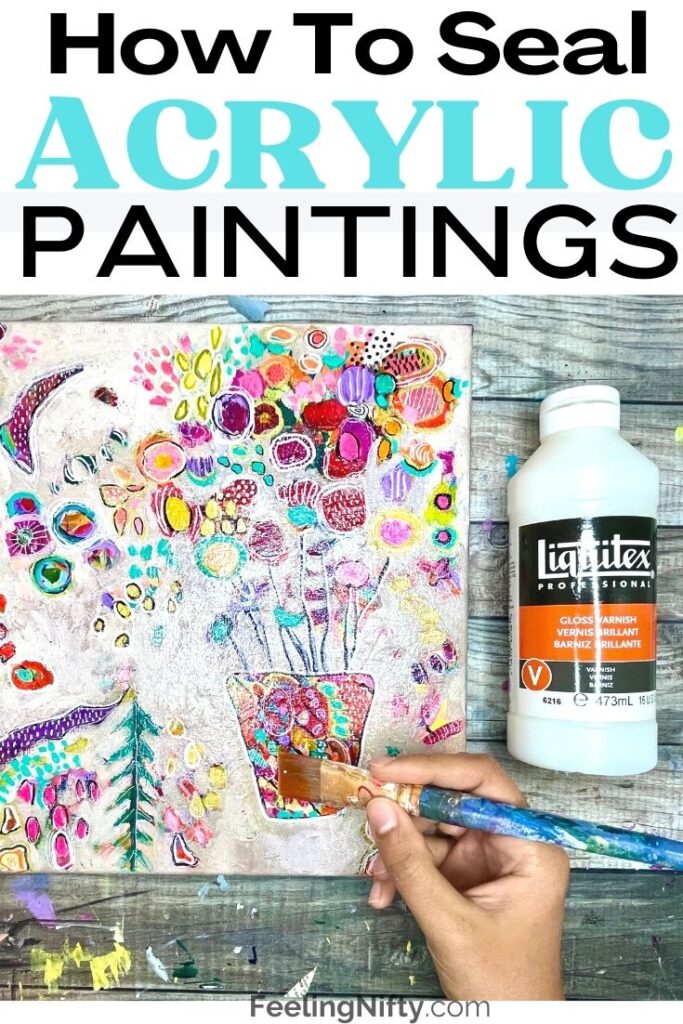
How To Seal An Acrylic Painting: Ultimate Guide For Best Results
Learn how to seal an acrylic painting in this in depth post. You'll also get a full step-by-step walk-thru on how to seal your acrylic paintings with an acrylic varnish medium.
Whether it's your first time sealing you art or you've already done it, this post will also take you through the questions you might have about varnishing your painting (and even questions you never thought of asking!). You'll also learn about the different types of paint sealers that can be used to seal acrylic painting projects on various surfaces like canvas, wood, glass, fabric, metal, ceramic mugs, etc. Read more about how to how to stop acrylic paint from washing off objects.
Depending on your personal preference, you can watch either the YouTube tutorial or read this post/tutorial for the instructions on the best way to seal an acrylic painting on canvas.
Before getting to the tutorial, let's cover some important questions and topics about acrylic sealers/varnishes/top coat.
What can I use to seal acrylic paint?
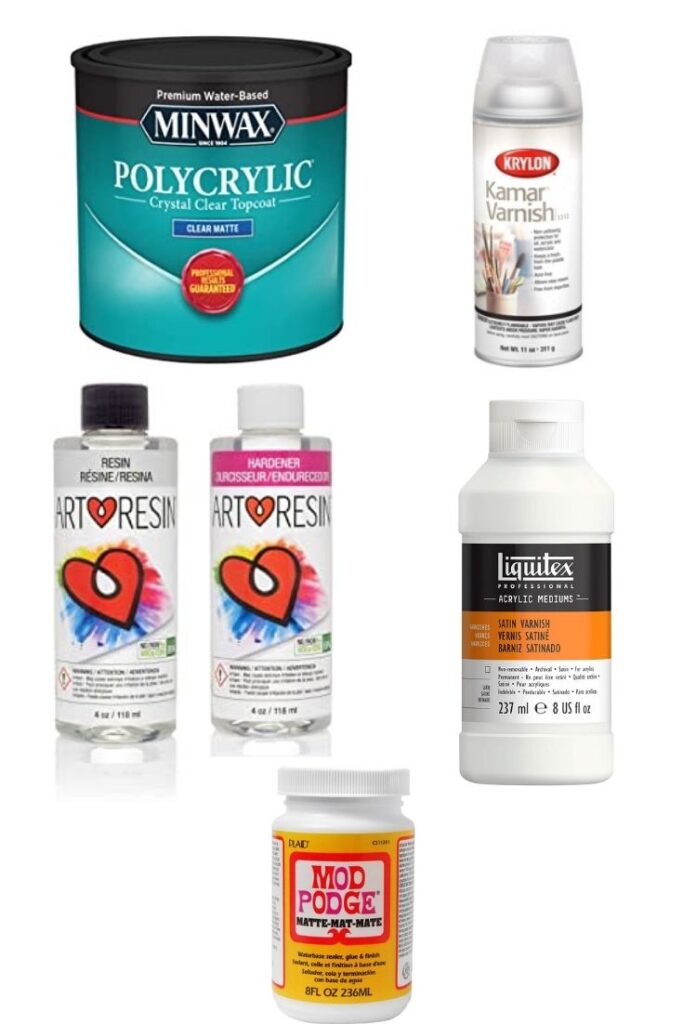
The best sealant to use will depend on the type of painted surface the acrylic is on. For example to seal an acrylic painting on canvas many artists use an acrylic polymer varnish. If you'll be sealing paint on a wood surface then polycrylic sealer is a good choice.
If you'll be sealing glass, metal or ceramic mugs you can look for sealers that work on those types of surfaces - Mod Podge being a very popular option and inexpensive to boot!
Check out the Frequently Asked Questions section below for more details on what type of varnish to use on various surface types.
Another thing to note is if you're sealing an acrylic painting there are multiple properties in a sealer you'll want to keep an eye out for. For example, if a sealer is permanent or non-permanent, spray on, brush-on, high gloss, gloss, matte, satin, etc.. The different types or varnish you decide to use to seal your painting will depend on what you want your painting to look like in the end. I'll go over these properties in more detail below.
One thing to keep in mind is to make sure you pick a sealer that's water-based and made for acrylic paints and not oil paints. You can read the label to find out.
Does acrylic paint need a sealant?
Acrylic paint is permanent once dry so you technically don't need a seal your acrylic art piece. That being said there are some important benefits to sealing your acrylic paint and giving it a protective finish.
One benefit of using an acrylic paint sealer over top your acrylic layers is your paint colors will be more vibrant. Your painting will have an even and beautiful glossy/satin/ matte finishes to it. Another very important reason is to protect and preserve your paintings beauty over the years from the harsh conditions of the environment like UV rays (direct sunlight) , scratches/ dings, dust build-up and every day wear and tear.
Basically if you love your painting and want it to last years to come, sealing would be an important step.
Types Of Acrylic Varnishes
When it comes to varnishing /sealing your acrylic painting there are a few things to keep in mind. Below you'll find the different formulations/types/finishes of varnishes that are available, depending on the desired outcome you're looking to achieve.
Resin Vs. Polymer Varnish
Acrylic varnishes come in a couple different formulations that each produce different sheen's: resin varnishes and polymer varnishes.
A resin based varnish will give your painting an ultra high-gloss finish. If you've ever seen any fluid art/ paint pouring paintings that have that ultra reflective/glossy sheen, then the artist has most likely sealed it with a resin based varnish. Resin also brings out the vibrancy of the colors, and protects the painting from environmental damage (scratching, fading and weathering).

Resin can be more expensive, take longer to dry and also can more hazardous to health (high fumes, skin irritant, etc) so extra care will be needed to make sure it's safe to use.
A polymer based varnish can also produce a glossy sheen (depending on the finish you choose), that can bring out the vibrancy of paint colors. But the finish will not to be the water-like reflective sheen of a resin based varnish. Polymer varnishes are safer to work with compared to resin (not as high fumes, etc).
Permanent Vs. Non-Permanent Varnishes
There are 2 different types of acrylic varnishes that you'll want to look out for: permanent or non-permanent varnishes (make sure you read the label in the store). Both will make your painting last a long time.
The most popular is a permanent varnish (clear acrylic sealer), which is what I'll be showing you how to use in the step by step tutorial below.
The non-permanent varnish requires something called an isolation coat, which is essentially a coat between your finished painting and the varnish. This isolation coat is added so that once the non-permanent varnish is stripped for a fresh coat to be applied, the painting's surface will not be damaged. I won't go into detail here, but you can read more about how to apply a isolation coat in this article.

Brush-On Varnish Vs. Spray Varnish
In terms of sealer application you can buy one thats spray-on or one you can brush on. You can pick the application method using the tips/info below. There are many different types of varnishes.
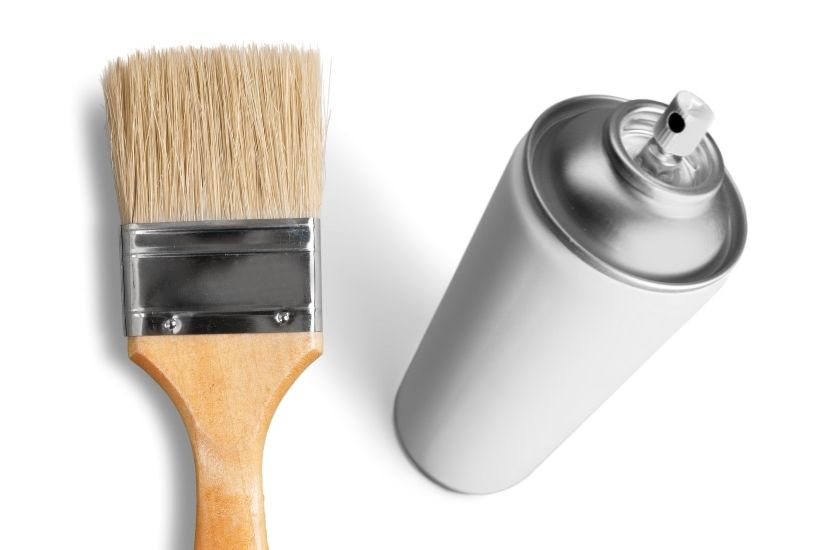
Spray Varnish

The benefit of the spray-on sealers is they are faster to apply since you just need to spray it over your surface. For example if you're sealing a very large painting or a bunch of smaller ones you want to do in a batch, a spray-on sealer can be a good idea. Use a spray-on sealer when your surface can't be layed flat (horizontally) too. The brush-on varnishes need a flat surface to level out as it dries, while spray-on's don't but will still yield a smooth surface
The drawback of spray-on varnishes is that it's aerosol based so there are heavy fumes involved. You'll need to read the safety instructions, but usually a respirator mask, goggles are needed in a well ventilated area, I.e outdoors.

Brush-On Varnish
Brush-on sealers can be a great choice if you don't want to expose yourself to heavy fumes (I.e. you cant get outdoors, or access to safety equipment). It's also controlled since you're using a brush, where with an aerosol you cant fully control where the spray lands.
The drawback of brush-on sealer is that its a bit tricker to apply, and result is uneven surfaces and brush strokes can appear in the final painting. Also you need your surface to lay flat-horizontally while the sealer dries, cures and levels- out. If you're painting a mural that's vertical in nature, your best option is to use a spray-on sealer.

![]()
Glossy, Satin, Matte Finishes
As mentioned earlier, acrylic sealers come in a few different finishes: high gloss, glossy, satin, matte. The benefit of the high gloss/glossy finishes is that they will enhance the colors of the paint below because of the reflective nature of glossy finishes.
If you want a more flat/matte look, you can choose satin of matte. The only thing to note is that matte and satin can alternatively soften/lighten the paint colors below. That's one thing to keep in mind when selecting these finishes.
How do you seal and protect acrylic paint?
Sealing and protecting your acrylic art is an important step in preserving art you love so that it lasts and gives the best results. Below you'll find both a full YouTube tutorial as well as the written step by step instructions below that. Check out the tip section and the frequently asked questions section after the tutorial for some more important sealer information.
How To Seal An Acrylic Painting
How to seal an acrylic painting
Materials
- Liquitex Gloss Varnish
- ¾" wide flat brush
- Fully dried/cured acrylic painting
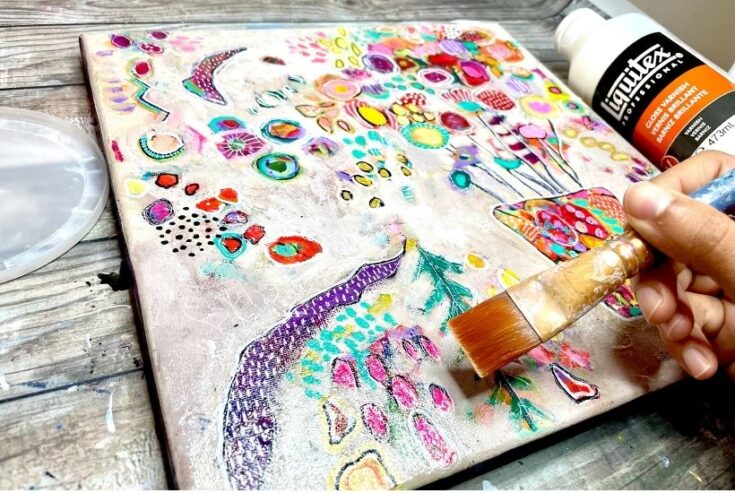
Instructions
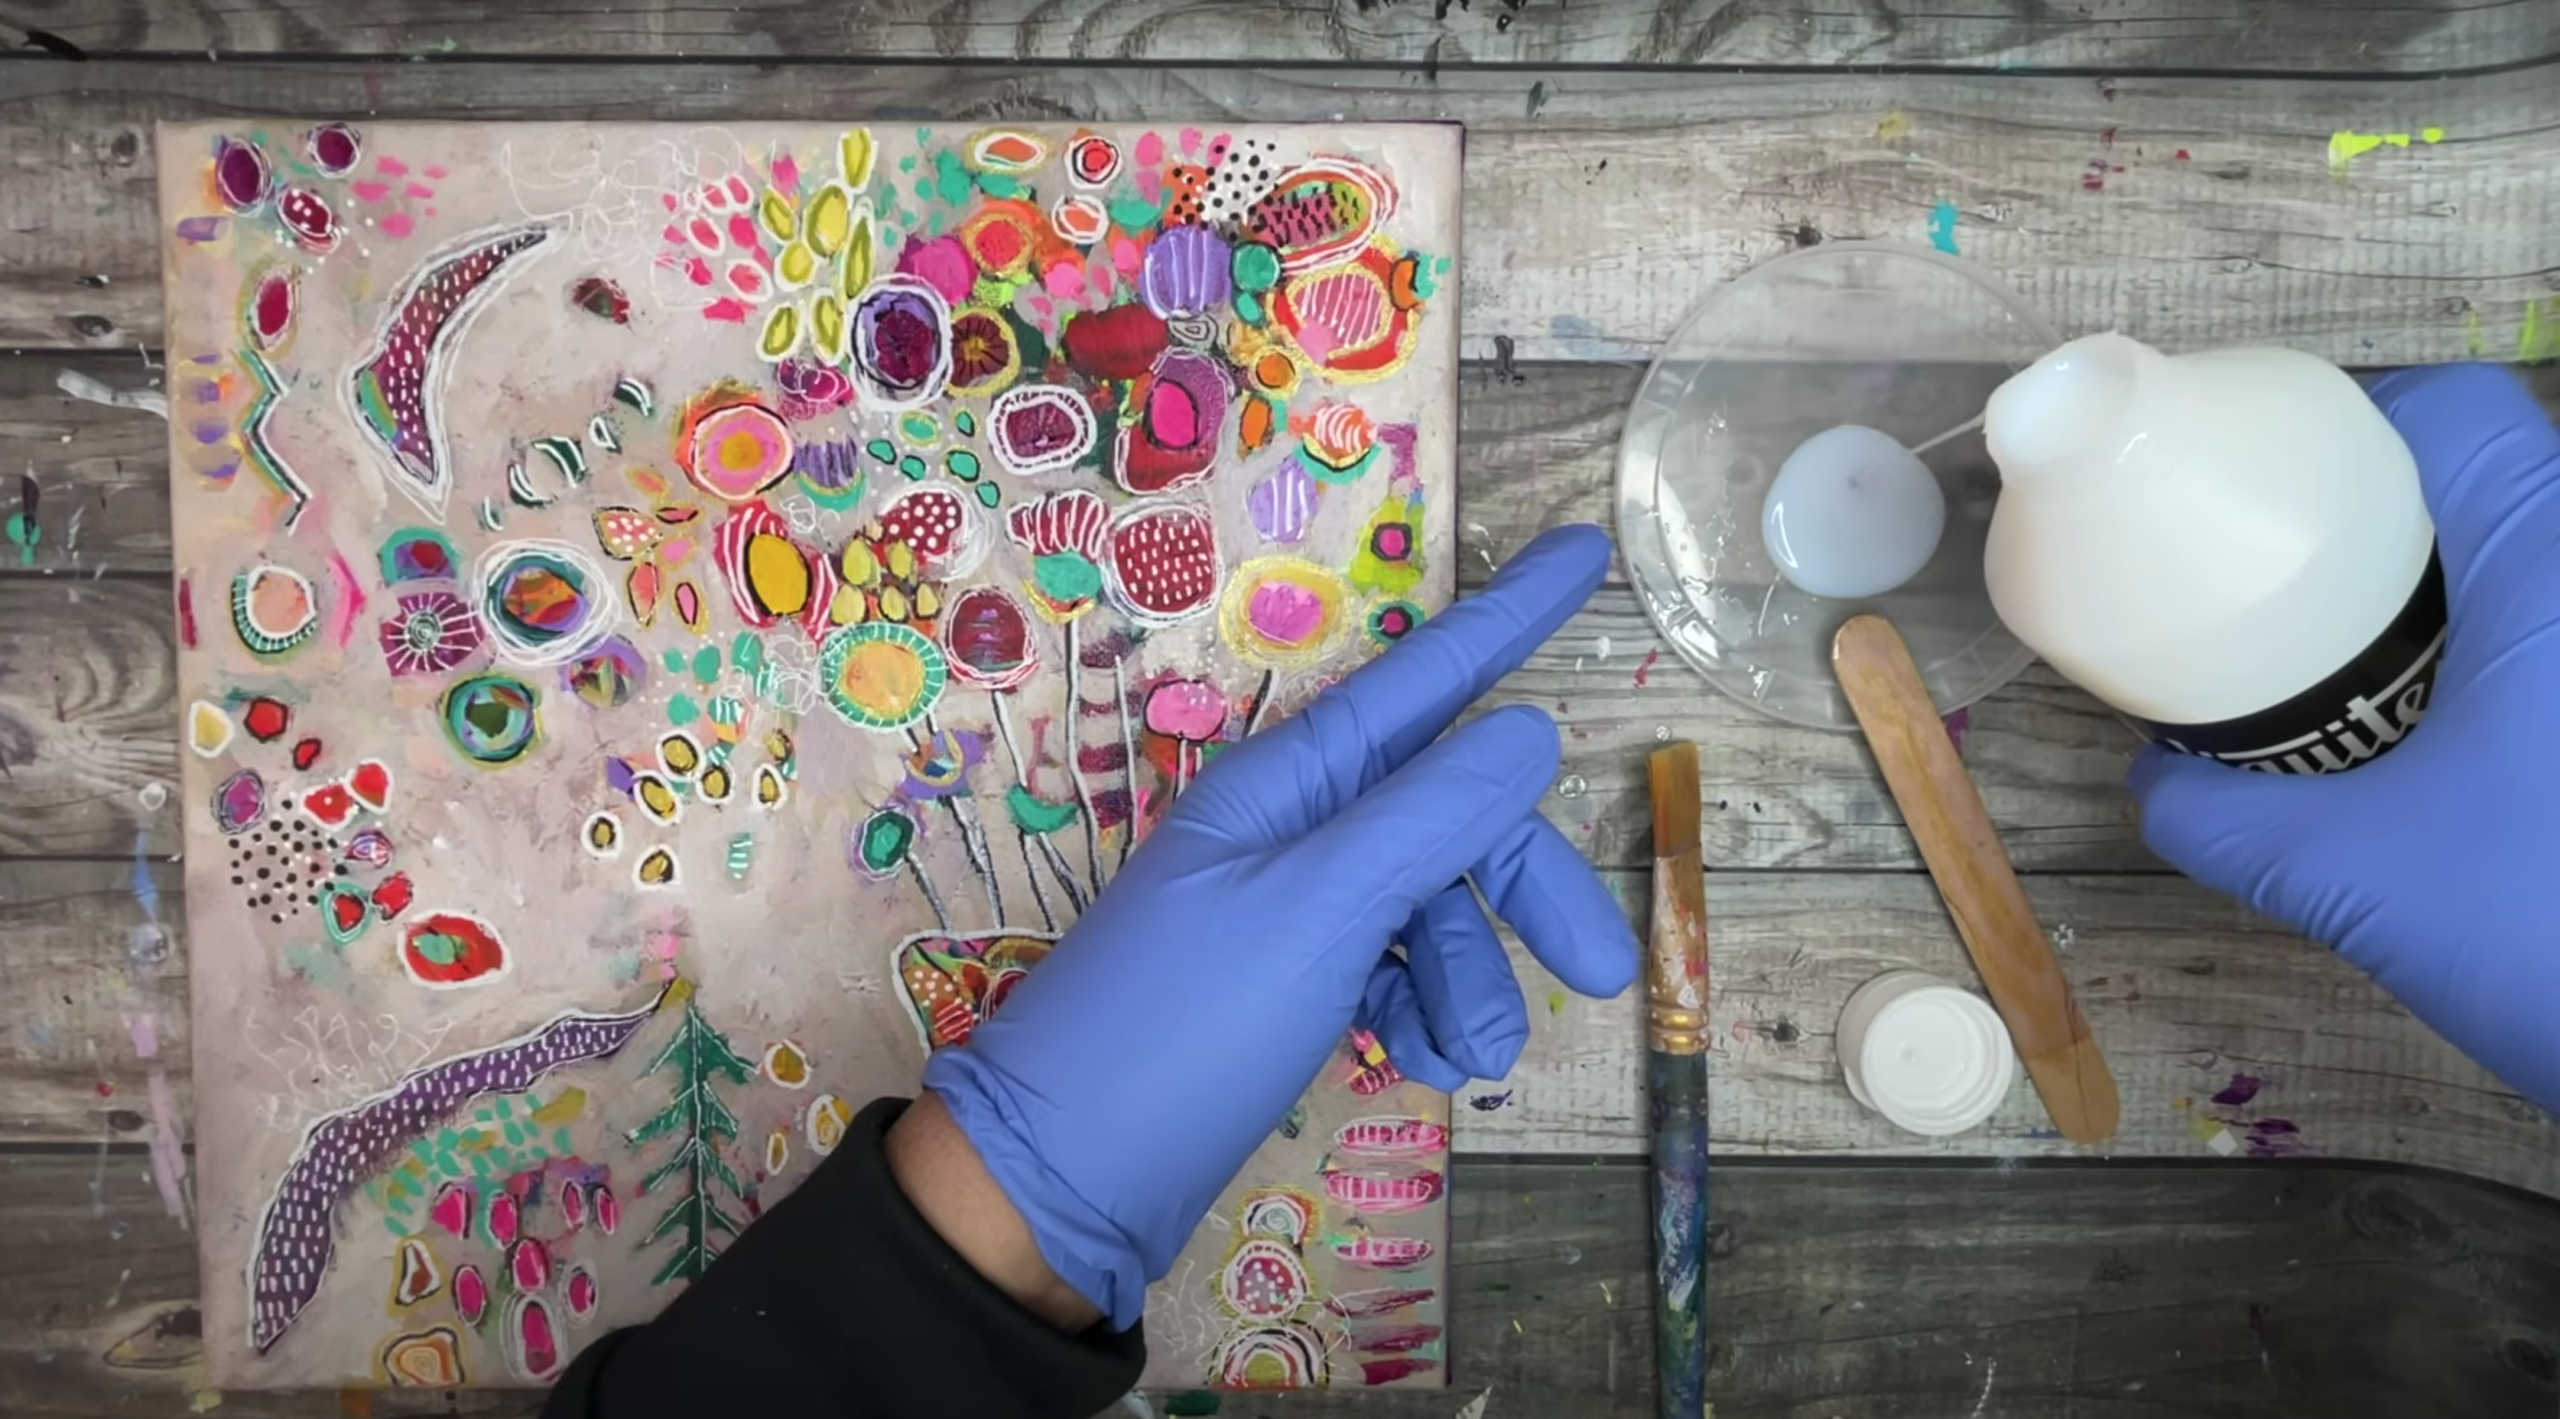
- The first step is to wipe your painting with a cloth to make sure there is not debree and dust on the paintings surface.
- Gently stir the varnish (don't shake which causes air bubbles to form)
- Place the painting on a flat horizontal surface so the varnish can settle flat.
- Pour some varnish into a palette or shallow dish.

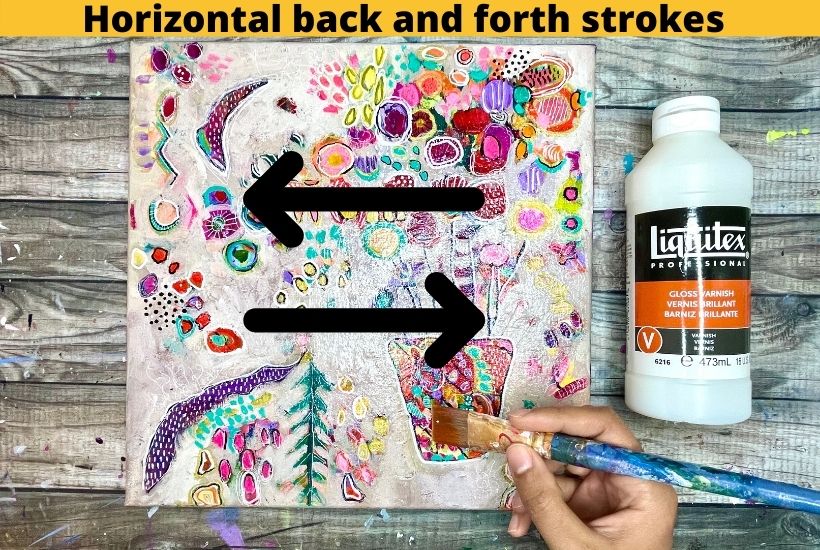
- Using your flat brush pick up some varnish. Using back and forth horizontal strokes apply a thin coat of varnish that covers the entire painting (sides too). For best results, apply a thin coat, not a thick coat. Also avoid over brushing areas that are drying.

- Leave the first coat to dry for 3 hours. Follow up with a second coat .
- Apply up to 3 layers of varnish, leaving varnish to dry for 3 hours between each coat.
Recommended Products
As an Amazon Associate and member of other affiliate programs, I earn from qualifying purchases.
-
 Krylon K01305 Gallery Series Artist and Clear Coatings Aerosol, 11-Ounce, UV-Resistant Clear Gloss
 -
½ pt Minwax 25555 Clear Polycrylic Water-Based Protective Finish Gloss
-
Liquitex BASICS Gloss Varnish, 250ml
-
Golden Artist Colors Isolation Coat, to Unify and Protect The Painting Surface, 8 Ounce jar (7760-5)


Acrylic Sealing / Varnishing Tips
- Read labels for safety instructions. Some varnishes may produce heavy fumes and require protective equipment or outdoor use.
- Do a test patch of the varnish on something other than you painting to make sure you like the sheen before applying to the final painting.
- The best type of brush to use for varnishing are large synthetic flat brushes, wash brushes or base coating brushes. Try looking for something ¾"-1.5" wide bristles.
- Take pictures of your painting before you seal it. Glossy finish will cause reflections in pictures.
- Sign your name before you varnish. Signing your name should be on top of you coat of acrylic paint and not the sealer.
- The right way to apply the varnish is to make multiple thin layer / light coats, instead of fewer thicker coats
- Don't over brush otherwise varnish might dry with a cloudy finish
- Don't go back over varnish areas that are drying, can cause finish to look cloudy
- Work in a well-lit / bright work area to see where the varnish has been applied already
- Leave painting to dry for 72 hours - 2 weeks before varnishing. The drying time will depend on how thick the acrylic layers are. If painting is still wet while varnishing the moisture could get trapped, affecting the finish of your painting.
- Wear protective gloves, some sealers are harder to remove from skin once dried.
- You don't need any water to thin the varnish or wet your brush
Frequently Asked Questions
Now that you know how to seal an acrylic painting, here's some more common varnishing/sealing questions people often have.
How to seal acrylic paint on wood?
To seal wood you can use a, polycrylic sealer or you can use a sealer that's designed to work with wood (Mod Podge, varnish, polyurethane, brush on glazes, etc). You can learn how to seal wood in this how to seal wood slices post.
How to seal acrylic paint on glass?
You can use an acrylic (water-based) sealer that's designed to be used on glass. There is brush-on and a spray sealant depending on application preference. For glass surfaces it's best to choose a glossy finish rather than a matte varnish.
How to seal acrylic paint on plastic?
To seal acrylic paint on plastic surfaces you can use polycrylic, polyurethane, acrylic polymer varnishes, acrylic resin varnish, Mod Podge, etc.
How to seal acrylic paint on paper?
You can use the same varnish on paper that you would on canvas, most of the time. Your best bet when sealing paper is to use a spray-on varnish (compared with brush-on varnish). You'll want the thinnest layer possible so the paper doesn't bend/crack while drying.
How to seal acrylic paint on ceramic mug?
To seal acrylic paint on top of ceramic mug you can use a sealer that's designed for ceramics. Some popular ones are Mod Podge, glazes (designed for ceramics), polyurethane, etc. Check out this post to learn how to seal ceramic mugs
How to seal acrylic paint on metal?
Use a sealer that's meant for metal surfaces to seal acrylic paint over top of metal. Mod Podge, varnish, polyurethane, brush on glazes, are some sealers that can be used on metal. Read the labels to make sure it's meant for metal. You can check out this post to learn how to seal metal water bottles with Mod Podge.
How To Seal Rocks?
A polyurethane sealer or glossy varnish that works with a rock/stone surface would work well to seal rocks. Check this post on how to seal rocks for more information.
How To Seal Acrylic Paint on Fabric
You can use heat from an iron to seal paint on fabric after it's dried. Use the iron on medium/high heat for 3-5 minutes so the paint permanently bonds to the fabric. Then toss your fabrics into the wash without worrying about your paints wearing off. The good thing with using heat alone to seal your paint is that you don't need to buy a special fabric sealer.
How to seal acrylic paint with household products?
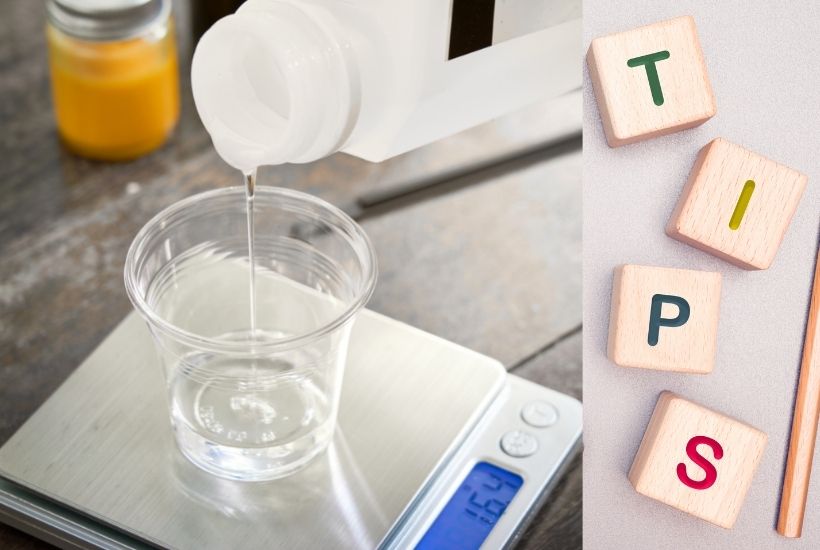
If you're looking for an inexpensive way of sealing your art/craft projects you can use simple PVA glue mixed with water. This DIY varnish will not yield high quality effects compared to a true varnish would, but if that doesn't matter then you can try this recipe out. There are many recipes out there but this one uses 3 parts white glue mixed with 1 part lukewarm water. This mixture is similar to Mod Podge.
If you liked this post on how to seal an acrylic painting, please pin it on Pinterest


So I’m using liquid text varnish and I seem to be getting small bubbles that I can’t get rid of? What should I do? I’m using a soft brush and have followed your instructions but I still see small bubbles? Thank you for your time
Hey Trish,
One reason for the bubbles could be if you shook the bottle of varnish before opening (this happened to me)? Instead of shaking it you're suppose to roll in on the table to make sure its all mixed. If you didn't shake it, then bubbles could also happen when an area is overworked. Ensure that you apply the sealer with as few brush strokes as you can and very lightly also. Depending on the amount of bubbles, when dried sometimes they settle. Did they flatten once dried?
Cheers,
Jasmine